Crochet Long Body Capybara Amigurumi With Chenille Yarn Pattern
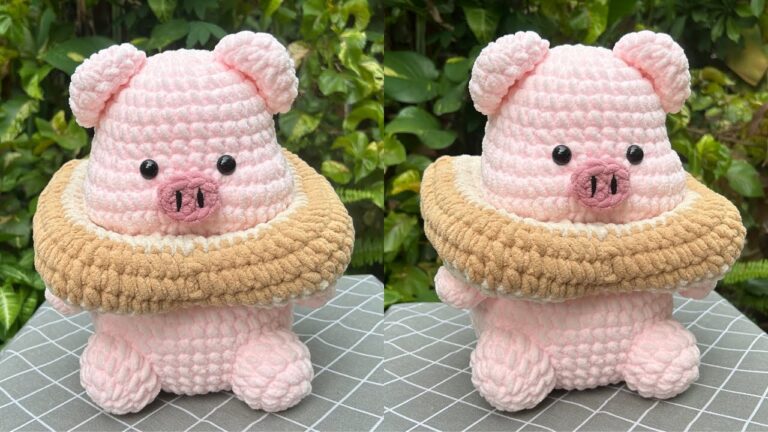
There’s something extra comforting about a plush, chubby amigurumi, especially when it’s a capybara with tiny ears, sleepy eyes, and that iconic rounded snout. This project is designed to look simple and kawaii, with a soft chenille texture that makes it instantly cuddle-worthy.
Capybaras are everywhere lately (and honestly, we get it). This crochet version keeps the details minimal but recognisable: a slightly elongated body, short little legs, and a cosy “loaf” shape that looks adorable from the front, side, and back.
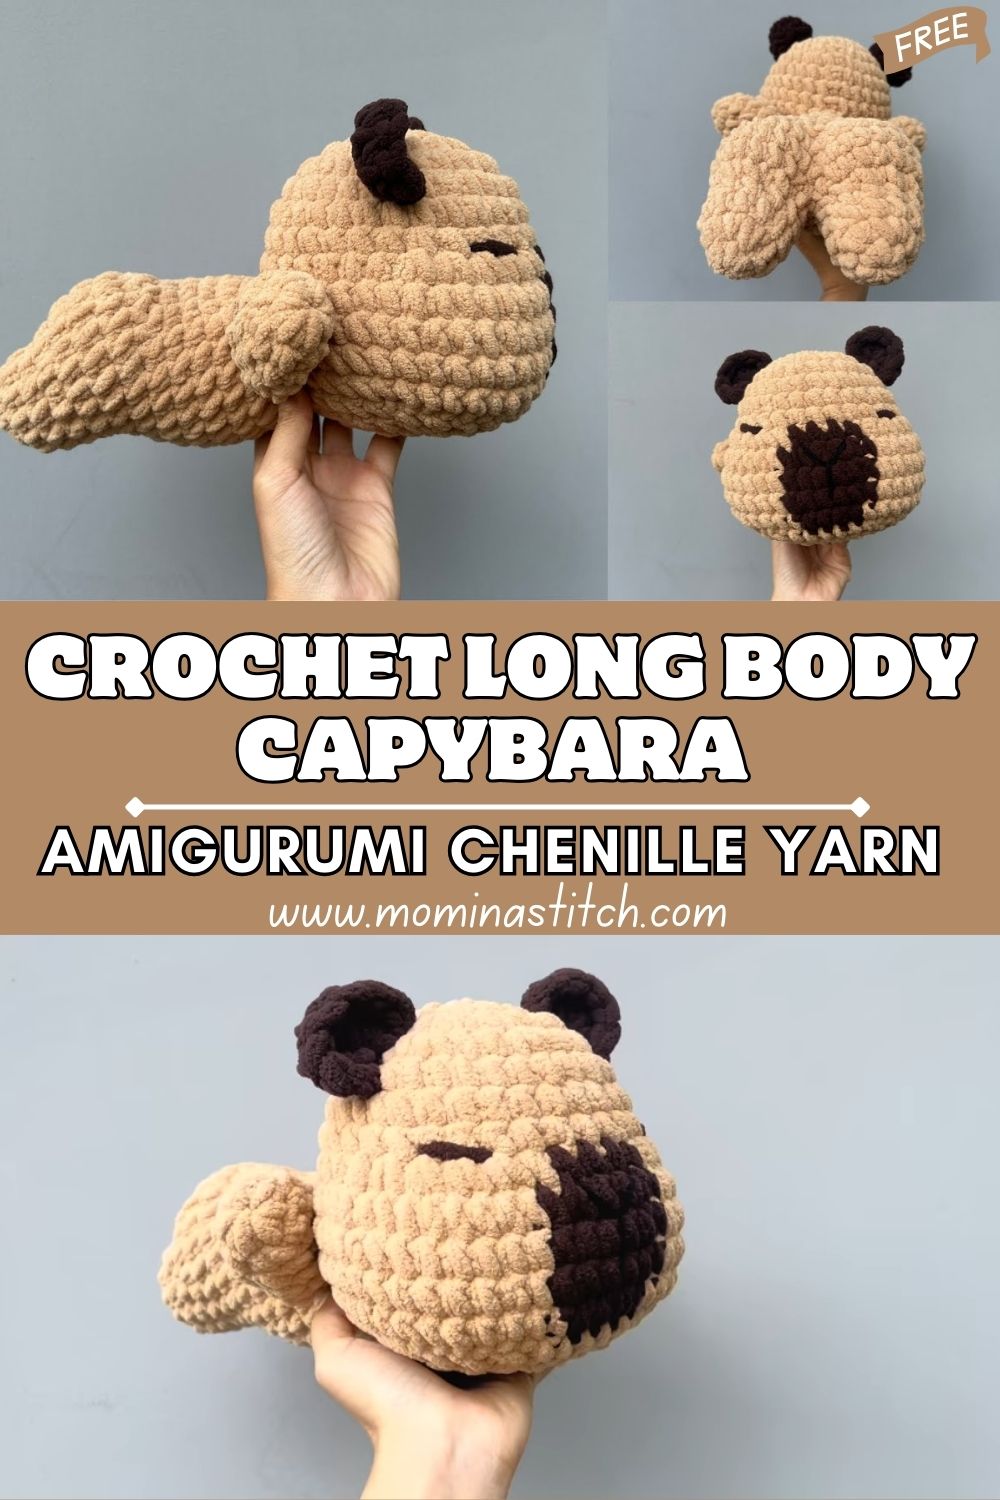
This plush chenille crochet capybara amigurumi is super soft and on-trend. Amigurumi is the Japanese art of crocheting small stuffed yarn creatures. This design features a chubby, oversized body, slightly longer back, short legs, tiny ears, a dark brown snout, and sleepy embroidered eyes, perfect for gifts, nursery decor, or shop listings.
Finished Toy Description
A typical capybara crochet design features a rounded body, short limbs, and a soft plush finish, and this one leans into that cosy look.
- Head: rounded and smooth, with a gentle dome shape that blends into the body
- Snout: a large, dark brown snout that sits prominently on the face; it’s slightly raised for that classic capybara profile.
- Nose details: simple embroidery (or a small stitched oval) to keep the style minimal
- Ears: tiny, rounded ears placed high and slightly toward the back, subtle and cute
- Eyes: small embroidered sleepy eyes for a calm, kawaii expression (perfect for plush yarn)
- Body: oversized and slightly elongated, like a squishy loa, with af rounded front and a stretched back
- Legs: very short and stubby, so the plush sits low and looks extra chubby
- Texture: plush chenille gives a soft, velvety, cuddly finish with a gentle fuzz
- Side view: shows the extended “loaf” back and raised snout profile
- Back view: smooth, rounded, slightly long silhouette with tiny tail detail (optional)
- Overall aesthetic: cosy, minimal, and irresistibly huggable
Skill Level
Skill level: Beginner / Easy-Intermediate
If you’re new to amigurumi, you can absolutely do this, especially because the shapes are simple (mostly single crochet, increases, decreases). It becomes easy-intermediate mainly because plush chenille yarn can hide stitches, so counting and using a stitch marker really matters.
Materials Needed
(Amigurumi typically uses tight stitches and stuffing for structure.)
- Plush/chenille yarn
- Main colour: light brown / beige
- Contrast: dark brown (snout)
- Crochet hook: ~ 4–5 mm (or the size that gives tight stitches with your yarn)
- Eyes: embroidery thread (recommended for plush yarn) or small safety eyes
- Stuffing: fiberfill
- Yarn needle (for sewing parts)
- Stitch marker
- Scissors
Optional: black embroidery floss for nose + sleepy eyes, a tiny bit of white for highlight stitches.
Crochet Abbreviations
- MR = magic ring
- sc = single crochet
- inc = increase (2 sc in same st)
- dec = decrease (invisible decrease recommended)
- sl st = slip stitch
- ch = chain
- hdc = half double crochet
- dc = double crochet
- BLO = back loop only
- FLO = front loop only
- rep = repeat
- st = stitch
- rnd = round
Important Notes Before Starting
(Most amigurumi patterns are worked in spiral rounds.)
- Work in continuous (spiral) rounds unless stated otherwise
- Use a stitch marker to mark the first stitch of each round
- Keep stitches tight so stuffing doesn’t show through
- Stuff gradually as you go (especially with chenille)
- Check symmetry often (ears + legs look best evenly placed)
- Count stitch. Every plush yarn is forgiving visually, but not mathematically
Complete Step-by-Step Crochet Pattern
Finished size (approx.): 6–9 in / 15–23 cm depending on yarn, hook, and stuffing.
HEAD (Light Brown/Beige)
Rnd 1: MR, 6 sc (6)
Rnd 2: inc around (12)
Rnd 3: (sc, inc) rep 6 times (18)
Rnd 4: (2 sc, inc) rep 6 times (24)
Rnd 5: (3 sc, inc) rep 6 times (30)
Rnd 6: (4 sc, inc) rep 6 times (36)
Rnd 7–9: sc around (36)
Rnd 10: (4 sc, dec) rep 6 times (30)
Rnd 11: (3 sc, dec) rep 6 times (24)
Rnd 12: (2 sc, dec) rep 6 times (18)
Begin stuffing the head firmly.
Rnd 13: (sc, dec) rep 6 times (12)
Rnd 14: dec around (6)
Fasten off, close hole.
Tip: Even though the head will be sewn on, stuffing it well helps the snout sit nicely.
SNOUT (Dark Brown)
This snout is worked as a rounded oval “muzzle” that is centred on the face.
Ch 5
Rnd 1: Starting in 2nd ch from hook: 3 sc, 3 sc in last ch. Rotate tthe o underside of the chain: 2 sc, inc in the last st (10)
Rnd 2: inc, 2 sc, inc x3, 2 sc, inc x2 (16)
Rnd 3: sc, inc, 4 sc, inc, sc, inc, 4 sc, inc, sc (20)
Rnd 4: sc around (20)
Rnd 5: (3 sc, dec) rep 4 times (16)
Lightly stuff (just enough to make it raised and plush).
Rnd 6: (2 sc, dec) rep 4 times (12)
Fasten off with a long tail for sewing.
Nose detail (optional but cute):
- With black thread, embroider a small horizontal oval/line at the front centre of the snout.
BODY (Light Brown/Beige) — Long, Chubby “Loaf” Shape
The body is intentionally slightly elongated rather than perfectly round.
Rnd 1: MR, 6 sc (6)
Rnd 2: inc around (12)
Rnd 3: (sc, inc) rep 6 times (18)
Rnd 4: (2 sc, inc) rep 6 times (24)
Rnd 5: (3 sc, inc) rep 6 times (30)
Rnd 6: (4 sc, inc) rep 6 times (36)
Rnd 7: (5 sc, inc) rep 6 times (42)
Rnd 8–14: sc around (42)
(This section builds the chubby thickness.)
Now gently taper just a little, but keep it plump.
Rnd 15: (5 sc, dec) rep 6 times (36)
Rnd 16–20: sc around (36)
(This adds length through the back—your side view “loaf.”)
Start stuffing firmly, especially the front half.
Rnd 21: (4 sc, dec) rep 6 times (30)
Rnd 22: sc around (30)
Rnd 23: (3 sc, dec) rep 6 times (24)
Stuff more, shaping into a rounded front and slightly longer back.
Rnd 24: (2 sc, dec) rep 6 times (18)
Rnd 25: (sc, dec) rep 6 times (12)
Rnd 26: dec around (6)
Fasten off, close hole.
Shaping note: Try to keep the top/back smooth and rounded, like a plush little bread loaf.
EARS (Make 2) — Light Brown/Beige
Rnd 1: MR, 6 sc (6)
Rnd 2: (sc, inc) rep 3 times (9)
Rnd 3: sc around (9)
Flatten the ear. Sc through both layers across 4–5 stitches to close, or sew closed.
Fasten off with a long tail for sewing.
LEGS (Make 4) — Light Brown/Beige
These are tiny, stubby legs, so the body stays low and extra chubby.
Rnd 1: MR, 6 sc (6)
Rnd 2: inc around (12)
Rnd 3: sc around (12)
Rnd 4: (2 sc, dec) rep 3 times (9)
Lightly stuff (optional—many plush legs can be left unstuffed).
Rnd 5: sc around (9)
Fasten off with a long tail for sewing.
TAIL (Optional) — Light Brown/Beige
Rnd 1: MR, 4 sc (4)
Rnd 2: sc around (4)
Fasten off with the tail for sewing.
Assembly Instructions (Step-by-Step)
- Attach the head to the body
- Centre the head on the front of the body.
- Sew using whip stitch or mattress stitch, going through sturdy stitches (chenille can snap if pulled too hard).
- Add a little extra stuffing at the neck if needed before closing.
- Place and attach the snout
- Position the dark brown snout low on the head/front area.
- Pin first (or use stitch markers), then sew around neatly.
- Aim for a slightly raised muzzle so the side view reads “capybara.”
- Add the eyes (embroidered sleepy eyes recommended)
- Using black embroidery thread, make two small curved lines above the snout.
- Keep them evenly spaced and slightly wide-set for a calm, cute expression.
- Sew on the ears
- Place ears on the upper sides of the head, slightly toward the back.
- Stitch down firmly so they stay small and subtle.
- Attach the legs (4 total)
- Sew two legs on each side of the body’s underside.
- Place the front pair closer to the head and the back pair near the rear, with both pairs evenly aligned.
- Make sure the plush sits balanced.
- Tail (optional)
- Sew the tiny tail to the back centre, low on the body.
Finishing Touches
- Embroider details:
- Darken the nose line for more contrast.
- Optional tiny “cheek dots” with a scrap of pink thread (very minimal looks best).
- Shaping tips:
- Gently squish the plush into a rounded front and slightly elongated back.
- Add/remove a pinch of stuffing through a seam if needed.
- Smoothing stuffing:
- Roll the plush lightly between your hands to distribute fiberfill evenly.
- Focus on smoothing the back so it looks clean from the rear view.
- Final adjustments:
- Check that the ears match in height and the legs sit evenly.
- Reposition the snout if needed before fully knotting and hiding ends.
Customization Ideas
(Capybara designs can be customized with colours and accessories.)
- Different yarn colours: creamy beige, caramel, mocha, or even pastel “fantasy capybara” shades
- Accessories: tiny crochet scarf, mini bucket hat, a little orange/fruit, or a leaf on the head
- Resizing:
- Use thinner yarn + smaller hook for a mini version
- Use super bulky plush + larger hook (while keeping stitches tight) for a jumbo cuddle plush
- Expression changes: sleepy eyes, open dot eyes, or tiny eyebrows for extra personality
Common Mistakes to Avoid
- Loose stitches: stuffing will show through plush gaps—size down your hook if needed
- Uneven stuffing: a lumpy body can ruin the smooth “loaf” silhouette
- Incorrect proportions: making legs too long takes away the chubby capybara look
- Poorly placed snout: too high makes it look like another animal; keep it low and centred
- Uneven legs: misaligned legs can cause the plush to tilt or wobble
Care Instructions (Cleaning & Maintenance)
- Spot clean first: use a damp cloth with mild soap; gently press (don’t scrub aggressively)
- If washing: hand-wash in cool water; squeeze gentl,y do not wring
- Drying: reshape and air dry completely (chenille holds water longer)
- For display plushies: dust with a lint roller or soft brush
- Safety note: if gifting to small children, embroidered eyes are typically safer than safety eyes.
Conclusion FOR ( Crochet Long Body Capybara)
This chubby, long-bodied capybara is the kind of amigurumi that looks adorable from every angle, front, side, and back and feels even better in your hands thanks to its plush chenille texture. If you’ve been wanting a trendy, beginner-friendly crochet project that still looks polished and gift-worthy, this little sleepy capybara is a perfect pick.
If you make one, try customising it with a tiny scarf or a different shade of brown, and don’t forget to give it that signature calm capybara expression. Happy crocheting.