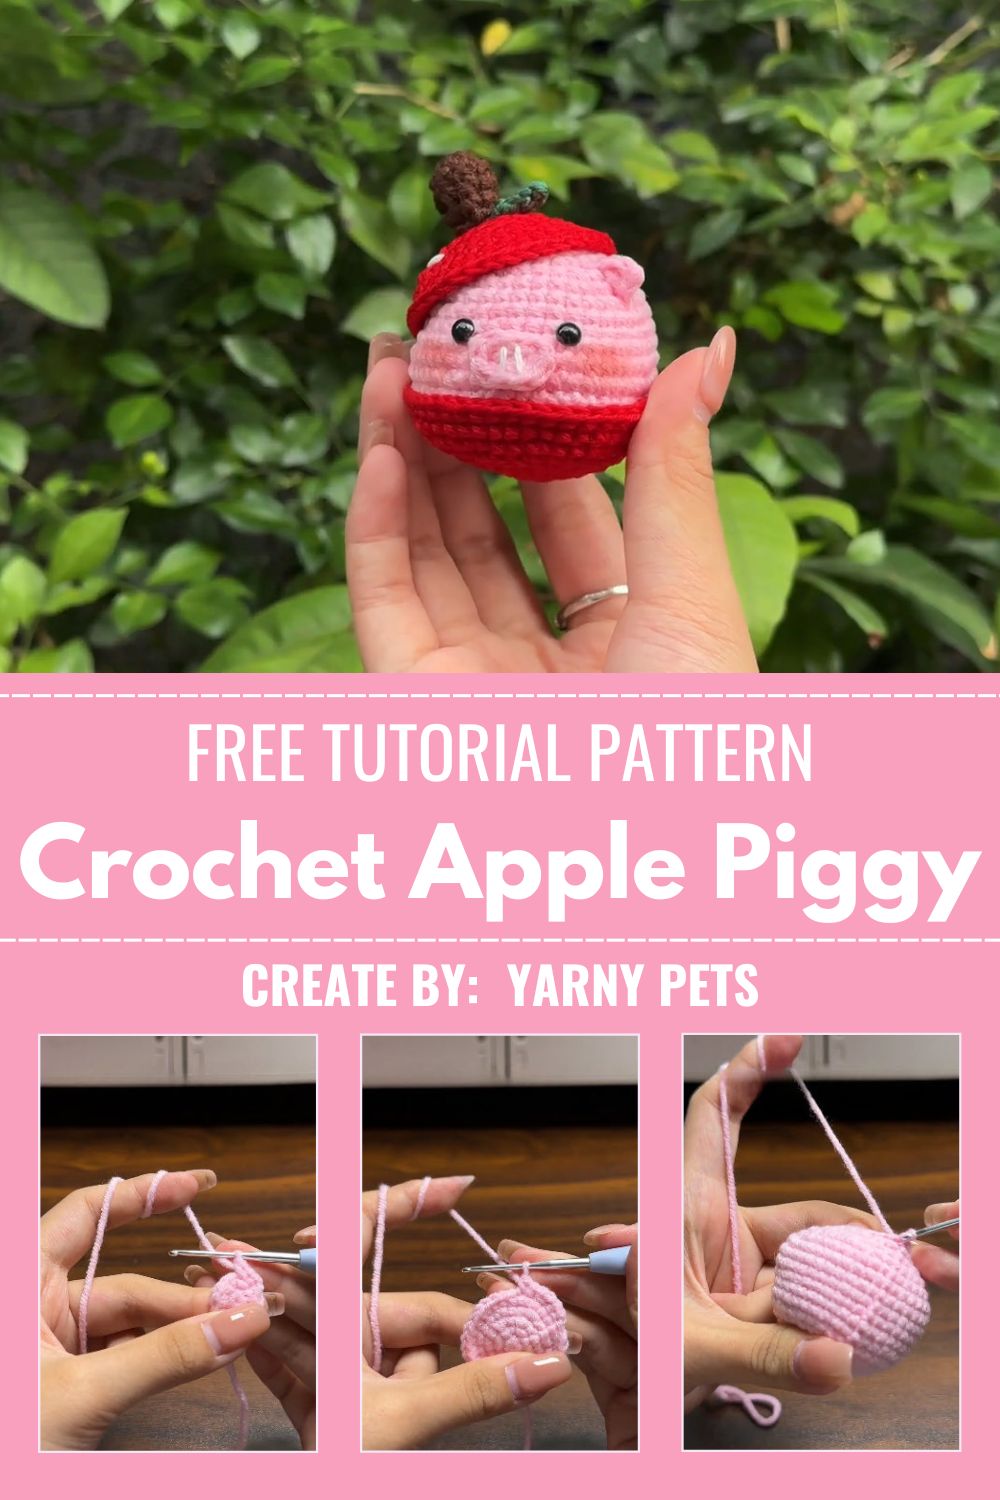
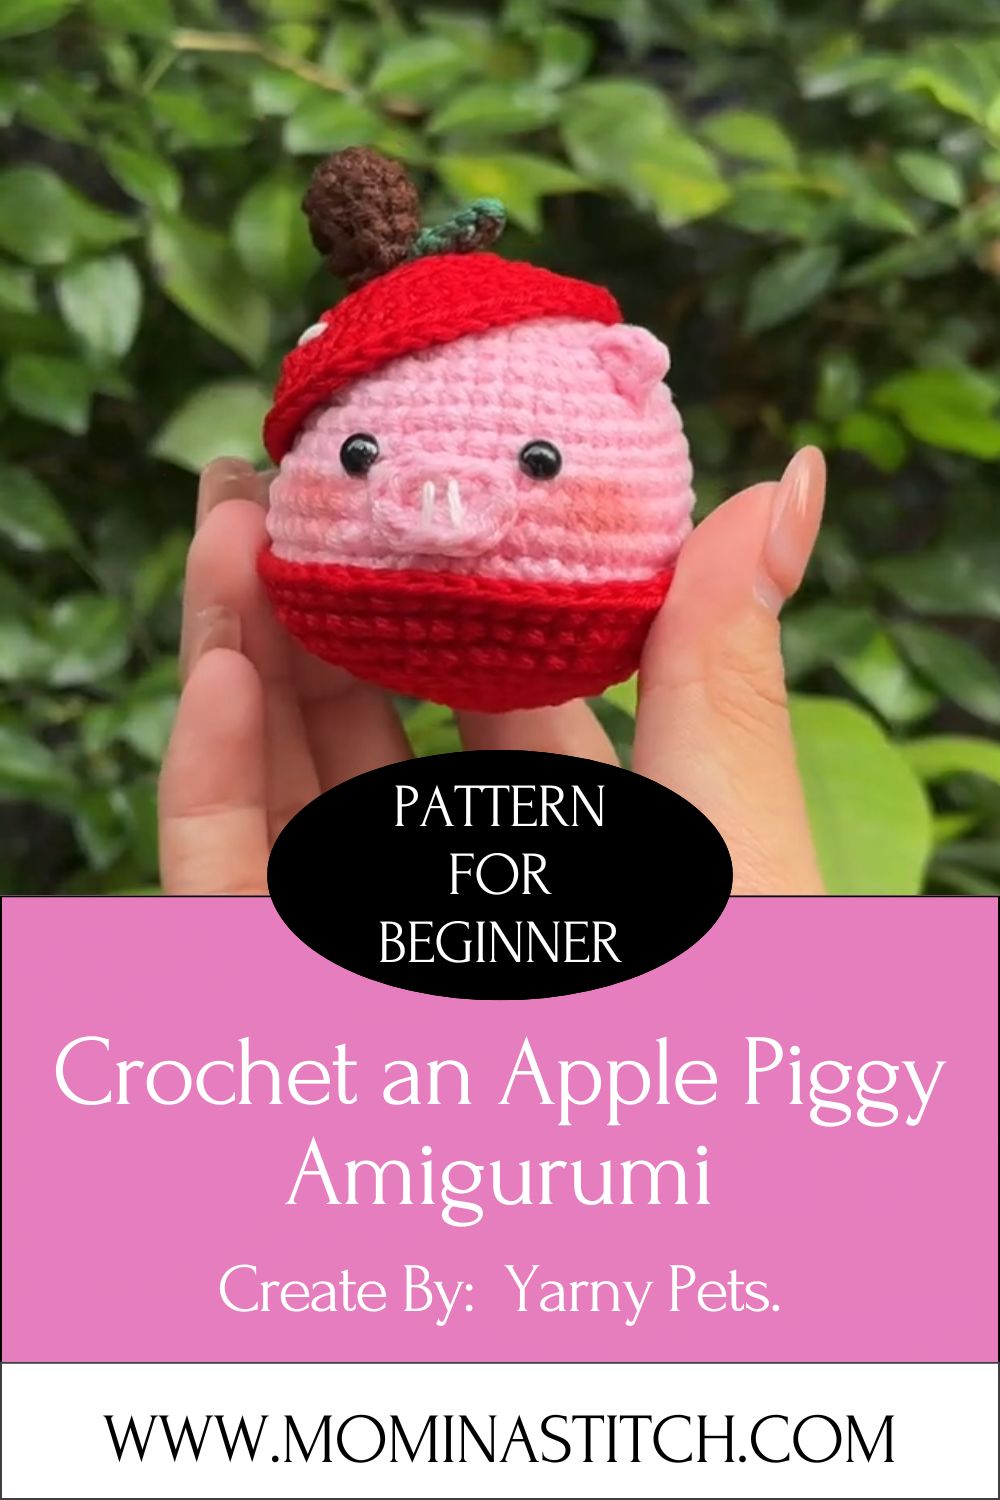
Free Crochet Apple Piggy Amigurumi Pattern for All Levels
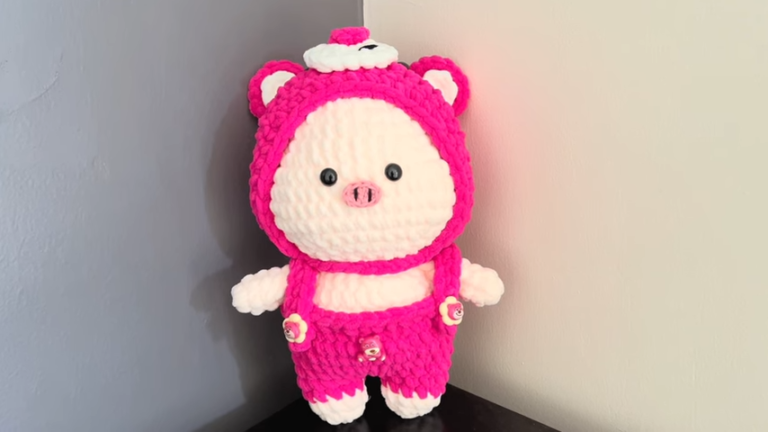
Apples and piglets don’t usually belong in the same sentence, but that’s exactly what makes this Crochet Apple Piggy Amigurumi design fun. Honestly, mixing a plump fruit body with a snorting little snout gives you a toy that feels playful, warm, and just a bit silly in the best way.
Think of this pattern as two classic amigurumi shapes fused into one. You’ll crochet a rounded apple for the body, then dress up the front with a small pig snout, floppy ears, and a curled stem on top. It’s a beginner crochet project, but the mash-up idea keeps it interesting even if you’ve made dozens of amigurumi before.
No complicated shaping here. Just rounds, a bit of stuffing, and some sewing at the end.
Skill Level
Anyone comfortable with a hook can handle this one. You only need single crochet, basic increases, and basic decreases worked in spiral rounds. There’s no color-change shaping or complex limb-joining, so first-timers and seasoned makers will both get through it without frustration.
Materials and Supplies
Before picking up your hook, lay these out on your table:
- Yarn colors: Red or pink for the main body, a soft pink for the snout and ear tips, brown for the stem, and green for the leaf
- Crochet hook: 3.0mm–3.5mm, depending on your yarn’s weight
- Safety eyes: Two 6mm–8mm black safety eyes
- Stuffing: Polyester fiberfill (a small handful goes a long way)
- Needle and scissors: A blunt-tip yarn needle plus sharp scissors for trimming ends
- Extras: A stitch marker and a small keychain clasp if you plan to turn this into a bag charm
Crochet Techniques Used
Nothing here should scare a beginner off. The whole project relies on:
- Magic ring to start each piece cleanly, with no gap in the center
- Single crochet as the go-to stitch for almost every round
- Increases and decreases to shape the round body and the rounder snout
- Sewing to join the ears, snout, stem, and leaf onto the finished body
Step-by-Step Crochet Pattern Instructions
Building the Apple Body
Crochet in a continuous spiral — no joining, no turning. Drop a stitch marker at the start of round one and move it up as you go.
- Rnd 1: 7 sc into a magic ring (7)
- Rnd 2: 2 sc in every stitch (14)
- Rnd 3: 1 sc, 2 sc in next st around (21)
- Rnd 4: 2 sc, 2 sc in next st around (28)
- Rnd 5: 3 sc, 2 sc in next st around (35)
- Rnd 6: sc around, no shaping (35)
- Rnd 7–13: sc around for 7 straight rounds (35), this builds the round belly of the apple
- Rnd 14: 3 sc, sc2tog around (28)
- Rnd 15: sc around (28) — start adding stuffing now, a little at a time
- Rnd 16: 2 sc, sc2tog around (21)
- Rnd 17: 1 sc, sc2tog around (14) — pack in more stuffing before it gets too tight to reach
- Rnd 18: sc2tog around (7)
- Cut the yarn, pull the tail through the remaining loops, and knot it off firmly
Shaping the Snout
- Rnd 1: 6 sc into a magic ring using your light pink yarn (6)
- Rnd 2: 2 sc in every stitch (12)
- Rnd 3: sc around (12)
- Rnd 4: sc around (12)
- Fasten off with a long tail. Give it a light stuffing before sewing it down.
Ears and the Little Extras
Make two matching ears in your light pink or main color:
- Rnd 1: 5 sc into a magic ring (5)
- Rnd 2: 2 sc in every stitch (10)
- Rnd 3: sc around (10)
- Fasten off, leave a tail, and press the ear flat with your fingers so it holds a slight curve.
For the stem, chain 7 in brown, then slip stitch back along the chain to the start. Leave a tail for sewing it upright onto the top of the apple.
For the leaf, chain 9 in green. Starting from the second chain, work sc, hdc, dc, dc, hdc, sc, then slip stitch into the last chain to close the shape. Leave a tail so you can tuck it beside the stem later.
Giving It a Face
Push the safety eyes into place around round 11 or 12 of the body, spacing them roughly 6 stitches apart, and secure the backs before you finish stuffing that section. Once the eyes are locked in, thread a bit of black yarn and stitch two small nostril marks onto the snout — short straight stitches work fine, no need for anything fancy.
Putting It All Together
Center the snout low on the front of the body, somewhere between rounds 8 and 12, and stitch it down all the way around. Place the ears just above the eyes, angled slightly outward like a real piglet’s. Pin the stem to the very top of the apple and sew it in place, then nestle the leaf right against its base and secure that too. If you’re making a keychain version, fold a short loop of cord, tuck it under the stem, and stitch it firmly to the body before adding your keychain ring.
Last Details
Go back over every seam and hide the loose ends with your needle so nothing works itself loose over time. If any spot along the body feels a little soft or lopsided, use your needle to nudge extra stuffing into that area from the nearest gap. Fold the ears one more time to set their shape, and your apple piggy is officially done.
Helpful Beginner Tips
- Crochet tighter than usual: Drop down a hook size from what the yarn label suggests. Loose stitches let stuffing poke through, which ruins the clean amigurumi look.
- Never skip the stitch marker: Spiral rounds have no clear “end,” so losing your place is easy without one.
- Stuff gradually: Filling a little at a time as you close each section keeps the shape round instead of lumpy.
Design Customization Ideas
- Play with color: A green apple piggy, a golden-yellow version, or even a two-tone body all work beautifully
- Dress it up: A stitched bow, tiny embroidered cheeks, or a mini scarf add instant personality
- Change the size: Switch to fingering-weight yarn and a smaller hook for a keychain-sized version, or go with bulky yarn for an oversized cuddle toy
FAQ Section
What’s the best yarn for amigurumi?
Worsted-weight cotton or acrylic is the safest choice. Both hold their shape well, resist stretching, and give tight, even stitches that don’t let stuffing show through.
How do I make my Crochet Apple Piggy Amigurumi plush feel firm?
Drop your hook size, crochet snugly, and add stuffing in small amounts as you close each section rather than cramming it all in at the very end.
How long does this Crochet Apple Piggy Amigurumi project usually take?
Most makers wrap this up in around 2 to 4 hours. The keychain-sized version goes faster, while a larger body naturally takes a little longer to fill and finish.
Conclusion
This Crochet Apple Piggy Amigurumi is proof that combining two simple ideas can turn into something genuinely charming. It’s an easy crochet project for anyone still building confidence, yet fun enough that experienced hookers won’t get bored either. Pick your colors, grab your hook, and give this one a try — then show off your finished piggy to your favorite crochet community.