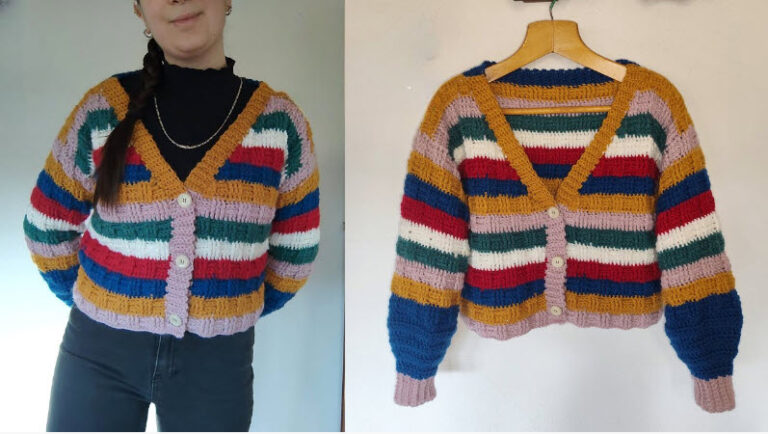
Crochet Cardigan Pattern With Cozy Ribbed Look
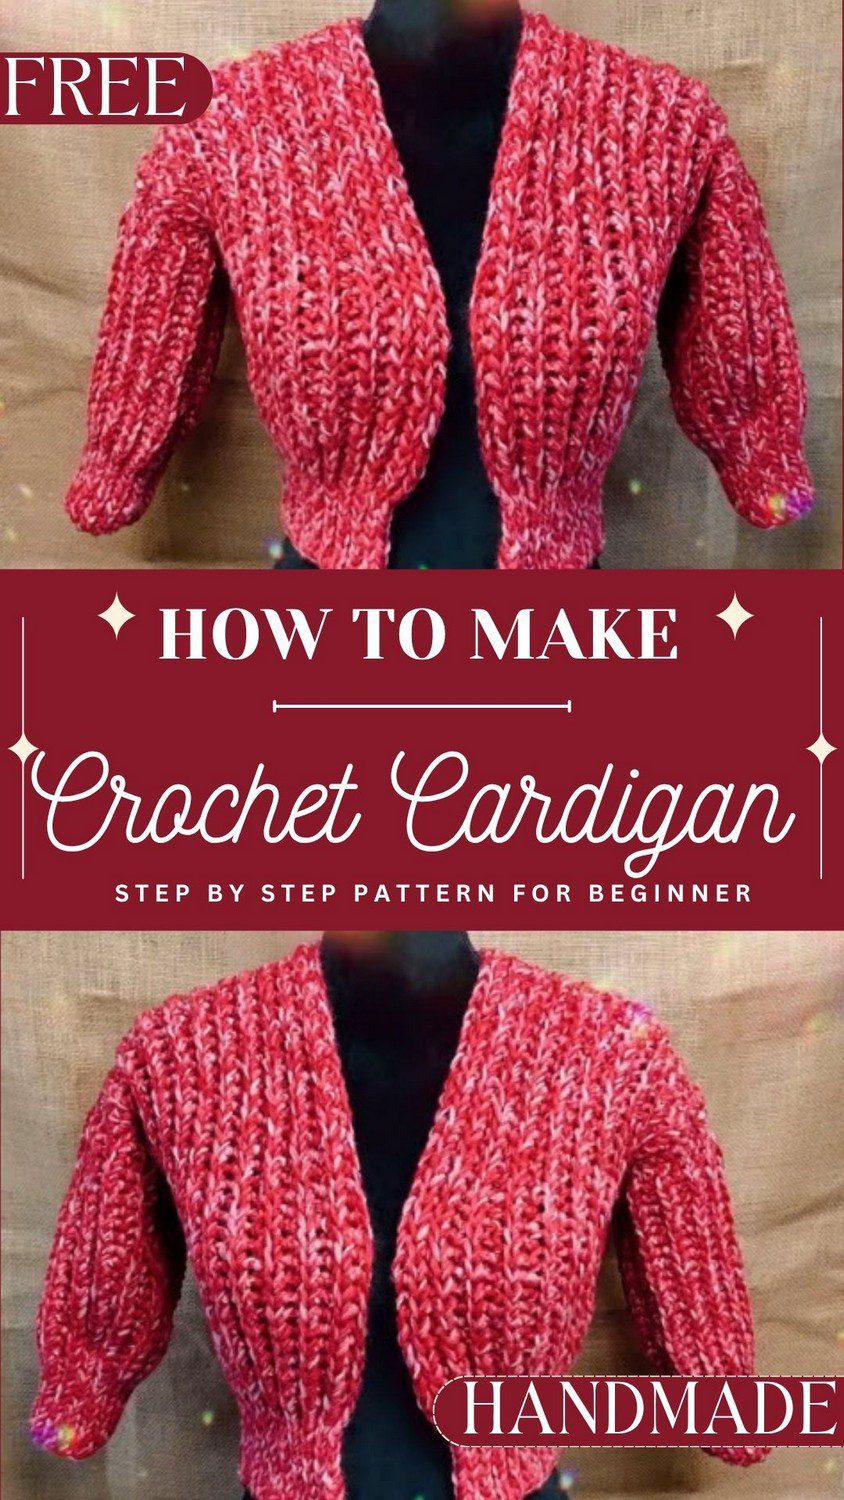
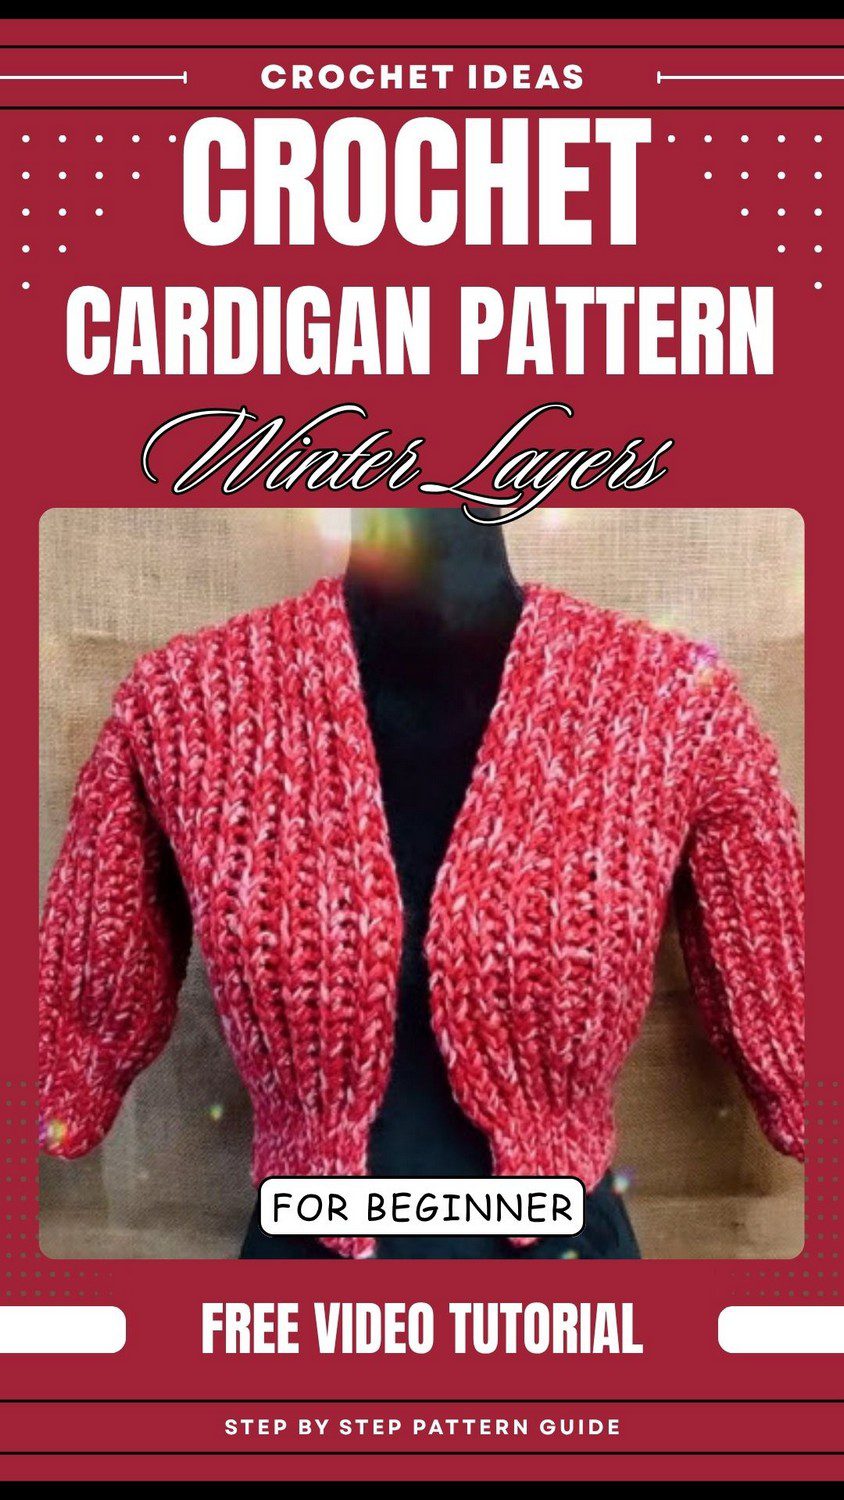
Beginners can make this pretty red crochet cardigan with a simple step-by-step pattern. The ribbed stitch looks neat, and the puff sleeves feel soft. It is free and handmade with chunky yarn. A lovely gift idea for anyone.
Want a cozy project that works up fast? This free crochet cardigan has a ribbed look and an open front. The red and pink mixed yarn gives it a warm colour. Puff sleeves make it extra cute. The step-by-step pattern is made for beginners. Use soft chunky yarn and a big 9 mm hook. Make this handmade crochet cardigan for yourself or give it to someone you love.
Crochet Cardigan Pattern Overview
Think of this cropped cardigan as a small puzzle with only five pieces. Each piece is a flat rectangle, so none of them needs shaping. Slip stitch ribbing and a modified half double crochet are both worked in the back loop only. Because of this, the fabric looks like a mix of knitted rib and stockinette. As a result, it works well as a beginner crochet cardigan, and it is also a good way to practice even tension.
Skill level: Beginner-friendly.
Finished size: For a Small, the back is about 42 cm wide and 40–45 cm long. Each front is about 20 cm wide. Each sleeve is about 30 cm square, and the armhole or sleeve opening is about 15 cm.
Materials for This Crochet Cardigan Pattern
- Yarn: Super Bulky weight (US CYC #6), about 400 grams in total. The sample is shown in a wine or maroon shade, and acrylic or a wool blend is a typical choice for bulky garments.
- Hook: 9 mm crochet hook
- Tools: tapestry needle, scissors, stitch markers, and a measuring tape
- Terminology: US terms
Overall, nothing on this list is unusual. So if you already crochet chunky projects, you probably own most of it.
Abbreviations Used in This Crochet Cardigan Pattern
First, here are the short forms used in this crochet cardigan pattern:
- ch = chain
- sl st = slip stitch
- hdc = half double crochet (modified version, explained below)
- blo = back loop only
- st(s) = stitch(es)
Modified Half Double Crochet
This is not the usual hdc, so read it once before you start. First, yarn over, insert the hook, and pull up a loop. Then you have 3 loops on the hook. Do not wrap the hook again to finish. Instead, draw the working loop straight through the 3rd loop. Finally, work every one of these stitches in the back loop only.
Why This Ribbed Crochet Cardigan Pattern Uses the Back Loop Only
Working into the back loop gives the fabric its ribbed, knitted look. In fact, that single habit is what makes this ribbed crochet cardigan resemble something made with needles.
It also helps you read your own work. If you look closely at the stitches, you will spot little “heart” shapes. On the right side, those hearts point upward. Therefore, check this on every panel so nothing gets sewn on backwards.
Gauge, Swatch, and Sizing for the Crochet Cardigan Pattern
This pattern does not give a stitches-per-inch gauge. However, a small swatch does the same job and takes only a few minutes.
Make a Swatch Before You Start the Crochet Cardigan Pattern
First, chain 30 for the swatch. Then work 10 slip stitches for the band and 20 modified half double crochets for the body. In this way, the swatch tests your tension and shows how the rib changes into the body, all before you start the real panels.
Adjust the Crochet Cardigan Pattern to Fit You
Because every panel is worked sideways, the chain count sets the garment length, while the row count sets the width.
- To change the length, add or remove foundation chains.
- To change the width or bust size, work more or fewer rows.
- Keep the ribbing at 10 stitches so the stitch pattern stays unbroken.
For a custom size, take these measurements first: bust or chest, waist, hips, shoulder width, arm length, armhole depth, and your desired garment length. Slip stitch ribbing is naturally stretchy, so the cuffs and bands stay flexible and comfortable.
Panel Sizes at a Glance
- Back (make 1): 45 chains long, 42 rows wide. Each row has 10 rib sts + 35 body sts = 45 sts.
- Front (make 2): 45 chains long, 20 rows wide each. Each row has 10 rib sts + 35 body sts = 45 sts.
- Sleeve (make 2): 30 chains long, 30 rows wide each. Each row has 10 rib sts + 20 body sts = 30 sts.
The Full Crochet Cardigan Pattern
Each panel follows the same rhythm: ribbing first, then body stitches. After the first few rows, the rest feels almost automatic.
Stitch Technique Overview
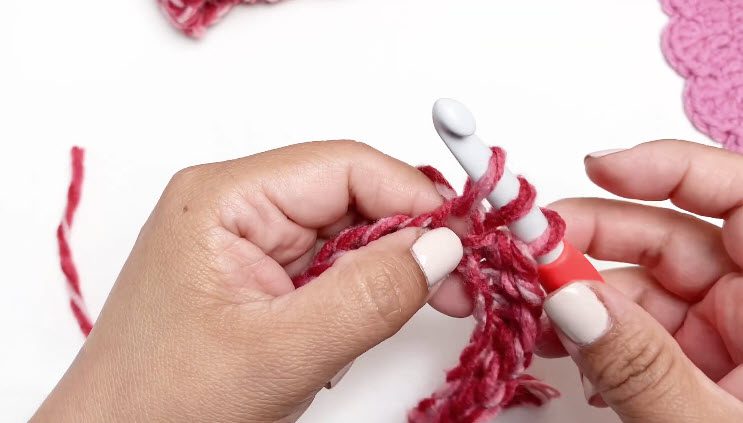
The photo below shows the technique up close, with chunky yarn in mixed red and pink tones. The left hand holds the fabric firmly and keeps the yarn steady, while the right hand guides the hook into the stitch. Hold the work close to the hook and keep your tension relaxed and even. As a result, each stitch looks neat, and it is the same habit the ribbed cardigan needs.
Sizing and Pattern Guidelines for Each Panel
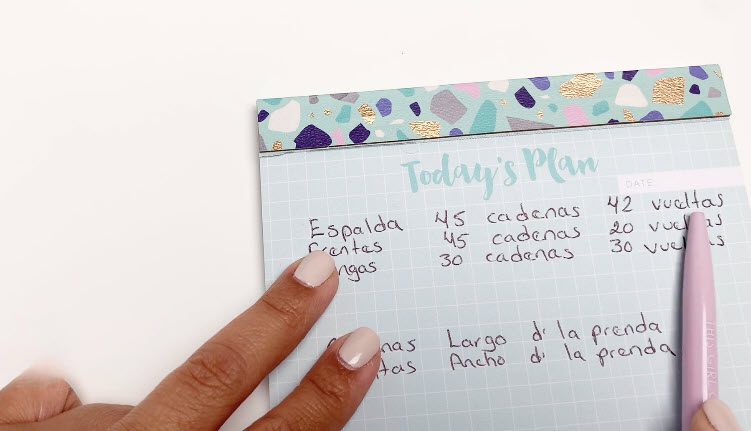
This photo shows the plan written out by hand before any stitching starts. For example, each panel gets its own line: the back, the fronts, and the sleeves. Next to each one are two numbers. The first is how many chains to start with, and the second is how many rows to work.
The notes also say that chains set the length of the piece, while rows set the width. So you can change the fit just by changing those two numbers. Check them against your own measurements first, then begin.
Assembly Layout: Shoulders, Sleeves, and Sides
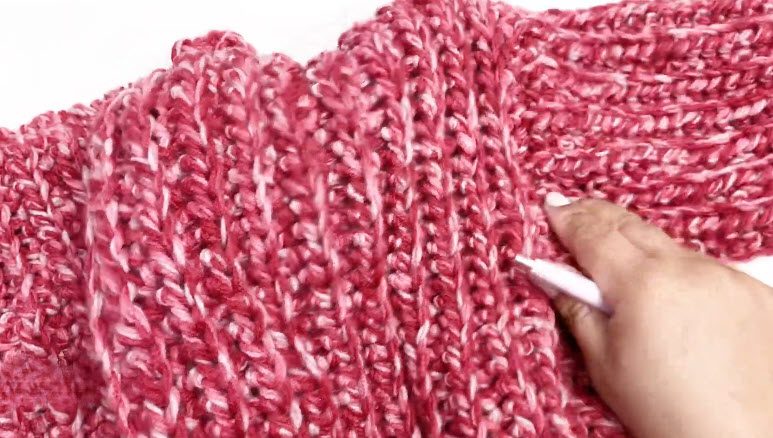
Here the finished pieces are laid flat, ready to be joined. The ribbed rows run in neat vertical lines, and the pink and red yarn blends softly through them. A pen points to the seam area, where the pieces meet.
Start with the shoulders, then sew in the sleeves. After that, close the sides last. Keep the right sides facing out and match the edges as you go. This way, the seams stay tidy and the ribbing stays lined up.
Final Details on the Ribbed Cardigan
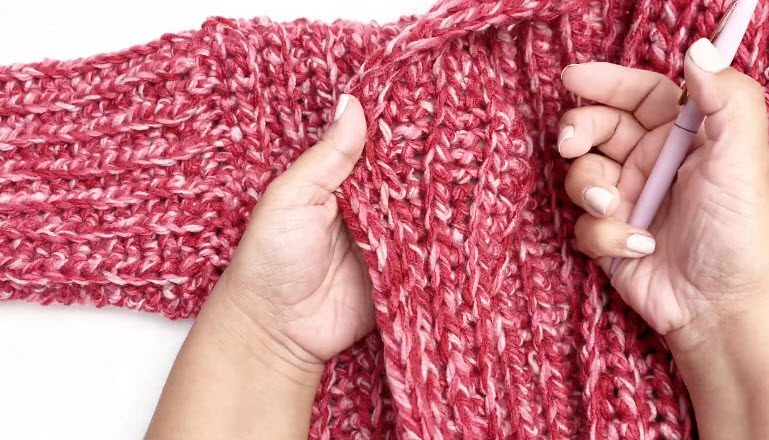
In this photo, the cardigan is almost done. One hand holds the sleeve and body together while the other checks the seam. Next, look at the ribbing along the edge and make sure the rows line up. Then weave in all the loose ends with a tapestry needle.
You can also add optional ribbing around the neckline and front edges. Otherwise, the basic design stays open, with no buttons or zippers.
How to Assemble the Crochet Cardigan Pattern
Seaming is where five loose rectangles finally become a cardigan. Take it slowly, and keep your tapestry needle handy.
Check the Sides and Join the Shoulders
- Check the sides. Before you sew, every piece should have the right side facing out, with the “heart” stitches pointing upward.
- Shoulder seams. Lay the back panel flat and place the two front panels on top, lining up the outer edges. Then seam the shoulders with a tapestry needle. Leave a 3-row offset gap at the center front neckline for a better neck shape.
Add the Sleeves and Close the Seams
- Sleeves. Fold each sleeve rectangle in half lengthwise. Next, sew its top edge into the open armhole space, which is about 15 cm wide.
- Underarm and side seams. Sew down the sleeve underarms. After that, close the side seams of the body from the bottom hem up to the armpits.
Tidy Up the Edges
- Weave in all ends with the tapestry needle.
- Optional edging. If you like, add ribbing around the neckline and front edges. The basic design leaves the front open, with no buttons or zippers, but optional bands or ties can be added.
Helpful Tips for Your Ribbed Crochet Cardigan Pattern
- Measure before you seam. Compare each panel’s length and width with your own measurements first. After all, it is much easier to fix a rectangle than a finished cardigan.
- Match your fronts. Also, both front panels must have the same row count, 20 rows each.
- Match your sleeves. Also, they should be the same length and line up with each other.
- Watch the last stitch. Dropping the final stitch of a row causes an accidental decrease. To catch it early, put a stitch marker in the first and last stitches.
- Relax your slip stitches. Uneven tension in the ribbing is the most common slip-up, so keep your hold loose and steady.
- Block if needed. If your yarn fiber calls for it, block the pieces gently.
Bonus: Quick Checklist Before You Start Sewing
Before you pick up the tapestry needle, run through this short list. It only takes a minute, so it can save you from unpicking seams later.
- All five pieces are finished: one back, two fronts, and two sleeves.
- The hearts point upward on the right side of every panel.
- Both fronts have 20 rows, and both sleeves match in size.
- Each panel is close to the measurements you planned.
- Your tapestry needle and stitch markers are within reach.
Easy Ways to Style Your Cropped Cardigan
Because a chunky, open-front cardigan with a cropped hem asks very little from the rest of your outfit, it is easy to wear. For example, here are a few simple ideas:
- Over a plain top. A basic tee or fitted tank lets the ribbed texture stand out.
- With high-waisted bottoms. Since the hem is cropped, high-waisted jeans, trousers, or a skirt keep the proportions neat.
- Over a longer shirt. Let a shirt hem peek out below the cardigan for an easy layered look.
- Keep the colors calm. A deep wine or maroon piece pairs nicely with cream, denim blue, black, or soft gray.
- Wear it open. This design has no buttons or zippers, so draping it open is exactly how it was made to be worn.
FAQs About This Crochet Cardigan Pattern
Is this crochet cardigan pattern good for beginners?
Yes. It is beginner-friendly, and since every panel is a plain rectangle, it is a great way to practice tension.
What hook and yarn should I use?
Use a 9 mm hook with Super Bulky weight yarn (US CYC #6). In total, you will need about 400 grams.
How do I make the cardigan longer?
Add foundation chains, because the chain count sets the garment length. Removing chains makes it shorter.
How do I make it wider?
Work more rows. The row count sets the width, so fewer rows make it narrower. Either way, keep the ribbing at 10 stitches.
Why is everything worked in the back loop only?
It creates the ribbed, knitted look that defines this cardigan.
How can I tell the right side from the wrong side?
Look for the “heart” shapes in the stitches. On the right side, the hearts point upward.
Ready to Start Your Own Cardigan?
Honestly, this one is easy to like. It is only rectangles, so you can stitch most of it without thinking too hard. Sewing it up takes a bit of patience, but that part goes quickly too. So make the swatch, keep your tension relaxed, and check your pieces before you sew. After that, you will have a cardigan you actually want to wear, and maybe a second one in another color.