
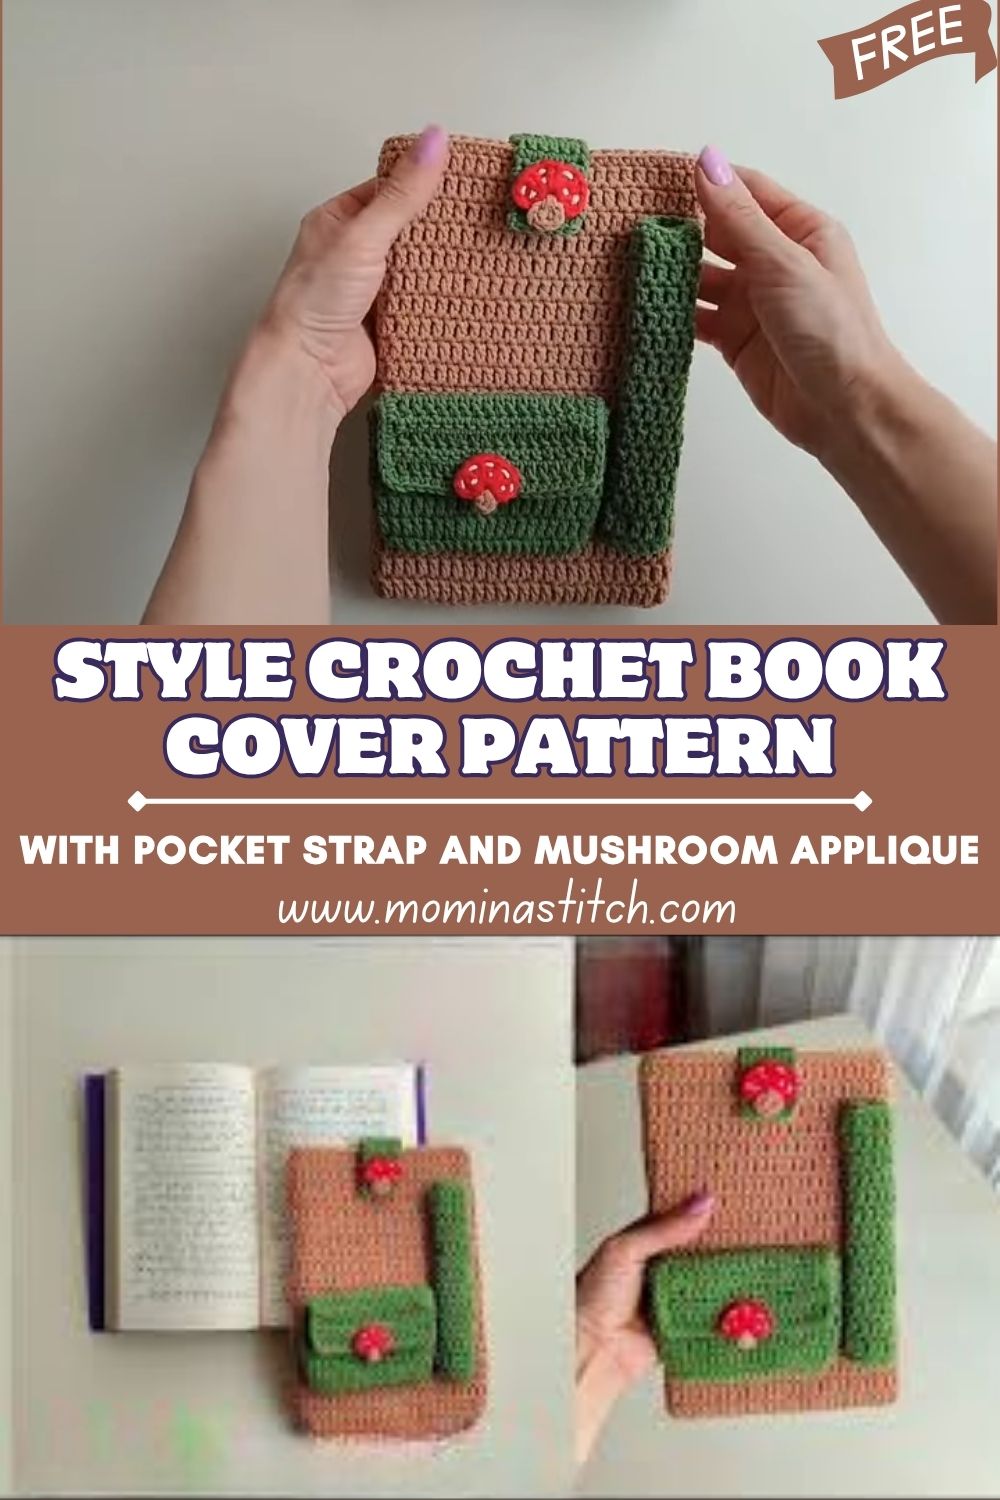
Style Crochet Book Cover Pattern With Pocket Strap and Mushroom Applique
THIS Crochet Book Cover turns an everyday book into something softer, safer, and more personal. Because yarn creates a gentle cushion, this cover also works as a crochet book protector for commuting, travel bags, and bedtime reading.
Plus, this cozy design serves as both a crochet book sleeve and a small crochet book pouch. So, a front pocket, a side-strap closure, and a cute mushroom detail come together to create a practical crochet reading accessory that still feels playful.
To begin with, crochet book covers are both pretty and useful. For example, the fabric helps prevent bent corners, scratched covers, and general wear. As a result, a favorite paperback stays neat longer, even when it travels everywhere. In addition, a cover can add a little privacy for reading in public, which many book lovers enjoy.
This version includes extras that make daily use easier. Specifically, inner pockets grip the book covers, a front flap adds cozy coverage, and a small outer pocket stores notes or tabs. Meanwhile, a strap closure helps keep everything closed inside a bag. Finally, the mushroom applique adds a sweet storybook look, and therefore the whole piece feels gift-worthy. Overall, the stitches stay simple, so it suits a beginner crochet cover and feels like an easy crochet book cover pattern worth repeating.
Materials Needed
First, gather supplies to keep the project running smoothly from start to finish.
- Yarn: Medium-weight (#4) cotton or cotton blend (recommended for strength)
- Beige or oatmeal (main cover): 80 to 110 g (about 140 to 190 m)
- Green (strap or trim): 10 to 20 g (about 18 to 35 m)
- Red (mushroom cap): 5 to 10 g
- White (mushroom dots): 2 to 5 g
- Cream or beige (mushroom stem): 2 to 5 g
- Hook: 3.5 mm (tight fabric for protection)
Alternatively, use 3.0 to 4.0 mm, depending on tension - Notions: Tapestry needle, scissors, stitch marker, measuring tape
- Optional closure: 1 button (15 to 20 mm) or a small magnetic snap set
Abbreviations (US Terms)
Next, keep these handy while crocheting:
- MR: magic ring
- sc: single crochet
- hdc: half double crochet
- dc: double crochet
- sl st: slip stitch
- ch: chain
- st: stitch
Skill Level
Overall, this is Beginner / Easy.
Because the cover is mostly straight rows, it is simple to manage.
Also, shaping happens through folding and sewing rather than complex increases.
Approximate Size
Typically, this fits a standard paperback about 14.5 cm (5.7 in) wide and 21.5 cm (8.5 in) tall.
However, the size is fully adjustable by changing the starting chain and total rows.
Time Required
In total, expect 3 to 5 hours.
- Main body panel: 1.5 to 2.5 hours
- Folding and seaming pockets: 30 to 45 minutes
- Front flap: 30 to 45 minutes
- Front pocket: 30 to 45 minutes
- Strap: 20 to 30 minutes
- Mushroom applique: 20 to 35 minutes
- Assembly and finishing: 30 to 45 minutes
Important Notes Before Starting (5 points)
Before anything else, set up for success:
- First, measure the book height, width, and spine thickness accurately.
- Next, keep tension even so the fabric stays smooth.
- Then, adjust rows for custom sizing rather than forcing a standard count.
- After that, check edges often so the panel stays straight.
- Finally, sew appliques and straps firmly since the cover gets handled a lot.
Step-by-Step Pattern
Part 1: Main Body Panel
First, crochet the main rectangle that wraps around the entire book.
Sizing guide:
- To start, make the foundation chain match the book height (top to bottom).
- Crochet rows until the panel wraps around the book, leaving extra fabric for pockets.
Easy measuring rule:
- Generally, aim for 4-5 cm extra on each short end for the inner pockets.
- Therefore, the panel width needs to cover the back, spine, front, and pocket allowance.
Sample starting point for a 21.5 cm tall book:
- First, try ch 30, then measure and adjust as needed.
Row 1 (dc oval start, sturdy edge):
- Next, dc in 4th ch from hook
- Then, dc across to the last chain
- After that, work 4 dc in the last ch to curve the corner
- Next, continue along the underside of the chain, dc in each chain across
- Then, work 4 dc in the last chain at the other end
- Finally, join with sl st to the top of the beginning ch-3
Rows 2 onward:
- Then, ch 3, turn
- Next, dc in each st across
- After that, join with sl st (optional) for a neat seam look
Continue until the panel wraps the book comfortably.
Optional firm edge:
- Afterward, add 1 round of sc around the outer border.
- As a result, the cover feels more protective and holds shape better.
Fasten off and weave in the end.
Part 2: Folding Sections (Inner Pockets)
Next, form the inside pockets.
- First, lay the panel wrong-side up.
- Then, fold the left short end inward 4 to 5 cm.
- After that, fold the right short end inward the same amount.
- Meanwhile, use stitch markers to hold folds neatly in place.
Part 3: Front Flap
Then, create the flap extension that folds over the front.
- First, reattach the yarn at the top edge of the front section.
- Next, ch 1 and sc across (or hdc for thickness).
- Then, turn and repeat for 8 to 14 rows.
- After that, test the flap length by folding it over the front.
Fasten off.
Part 4: Pocket Section (Front Pocket Panel)
After that, crochet the outer pocket rectangle.
Pocket size:
- Typically, the width is about two-thirds of the book front.
- Then the height is about 7-10 cm.
Pocket panel steps:
- First, ch to the desired width (for example, ch 18-22).
- Next, Row 1: sc in 2nd ch and across.
- Then, Row 2+: ch 1, turn, sc across until desired height.
Edging:
- Afterward, sc evenly around the pocket, adding 3 sc in corners.
- As a result, the pocket edges look tidy and resist curling.
Attach pocket:
- Next, pin the pocket to the front of the cover.
- Then, sew down three sides, leaving the top open.
- Finally, check that the pocket opening stays flat.
Part 5: Strap / Closure Band
Next, crochet the strap that wraps around the cover.
- First, ch 45 -5, then test around the closed cover.
- Next, Row 1: sc in 2nd ch and across.
- Then, Row 2: ch 1, turn, sc across.
Attach:
- After that, sew one end of the strap to the back edge with tight stitches.
- Finally, test the closure and adjust the length as needed.
Optional closures:
- Alternatively, sew on a button and crochet a small loop.
- Or, use a magnetic snap and reinforce the area with extra stitches.
Part 6: Mushroom Applique
Then, add the mushroom detail using red, white, and beige.
Cap (red):
- First, MR, 6 sc (6)
- Next, inc around (12)
- Then, (sc, inc) around (18)
- After that, (2 sc, inc) around (24)
- Finally, sc around (24), fasten off, leaving a tail
Stem (beige/cream):
- Next, ch 6
- Then, sc across (5)
- After that, ch 1, turn, sc for 3 to 4 rows
- Finally, fasten off, leaving a tail
White dots:
- Option 1: Embroider small dots, so the cap stays smooth.
- Option 2: make tiny circles, then sew them on.
Attach applique:
- Next, sew the stem to the cap.
- Then, sew the mushroom onto the flap or pocket corner.
- Finally, secure with small, tight stitches so it will not snag.
Part 7: Assembly
After that, turn the folds into finished pockets.
- First, slide stitch markers to the exact fold edges.
- Next, sew the pocket seams so the openings face inward.
- Then insert the book covers into the inner pockets to test-fit.
- Afterward, stitch the strap more firmly if needed.
Part 8: Finishing Touches
Finally, polish the entire cover.
- First, weave in every end securely.
- Next, smooth and shape the cover with your hands.
- Then, insert the book and check alignment.
- After that, add a final sc edging around the flap for a crisp finish.
- In the end, adjust the strap tension so it closes neatly.
Beginner Tips
- First, measure twice before crocheting the foundation chain.
- Next, use a smaller hook for tighter fabric to protect better.
- Then, count stitches at the end of each row to keep edges straight.
- After that, block lightly or steam-shape the flap so it lies flat.
- Finally, sew the pocket corners extra securely because they get tugged the most.
Common Mistakes to Avoid
- First, avoid making the panel too short, because it can peek past the book’s edge.
- Next, avoid a too-wide panel, since loose covers slide off.
- Then, avoid skipping stitches on row ends, which causes slanted sides.
- After that, avoid weak seams on inner pockets, because the book cover pulls there.
- Finally, avoid loose applique stitching, since it can catch on bags or clothing.
Color Combination Ideas
- For a classic look, use beige with green and a red mushroom.
- For a softer style, use cream, sage, and dusty rose.
- For a bright pop, use navy with a white pocket and red accents.
- For woodland vibes, use olive, tan, and warm rust.
- For playful pastel, use lilac, mint, and pink with white details.
Uses of This Crochet Book Cover
- First, it protects covers from bending and scratching.
- Next, it adds privacy while reading outside the home.
- Then, the pocket holds tabs, notes, or a library card.
- After that, the strap keeps the book closed in a bag.
- Finally, it makes a thoughtful, handmade gift for readers and students.
Conclusion
That Crochet Book Cover is a cozy, useful project with inner pockets for a secure fit, a front pocket for small extras, a strap closure for travel, and a mushroom applique for charm. As a result, a favorite book stays protected while still looking adorable. In the end, changing colors, pocket size, or strap style makes every version feel personal, so customizing it is just as fun as crocheting it.


