Free Crochet Owl Glasses Holder Patterns for Handy Desk Storage
Glasses always seem to vanish right when you need them most. That’s exactly why this Crochet Owl Glasses Holder is more than just a practical way to keep your specs safe; it doubles as a charming little decoration for your desk or nightstand.
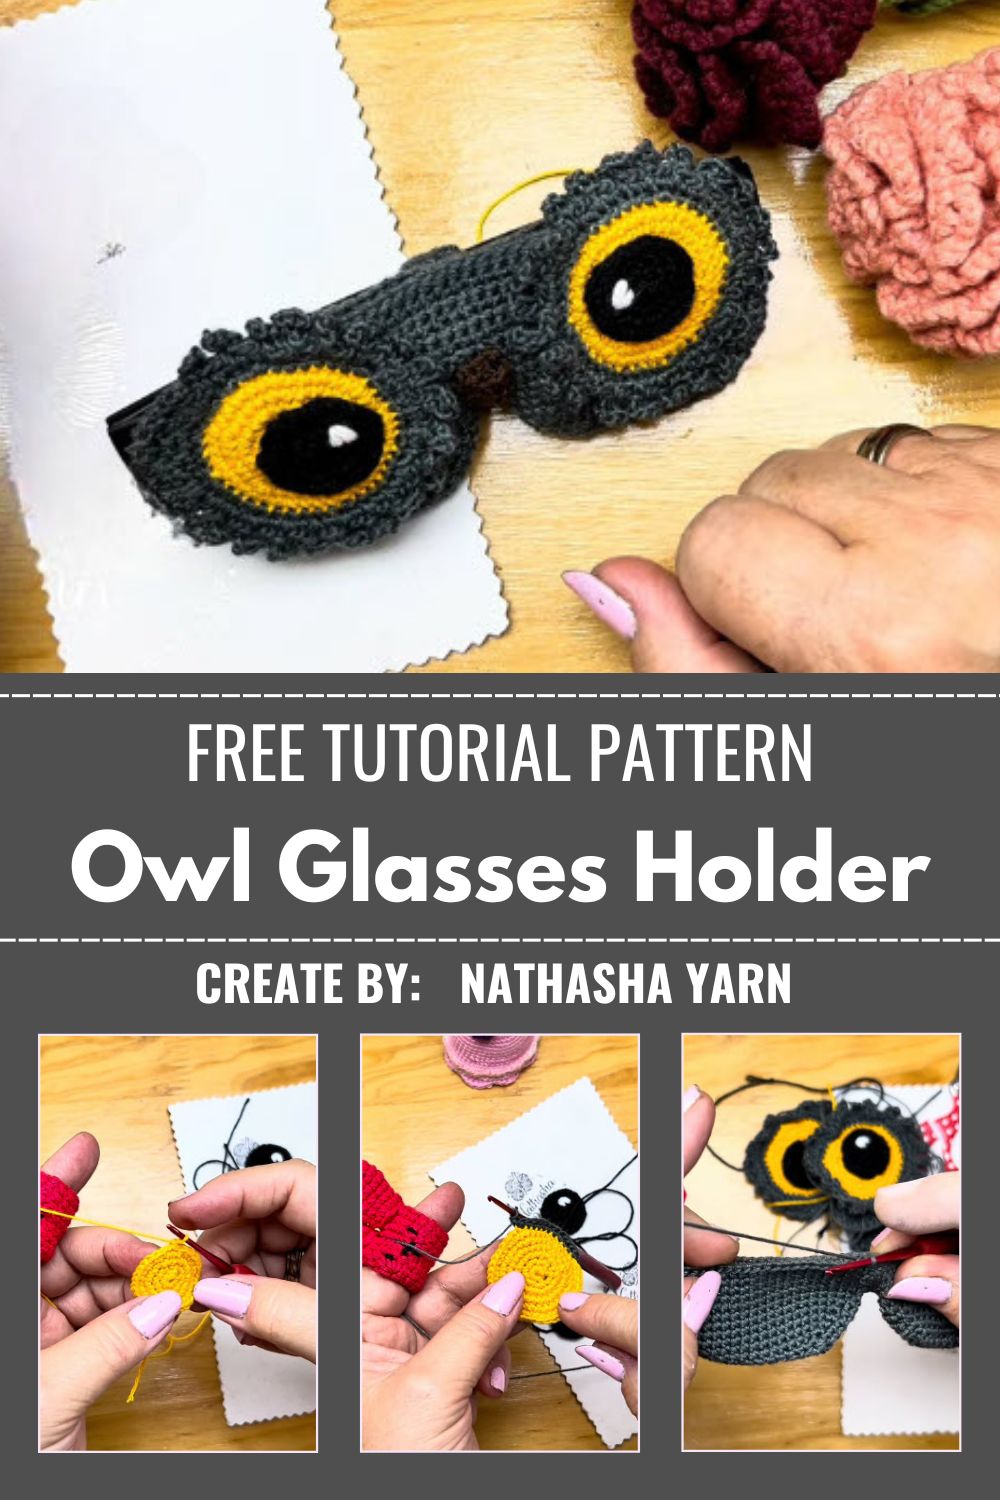
This free crochet owl glasses holder is equal parts cute decor and genuinely useful storage. The wide-eyed owl cradles your reading glasses, sunglasses, or phone, keeping your desk tidy and your day a little brighter. Best of all, a full video tutorial walks you through every single step below.
Pattern Overview
Here’s the gist of what you’ll be making:
- A small owl-shaped pouch that stands on your desk and holds your glasses upright and within reach.
- Worked mostly in the round from the base up, then shaped into a rounded owl body with a resting spot at the front for your eyewear.
- The owl’s signature look comes from its big round eyes, a little beak, and a pair of pointy ear tufts.
- A sturdy, lightly weighted base keeps the whole thing steady, even when your glasses lean against it.
- The complete stitch-by-stitch process is demonstrated in the video tutorial linked further down.
Skill Level
Comfortable with single crochet, increases, and working in the round? You’re ready. This holder sits at a beginner level, with the video making every shaping step easy to follow.
What You’ll Need
These are the typical supplies for a project like this. The video creator may suggest exact amounts, so use this as your shopping starting point:
- Worsted weight or aran yarn in your main owl color, plus a contrast color or two for the eyes, beak, and tufts
- A crochet hook to match your yarn, usually somewhere around 4mm to 5mm
- Safety eyes, or felt and embroidery thread if you prefer a softer face
- Polyester stuffing for the base and any raised features
- Stitch marker
- Yarn needle
- Scissors
- Optional: a small weighted insert or a bit of cardboard to keep the base stable
Abbreviations (US Terms)
- st(s) – stitch(es)
- sc – single crochet
- inc – increase
- dec – decrease
- sl st – slip stitch
- mc – magic circle
- BLO – back loop only
- FLO – front loop only
- rnd – round
- FO – fasten off
Techniques That Bring the Owl to Life
A few core skills do most of the heavy lifting in this make:
- Working in continuous rounds builds a smooth, seamless body without visible seams.
- Increases and decreases shape the rounded owl form and pull the top in toward the ears.
- Color changes add the contrasting eyes, beak, and tufts that give the owl its character.
- Appliqué or surface stitching is used to attach or embroider the face features cleanly.
- Shaping the front opening creates the little pocket where your glasses actually rest.
- Weighting the base is an optional but smart touch that stops the owl from tipping forward.
How the Owl Comes Together
While the video covers each round in detail, here’s a big picture look so you know what to expect:
- You’ll start at the base with a magic circle and increase outward to form a flat, stable bottom.
- From there, the sides build up in the round to create the body and the curved front that holds your glasses.
- The top narrows slightly and shapes into the owl’s head, with ear tufts added at the corners.
- The eyes and beak go on last, transforming a plain pouch into an unmistakable little owl.
Assembly
Once your pieces and details are ready, putting it all together is straightforward:
- Make sure the base is firm and flat so the holder sits level on a desk.
- Add any weighting material to the base before closing it, if you’re using some.
- Position the eyes evenly on the front, stepping back to check they look balanced before securing them.
- Attach the beak just below and between the eyes.
- Sew the ear tufts to the top corners of the head so they point outward.
- Weave in all your ends neatly so nothing comes loose with daily use.
Common Mistakes to Sidestep
A few small slip-ups can throw off the finished look, so keep these in mind:
- A floppy base. If the bottom won’t hold its shape, your tension is too loose or the base needs a weight or stiffener.
- Un,even eyes. Pin or hold the face features in place and check them from a distance before sewing.
- An opening that’s too tight or too wide. Test fit your actual glasses as you shape the front so they sit securely.
- Losing count in the round. Use a stitch marker on the first stitch of each round to stay on track.
- Skipping the video’s shaping cues. The owl’s charm lives in its proportions, so follow the tutorial’s increase and decrease points closely.
- Overstuffing the body. Too much filling distorts the shape and shrinks the glasses’ pocket.
Good to Know Before You Start
A handful of helpful remarks to smooth out the process:
- Match your hook to your yarn weight for a firm fabric, since a loose fabric won’t support the glasses well.
- A heavier base, whether from dense stitches or an added weight, makes the holder far more practical.
- Safety eyes give a polished, glossy look, but felt or embroidered eyes are safer if kids are around.
- This style adapts beautifully, so feel free to make a whole owl family in different sizes and colors.
- Most patterns like this use US crochet terms, so double check if you usually work in UK terms. Double-check with your real glasses early on, not just at the very end.
Yarn and Color Ideas
The owl is a blank canvas, so have fun with the palette:
- Classic browns and creams for a realistic, woodland owl look.
- Soft greys with golden yellow eyes for a snowy, wise owl feel.
- Bright teal, coral, or lavender for a fun, modern desk accent.
- Pastels for a gentle nursery or bedside table version.
- Variegated yarn for feathers that shift color with zero extra effort.
Ways to Use Your Owl Holder
This little owl is more versatile than it first appears:
- Park your reading glasses or sunglasses in it right on your desk.
- Use it on a nightstand so your glasses are easy to find each morning.
- Let it hold your phone upright while it charges or plays a video.
- Tuck pens, scissors, or small craft tools inside as a quirky desk organizer.
- Gift one to a glasses wearing friend who couGivese a littlglasses-wearingd a lot more cute.
Beginner Tips for a Sturdy Finish
A few simple habits make the difference between a Crochet Owl Glasses Holder that flops and one that stands proud:
- Work your stitches a touch tighter than usual so the fabric is firm enough to support glasses.
- Build the base wider than you think you need, since a broad bottom resists tipping.
- Add the weight to the base while you can still reach inside, not after it’s sewn shut.
- Keep the front opening just snug enough to grip your glasses without scratching the lenses.
- Step back and look at the owl from across the room now and then, since proportions read differently up close.
Wrapping Things Up
A Crochet Owl Glasses Holder is one of those rare makes that’s adorable and actually useful every single day. Follow the video tutorial above for the full step-by-step, pick a color palette you love,ste and have a charming little desk companion in no time. Make one for yourself, then a few more as gifts.