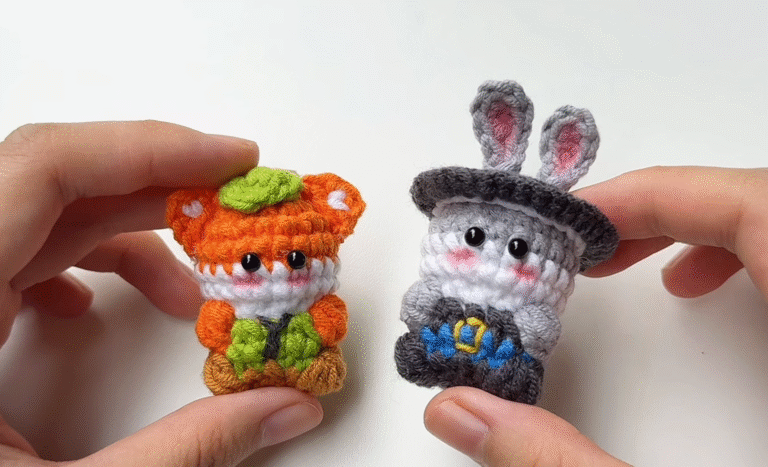
Crochet Beginner Mouse Amigurumi With Plush Gray And Yellow coloures
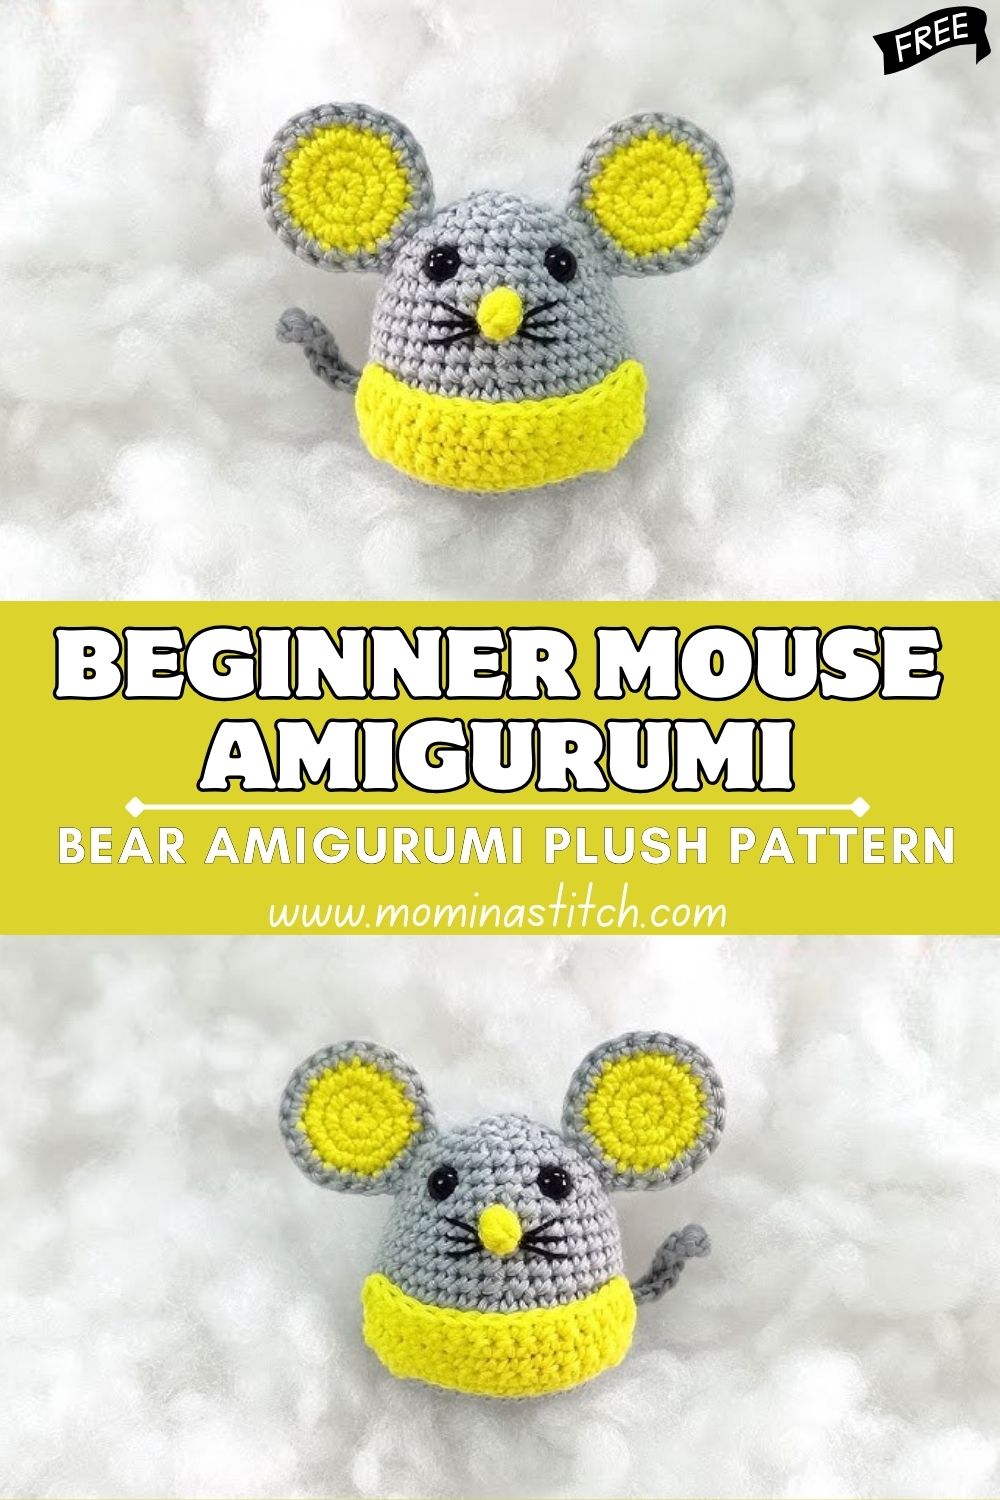
This amigurumi mouse crochet pattern is a quick, cute project with simple shaping, perfect for beginners learning to crochet. With an oft grey body, bright yellow details, and an adorable, minimalist face, it’s a great crochet plush toy for practising rounds, increases, and decreases.
If you’ve been looking for an amigurumi mouse crochet pattern that feels clean, modern, and not overwhelming, this one is for you. The shapes are simple (mostly spheres and small circles), the features are easy to place, and the bright yellow inner ears, nose, and collar make this crochet mouse plush look extra cheerful without adding complexity.
This little mouse works beautifully as a handmade gift, sweet nursery decor, or a cute desk buddy to keep near your monitor. You can also make it as a small shop item for a handmade crochet collection, or as a gentle kids toy (with embroidered eyes if making it for very young children). It’s a satisfying project that looks polished, even for beginners.
Materials Needed
- Yarn (worsted / aran #4 recommended)
- Grey (main body)
- Yellow (inner ears, nose, collar/base trim)
- Crochet hook: 3.0–3.5 mm (use a smaller hook than your yarn label suggests for tight stitches)
- Safety eyes: 6–8 mm black (or embroider if preferred)
- Stuffing: polyester fiberfill
- Yarn needle (tapestry needle)
- Stitch marker (or scrap yarn)
- Scissors
- Black embroidery thread or thin black yarn (for whiskers)
- Optional: pink blush/chalk pastels for cheeks, fabric glue (tiny dab only), embroidery floss for small details
Crochet Abbreviations
- MR = magic ring
- sc = single crochet
- inc = increase (2 sc in the same stitch)
- dec = decrease (invisible decrease recommended)
- sl st = slip stitch
- ch = chain
- hdc = half double crochet
- dc = double crochet
- BLO = back loop only
- FLO = front loop only
- rep = repeat
- st = stitch
- rnd = round
Skill Level
Beginner (confident beginner).
You’ll use basic amigurumi skills: working in continuous rounds, single crochet, increases, decreases, and simple sewing. The parts are small and repeat-friendly, making it a great first plush-style project.
Important Notes Before Starting
- Work in continuous rounds (do not join unless pattern says).
- Use a stitch marker to mark the first stitch of each round.
- Keep stitches tight and even to prevent stuffing from showing.
- Stuff gradually as you crochet, especially before closing.
- Place eyes and facial features symmetrically (count stitches!).
- Shape ears evenly by matching stitch counts and placement on both sides.
- Tail length is flexible, make it shorter or longer to taste.
Crochet Pattern (Step-by-Step)
Finished Size (approx.)
About 4–5 in (10–13 cm) tall with worsted yarn and a 3.25 mm hook, depending on tension.
A) Head/Body (Grey)
One piece from top down.
Rnd 1: MR, 6 sc (6)
Rnd 2: inc x6 (12)
Rnd 3: (sc, inc) rep x6 (18)
Rnd 4: (2 sc, inc) rep x6 (24)
Rnd 5: (3 sc, inc) rep x6 (30)
Rnd 6: (4 sc, inc) rep x6 (36)
Rnd 7–11: sc around (36) for 5 rounds
Place eyes: Insert safety eyes between Rnd 9 and Rnd 10, about 7–8 stitches apart (adjust for your preferred look).
Rnd 12: (4 sc, dec) rep x6 (30)
Rnd 13: (3 sc, dec) rep x6 (24)
Rnd 14: (2 sc, dec) rep x6 (18)
Begin stuffing firmly, shaping into a soft oval.
Rnd 15: (2 sc, inc) rep x6 (24)
Rnd 16: (3 sc, inc) rep x6 (30)
Rnd 17–20: sc around (30) for 4 rounds
Rnd 21: (3 sc, dec) rep x6 (24)
Rnd 22: (2 sc, dec) rep x6 (18)
Stuff more, especially the bottom, so it sits nicely.
Rnd 23: (sc, dec) rep x6 (12)
Rnd 24: dec x6 (6)
Fasten off, close the opening, and weave in the nd.
B) Outer Ears (Grey) — Make 2
Rnd 1: MR, 6 sc (6)
Rnd 2: inc x6 (12)
Rnd 3: (sc, inc) rep x6 (18)
Rnd 4: sc around (18)
Fasten off, leave a long tail for sewing. Do not stuff.
C) Inner Ears (Yellow) — Make 2
Rnd 1: MR, 6 sc (6)
Rnd 2: (sc, inc) rep x3 (9)
Rnd 3: sc around (9)
Fasten off, leave a small tail for sewing.
Tip: If you want perfectly flat circles, you can end with a sl st and then fasten off.
D) Nose (Yellow)
Small, slightly rounded “button” nose.
Rnd 1: MR, 4 sc (4)
Rnd 2: inc x4 (8)
Rnd 3: sc around (8)
Fasten off, leave a tail for sewing. Lightly stuff (optional) for a tiny 3D bump.
E) Tail (Grey)
A simple curled chain tail.
Option 1 (easiest curl):
- Ch 18–25 (longer chain = longer tail)
- Starting in the 2nd ch from the hook: sc in each ch to the end.
This naturally curls. Fasten off, leave a tail for sewing.
Option 2 (slightly tighter curl):
- Ch 20
- Starting in the 2nd ch from the hook: 2 sc in each ch across
Fasten off, leave a tail for sewing.
F) Yellow Collar/Base Trim (Yellow)
This creates a bright band around the lower body. You’ll crochet it directly onto the body for a neat finish.
Locate the “waist” area: Use the stitch line around Rnd 17 or Rnd 18 (the straight body section) to create a clean collar/base trim.
With yellow yarn, insert the hook into any stitch on that round and pull up a loop.
Rnd 1 (joined round): ch 1, sc in same st and in each st around, sl st to first sc (30)
Rnd 2: ch 1, sc around, sl st to first sc (30)
Fasten off, weave in ends neatly on the inside.
Optional flair: Work Rnd 2 in BLO for a subtle ridge.
Assembly Instructions
- Sew inner ears onto outer ears:
- Centre a yellow inner ear on each grey outer ear.
- Sew around the edge with small, even stitches.
- Attach ears to the head:
- Place ears on the upper sides of the head, roughly around Rnd 6–8.
- Position them evenly from the front view (mirror placement).
- Sew firmly along the bottom curve of each ear.
- Attach nose:
- Sew the yellow nose centred below the eyes, around the Rnd 11–12 area.
- Keep it small and neat for that miniature style.
- Embroider whiskers (black thread):
- On each side of the nose, stitch 2–3 short lines outward.
- Keep them short and symmetrical for a clean, modern look.
- Knot securely inside the head.
- Attach tail:
- Sew the tail to the back of the body near the lower half, around Rnd 20–22.
- Angle it slightly so the curl is visible from the side.
- Add/confirm the yellow collar/base trim:
- If you crocheted it on (recommended), just weave in ends.
- If you prefer sewing a band instead, crochet a strip (ch to fit circumference, rows of sc), then sew around evenly.
Finishing Touches
- Gently shape the head and body with your hands to smooth any lumps.
- Adjust ear angles so they look even and balanced from the front.
- Trim or redo whiskers if they look too long—short whiskers suit the minimal style.
- Add a bit more stuffing at the base if needed, so the mouse sits upright.
- Close and weave in all ends neatly, hiding tails inside the plush.
Customization Ideas
- Swap the grey for white, cream, brown, or pastel for different mouse “breeds.”
- Make it bigger or smaller by using chunkier yarn (bigger) or DK/cotton (smaller).
- Add a tiny bow, scarf, or a mini felt- or crocheted cheese wedge accessory.
- Turn it into a keychain by making a smaller version and adding a keyring loop at the top.
- Change inner ear and collar colours—try pink, mint, or even rainbow stripes.
Common Mistakes to Avoid
- Loose stitches: stuffing will show—use a smaller hook and tighter tension.
- Uneven stuffing: add small amounts gradually and distribute them with your fingers.
- Crooked ears: pin ears first (or use stitch markers) before sewing.
- Misplaced eyes: count stitches carefully; check the front view before securing backs.
- Whiskers too long/uneven: keep them short, and measure both sides.
- Tail placement issues: attach after stuffing so you can judge balance and position.
Care Instructions
- Spot clean with mild soap and cool water when possible.
- If washing, place in a mesh bag and use a gentle cycle, then air dry.
- Avoid high heat (dryer or hot water), which can distort stitches and felt details.
- For items made for babies, consider embroidered eyes instead of safety eyes.
Conclusion for ( Beginner Mouse Amigurumi )
This sweet little amigurumi mouse crochet pattern is proof that simple shapes can still look incredibly charming, especially with bright yellow details and a clean, minimal face. If you make one, try a colourful combo or add a tiny accessory to make it your own. Happy crocheting, and enjoy creating your new pocket-sized mouse friend.