Easy-to-follow Crochet Mini Panda Bear with Heart Amigurumi Pattern
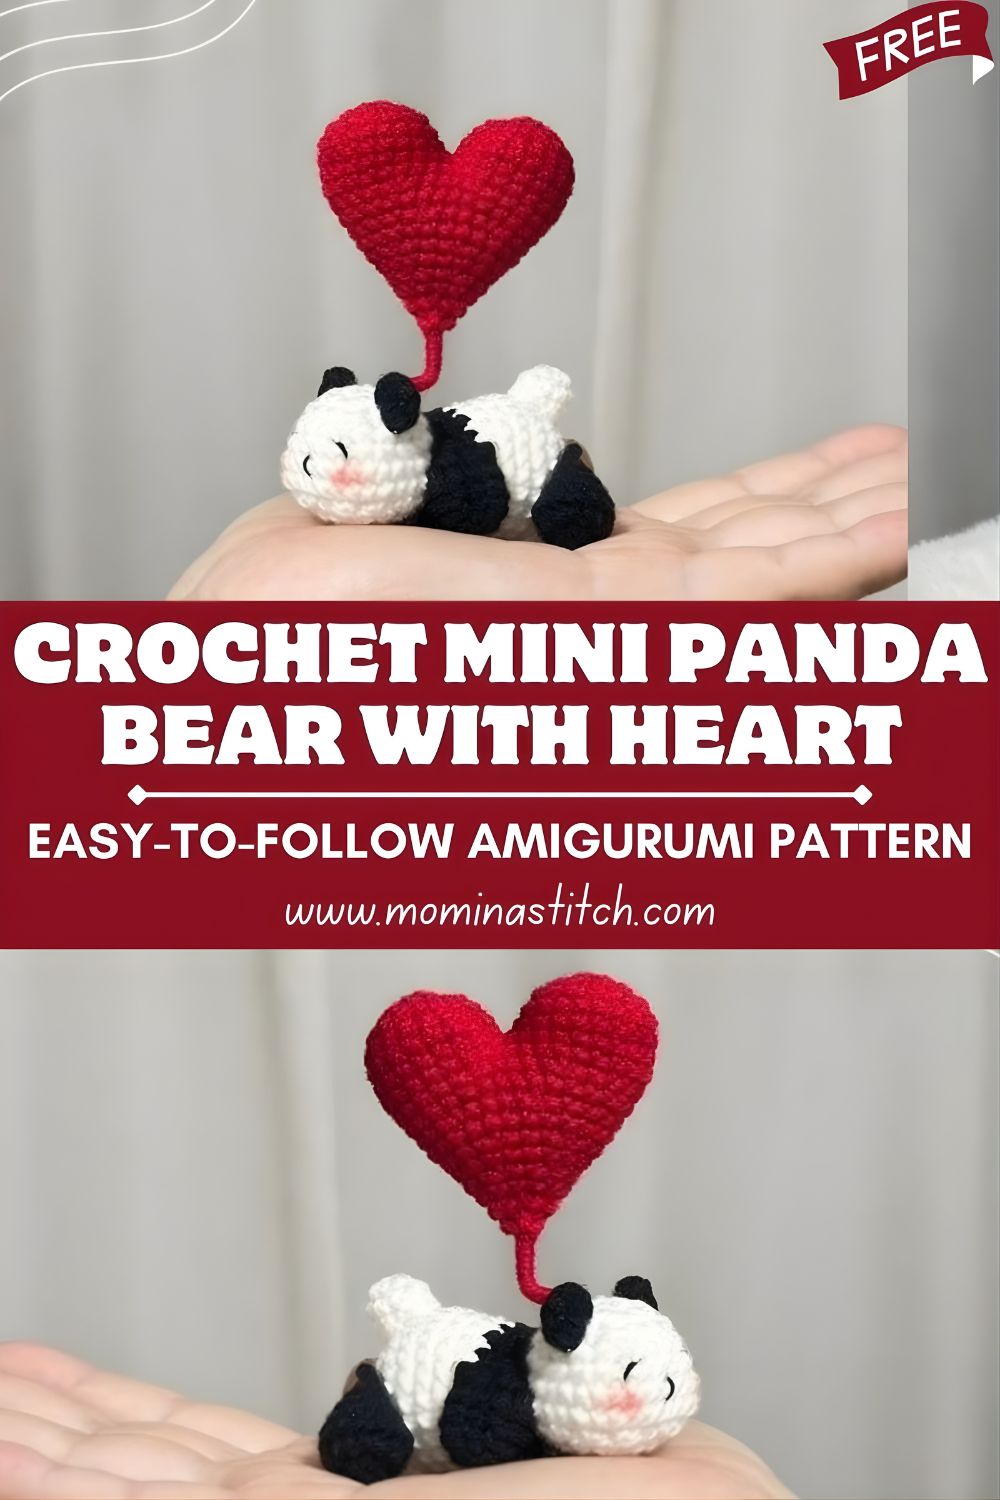
This Crochet Mini Panda Bear with Heart Amigurumi is one of those tiny projects that instantly makes people smile. With its sweet little face and a puffy heart “balloon,” it’s the perfect crochet Valentine gift, desk buddy, or cute handmade keepsake. The pattern uses simple shaping, minimal sewing, and beginner-friendly pieces. If you love making cute crochet animals, you’re going to adore this mini panda.
If you’re new to plush crochet, this Crochet Mini Panda Bear with Heart Amigurumi is a wonderful place to start. Amigurumi is the Japanese-inspired style of crocheting small stuffed toys using mostly single crochet stitches worked in the round. By increasing and decreasing stitches, you shape spheres, ovals, and tiny body parts that get stitched together into adorable characters.
Pandas are especially popular in amigurumi because their shapes are simple (round head, small body), and the black-and-white color blocking creates an expressive face with minimal details. This design becomes extra charming with the addition of a small heart—ideal for Valentine’s Day, anniversaries, party favors, or as a thoughtful handmade gift. In this tutorial-style pattern, you’ll create the panda’s head and body, ears, arms, legs, and a heart balloon with a little string, then assemble everything neatly for a polished finish.
Materials Needed
Here’s what you’ll need to crochet your mini panda and heart:
- Yarn (worsted/DK or similar):
- White: main panda head and body
- Black: ears, eye patches, arms/legs accents (or full limbs if you prefer)
- Red (or pink): heart balloon
- Crochet hook: 2.5 mm–3.5 mm
Use a smaller hook than your yarn label suggests to keep stitches tight (great for amigurumi). - Polyester fiberfill stuffing: for shaping the head, body, and heart
- Safety eyes (6–10 mm) or black embroidery thread for baby-safe stitched eyes
- Yarn needle (tapestry needle): for sewing parts and weaving ends
- Stitch marker (or scrap yarn): to mark the start of rounds
- Scissors
Optional (but helpful): pins for positioning pieces, pink blush yarn, or pastel for cheeks.
Abbreviations Used
- MR – Magic Ring
- sc – single crochet
- inc – increase (2 sc in one stitch)
- dec – decrease (single crochet 2 together)
- sl st – slip stitch
- ch – chain
- st – stitch
Pattern note: This amigurumi is worked in continuous rounds (no joining) unless stated.
Finished Size
Finished size depends on yarn and hook, but most mini pandas made with DK/worsted yarn and a 2.75–3.25 mm hook come out around:
- Panda: approx. 8–12 cm (3–5 in) tall
- Heart balloon: approx. 4–6 cm (1.5–2.5 in) tall
Tip: If you want a keychain-size panda, use thinner yarn (sport/fingering) and a smaller hook.
Crochet Mini Panda Pattern (Step-by-Step)
General Notes Before You Start
- Mark the first stitch of each round.
- Stuff firmly but gently—avoid overstuffing (it can stretch stitches).
- Numbers in parentheses are stitch counts.
Head (white yarn)
Round 1: 6 sc in MR (6)
Round 2: inc around (12)
Round 3: (1 sc, inc) repeat around (18)
Round 4: (2 sc, inc) repeat around (24)
Round 5: (3 sc, inc) repeat around (30)
Round 6–9: sc around (30)
Place eyes and patches before closing (details below).
Round 10: (3 sc, dec) repeat around (24)
Round 11: (2 sc, dec) repeat around (18)
Start stuffing the head.
Round 12: (1 sc, dec) repeat around (12)
Round 13: dec around (6)
Fasten off, close the opening, and weave in ends.
Eye Patches (make 2, black yarn)
Round 1: 6 sc in MR (6)
Round 2: inc around (12)
Fasten off, leaving a tail for sewing.
Sew patches onto the head front. Place them slightly angled for a cute expression.
Eyes
- If using safety eyes, insert them through the black patches and secure with washers inside the head.
- If embroidering, stitch simple oval eyes with black thread after assembly.
Body (white yarn)
Round 1: 6 sc in MR (6)
Round 2: inc around (12)
Round 3: (1 sc, inc) repeat around (18)
Round 4: (2 sc, inc) repeat around (24)
Round 5–7: sc around (24)
Start stuffing.
Round 8: (2 sc, dec) repeat around (18)
Round 9: (1 sc, dec) repeat around (12)
Round 10: dec around (6)
Fasten off, close, and leave a tail if you want to sew the head to the body with that same strand.
Ears (make 2, black yarn)
Round 1: 6 sc in MR (6)
Round 2: (1 sc, inc) repeat around (9)
Round 3: sc around (9)
Fasten off, leaving a tail.
Flatten slightly and sew to the top sides of the head.
Arms (make 2)
You can do white arms with black tips or full black arms. Here’s a simple two-tone option.
Start with black yarn.
Round 1: 6 sc in MR (6)
Round 2: sc around (6)
Switch to white yarn.
Round 3–6: sc around (6)
Lightly stuff the bottom (optional), flatten the opening, and sew to the sides of the body.
Tip: Keep arms softer (less stuffing) so they can sit nicely around the heart string.
Legs (make 2)
Start with black yarn.
Round 1: 6 sc in MR (6)
Round 2: inc around (12)
Round 3: sc around (12)
Switch to white yarn (optional) for a short upper leg.
Round 4: sc around (12)
Fasten off,f leaving a tail. Lightly stuff, flatten, and sew to the lower body front.
If you want stubby legs, stop at Round 3 and sew.
Heart Balloon (red/pink yarn)
This heart is made of two small “bumps” joined together, then shaped into a heart.
Make 2 top bumps (same yarn, do not fasten off after the second)
Bump Round 1: 6 sc in MR (6)
Bump Round 2: inc around (12)
Bump Round 3: sc around (12)
Fasten off the first bump. Make the second bump and don’t fasten off.
Join bumps and form a heart
With the second bump still on your hook:
- sc into the first bump and crochet around to connect the two bumps into one piece.
Now continue as the heart body:
Next Round: sc around both bumps (24)
Next Round: (2 sc, dec) repeat around (18)
Stuff lightly—especially the top curves.
Next Round: (1 sc, dec) repeat around (12)
Next Round: Dec around (6)
Fasten off and close, leaving a small point at the bottom.
Heart String
You have two easy options:
Option 1: Chain string (quickest)
- With white or black yarn: ch 25–40 (adjust length).
- sl st back down the chain for a sturdier cord (optional).
Fasten off, leaving tails for attaching.
Option 2: Crochet i-cord style (neat look)
- sc in each chain (about 30–40 sc total), keeping it narrow.
Attach one end to the top of the heart and the other end to the panda’s paw/hand area or behind the head (depending on the pose you like).
Assembling the Panda (Step-by-Step)
Assembly is where the cuteness really comes together. Take your time.
- Sew the head to the body
- Center the head on top of the body.
- Stitch around using whip stitch or mattress stitch.
- Add a little extra stuffing through the neck gap if needed before fully closing.
- Attach ears
- Position ears on the upper head, slightly toward the sides (not directly on top).
- Sew firmly so they stand up.
- Attach eye patches + eye.s
- Sew black patches to the face first.
- Add safety eyes through the patches (or embroider eyes afterward).
- Optional: embroider a tiny mouth with black thread and add pink blush.
- Attach legs
- Sew legs to the bottom front of the body so the panda can sit.
- Make sure both legs are even so your panda doesn’t lean.
- Attach arms
- Sew arms to the sides of the body slightly below the head.
- Angle them forward so they look like they’re holding the string.
- Attach the heart balloon + string
- Stitch one end of the string to the top of the heart.
- Secure the other end in the panda’s hand area or near the shoulder/arm seam.
- You can also tack the heart lightly to the panda’s side so it doesn’t swing too much.
Crochet Heart Balloon Pattern (Separate Quick Version)
If you want a simpler mini heart (flat-ish puffy heart), try this:
Using red/pink yarn:
Round 1: 6 sc in MR (6)
Round 2: inc around (12)
Round 3: (1 sc, inc) repeat around (18)
Round 4: sc around (18)
Stuff lightly.
Round 5: (1 sc, dec) repeat around (12)
Round 6: dec around (6)
Fasten off and close. Pinch the top center and add a few stitches to create the heart dip.
Attach a chain string to the top.
Helpful Tips for Beginners
- Keep even tension: Amigurumi looks best when stitches are consistent. If your stitches vary, slow down and keep yarn tension steady.
- Use a stitch marker: Continuous rounds are easy to lose track of—mark Round 1 and move your marker each round.
- Invisible decreases help: If you know the invisible decrease method, use it for cleaner shaping.
- Stuff in stages: Add small amounts of stuffing, then shape with fingers. Overstuffing can cause gaps.
- Pin before sewing: Place ears, arms, and legs with pins first. This prevents “crooked-cute” surprises.
Variations and Customization Ideas
Make this mini panda your own with small changes:
- Different heart colors: pink, burgundy, pastel purple, or even rainbow yarn.
- Keychain version: add a keyring loop at the top of the head; use smaller yarn/hook for a sturdier mini.
- Gift topper: attach the panda to a Valentine’s present or bouquet wrap.
- Baby shower favors: make multiple pandas in soft pastel hearts (embroidered eyes recommended for baby items).
- Add accessories: tiny scarf, bow tie, or a mini name tag stitched onto the backpack/heart.
Conclusion
This Crochet Mini Panda Bear with Heart Amigurumi is a heart-melting project that’s quick, beginner-friendly, and perfect for gifting. Whether you’re making it as a crochet Valentine gift, a cute desk decoration, or a tiny handmade surprise for someone special, the simple shapes and sweet details make it an enjoyable crochet session. Try different yarn textures and heart colors, and don’t forget to take a photo—mini amigurumi like this always looks adorable in progress shots.