Crochet Eagle Mascot Keychain Amigurumi Pattern
Want to bring team spirit into your everyday style? The Crochet Eagle Mascot Keychain is a fantastic little project for exactly that. The easy pattern and simple amigurumi stitches make it quick to finish, and once complete, it becomes a unique handmade accessory for a school bag, gym bag, team lanyard, or sports events.
Game day accessories don’t need to be store-bought when you can crochet your own eagle mascot keychain from scratch. This mini amigurumi design captures a fierce, spirited look using simple stitches beginners already know. Ngl, keychains are some of the fastest amigurumi projects out there, perfect for tailgates or bag charms. With a few colors and basic shaping, you’ll have a finished mascot ready to clip on in one afternoon.
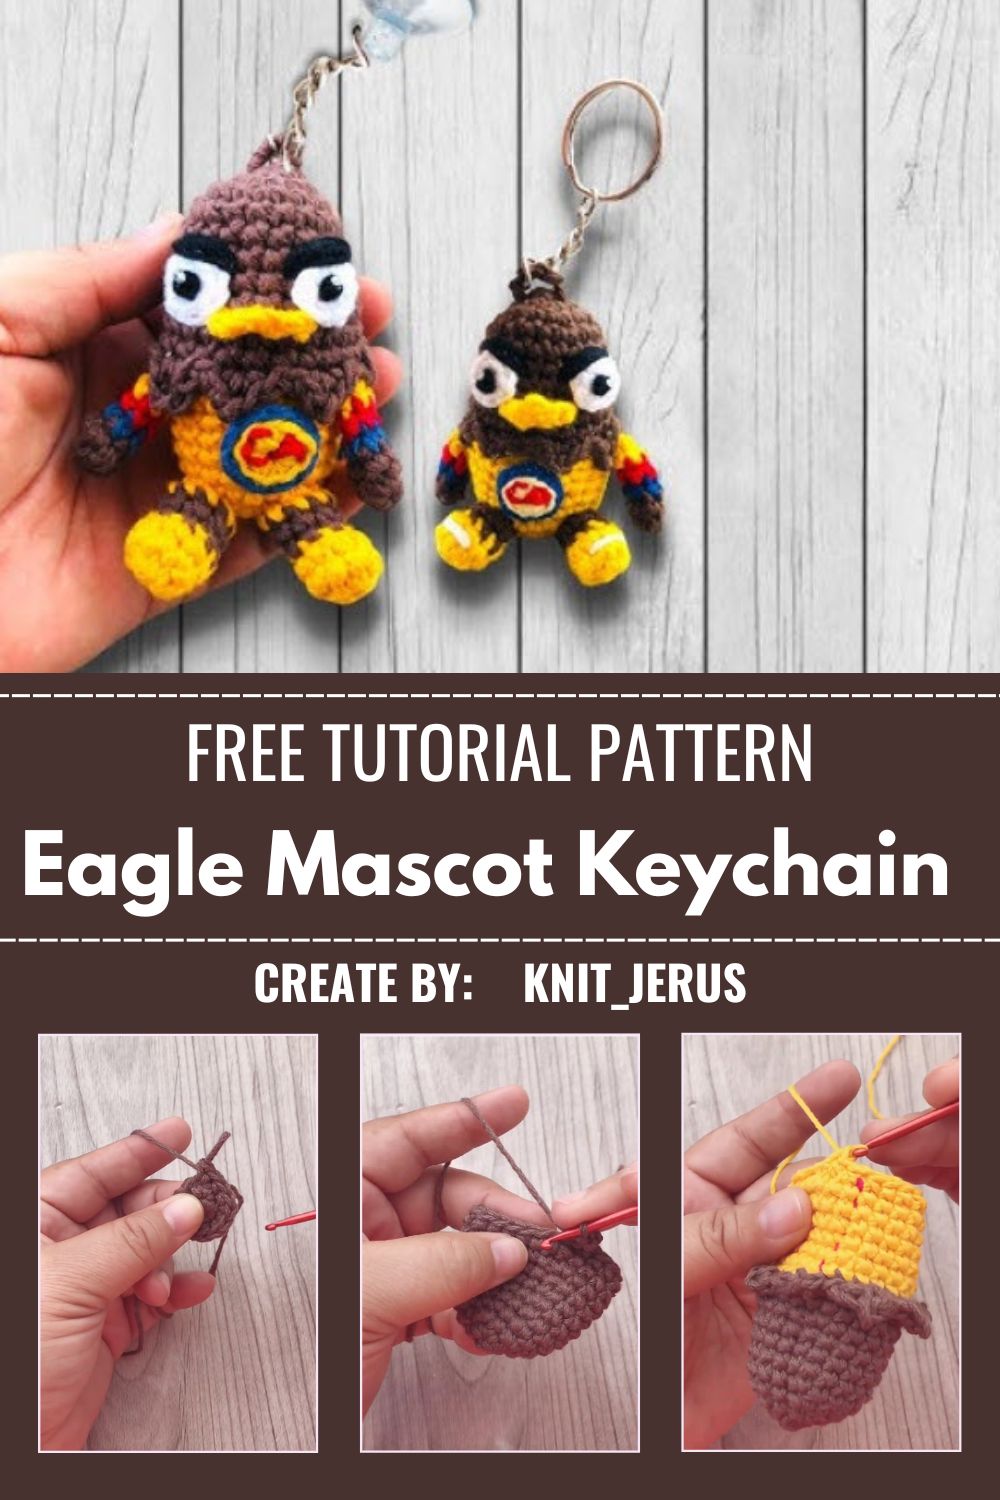
Skill Level
Confident beginners will enjoy this pattern most, especially those who already know single crochet, magic rings, and basic increases. Prior amigurumi experience helps but isn’t required for this project.
Materials Needed
- Worsted weight yarn in white, brown, and gold/yellow (small amounts of each)
- 3.5mm crochet hook
- Yarn needle
- Small amount of polyester stuffing
- Safety eyes (6mm) or black embroidery thread
- Keychain clasp with jump ring
- Stitch marker
- Scissors
Abbreviations
MR = magic ring | ch = chain | sc = single crochet | inc = increase | dec = decrease | st(s) = stitch(es) | sl st = slip stitch | BLO = back loop only
Pattern Overview
Fans love collecting little mascot charms because they’re affordable, easy to personalize, and instantly recognizable. This eagle keychain design focuses on a bold beak, sharp eyes, and layered feather texture without requiring advanced shaping skills.
Working from the head down, the pattern uses basic increases and color swaps to build the eagle’s face and body shape quickly.
Special Techniques Used
- Color changes – switching yarn mid-round for the beak and feather details
- Safety eye placement – positioning eyes before closing the head for a fierce expression
- Small increases/decreases – shaping the rounded head and tapered body
- BLO rows – creating subtle feather texture on the head crown
Step-by-Step Pattern Guide
Step 1: Crochet the Head
Start with a magic ring, work 6 sc into it, then increase evenly over the next two rounds to reach 18 sts. Work one round even, then begin decreasing gradually to round the shape.
Step 2: Add the Beak
Switch to gold yarn and work a small triangular flap using short rows of sc, decreasing at the tip to create a pointed beak shape.
Step 3: Attach the Eyes
Place safety eyes about 4–5 rounds down from the top, spaced evenly apart for a focused, alert expression.
Step 4: Shape the Body
Continue in white or brown yarn, working a few rounds without shaping, then decrease steadily to taper the bottom before stuffing firmly.
Step 5: Add Feather Texture
Using BLO stitches on the crown, create a raised texture line to mimic feather ridges across the top of the head.
Step 6: Close and Stuff
Stuff the piece firmly but not overly tight, then decrease the remaining stitches closed using a yarn needle.
Step 7: Attach the Keychain Hardware
Thread the jump ring and clasp securely through the top stitches, reinforcing with a few extra stitches for durability.
Step 8: Weave in Ends
Secure all loose yarn tails neatly so the finished keychain holds up to daily use and handling.
Helpful Tips for Beginners
- Use safety eyes rather than embroidery for a cleaner, more polished look
- Stuff firmly to help the keychain hold its shape over time
- Keep tension consistent for smooth color transitions
- Reinforce the keychain attachment point with extra stitches for durability
Common Mistakes to Avoid
- Under-stuffing, which leaves the keychain looking flat or floppy
- Placing eyes too close together, losing the fierce expression
- Skipping reinforcement at the keychain loop, risking breakage
- Using yarn that’s too thick, making the mascot bulky for a keychain
Customization Ideas
- Swap colors to match your favorite team’s palette
- Add a small tuft of yarn for a feathered crest
- Make a mini version as a bag charm instead of a keychain
- Create a matching set for gifting to fellow fans
Frequently Asked Questions
1. How long does this Crochet Eagle Mascot Keychain take to make?
Most beginners finish it in about one to two hours, depending on stuffing and finishing details.
2. Can I use any yarn colors for the design?
Yes, colors can be adjusted to match any team’s mascot or fan colors easily.
3. Do I need safety eyes, or can I embroider them?
Safety eyes give a sharper look, but embroidered eyes work fine for a softer, handmade style.
4. Is this pattern suitable for selling as handmade items?
Yes, small amigurumi keychains are popular items for craft fairs and online shops.
5. How do I keep the keychain from breaking with daily use?
Reinforce the hardware attachment point with a few extra stitches for added strength.
6. Can I turn this into a bag charm instead?
Absolutely, just attach a longer strap or clip instead of a small keychain ring.
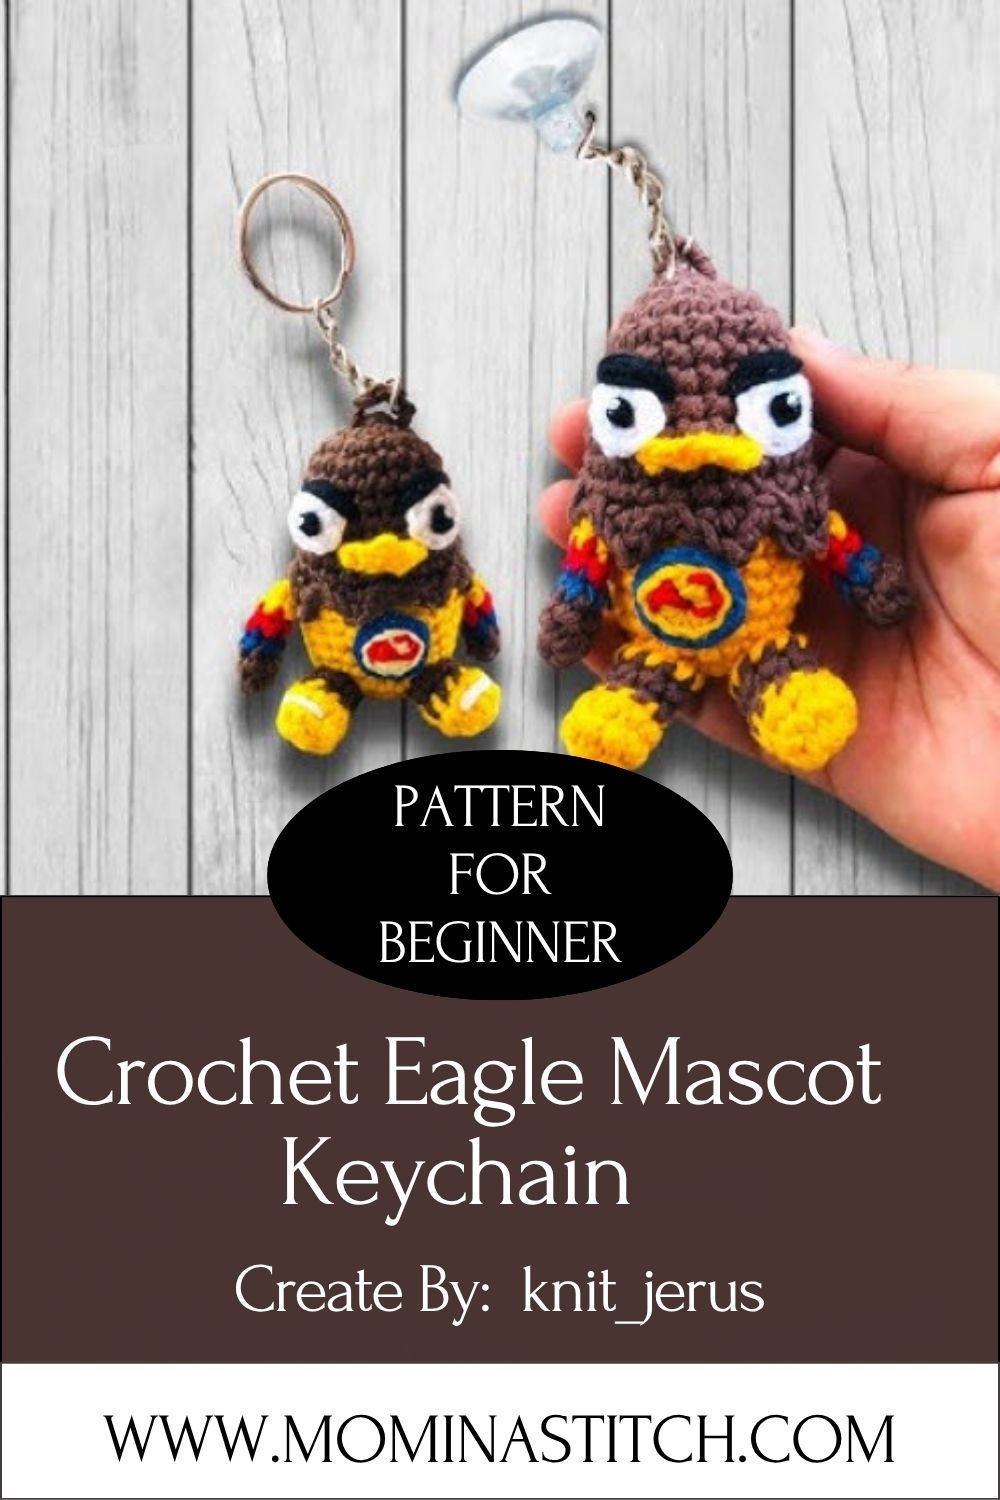
Conclusion
This Crochet Eagle Mascot Keychain proves that showing team spirit doesn’t require a trip to the store. With a handful of basic stitches, a few color swaps, and simple shaping, beginners can create a fierce, fun accessory perfect for game days, gifts, or everyday bag charms. It’s quick enough to finish in an afternoon yet detailed enough to feel like a genuine handmade keepsake. Whether you’re crafting for yourself or a fellow fan, this pattern offers an easy way to celebrate team pride through crochet. Give it a try, experiment with colors, and enjoy the finished result.