Stunning Crochet Baby Cap Pattern with Yellow Lace
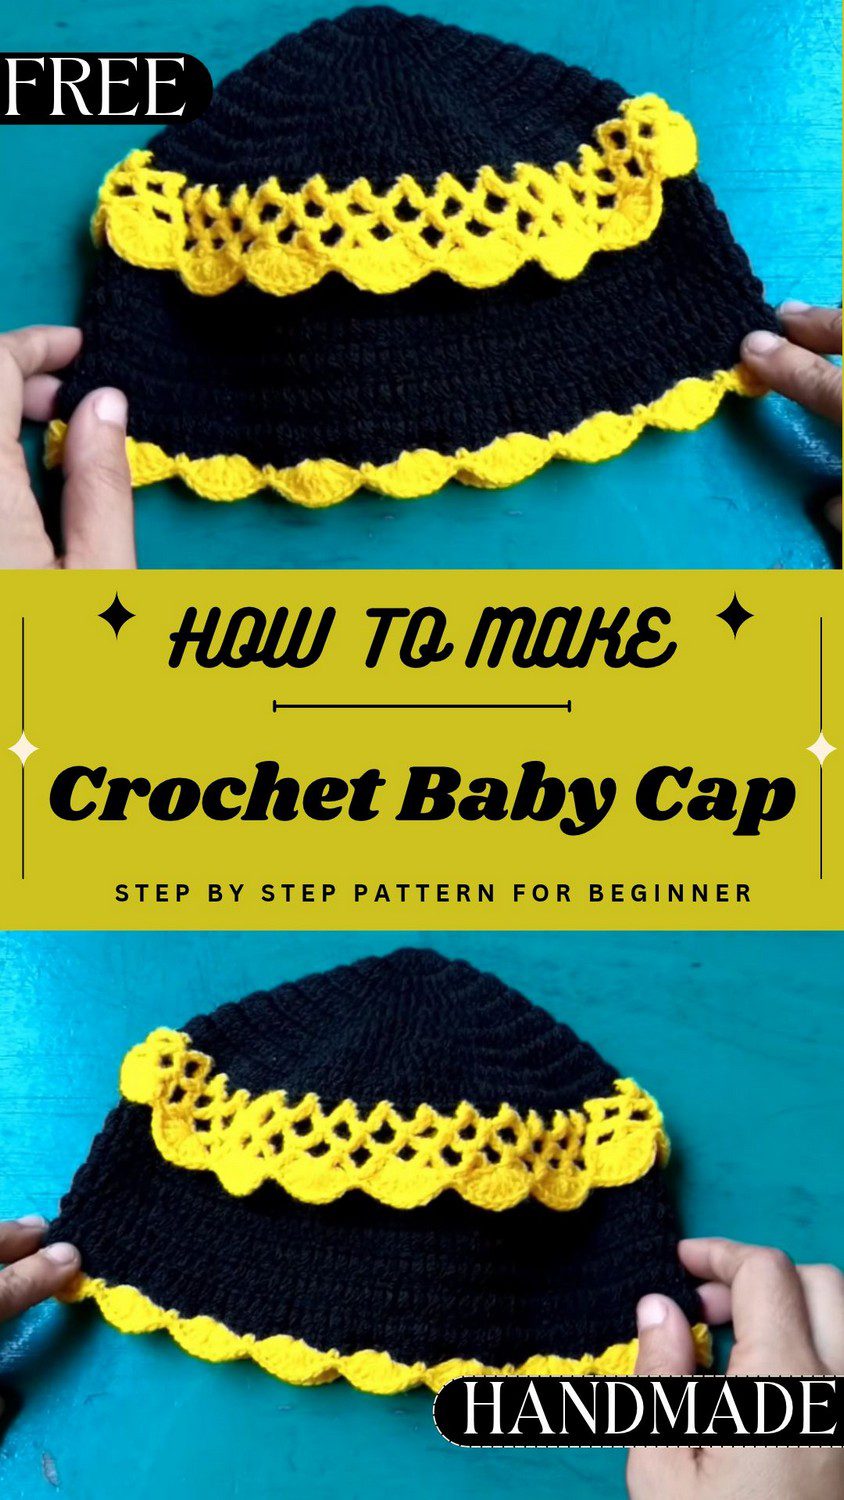
Want a pretty hat for a little one? This crochet baby cap pattern is black with yellow lace. It has soft shell edges. Even beginners can make it. Try this free crochet hat tutorial for a lovely handmade baby gift.
This black baby cap looks lovely with yellow trim. First, you will make the crown. Then, you will add a lace mesh band and soft shell edges. As a result, you get a neat and sweet baby beanie that is easy for beginners. Best of all, you can make it with a matching frock and give it as a baby shower gift.
Overview of This Crochet Baby Cap Pattern
This cap starts at the crown and grows outward in simple rounds. The black body stays neat, while the yellow lace band and shell edges bring in the pretty part. I made it for a child about 3 to 4 years old. Because of that, it works nicely as an easy baby beanie with a little extra charm.
Skill level: Beginner to advanced beginner
Finished size: About 19 to 20 inches (48 to 51 cm) around and about 6.5 to 7 inches (16.5 to 18 cm) deep (estimated)
Materials for the Crochet Baby Cap Pattern
- Yarn: fine or baby weight, worked with a double strand or a slightly thicker fine yarn
- Fibre: acrylic or an acrylic blend, standard for baby garments
- Weight: fine or sport weight, doubled up or worked with a larger hook
- Colour: black for the main cap and yellow for the lace mesh and shells
- Quantity: about 50 to 80 grams
- Hook: size 8 (about 4.0 mm to 5.0 mm, depending on regional numbering)
- Other tools: yarn needle (tapestry needle) and scissors
Abbreviations Used
This pattern uses US terms, so keep that in mind as you read each round. Here is what the short forms stand for:
- ch = chain
- sl st = slip stitch
- dc = double crochet
- sc = single crochet
- BLO = back loop only
- st(s) = stitch(es)
Stitches and Techniques in This Crochet Baby Cap Pattern
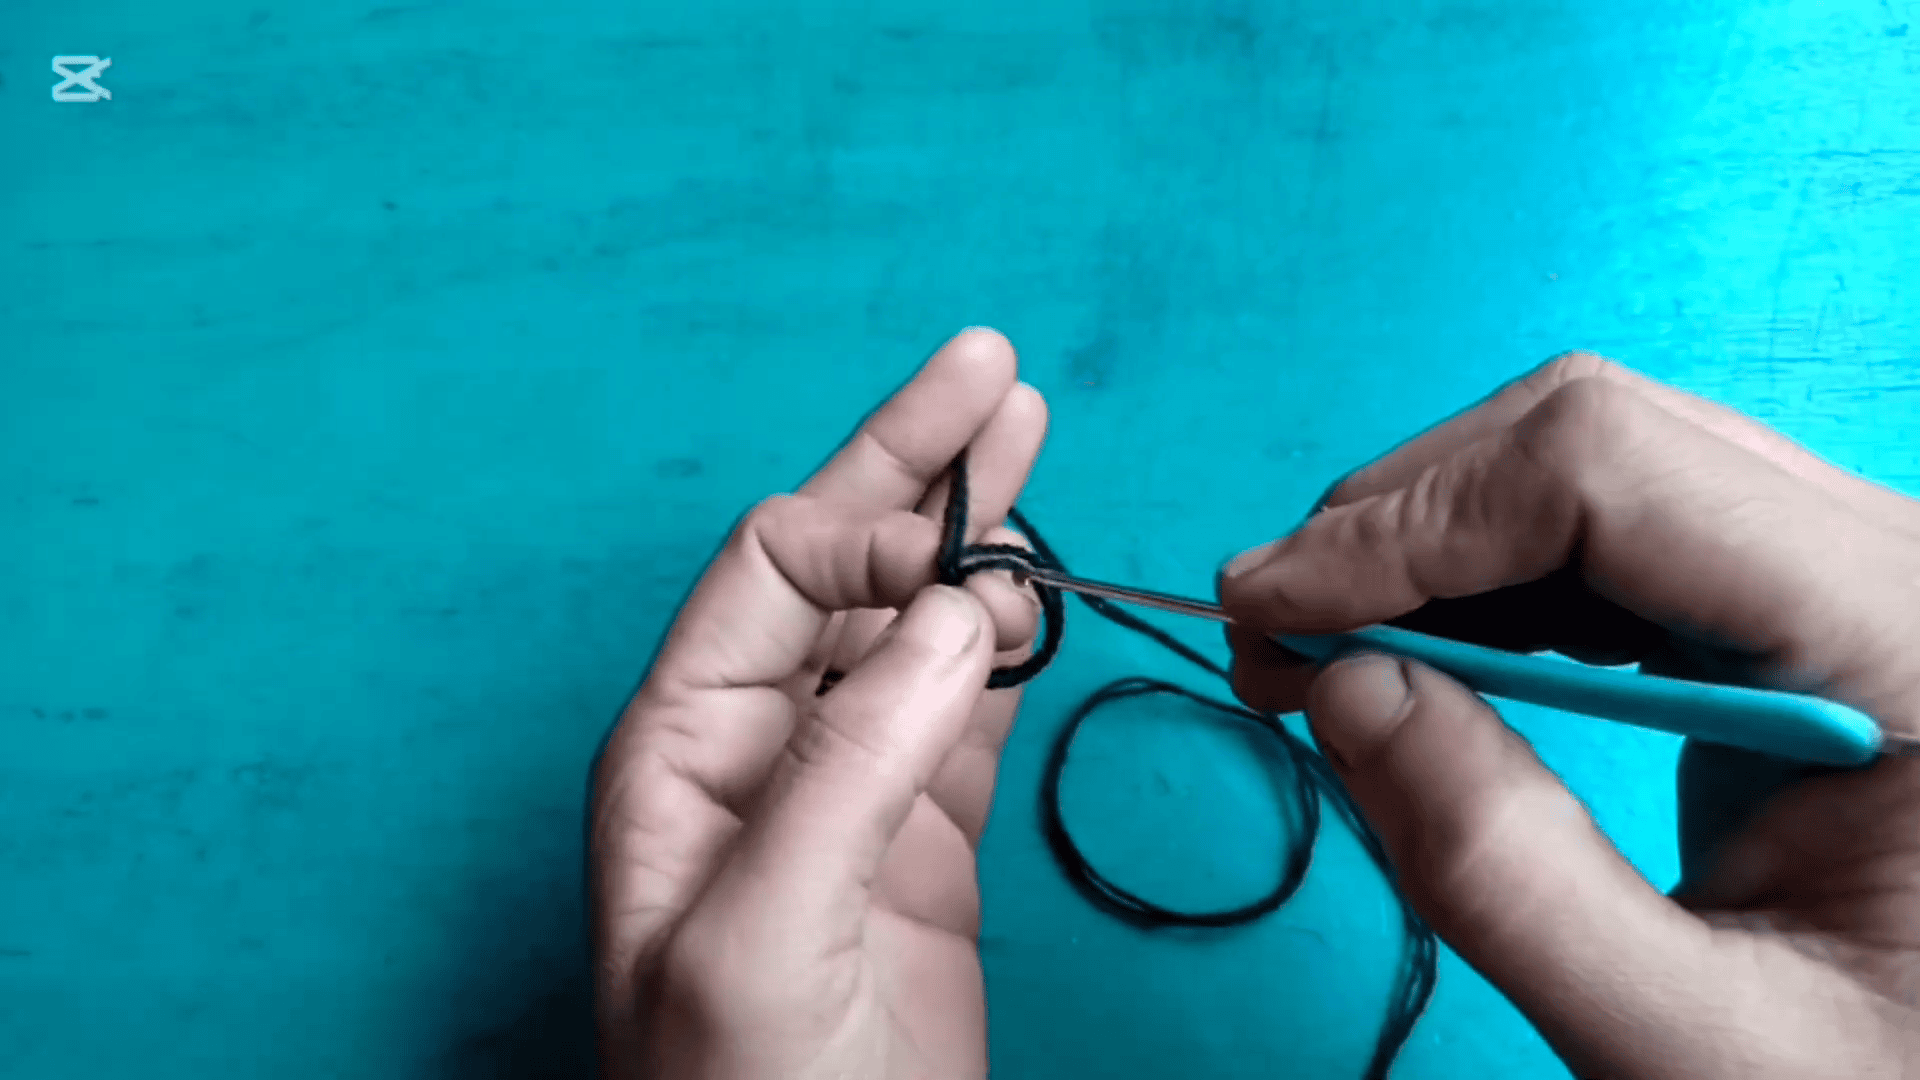
- Magic ring: The cap begins at the crown with a magic ring. First, secure the yarn loop. After that, work the first round of double crochets directly into the ring.
- Chain: Yarn over, then pull through the loop on the hook.
- Slip stitch: Insert the hook into the stitch, yarn over, and pull through the stitch and the loop on the hook.
- Single crochet: Insert the hook into the stitch, yarn over and pull up a loop. Then yarn over again and pull through both loops on the hook.
- Double crochet: Yarn over, insert the hook into the stitch, yarn over and pull up a loop, which gives you 3 loops on the hook. Next, yarn over and pull through 2 loops. Finally, yarn over and pull through the last 2 loops.
- Joining the rounds: Join each round with a slip stitch into the top of the beginning chain or into the first stitch.
- Back loop only (BLO): You use this on the transition round of the cap body to make a clear ridge. Work only into the back loop of each stitch. Meanwhile, the front loops stay unworked, and you will use them later for the lace mesh.
- Stitch count note: The crown grows by increasing the double crochets evenly each round. In other words, each new round adds one more plain stitch between the increases.
Construction at a Glance
- Crown (Rounds 1 to 5): flat circular increase rounds
- Cap body (Round 6 onward): straight double crochet rounds with a BLO ridge round
- Lace mesh foundation: 5-chain arch mesh worked from the unworked front loops
- Scalloped shell ruffle: 8-dc fan shells worked into the mesh arches
Crochet Baby Cap Pattern Instructions
Now for the main part. First, read each round once before you stitch it. In this way, the crochet baby cap pattern feels much calmer.
Part 1: Working the Crown
The crown is the only section where you need to count with care.
Round 1: Make a magic ring. Ch 2, then work 15 dc into the ring. The starting ch 2 counts as a stitch (or acts as the turning height). Next, join with a sl st to the second chain. Total: 16 stitches.
Round 2: Ch 2 and work 1 dc in the same space. After that, work 2 dc in every stitch around, so every stitch is increased. Join with a sl st. Total: 32 stitches.
Round 3: Ch 2 and work 2 dc in the first stitch, then 1 dc in the next stitch. Repeat this increase sequence (2 dc in the next st, 1 dc in the following st) around. Then join with a sl st.
Round 4: Ch 2, then work 1 dc in each of the next 2 stitches and 2 dc in the 3rd stitch. That is 1 dc, 1 dc, 2 dc. Repeat around, and join with a sl st.
Round 5: Ch 2, then work 1 dc in each of the next 3 stitches and 2 dc in the 4th stitch. That is 1 dc, 1 dc, 1 dc, 2 dc. Repeat around, and join with a sl st.
After Round 5: Keep increasing in the same way on the next crown rounds until the crown is wide enough to cover the head. Overall, plan for roughly 8 to 9 rows in total across the crown and body.
Cap Body Rounds
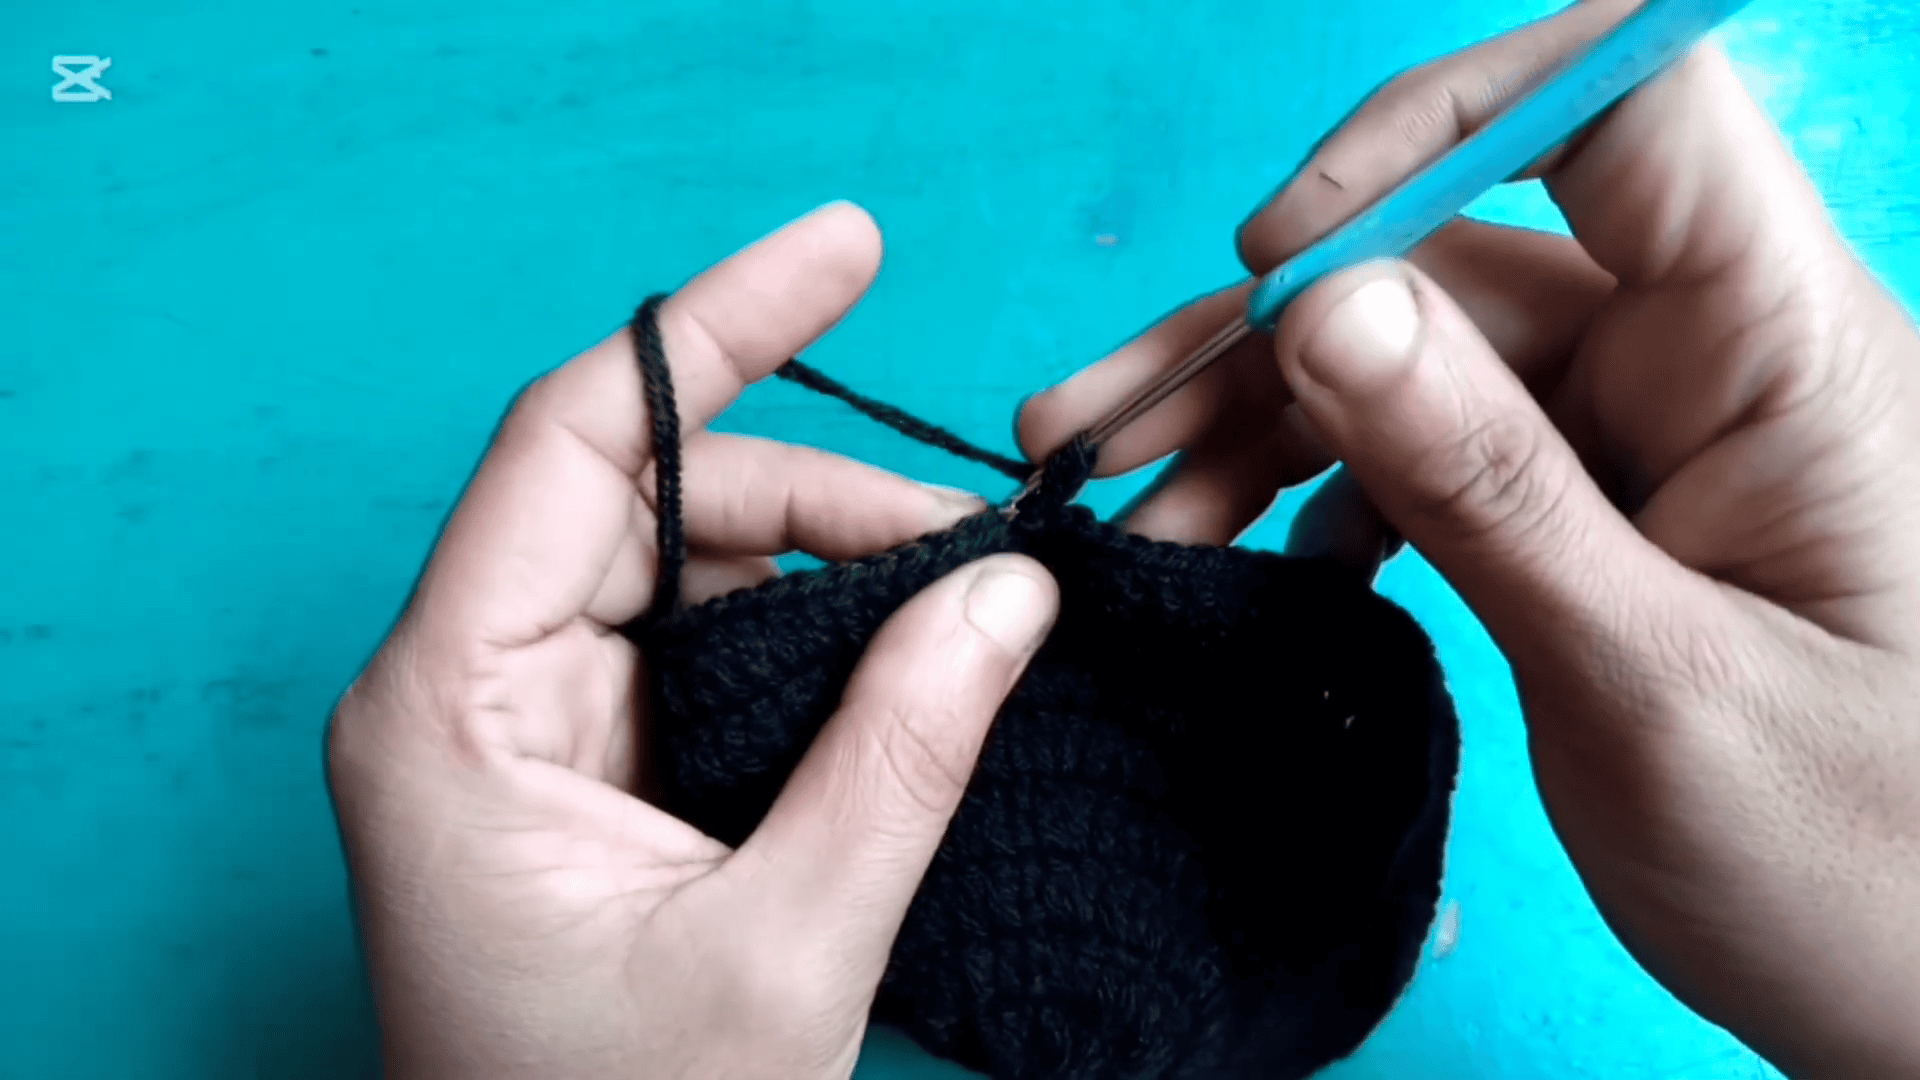
Work several rounds of regular dc into every stitch around, with no increases. Each round starts with ch 2 and ends with a sl st join, so the sides stay straight and the cap does not flare. Keep going until the hat reaches the child’s ear and brow line. Then fasten off.
Bottom Scalloped Edging
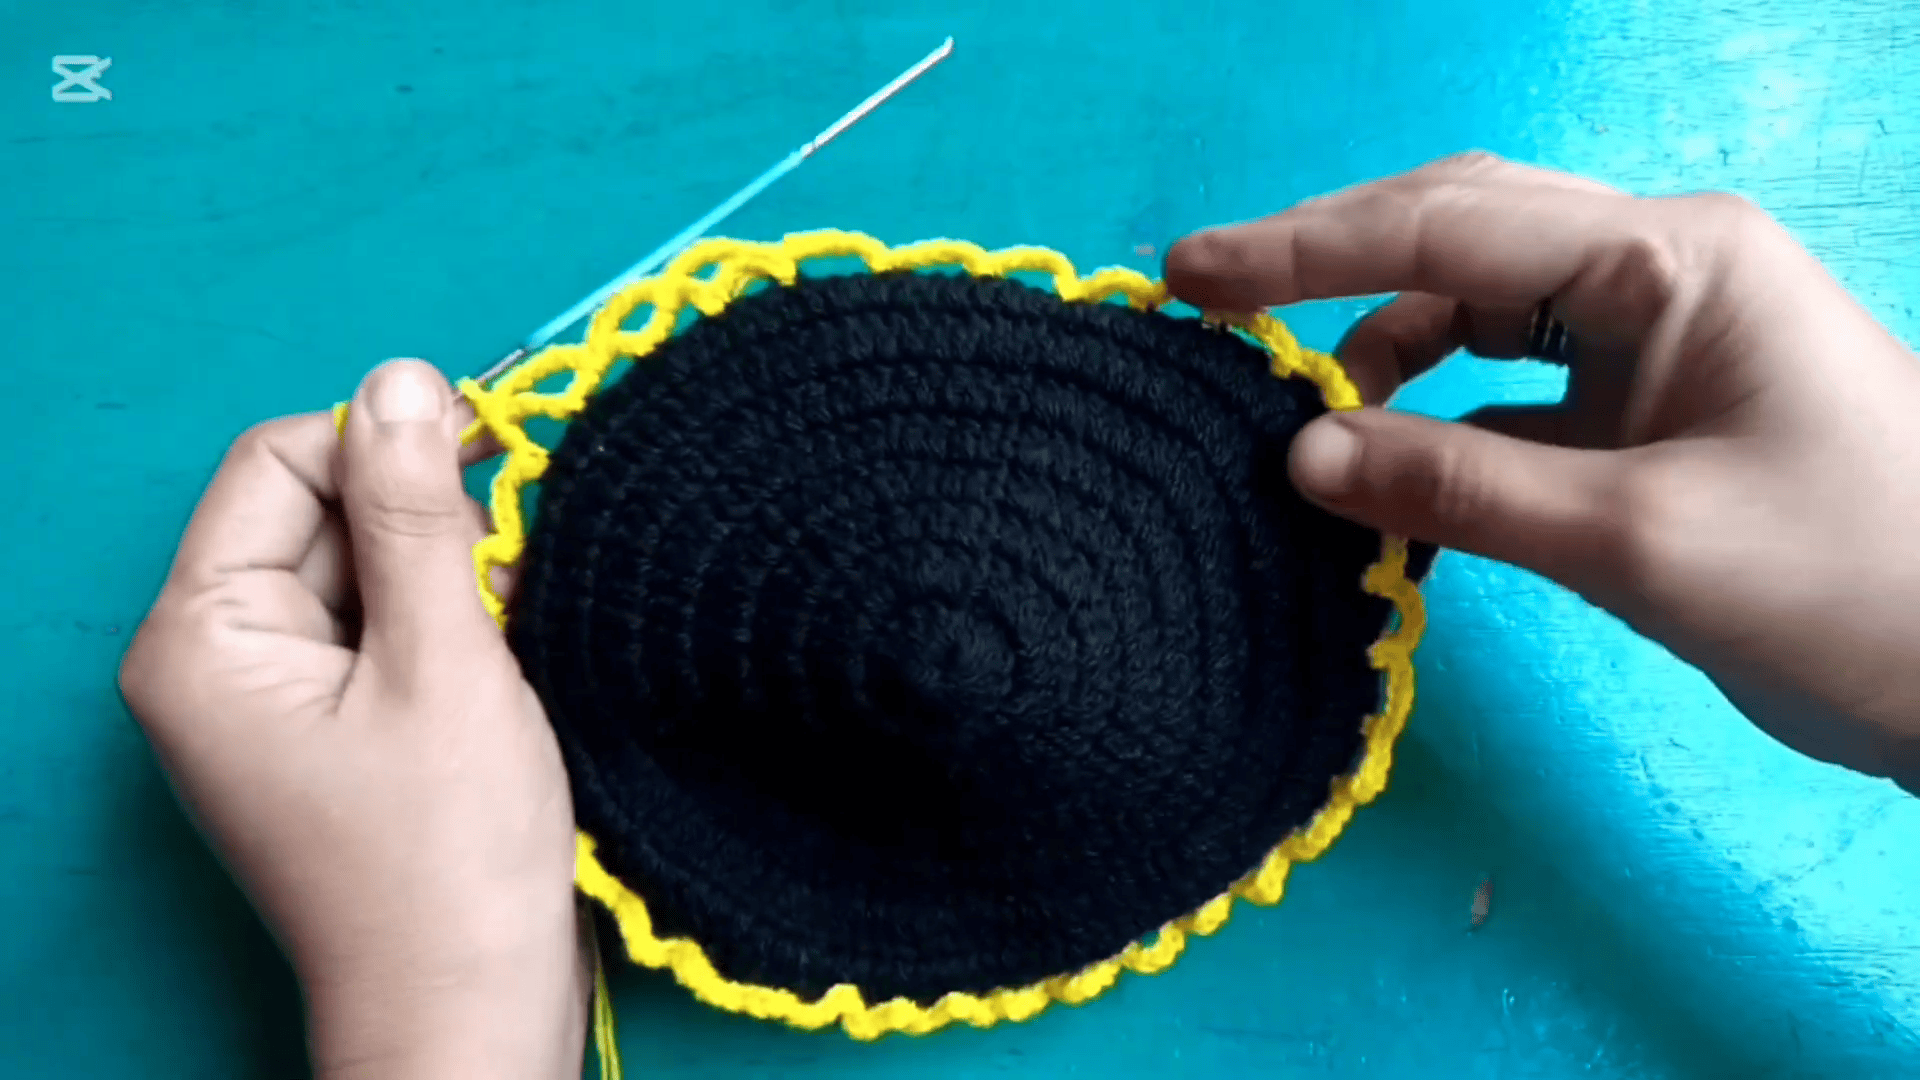
Into each 5-chain arch loop, work an 8-dc shell (8 dc all into the same arch space). Next, anchor each shell with a sc into the next arch, or skip the right amount of spacing. Repeat around so the scallops sit side by side along the brim. Finally, sl st to finish and fasten off securely.
Yellow Lace Mesh Band
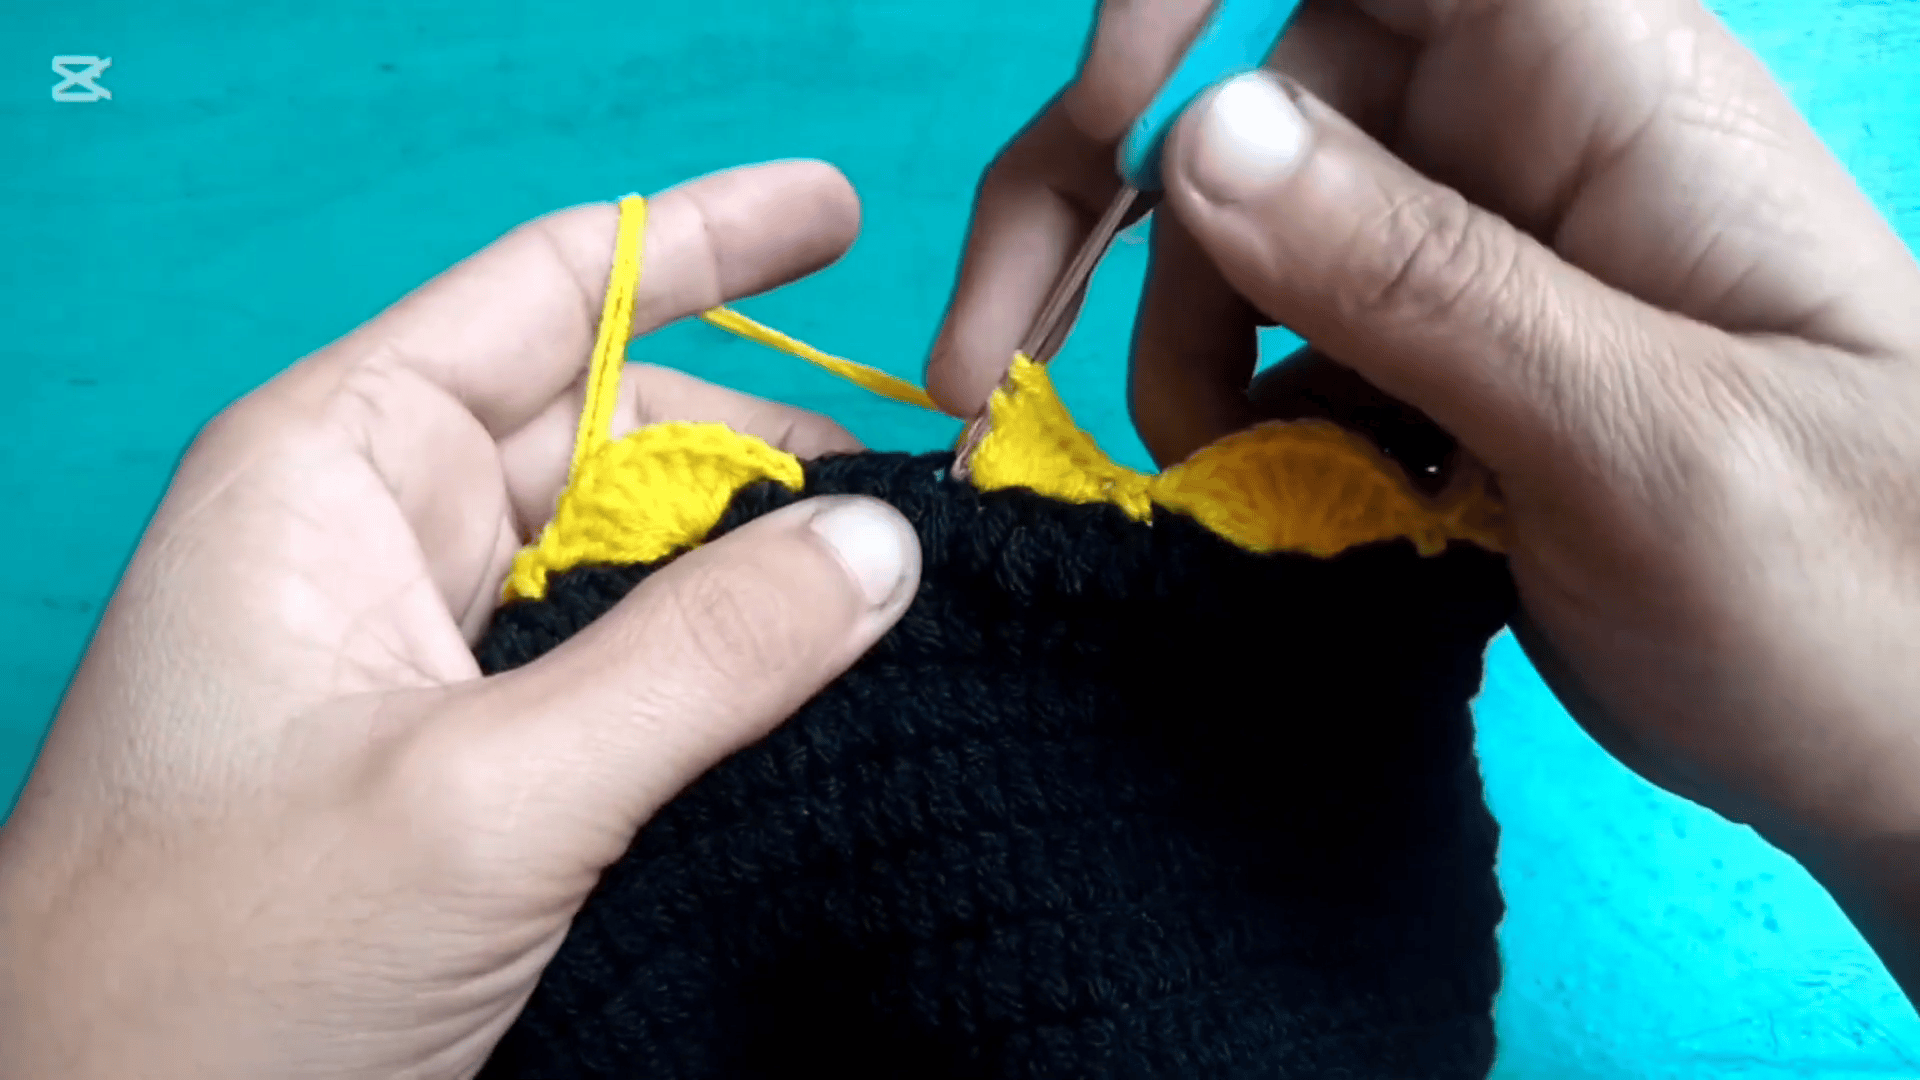
Join yellow yarn to any front loop of the BLO round. Ch 5, skip 2 unworked loops, and sc into the 3rd loop. Repeat around to make a ring of 5-chain arches, then sl st across to the center of the first arch. After that, work 2 to 3 more rounds of ch 5 arches (5 ch, sc in the previous arch loop) to build the multi-tier lace mesh.
Top Scalloped Edging
Along the top of the mesh band, work an 8-dc shell into each 5-chain arch loop (8 dc all into the same arch space). Then anchor each shell with a sc into the next arch, or skip the right amount of spacing. Keep the scallops even all the way around. At the end, sl st to finish and fasten off securely.
Finishing the Cap
Weaving in the Ends
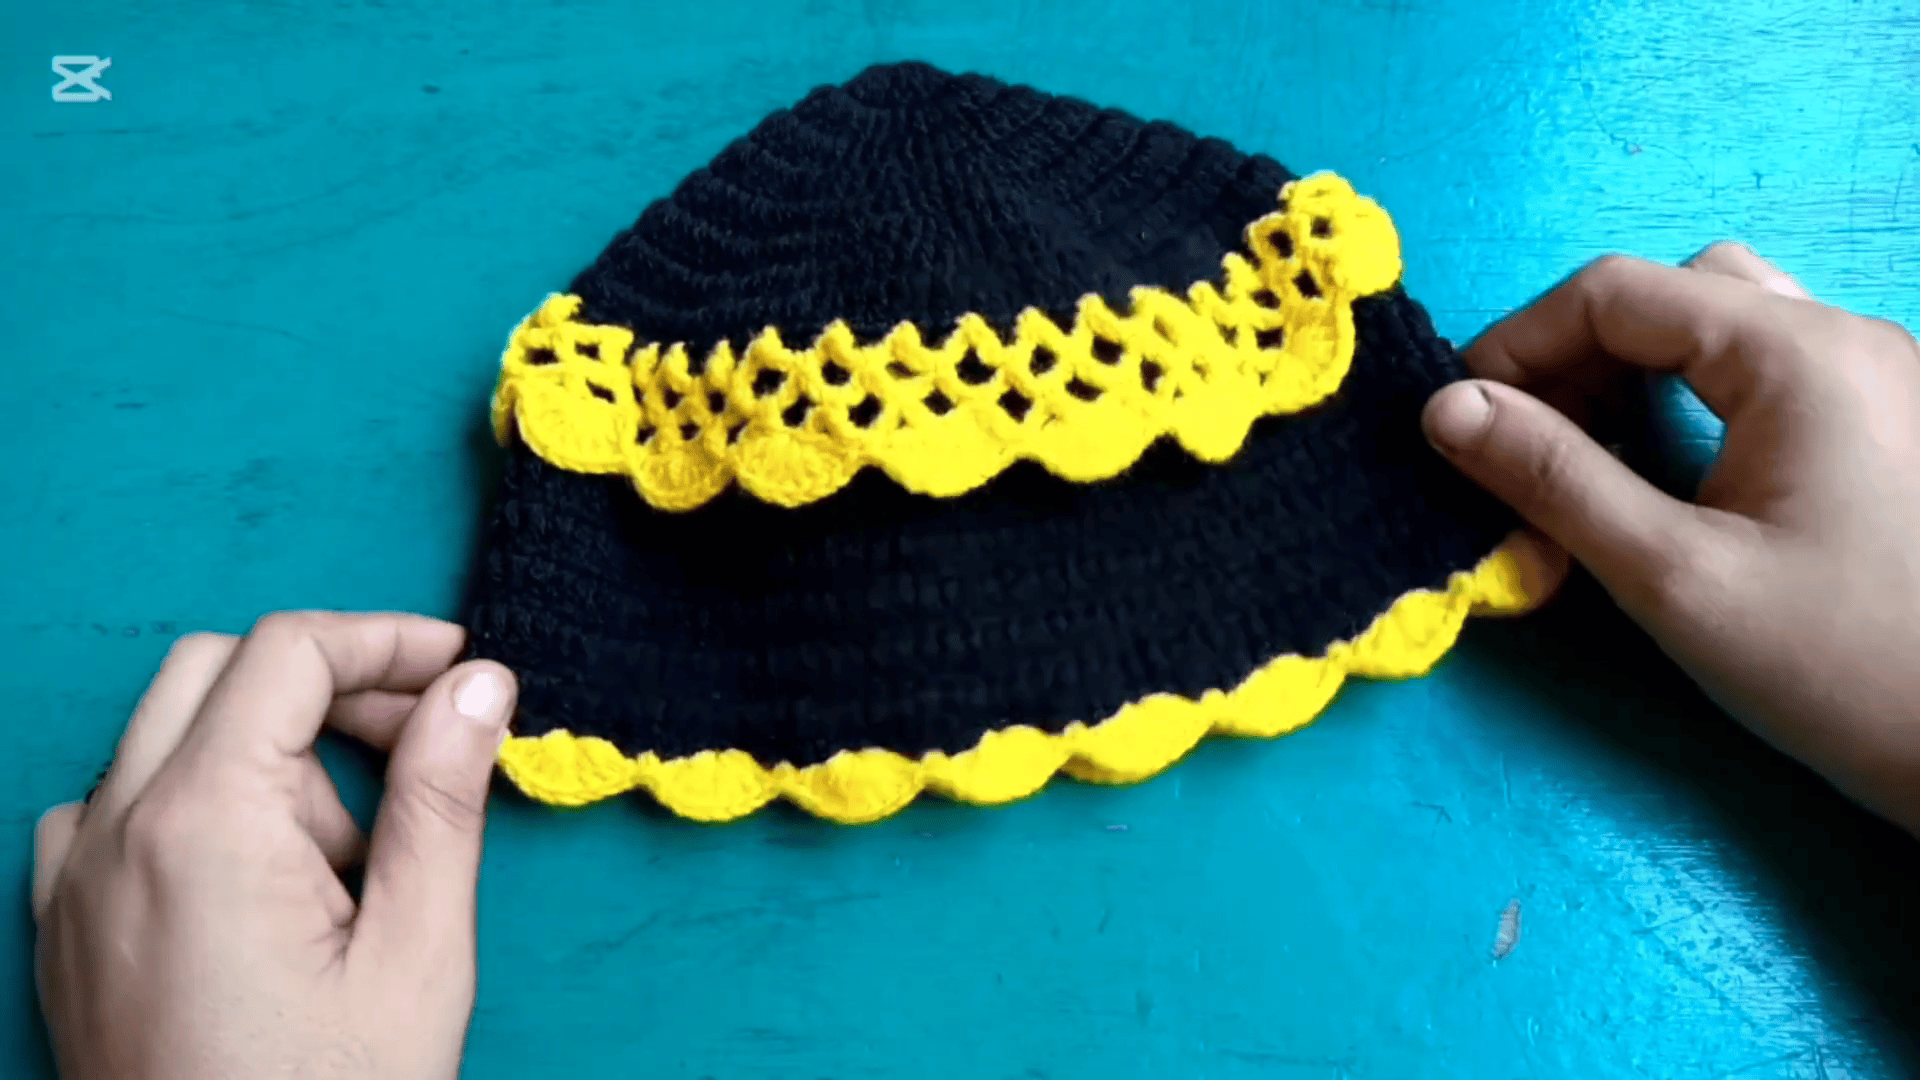
Thread a tapestry needle through the back of the stitches and weave in every tail securely. A baby cap gets tugged often, so do this step well.
Checking the Scallops
Lay the cap flat and look at it from above. This way, you can check that the shell scallops sit evenly around the brim. A crowded shell is easy to spot from this view.
Common Beginner Mistakes
Most trouble comes from three small slips, and each is easy to avoid.
- Skipping the starting chain count on the magic ring: count it every time you begin a round.
- Twisting the foundation chain: check that your chain lies flat before you join.
- Working into both loops on the BLO transition row: look for the back loop before each stitch, since the ridge depends on it.
Helpful Tips for the Crochet Baby Cap Pattern
These habits make any baby crochet hat pattern easier.
- Keep your tension relaxed and steady, because tight stitches make a stiff cap.
- Use a stitch marker in the first stitch of each round. It keeps your place when the rounds look alike.
- Count your stitches at the end of the early crown rounds. That way, early mistakes are easy to fix.
- Try the cap on a small head as you work the body.
- Place each shell slowly and look at the spacing before you move on. As a result, even shells make a crochet shell stitch cap look polished.
Styling Your Crochet Baby Cap Pattern with a Frock
A matching set looks more thoughtful than two separate pieces:
- Keep the same yarn color for the cap and the frock, so the set looks planned and neat.
- If the frock has a lacy hem, the shell ruffle on the brim will echo it nicely.
- For a photo, lay the cap beside the frock on a plain surface, or let the child wear both.
- Before gifting, check the yarn label for washing instructions.
Gentle Care Guide
Start by reading the yarn label, because it tells you what that yarn can handle.
When the cap needs cleaning, wash it gently by hand in cool water with a mild soap. Next, press out the water without wringing. After that, dry it flat on a clean towel and nudge the scallops into place.
Finally, store it clean and dry, away from rough surfaces.
FAQs About the Crochet Baby Cap Pattern
What age is this cap made for?
It was made for a young child, and the age range is given in the overview. Still, try the cap on as you work the straight body rounds.
Is this crochet baby cap pattern suitable for beginners?
Yes, it suits beginners and advanced beginners. You need only the basic stitches above, a magic ring and the back loop only technique.
Which hook should I use?
The pattern calls for a size 8 hook, which is about 4.0 mm to 5.0 mm depending on regional numbering.
How is the ridge made?
The ridge comes from the BLO round, where you work only into the back loop of each stitch. Afterward, the free front loops start the lace mesh and ruffle.
How do I keep the shells even on the crochet baby cap?
Work each 8-dc shell into its own arch space and anchor it with a sc into the next arch. Go slowly, and then check the scallops around the brim once you finish.
Count the Crown, Then Enjoy Your Crochet Baby Cap
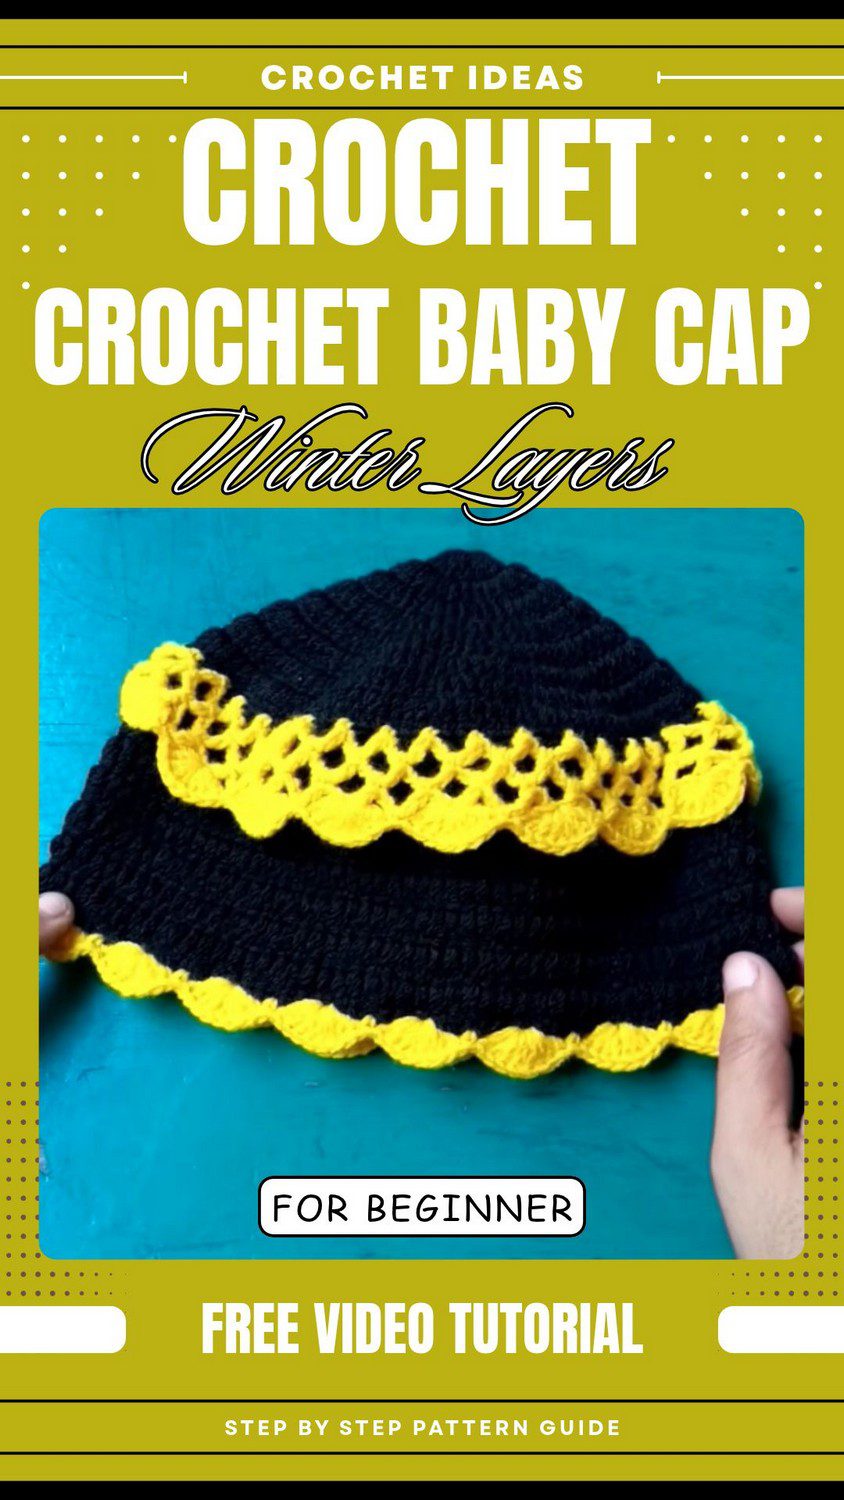
So here is the honest truth about this crochet baby cap pattern. The crown is the part where you need to pay attention and count. After that, the rest just repeats, round after round, and it gets easier the further you go.
With the yellow shells, don’t rush. Instead, put them in slowly, one at a time, and they will end up sitting evenly all the way around. Then pop the cap next to the frock and enjoy it. I hope you have fun making it.