Easy Crochet Bucket Hat Pattern for Adults – Stylish Everyday Hat
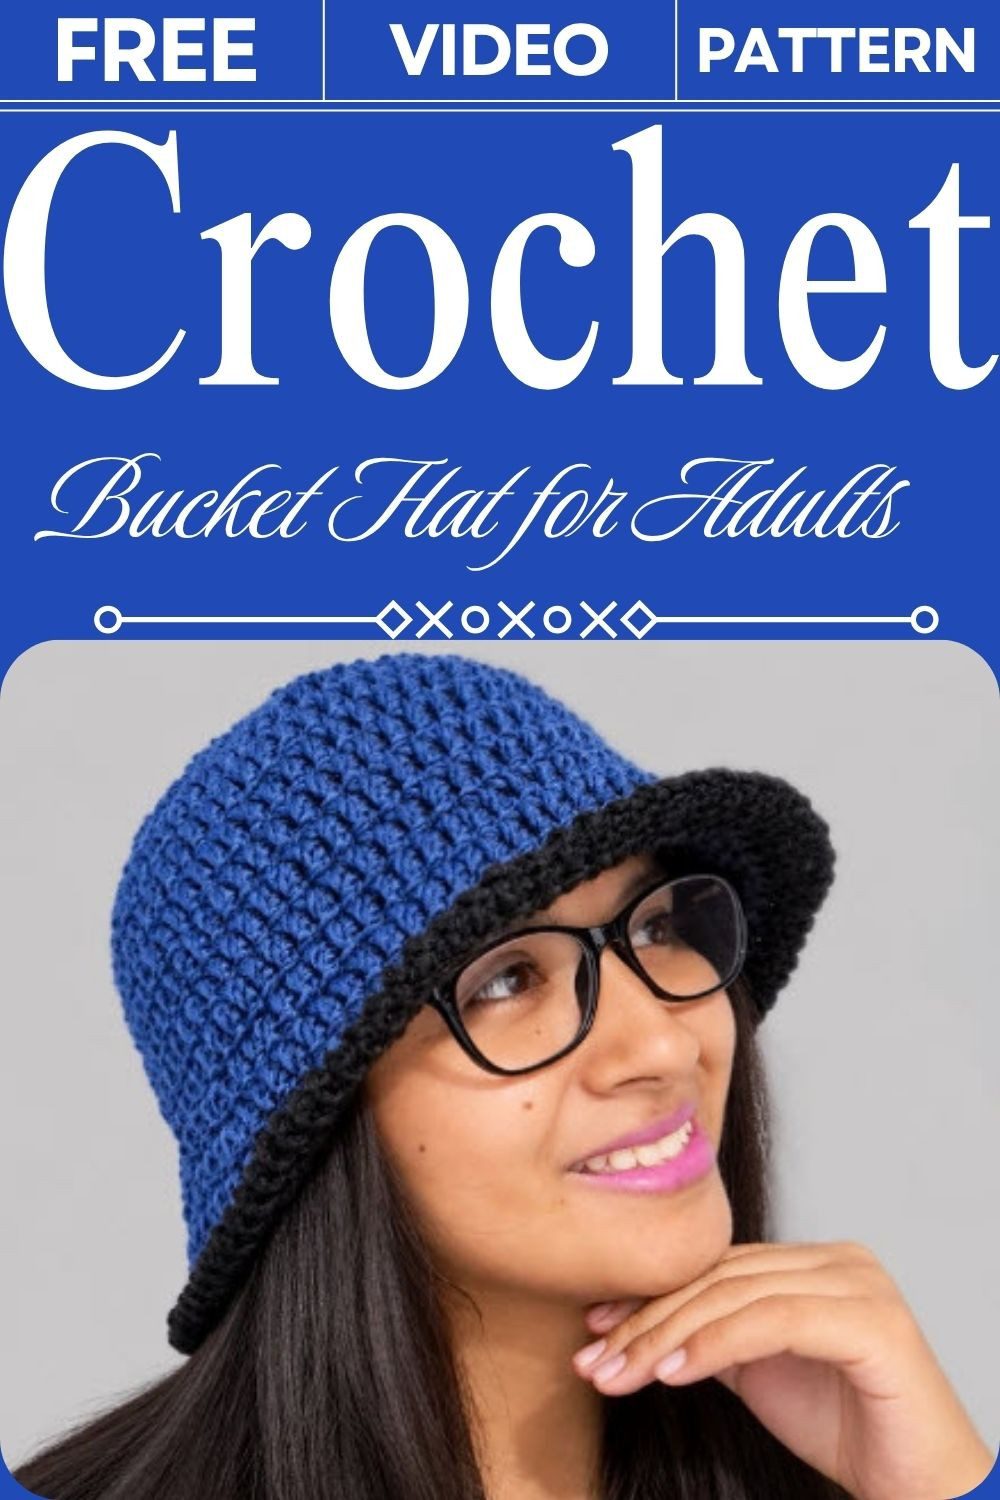
Soft cotton yarn makes this crochet bucket hat for adults light and cozy. The wide brim keeps the sun off your face. It looks stylish in summer and on trips. The pattern is easy, so beginners can make it too.
This Crochet Bucket Hat for Adults is made for sunny days. It has a classic bucket shape, a deep crown, and a wide brim that slopes gently to protect your face from the sun. The hat is worked in soft cotton yarn, so it feels light on your head. Double crochet clusters give the fabric a pretty texture, and single crochet rows finish the edges neatly. You can wear it to the beach, on picnics, or on daily outings. Beginners can follow it easily, and it makes a lovely gift.
Project Overview: Crochet Bucket Hat for Adults
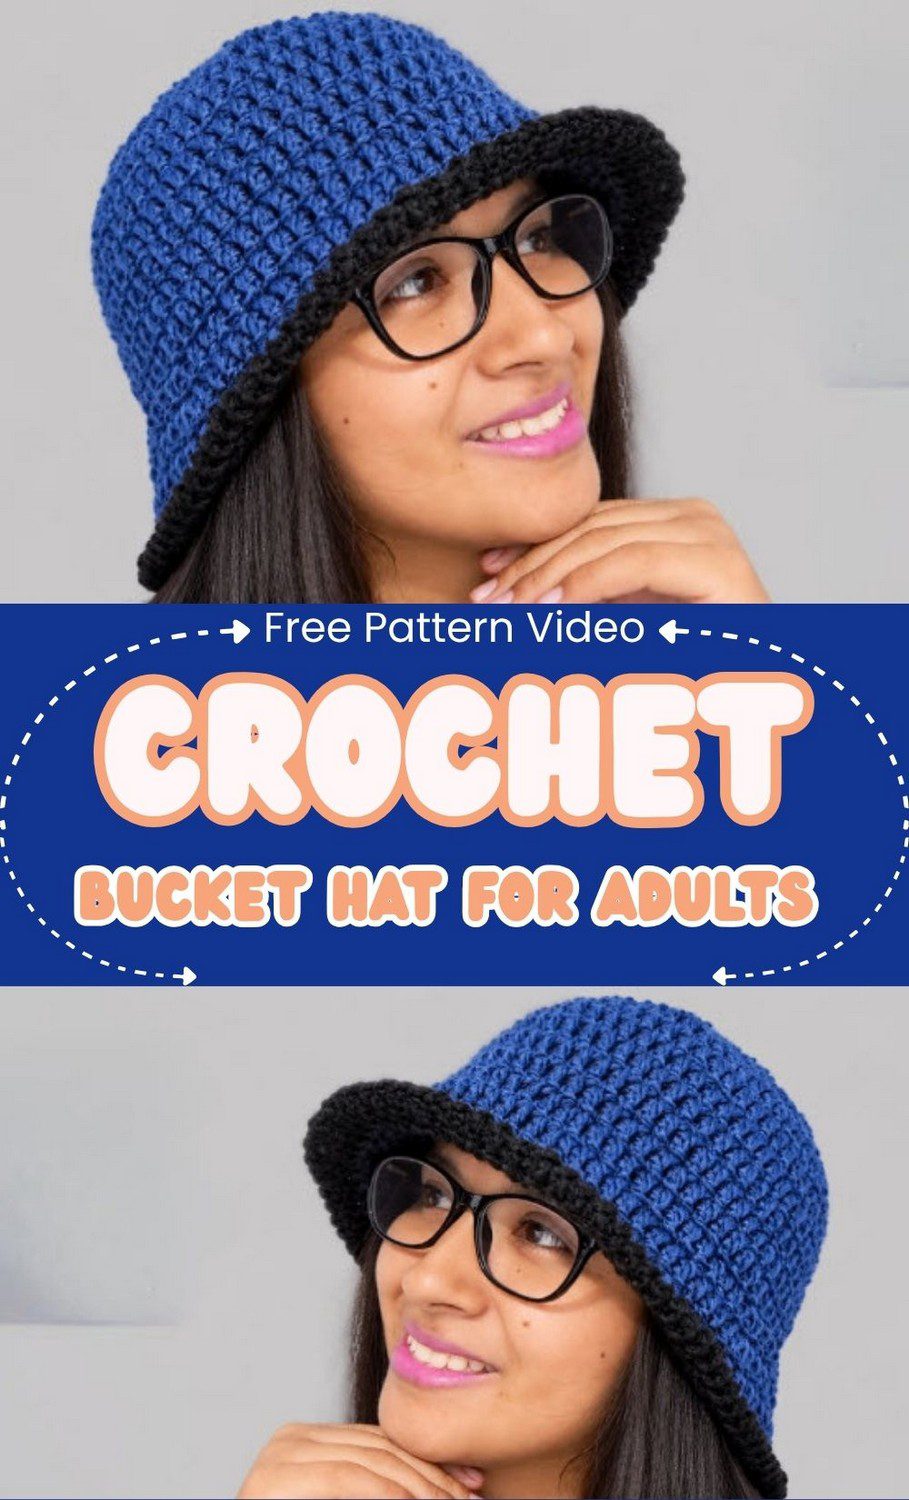
This hat is worked in double crochet from the first round to the last. In short, a deep blue body sits snug on the head, the brim flares out, and a black edge frames everything. Here is a quick summary before you start.
- Skill level: Beginner-friendly
- Terminology: US
- Construction: Worked in joined rounds from the top down, in one piece, with no sewing and no seaming
- Parts: Crown, body, brim and border
- Finished size: The crown measures about 18-19 cm (7-7.5 inches) across before the sides begin, which gives a standard adult fit
- The look: A deep blue bucket hat with a flared brim and a black rope-like edge
Materials and Tools for the Crochet Bucket Hat for Adults
You do not need much for this adult bucket hat. So, gather these items first, and then you can work through the whole hat without stopping.
- Main yarn: Blue (any colour works)
- Contrast yarn: Black, optional, for the border
- Yarn weight: Medium/worsted weight (about 4 to 5 mm thickness)
- Fibre: Standard acrylic or cotton suits hats well
- Yardage: Not fixed. However, one standard skein of the main colour is usually enough for an adult hat
- Hook: 5.0 mm crochet hook
- Other tools: Yarn needle (tapestry needle), measuring tape and scissors
Abbreviations and Stitches You Need
Abbreviations used (US terms)
- ch = chain
- dc = double crochet
- inc = increase (2 dc in the same stitch or space)
- sl st = slip stitch
- FLO = front loop only
Magic ring
First, wrap the yarn around two fingers to form a loop. Next, insert your hook into the centre, draw up a loop and secure it. After that, you will work the first round straight into this ring.
Chain
Simply yarn over and pull through the loop on your hook. That is all there is to it.
Double crochet
First, start with a yarn over. Then insert your hook into the stitch or space, yarn over and pull up a loop (3 loops on hook). After that, yarn over and pull through the first 2 loops. Finally, yarn over and pull through the remaining 2 loops.
Slip stitch
First, insert your hook into the stitch or space and yarn over. Then pull the yarn through both the stitch and the loop on your hook.
Increase
Work 2 dc into the same stitch or space. In this way, the crown and the brim grow wider.
Front loop only (FLO)
Insert your hook under the front loop only. Besides this, you will use it on Round 13 alone, because that round starts the brim.
Crab stitch (reverse single crochet)
This is single crochet worked in the reverse direction. For example, if you are right-handed, move from left to right and do not turn your work. Each stitch lands in the next stitch along, so the border ends up twisted and rope-like.
Before You Start
- First, remember that the ch 2 at the start of each round counts as the first dc.
- Next, join every round with a sl st into the top of the starting ch 2.
- Finally, count your stitches at the end of every round, and check them against the totals given.
Blue Crochet Bucket Hat Pattern, Step by Step
Overall, the whole hat comes down to four steps. Therefore, take them one at a time, and count as you go.
Step 1: Crown of the Blue Crochet Bucket Hat (Rounds 1-6)
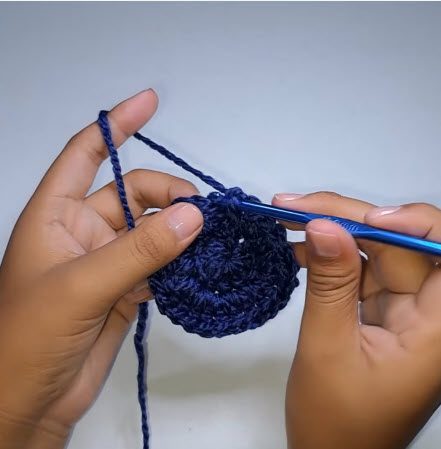
Take your time here, because the crown sets up everything that follows. Once Round 6 is done, lay the crown flat to check it.
Round 1: Make a magic ring. Ch 2 (counts as 1 dc), then work 11 dc into the ring. Join with sl st. (12 dc)
Round 2: Ch 2, work 1 dc in the same stitch, then work an inc in every stitch around. Join with sl st. (24 dc)
Round 3: Ch 2, 1 dc in the next stitch, inc in the next stitch. Repeat “1 dc, inc” around. Join with sl st. (36 dc)
Round 4: Ch 2, 2 dc, inc. Repeat “2 dc, inc” around. Join with sl st. (48 dc)
Round 5: Ch 2, 3 dc, inc. Repeat “3 dc, inc” around. Join with sl st. (60 dc)
Round 6: Ch 2, 5 dc, inc. Repeat “5 dc, inc” around. Join with sl st. (70 dc)
Tip: If the crown ripples or cups when you lay it flat, the increases are probably misplaced. In that case, recount before you move on.
Step 2: Body of the Blue Crochet Bucket Hat (Rounds 7-12)
From here, the shaping pauses. As a result, every body round has 70 stitches, so you do not increase at all.
Round 7: Ch 2, then work 1 dc in each stitch around. Join with sl st. (70 dc)
Round 8: Ch 2, then work 1 dc in each stitch around. Join with sl st. (70 dc)
Round 9: Ch 2, then work 1 dc in each stitch around. Join with sl st. (70 dc)
Round 10: Ch 2, then work 1 dc in each stitch around. Join with sl st. (70 dc)
Round 11: Ch 2, then work 1 dc in each stitch around. Join with sl st. (70 dc)
Round 12: Ch 2, then work 1 dc in each stitch around. Join with sl st. (70 dc)
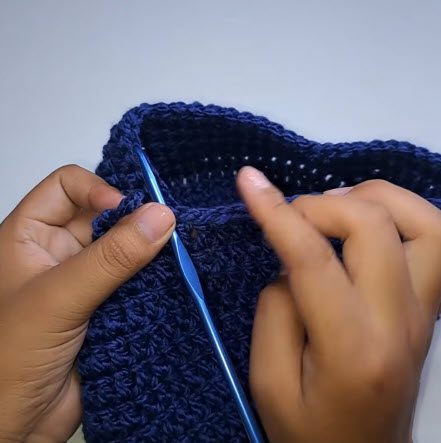
Step 3: Brim of the Blue Crochet Bucket Hat (Rounds 13-16)
This is where the blue crochet bucket hat starts to flare. However, Round 13 is the only round worked in the front loop, so watch that one closely.
Round 13 (brim start): Ch 2. Working in FLO only, repeat “11 dc, inc” around. Join with sl st. (76 dc)
Round 14: Ch 2. Repeat “12 dc, inc” around, going through both loops as normal. Join with sl st. (82 dc)
Round 15: Ch 2. Repeat “13 dc, inc” around. Join with sl st. (88 dc)
Round 16: Ch 2. Repeat “14 dc, inc” around. Join with sl st. (94 dc)
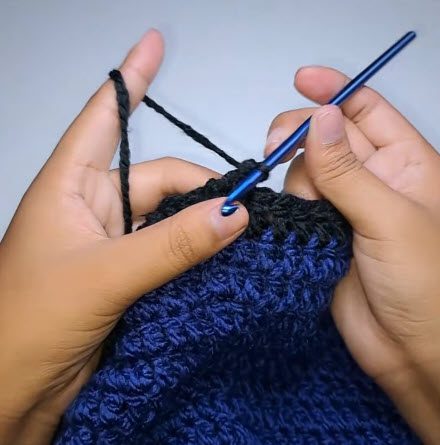
Step 4: Border for the Blue Crochet Bucket Hat
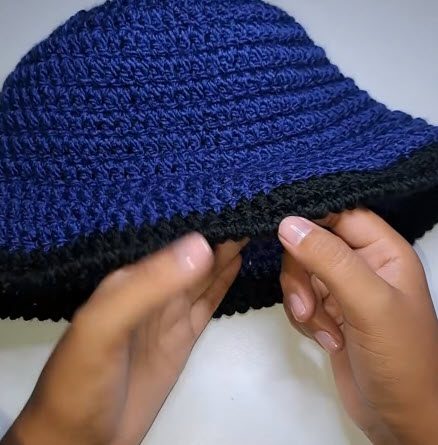
Next, attach the contrast colour if you like, since black looks great against blue. Then work crab stitch in every stitch around the brim edge. Finally, fasten off when the round is complete.
Stitch count reference
- Round 1: 12
- Round 2: 24
- Round 3: 36
- Round 4: 48
- Round 5: 60
- Round 6: 70
- Rounds 7-12: 70 each
- Round 13: 76
- Round 14: 82
- Round 15: 88
- Round 16: 94
- Final round: crab stitch (no count)
Finishing Your Blue Crochet Bucket Hat
Weaving in the end
First, cut the yarn and leave a 6-inch tail. Next, pull the tail through the final loop and thread it onto a yarn needle. Then weave it securely into the stitches on the inside. As a bonus, nothing needs to be sewn or joined.
Light blocking
If the brim needs a crisper flare, block or steam it lightly. In this case, keep it gentle, and the brim will hold its shape.
Common Mistakes and Easy Fixes
- Forgetting that the ch 2 counts as a stitch. Otherwise, every round ends up one stitch short, so keep it in mind at the start of each round.
- Increasing in the body. Instead, Rounds 7-12 must stay at 70 stitches.
- Working Round 13 through both loops. In fact, FLO is only for Round 13, and Rounds 14-16 go back to both loops.
- Uneven tension on the border. To avoid this, keep your crab stitches relaxed, because a tight edge may pucker.
Bonus: Ways to Wear and Gift Your Hat
Once the hat is finished, you will probably want to wear it often. For that reason, here are a few easy ways to get started.
- Errands and coffee runs: For example, pair it with a plain tee and jeans for an instant finishing touch.
- Weekend walks: Also, pull it on over loose hair and add comfy sneakers.
- Bright days outside: Similarly, treat it as a casual sun hat and tuck it in your bag for later.
- Layered looks: In addition, wear it with a denim jacket or a simple cardigan.
- As a gift: Likewise, make one in a friend’s favourite colour and hand it over with a smile.
Colour pairing ideas
- Blue with black (classic)
- Cream with brown (soft and earthy)
- Sage with white (light and beach-ready)
- Mustard with navy (bold)
- Single colour all over (use the main yarn for the border too)
Crochet Bucket Hat for Adults FAQs
Is this blue crochet bucket hat beginner-friendly?
Yes, it is. The pattern uses double crochet only, so there are no decreases, clusters, shells or picots. In addition, it is worked in one piece, so no sewing is needed.
Which hook should I use?
Use a 5.0 mm crochet hook. Then pair it with medium/worsted weight yarn, which is about 4 to 5 mm thick.
Do I need the contrast yarn?
No, the black yarn is optional. Even so, it looks good against blue for the border. Otherwise, you can use the main yarn for the border too and keep the hat a single colour.
Why do I use FLO on Round 13?
Round 13 starts the brim, so it is the only round worked in FLO. After that, Rounds 14-16 go back to both loops as normal.
How much yarn do I need?
The yardage is not fixed. Still, one standard skein of the main colour is usually enough for an adult hat.
Time to Pick Up Your Hook
So that is the hat: one stitch, sixteen rounds and a black edge to finish it off. Honestly, there is nothing tricky in it. If you slip up somewhere, don’t worry about it. Just count your stitches, find the round that went wrong and fix that one, because everyone does it at some point. Then choose your colours, put on some music and start your magic ring. When it’s done, pop the hat on and see how it feels. I think you’ll reach for it a lot.