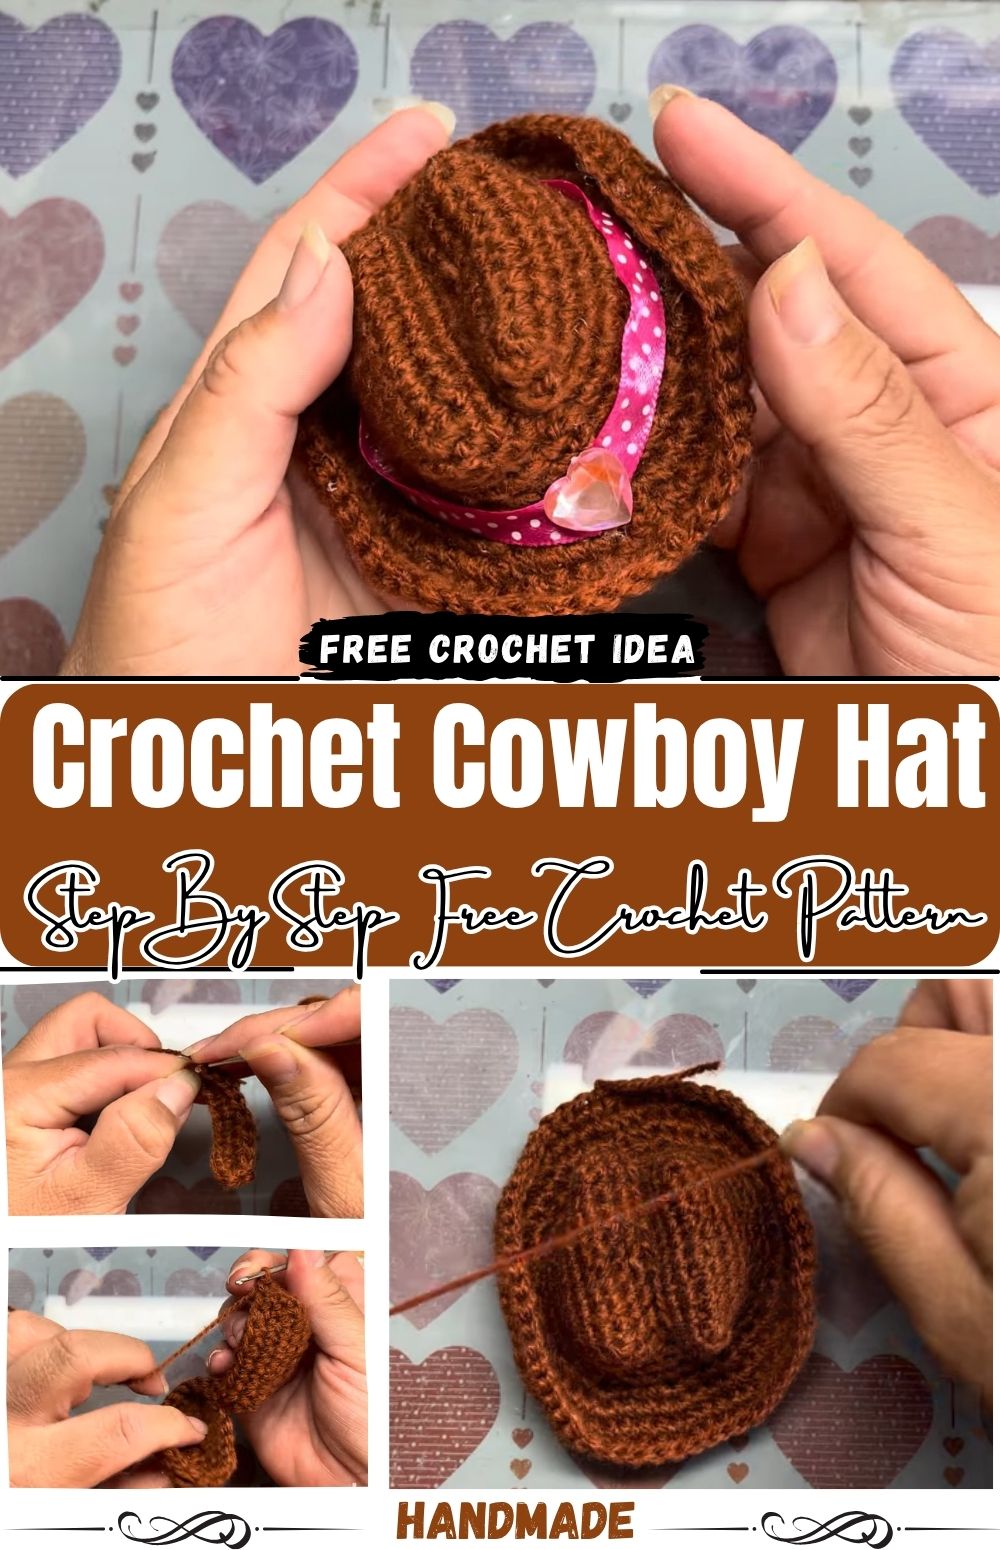
Crochet Cowboy Hat With Pink Ribbon Band
A Crochet Cowboy Hat With Pink Ribbon Band begins with a dense, bumpy-textured fabric that feels as sturdy as it looks. Tight stitches build a brim that stays put, while a soft ribbon adds a playful finish. Follow the steps below for a hat that keeps its shape.
Small western accessories add instant charm to any shelf, desk, or doll collection. Compact stitches create the firm fabric that makes an amigurumi cowboy hat hold its curved brim and rounded crown. Because the project works up in one color, it suits beginners who want a quick win. Brown yarn gives a classic leather look, and a pink band shifts the mood toward sweet. Anyone curious about a mini western hat will find this build both simple and sturdy.
What You’ll Need
- Rust-brown yarn in a light worsted or DK weight (acrylic or a wool blend)
- A small metal hook, around 2.0 mm, or one size below the yarn label’s suggestion for a tighter fabric
- A pink satin ribbon, roughly 24 inches long
- Two stitch markers
- Small, sharp scissors
- A tapestry needle for weaving in tails
Time Needed
Experienced crocheters can finish this crochet cowboy hat in about two hours. Beginners should plan on three to four, especially while learning to keep the tension even. Splitting the work into two short sessions also helps, since tired hands tend to loosen the stitches.
Step-by-Step Process
Step 1: Start the crown. Form a small starting ring with the brown yarn. Work the first round snugly into it. Hold the tiny piece between thumb and finger, close to the hook head, so the stitches stay tight.
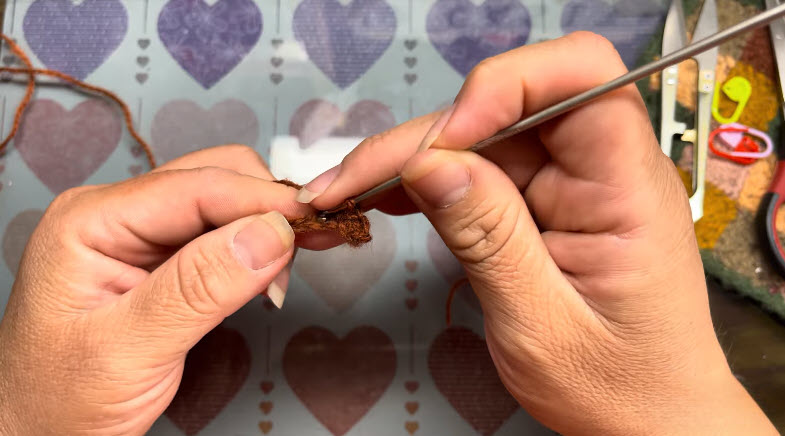
Step 2: Build the first section. Keep stitching in the same direction. The fabric lengthens into a narrow, ribbed-looking tube. Maintain steady tension, because uneven pulls show clearly at this size.
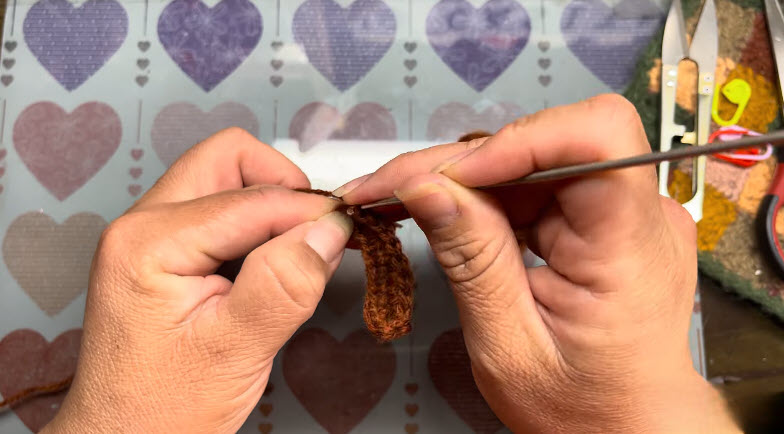
Step 3: Check the length. Lay the worked piece flat between both hands. Confirm that the edges look even and the tail hangs clear of the hook. Fix any wobbly stitches now, before the piece grows wider.
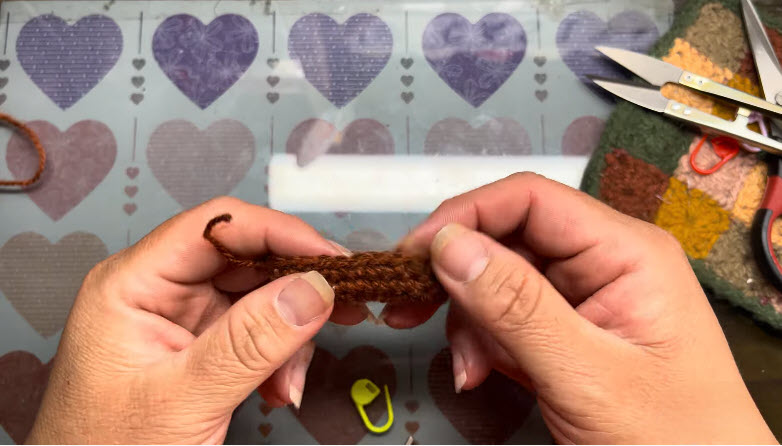
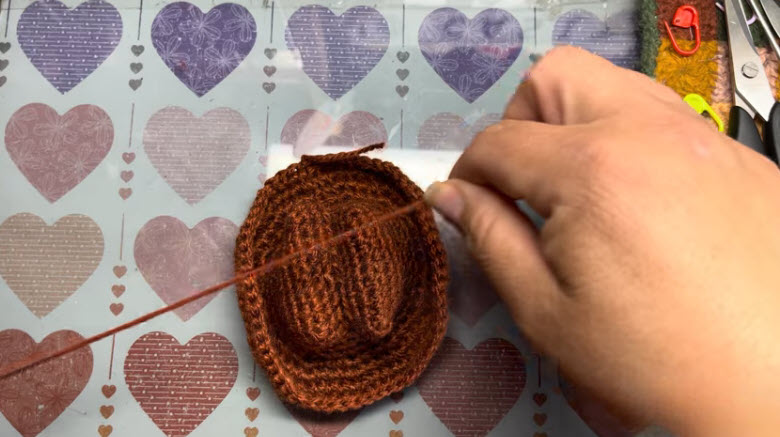
Step 4: Widen the shape. Continue around the edge, and the fabric opens into a rounded form. Insert the hook under both loops of each edge stitch. Keep the working yarn loose in the left hand so it feeds smoothly.
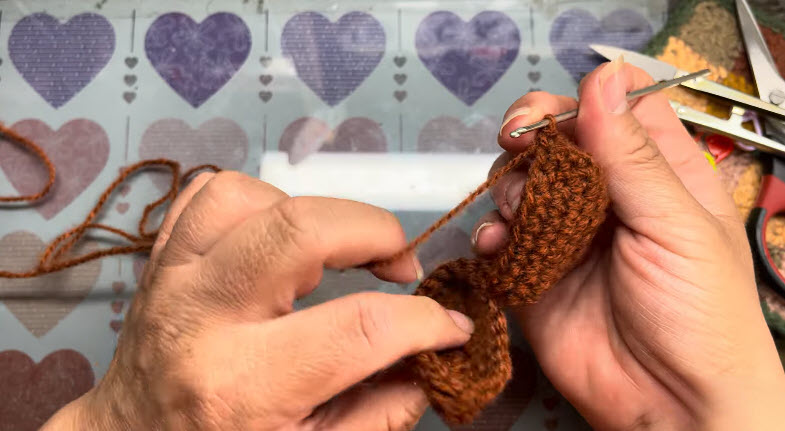
Step 5: Shape the brim edge. Work along the lower edge, letting the fabric flare into soft, scalloped curves. Keep the stitches tight here. A firm edge helps the brim hold its curve later.
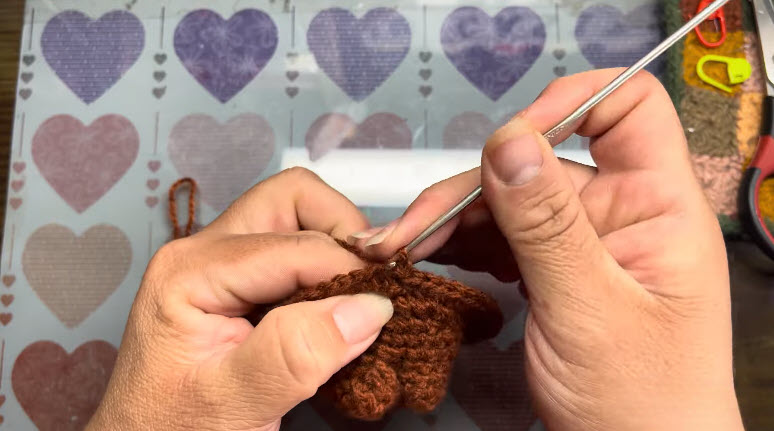
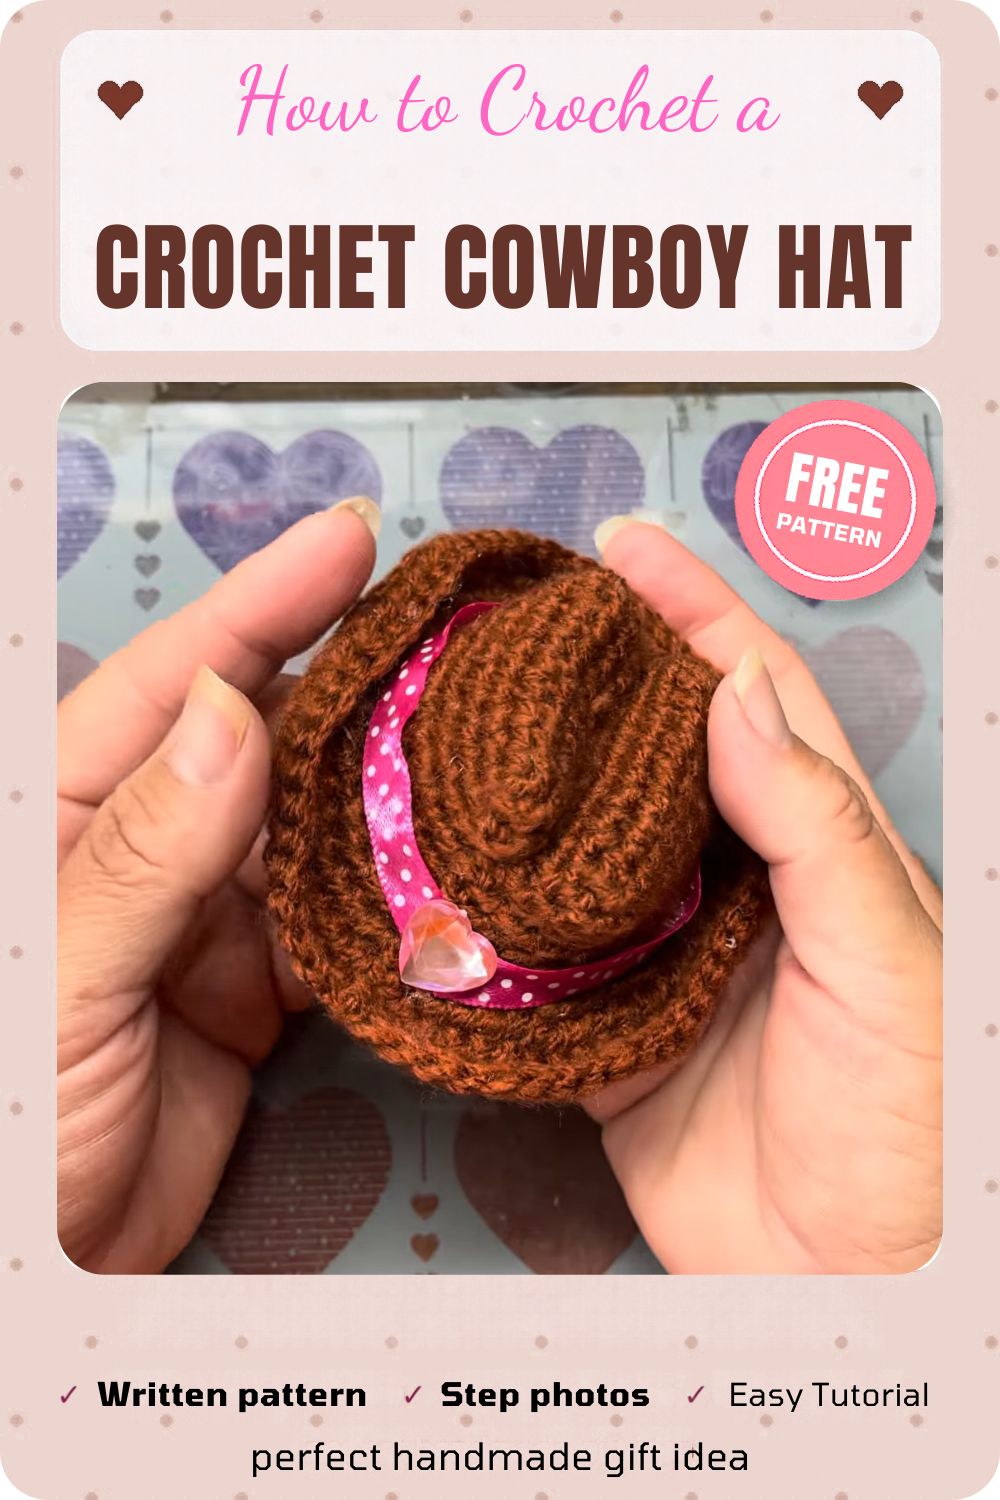
Step 6: Finish and set. Fasten off, leave a tail, and weave it into the inside of the crown. Pinch the brim upward at both sides to form the classic western curve. Tie the pink ribbon around the base of the crown.
Common Mistakes and Their Fixes
- Problem: The brim flops over. Fix: Drop to a smaller hook and tighten the edge stitches.
- Problem: Gaps show between stitches. Fix: Insert the hook under both loops and pull each stitch snug.
- Problem: The crown looks lopsided. Fix: Mark the start of each round and count stitches at the end of every round.
- Problem: The finished crochet cowboy hat feels floppy. Fix: Choose a firmer yarn, such as a wool blend, next time.
Troubleshooting Guide
Some problems appear weeks after finishing. A drooping brim improves with a light mist of fabric stiffener, followed by reshaping over a small bowl. Colors that fade unevenly usually point to window light, so rotate the hat and keep it in shade. A loosening crown needs a few anchoring stitches worked inside with matching yarn. Ribbon that sags settles back into place when tacked with tiny stitches at three points around the band.
Washing and Cleaning Instructions
Hand-wash every crochet cowboy hat, because machine cycles crush the brim. Fill a basin with cool to lukewarm water, around 30°C, and add one drop of mild soap. Remove the ribbon first, since satin can bleed. Press the hat gently for a minute, then rinse in clean water. Avoid wringing, which twists and warps the shape. Roll the hat in a towel, reshape it over a bowl, and air-dry flat, away from direct sun and heaters.
Storage Tips
Stuff the crown lightly with acid-free tissue so the dome keeps its roundness. Rest the hat brim-up in a small box, never beneath heavier items. A dry, shaded shelf prevents yellowing during long storage. For seasonal storage, add a cedar block or lavender sachet. Check the hat every few months and fluff it back into shape.
Bonus: Steam-Setting the Brim
A little steam sharpens the brim curve. Hold a steamer or kettle spout several inches from the brim, then bend the edge upward with clean fingers. Let the hat cool completely before moving it. Never press an iron onto the fabric, because acrylic yarn can flatten or melt. Wool blends respond best to this method.
Signs of Wear to Watch For
- Fuzzy pilling on the brim edge: Trim lightly with a fabric shaver. Repair, don’t replace.
- A split or loose edge stitch: Re-stitch right away with matching yarn before it unravels.
- A flattened crown: Re-stuff with tissue and steam-set it. No replacement needed.
- Frayed or faded ribbon: Replace the ribbon, since it costs little and takes seconds.
- Thinning fibers across the whole crown: Retire the hat and crochet a fresh one.
Creative Projects You Can Make With This Pattern
Smaller versions make charming keychains or tree ornaments. Matching hats suit doll collections and plush toys. A set of three in different colors works well as party favors. Readers who enjoy this build can pair it with a crochet boot pattern, a small horse amigurumi, or a sheriff badge appliqué from the same site.
Ways to Style or Display It
Perch the hat on a shelf next to a rustic jar or a small cactus planter. Hang it from a wall hook on its ribbon tie for a rustic accent. Pose it on a doll, a teddy bear, or a bottle for a quick centerpiece. Swap the pink band for gingham or leather cord to change the mood.
Who This Pattern Is Great For
- Beginners ready to move beyond flat pieces
- Makers who sell small items at craft fairs
- Parents building a western-themed birthday setup
- Doll collectors who want custom accessories
- Anyone who enjoys small projects with fast results
Why It’s Popular Right Now
Western-inspired décor keeps climbing, and handmade accents suit the trend perfectly. Small wearable-style amigurumi also photograph well, which helps them spread across social feeds.
- Quick finish with little yarn
- Easy to customize with ribbon colors
- Sturdy enough for gifting and display
FAQ
What yarn works best for a firm brim?
A wool blend or tightly spun acrylic holds shape best. Soft cotton tends to droop.
Can the hat fit a real doll or toy?
Yes. Test the crown against the toy’s head before shaping the brim, then size up or down by adjusting the starting ring.
How do I keep the ribbon from slipping?
Tack it at three points with tiny stitches in matching thread. A drop of fabric glue under the knot also helps.
Is the hat safe for children?
Skip small ribbons and loose embellishments for toddlers. Choose a sewn-on band instead.
A Hat Worth Keeping Around
Patience with tension pays off most in this project. Tight stitches, gentle washing, and a little care in storage keep a crochet cowboy hat looking fresh for years. Whoever hooks this one up, may every round feel smooth and every brim curve land just right.