Easy Crochet Beret Hat Pattern for Little Girls
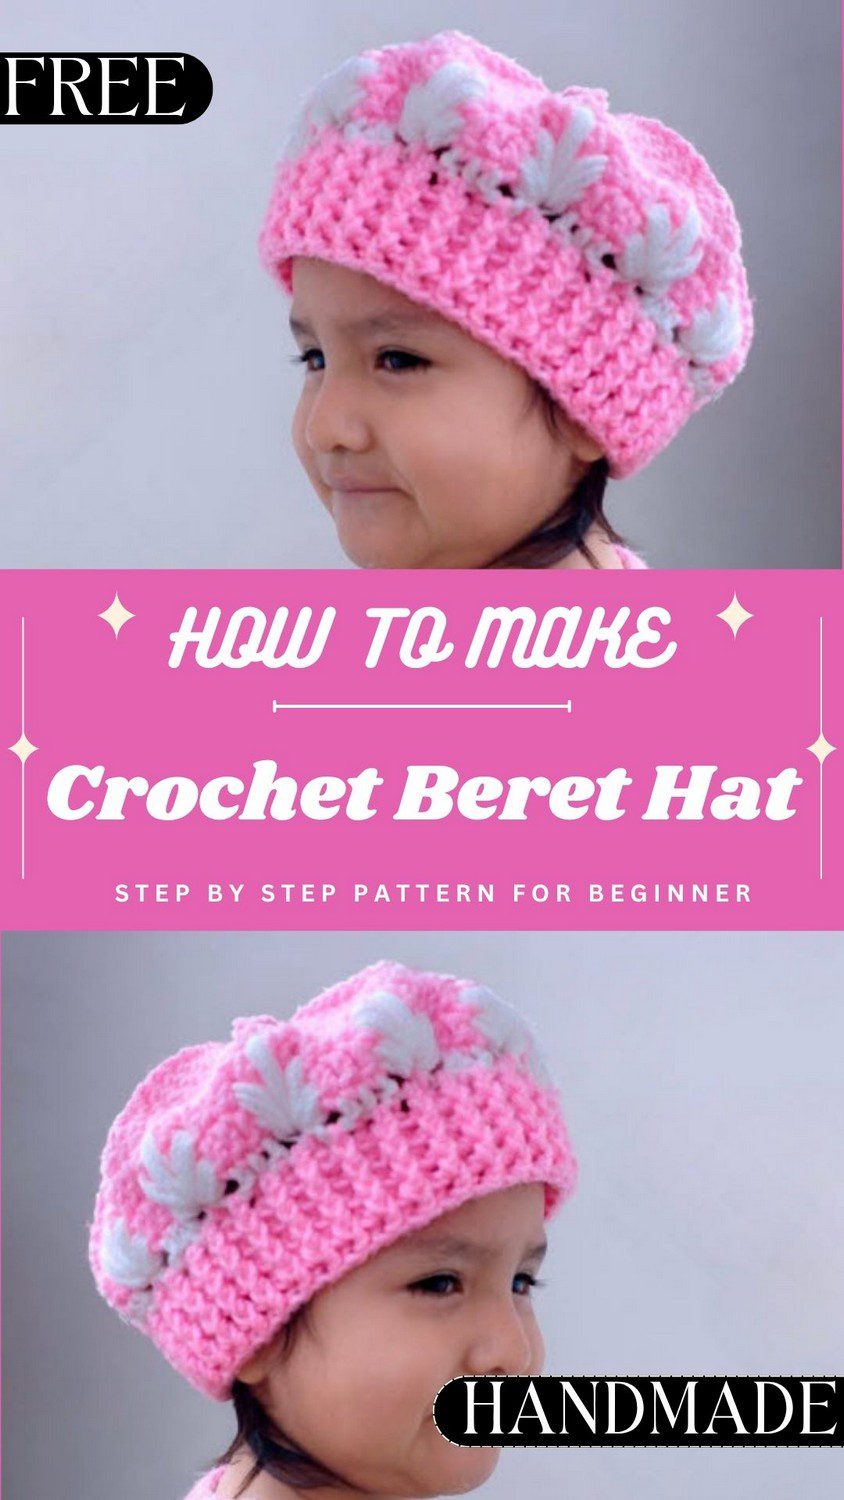
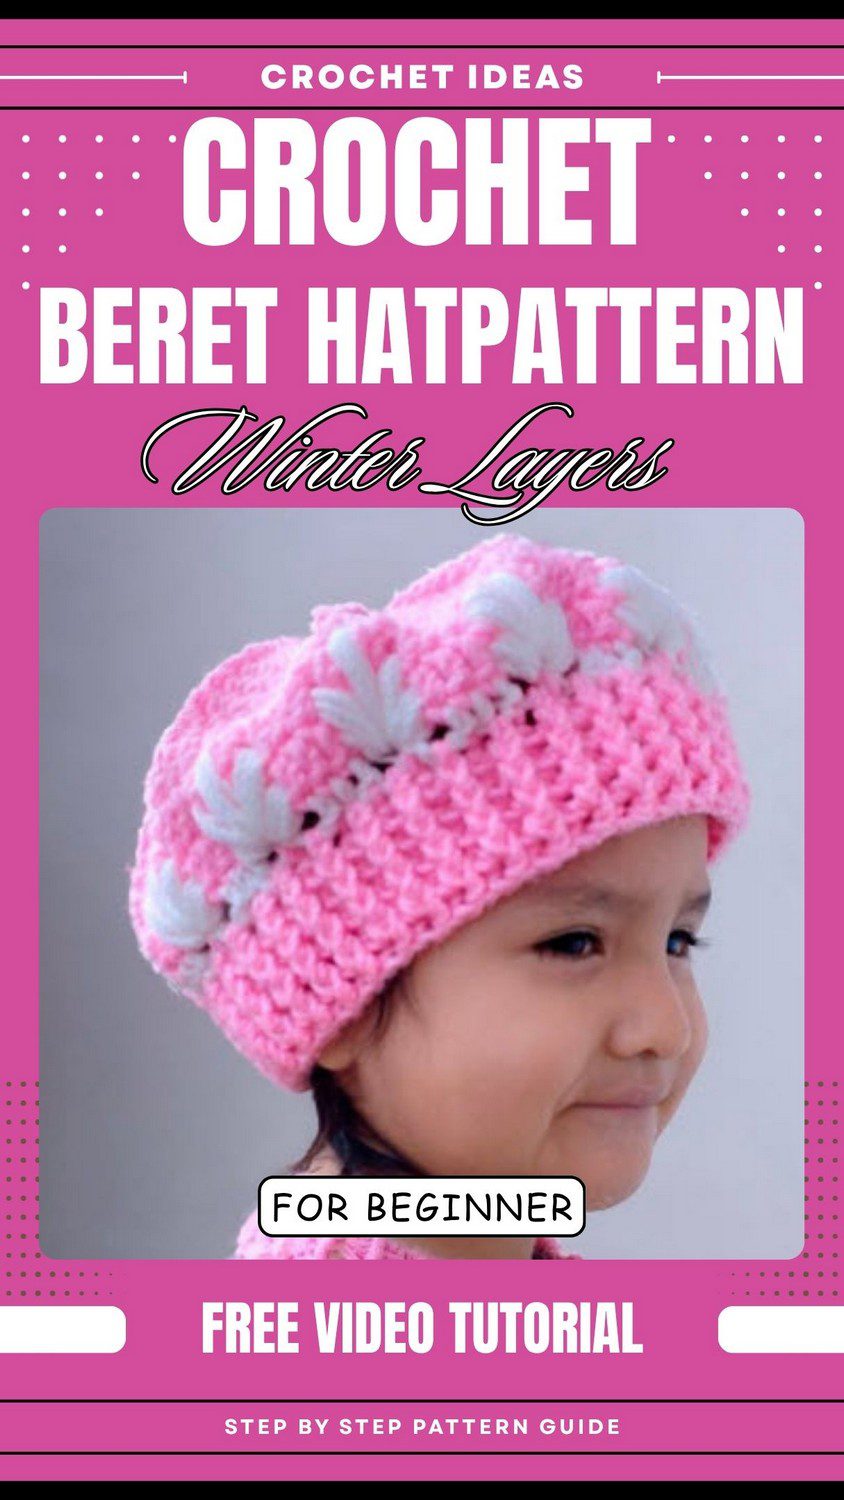
A pink beret looks adorable on a little girl, and this free crochet beret hat pattern is easy and fun to make. It features a soft pink top, a white band, and a stretchy brim for a comfortable fit. Each round includes clear stitch counts to help you follow along without getting lost. All you need is a 4 mm crochet hook and size 4 yarn to create this lovely crochet beret.
Little girls look adorable in a pink beret, and this crochet beret hat pattern is a lovely project to try. You start with a soft pink top and then add a pretty white clover stitch band. Next you finish it with a stretchy ribbed brim. Each round includes a clear stitch count, so this toddler crochet hat is easy to follow from start to finish. It also makes a cozy handmade gift for a little girl.
Crochet Beret Hat Pattern Overview
Skill level: Intermediate
Finished size: About 21 cm (8.25 in) across the flat crown and about 15 cm (6 in) from brim to crown center. The brim measures about 43 cm (17 in) around and stretches to fit a 48 to 50 cm toddler head (estimated).
Gauge: Gauge is not critical, so use standard tension with worsted yarn and a 4.0 mm hook. Instead, check the crown width at the end of Round 8.
Terms: US terminology
Method: Worked in joined rounds from a magic ring, with the crown first and then the mesh rounds, the white clover band and the ribbed brim.
Materials for the Crochet Beret Hat Pattern
- Main color (MC), pink: worsted or aran weight smooth acrylic yarn, about 60 g
- Contrast color (CC), white: same yarn weight, about 20 g
- Total yarn for a child’s hat: roughly 50 g to 100 g
- Yarn weight: medium, category 4
- Hook: 4.0 mm crochet hook
- Yarn needle (tapestry needle)
- 10 stitch markers
- Measuring tape
- Scissors
Abbreviations
- ch = chain
- sl st = slip stitch
- dc = double crochet
- dc2tog = double crochet 2 together
- fpdc = front post double crochet
- bpdc = back post double crochet
- sp = space
- st(s) = stitch(es)
- cl-tr = clover stitch cluster
- MC = main color
- CC = contrast color
Special Techniques
- Magic ring: Begin with a magic ring. Round 1 is worked into the ring, and afterward you pull the tail tight to close the center.
- Double crochet: Yarn over, insert the hook into the stitch and pull up a loop. Then yarn over and pull through two loops, twice.
- Front post double crochet: Yarn over, and then insert the hook from front to back to front around the post of the stitch below. The post is the upright stem of the stitch. Pull up a loop and finish like a regular dc. As a result, the stem pops forward and forms a raised rib.
- Back post double crochet: Yarn over and insert the hook from back to front to back around the post of the stitch below. Pull up a loop, and then finish like a regular dc. Here, the stem pushes to the back.
- Sections and rib markers: The crown splits into 10 equal sections. After Round 2, place a stitch marker in the first stitch of every section. Each marker points out where a rib runs, so move the markers up as you work each round.
- Joining and color changes: Join every round with a sl st to the top of the starting ch 2. The two starting chains count as the first dc, except in the brim rounds. Also, do not turn the work.
Clover Stitch Cluster
The clover stitch is a gathered cluster of 3 tall loops worked across 3 neighboring mesh spaces. Here is the full method:
- Yarn over and insert the hook into the first ch-1 space.
- Yarn over, pull up a tall loop, and then yarn over and pull through 2 loops. Two loops stay on the hook.
- Repeat steps 1 and 2 in the next two ch-1 spaces. Four loops are now on the hook.
- Finally, yarn over and pull through all 4 loops. Ch 1 tightly to lock the cluster.
At the start of a round, ch 2 stands in for the first leg. Then work the other 2 legs in the next 2 spaces, and pull through all 3 loops.
Crochet Beret Hat Pattern Instructions
Work the crown and mesh rounds with the stitch counts from the guide below. Then follow these two steps for the color change and the ribbed brim.
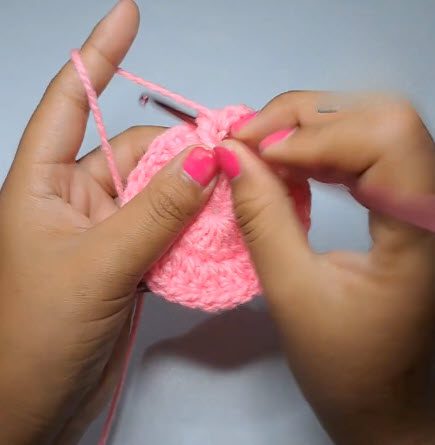
Step: Change to White (End of Round 11)
First, join Round 11 with a sl st to the top of the starting ch 2. On that joining sl st, change to white. Pull the white yarn through the last loop of the slip stitch, and then cut the pink yarn and leave a short tail. After that, the white yarn is ready for the clover band in Round 12.
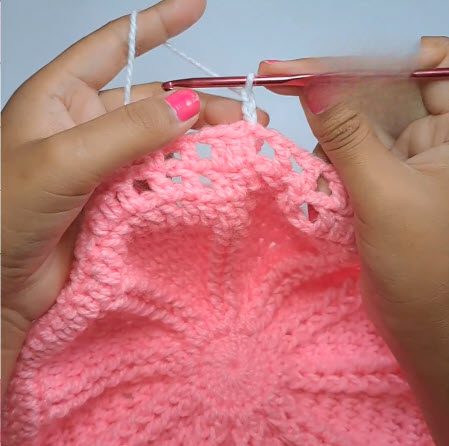
Step: Ribbing (Rounds 14 to 16)
First, ch 2, which does not count as a stitch. Next, work fpdc around the next stitch, and then bpdc around the next stitch. Repeat this pair around, and then join with a sl st to the first fpdc (60 sts). Make fpdc sit above fpdc and bpdc above bpdc, so the ribs run in straight lines. Work this same round for Rounds 14 to 16, and then fasten off and cut the yarn.
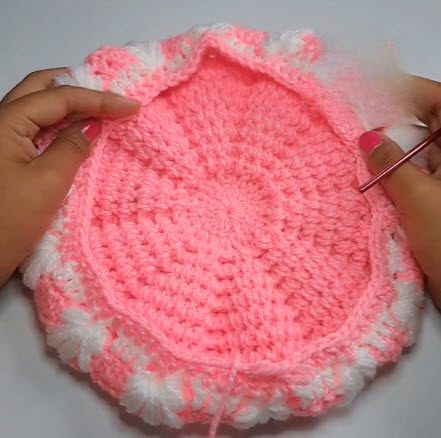
Quick Stitch Count Guide
- Rounds 1 to 8: 20, 30, 40, 50, 60, 70, 80, 90 sts
- Round 9: 90 sts plus 10 ch-1 spaces
- Rounds 10 and 11: 50 dc plus 50 ch-1 spaces
- Round 12: 40 sts plus 10 ch-2 spaces
- Rounds 13 to 16: 60 sts
Finishing
First, use the yarn needle to weave every loose tail into the wrong side of the post stitches and the ribbing. Then block the hat lightly. Gentle steam or a wet block will bring out the radial ribs and the clover texture.
Common Mistakes in the Crochet Beret Hat Pattern
- Forgetting that the starting ch 2 counts as the first stitch in Rounds 1 to 13, because the count then shrinks round by round.
- Working post stitches too tightly, since the crown pulls in and loses its flat shape.
- Skipping the crown size check, because a crown near 21 cm keeps the fit right for a toddler.
- Letting the markers slide, so move each one up every round.
- Counting a ch 2 as a stitch in the brim rounds, because there it does not count and the ribbing goes off by one.
Uses and Benefits of the Crochet Beret Hat Pattern
Handmade gifts earn the biggest smiles, and a toddler hat in pink and white fits the moment well. Also, soft acrylic yarn keeps the fabric gentle and washable. Meanwhile, the simple two-color palette pairs with plenty of everyday outfits, so styling stays easy. Beyond gifting, the project gives crocheters a rewarding way to practice post stitches and clusters on a small, quick-to-finish accessory.
Tips for the Crochet Beret Hat Pattern
- First, move every marker up each round.
- Next, check your count against the guide.
- Then measure the crown before starting the mesh.
- Also, keep post stitches relaxed, and remember that the ch 2 stops counting in the brim rounds.
Personalization Ideas
- Color pairings: Pink and white is the classic pairing, yet the band loves other colors too. Try mint with cream, gray with yellow, or lilac with white, and keep the contrast strong so the clusters stand out.
- Deeper brim: For a deeper brim, simply add a fourth ribbing round.
Bonus: Styling the Little Beret
First, tilt the beret slightly to one side for a playful touch. Next, pair it with a denim jacket or a simple cotton dress. Finally, add matching mittens in pink for a coordinated set.
FAQs About the Crochet Beret Hat Pattern
Which hook size works best for the crochet beret hat pattern?
Use a 4.0 mm hook with worsted weight yarn, because that pairing gives the right crown width.
Which yarn is best?
Smooth acrylic is the easy pick, because it is soft, washable and makes the post stitches easy to see.
Is the crochet beret hat pattern good for beginners?
It sits at an intermediate level because of the post stitches and the clustered clover stitches. However, anyone comfortable with double crochet can learn them quickly.
How much yarn is needed?
Overall, you need around 60 g of pink and 20 g of white.
Go One Round at a Time
So that’s the whole hat. Grab your pink and white yarn, put on a favourite playlist, and take it one round at a time. Also, keep an eye on those markers, and measure the crown before moving on.
Before long, you’ll have a cute little beret sitting on a toddler’s head. Besides, little ones love getting something handmade, and the pink and white combo is easy to love. Go on, give it a try!