Crochet Spider-Man Hat Pattern Kids Will Love
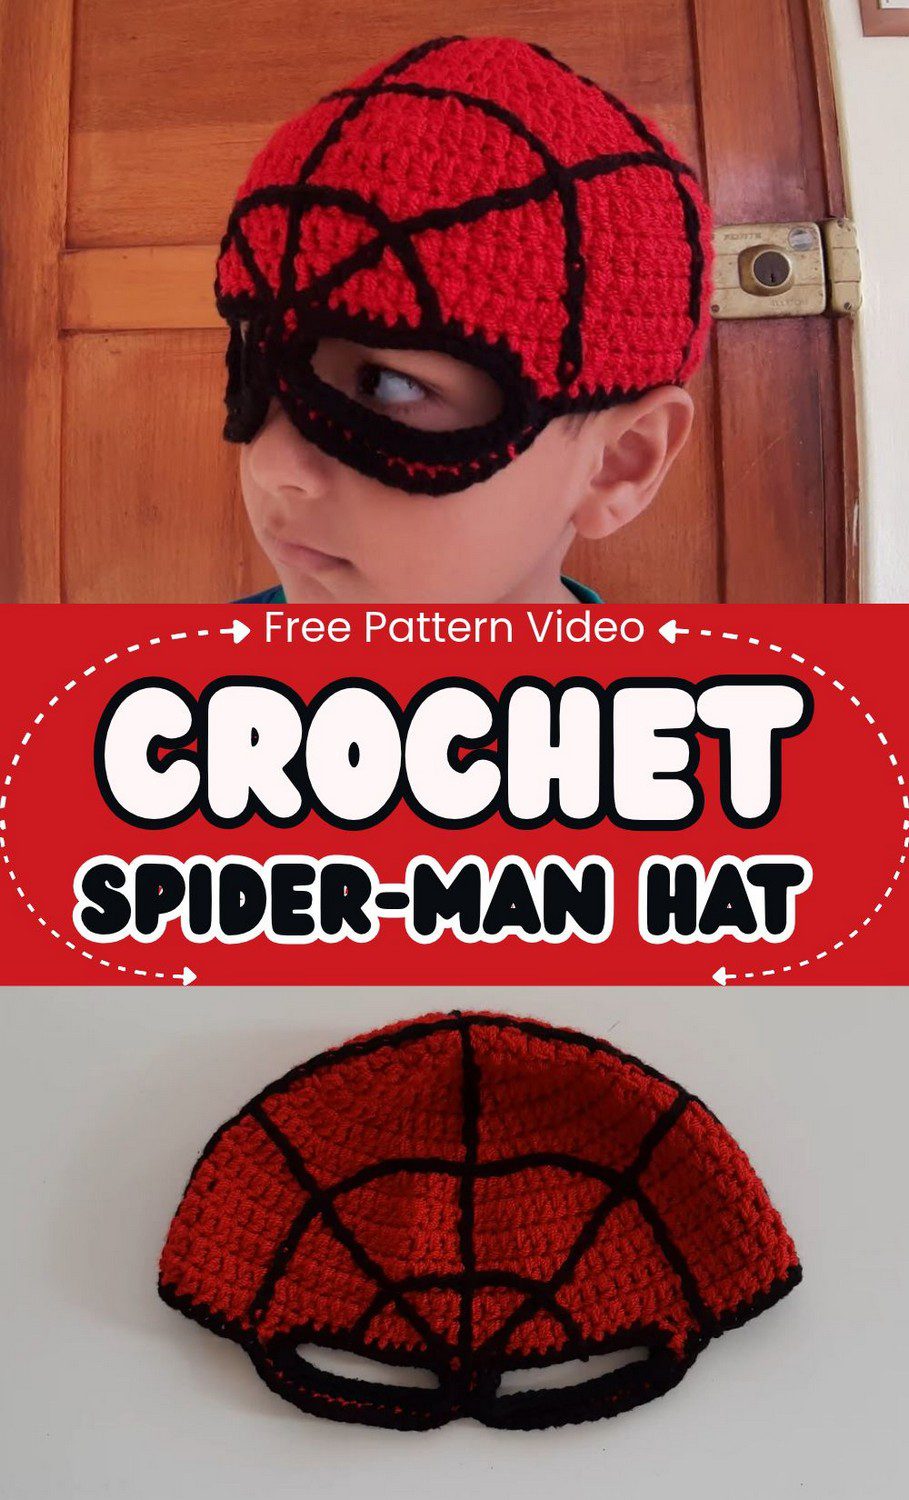
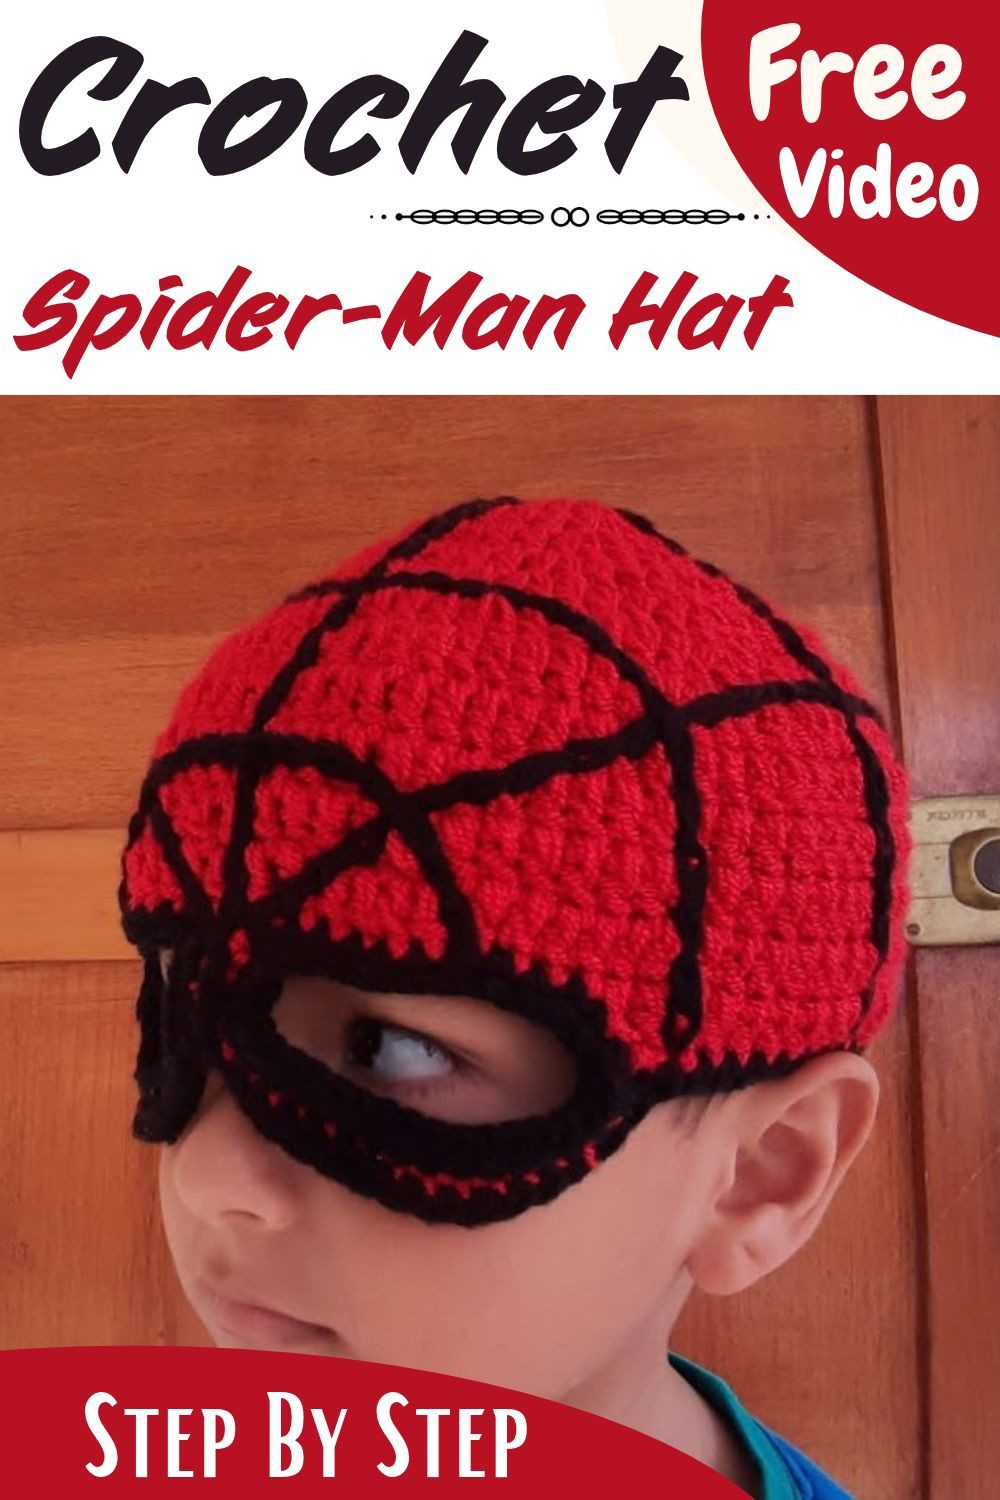
Look at this cute red hat with black spider web lines and bold white eyes! This crochet Spider-Man hat is beginner-friendly and quick to make. Kids will love wearing it, and it makes a fun handmade gift for little superheroes.
Meet a hat every little hero will love! This crochet Spider-Man hat features a bright red design with thick black web lines and bold eyes outlined in black to create an iconic superhero mask look. Made in simple rounds, this beginner-friendly crochet beanie is easy and fun to create. It makes a perfect superhero crochet gift for kids, especially little boys who love Spider-Man. Grab your red and black yarn and start crocheting today!
Crochet Spider-Man Hat Pattern Overview
Every little hero will want this hat. The red body is covered in thick black web lines, and the black border around the white eyes gives it a real mask look. Because it suits boys, girls and anyone who loves superheroes, this crochet Spider-Man hat pattern works for almost any gift list.
Skill level: Beginner-friendly, with intermediate finishing details.
Finished size: Estimated 20 in (51 cm) around and about 7 in (18 cm) deep, a typical 5-year-old fit.
The hat is worked top-down in a circle. Also, all instructions use US terms, so dc means the usual double crochet.
The project has three parts. First, you crochet the red beanie in plain rounds. Next, you make two white eyes and outline them in black. Finally, you stitch the black web across the finished hat. The beanie itself is easy, but the finishing steps are where a little extra patience pays off.
Materials for the Crochet Spider-Man Hat Pattern
Yarn
- Red: worsted weight (medium #4), 1 skein (about 50-70 g).
- White: a small amount, for the eyes.
- Black: a small amount, for the webbing and the eye outlines.
Red does almost all of the work here, while white and black only need small amounts each.
Tools
- 5.0 mm crochet hook
- Tapestry needle (for weaving in ends and sewing on the eyes)
- Scissors
- Pins (to hold the eyes in place before sewing)
Abbreviations
- ch = chain
- sc = single crochet (used for the eyes)
- hdc = half double crochet (used for the eyes)
- dc = double crochet
- inc = increase (work 2 dc in the same stitch)
- sl st = slip stitch
- st(s) = stitch(es)
- Rnd = round
- [ ] = repeat the steps inside the brackets around the whole round
Crochet Spider-Man Hat Pattern Instructions
Step 1: Work the Crown (Rnds 1-8)
Start with a magic ring, or ch 4 and join into a ring with a sl st in the first chain. At the start of every round, ch 2 (this does not count as a stitch). At the end of every round, join with a sl st to the first dc.
- Rnd 1: work 9 dc into the ring for 9 sts.
- Next, work inc in every st in Rnd 2 for 18 sts.
- In Rnd 3, work [1 dc, inc] for 27 sts.
- Then work [2 dc, inc] in Rnd 4 for 36 sts.
- For Rnd 5, work [3 dc, inc] to reach 45 sts.
- After that, work [4 dc, inc] in Rnd 6 for 54 sts.
- Rnd 7 is [5 dc, inc], which gives 63 sts.
- Finally, finish the crown with [6 dc, inc] in Rnd 8 for 72 sts.
Because each round grows by 9 stitches, the crown stays flat and round as it widens.
Step 2: Work the Straight Rounds (Rnds 9-12)
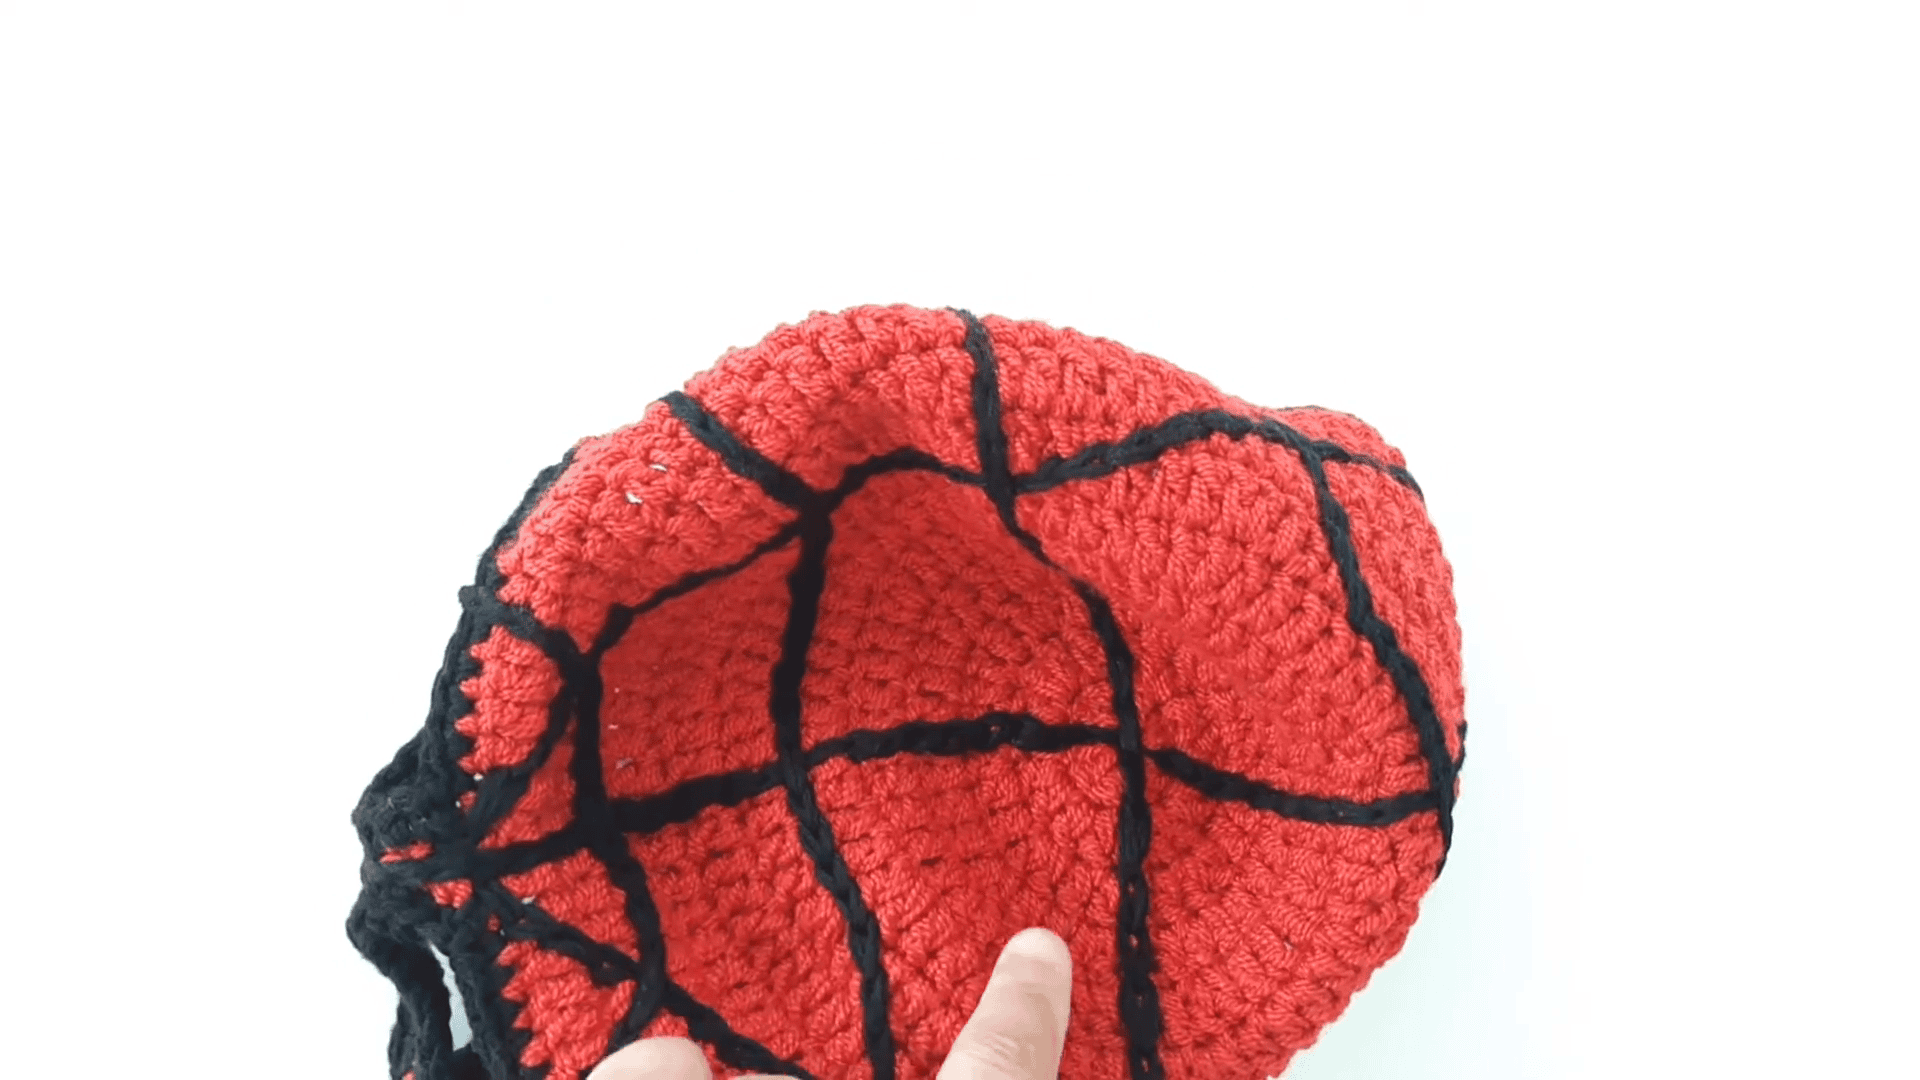
From here on, stop increasing. For Rnds 9-12, ch 2, work 1 dc in every stitch, and join with a sl st at the end of each round. Keep 72 sts in every round. Together, these four rounds bring the hat down over the ears and eyebrow area.
Once Rnd 12 is done, cut the yarn and hide the tail inside the hat. After that, the red body is ready for the eyes and the black web lines.
Step 3: Make the White Eyes
With white yarn, ch 6. Then work 1 sc in the 2nd ch from the hook. Next, make 1 hdc in each of the next 3 chains. In the last chain, put 3 sc, which makes the curve.
After that, turn and work along the other side of the chain: 3 hdc, then 1 sc in the last stitch. Join with a sl st. Cut the yarn and leave a long tail for sewing. Finally, make 2 eyes in total.
Step 4: Outline and Sew On the Eyes
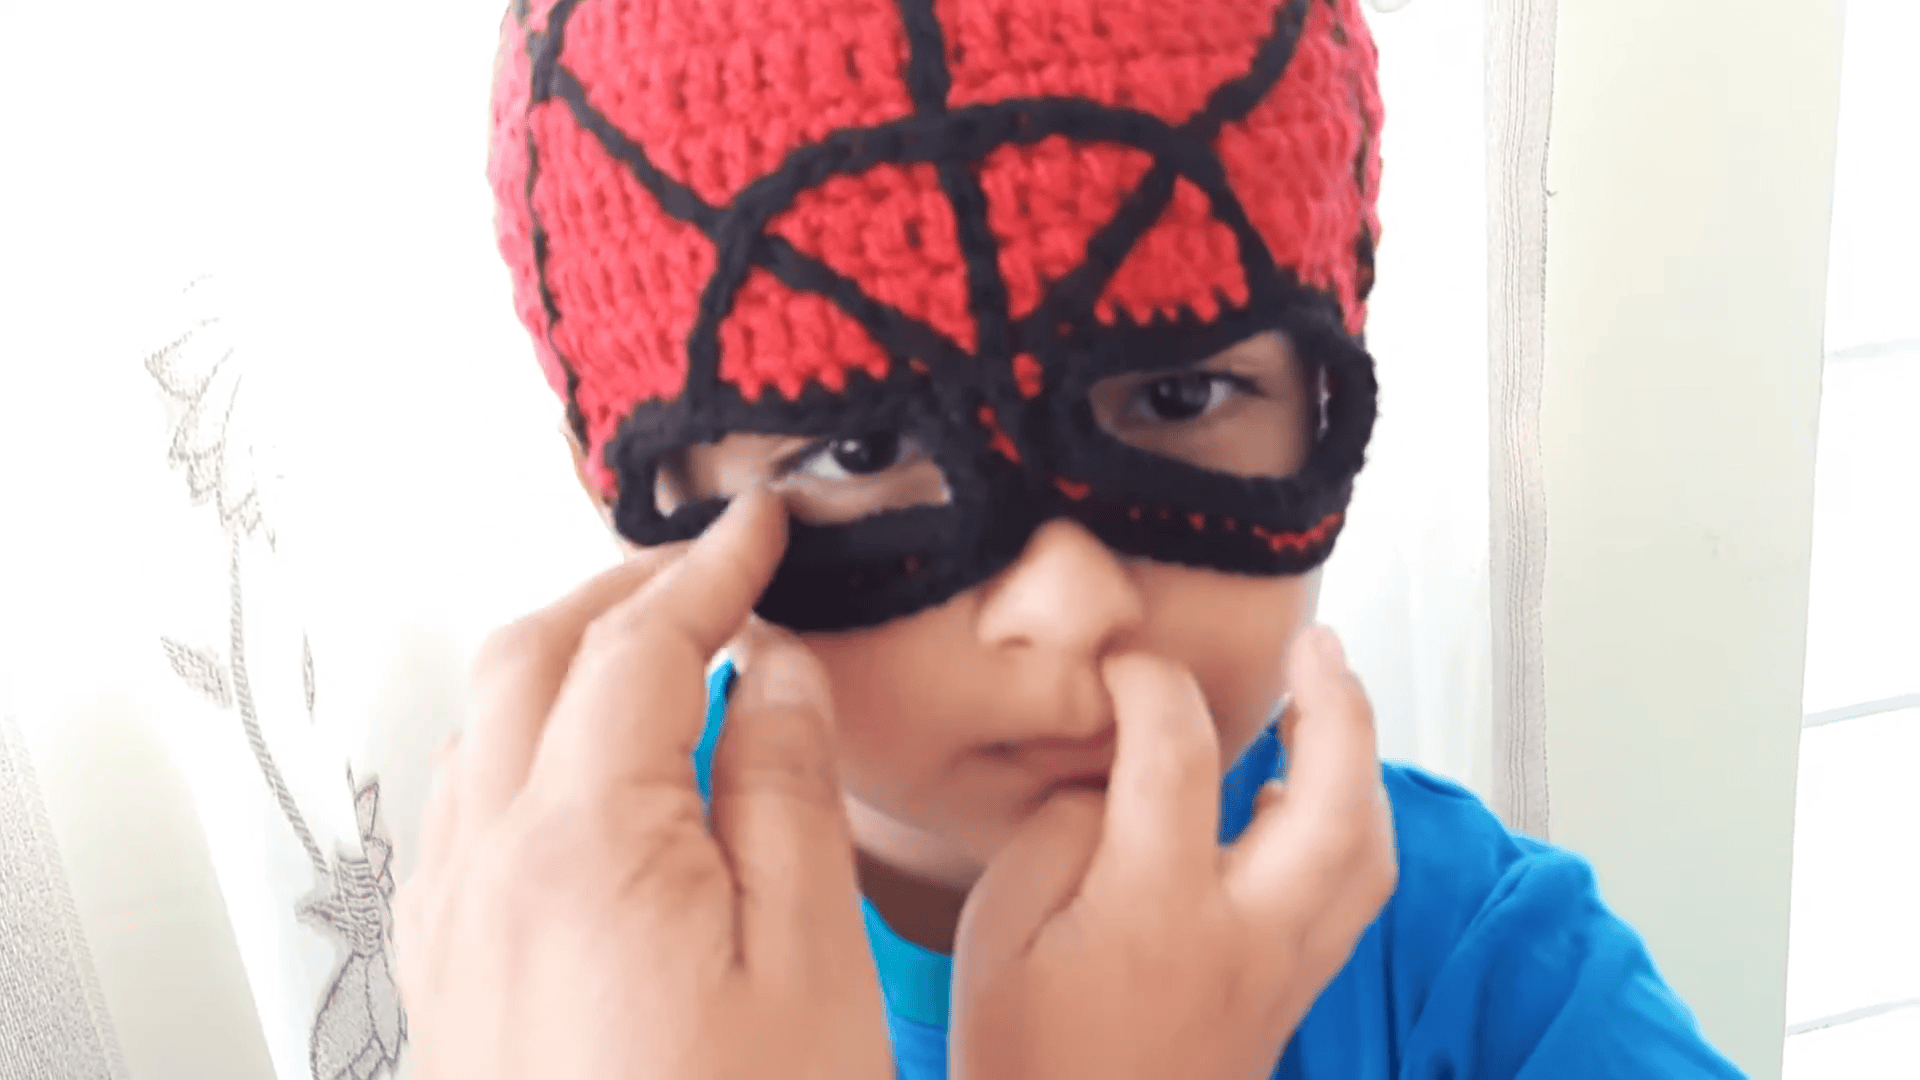
First, thread black yarn (or embroidery floss) onto the tapestry needle. Then stitch a clean border around each white eye so it looks like the eyes on Spider-Man’s mask.
Next, place the finished eyes at the front center of the beanie, where the eyebrows would sit. Pin them in place before you sew. After that, sew them on securely with the tapestry needle and the long tails.
Step 5: Stitch the Web
To begin, thread black yarn onto the tapestry needle and bring it out at the top center, near the magic ring.
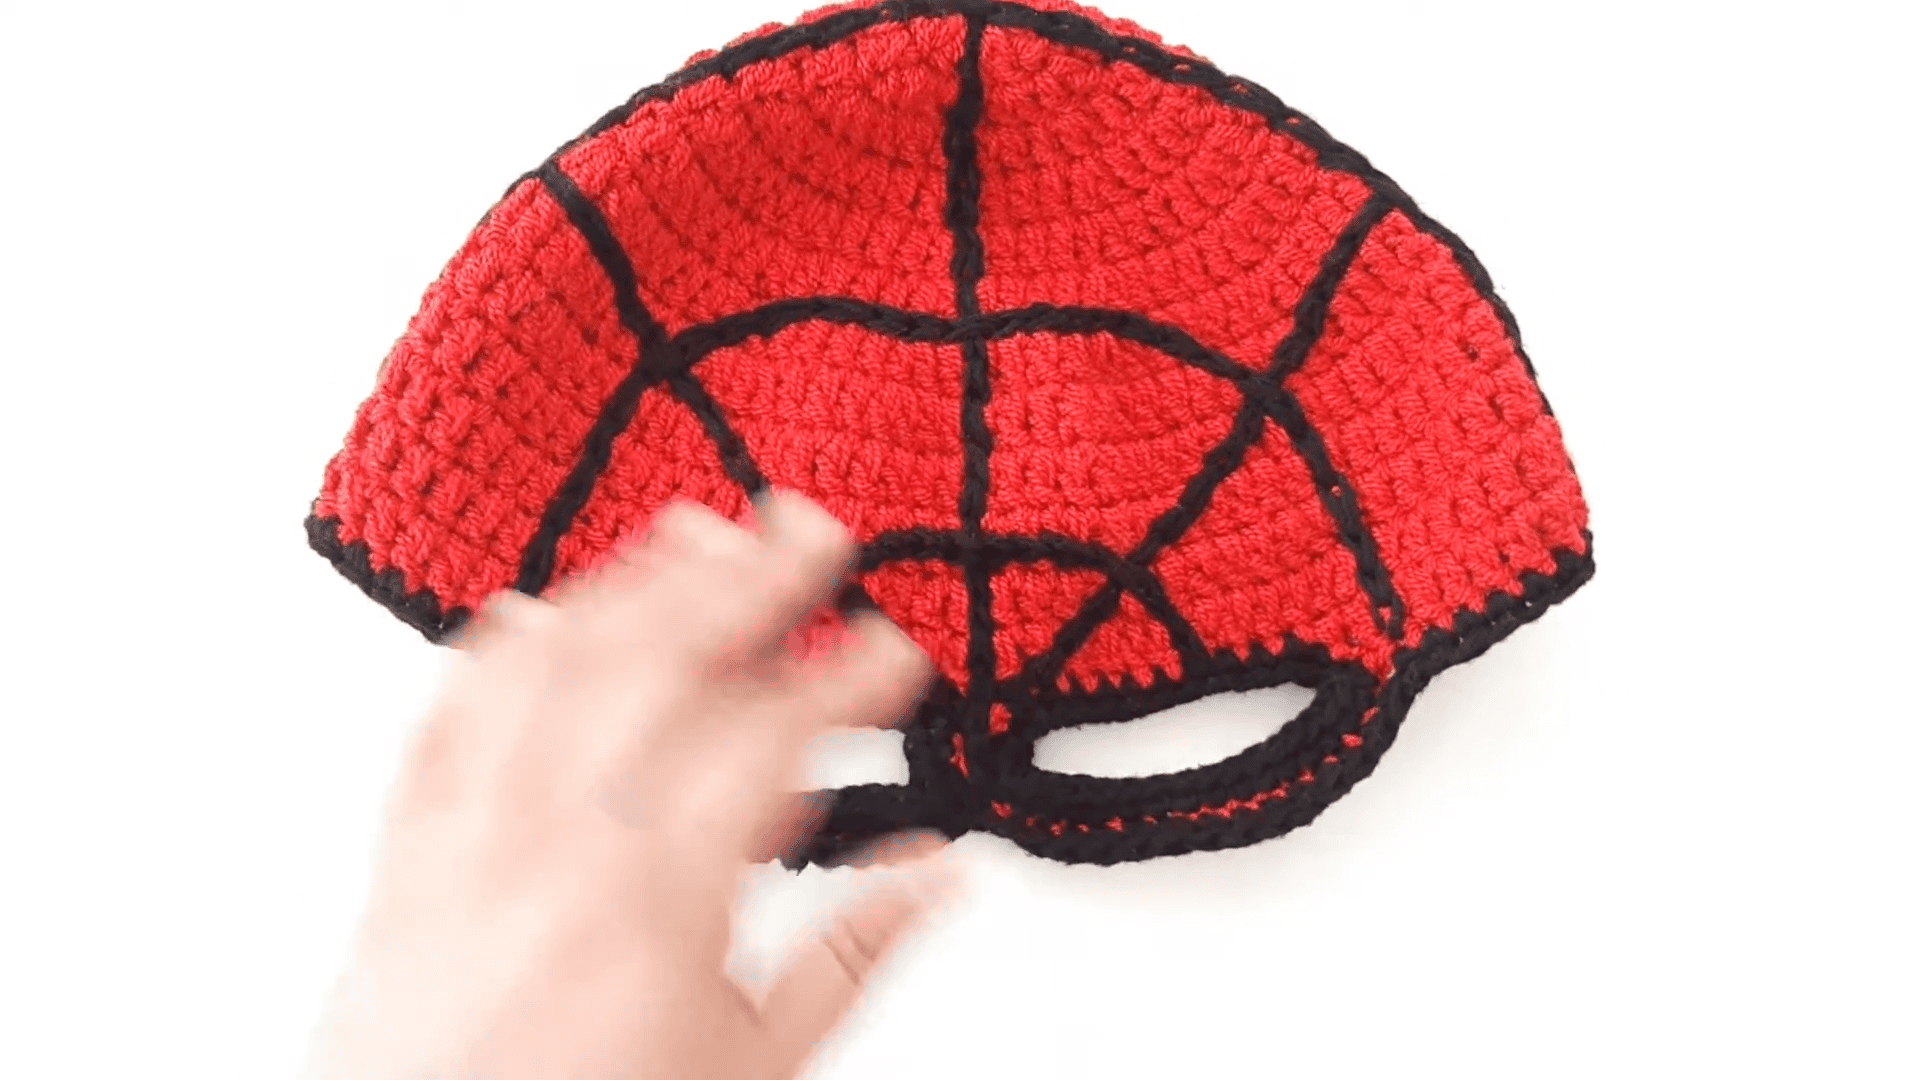
Stitch straight and diagonal lines down toward the rim, like the rays of a spider web. Between those rays, add small curved lines (arcs) until the red hat has a full web pattern. Note that the webbing is stitched with the needle and is not crocheted.
Go one ray at a time, and then fill in the arcs between them. This is the slowest part of the project, so take your time. Since thick black lines look best, a full web is the goal.
Finishing Your Crochet Spider-Man Hat Pattern
Weaving in Ends
Weave all loose tails into the stitches inside the hat. Then trim them neatly.
Blocking (Optional)
If the yarn is acrylic, hold a steam iron a little above the hat and steam it lightly to improve the shape. However, do not press the iron onto the stitches.
Size Adjustment Tips for the Crochet Spider-Man Hat Pattern
Larger head: Add one more increase round after Rnd 8. Work [1 dc in each of the next 7 sts, inc in the following st] around to reach 81 sts. Then work the straight rounds as written.
Smaller head: Stop increasing after Rnd 7 (63 sts), and continue with the straight rounds.
Taller hat: Add one extra straight round at a time. Meanwhile, try the hat on the child’s head between rounds.
Gifting and Photo Ideas for the Crochet Spider-Man Hat Pattern
Once the last tail is hidden, you will probably want to show the hat off. These ideas need nothing extra beyond the hat itself.
Make the Gift Feel Special
A handmade hat already feels personal, so wrap it simply and let the red and black do the talking. Many kids light up the second they spot the eyes. For that reason, hand it over in person if you can and watch their face.
Take Photos While It Is New
- Shoot in soft daylight so the black webbing stands out against the red.
- Also take one close-up of the web lines and one of the child wearing the hat.
- Let the child strike a hero pose, because a big grin always beats a stiff smile.
Bonus: Dress-Up Ideas for Your Little Hero
The hat is great for pretend play. For a quick superhero outfit, pair it with a plain red or blue top. It also works well for a costume day or a superhero party. Letting the child choose where the hat goes first, whether that is playtime, a walk or just around the house, makes it feel like theirs. After all, a hat that gets worn is the best compliment a crocheter can get.
Helpful Tips for the Crochet Spider-Man Hat Pattern
- Pin the eyes in place before you sew, so both sit evenly at the front center.
- If you are unsure about the fit, try the hat on the child between rounds.
- Keep the long tail on each white eye, because you will use it for sewing.
- Plan for the web to take the longest, and work the rays first, then the arcs.
- Before gifting, weave in all tails inside the hat and trim them neatly.
Frequently Asked Questions
What size does this crochet Spider-Man hat pattern fit?
It is sized for a 5-year-old. The measurements are in the overview above, and the size tips help if you need the hat bigger or smaller.
Is this crochet Spider-Man hat pattern good for beginners?
Yes for the hat itself, since it uses plain double crochet rounds. The finishing details, like the eyes and the web, are a step up, so go slowly there.
What yarn and hook does this crochet Spider-Man hat pattern need?
You need red worsted weight (medium #4) yarn, about 1 skein, plus small amounts of white and black. Use a 5.0 mm crochet hook.
How do I make the hat bigger or smaller?
To fit a larger head, add one more increase round after Rnd 8 to reach 81 sts. If you need a smaller head, stop increasing after Rnd 7 at 63 sts. Want a taller hat? Add straight rounds one at a time.
What is the webbing stitched with?
The webbing is stitched with black yarn on a tapestry needle, not crocheted. You work straight and diagonal lines from the top center, and then add small curved arcs between them.
Your Little Hero Is Waiting
So that’s the hat. Honestly, it’s easier than it looks. The red part goes fast, and the crown is done before you even get comfy on the couch. But the web is the slow bit, and it’s also the bit that makes everyone say wow.
If you’re nervous, just start with the circle and see how it feels. Try it on the kid when you’re not sure about the fit. Also, pin the eyes before you sew, because crooked eyes are no fun to fix. And when you hand it over, I bet you’ll get a big grin. That’s the whole point, really, so go make one.