Crochet Pink Piggy Bank Amigurumi Pattern with coin slot
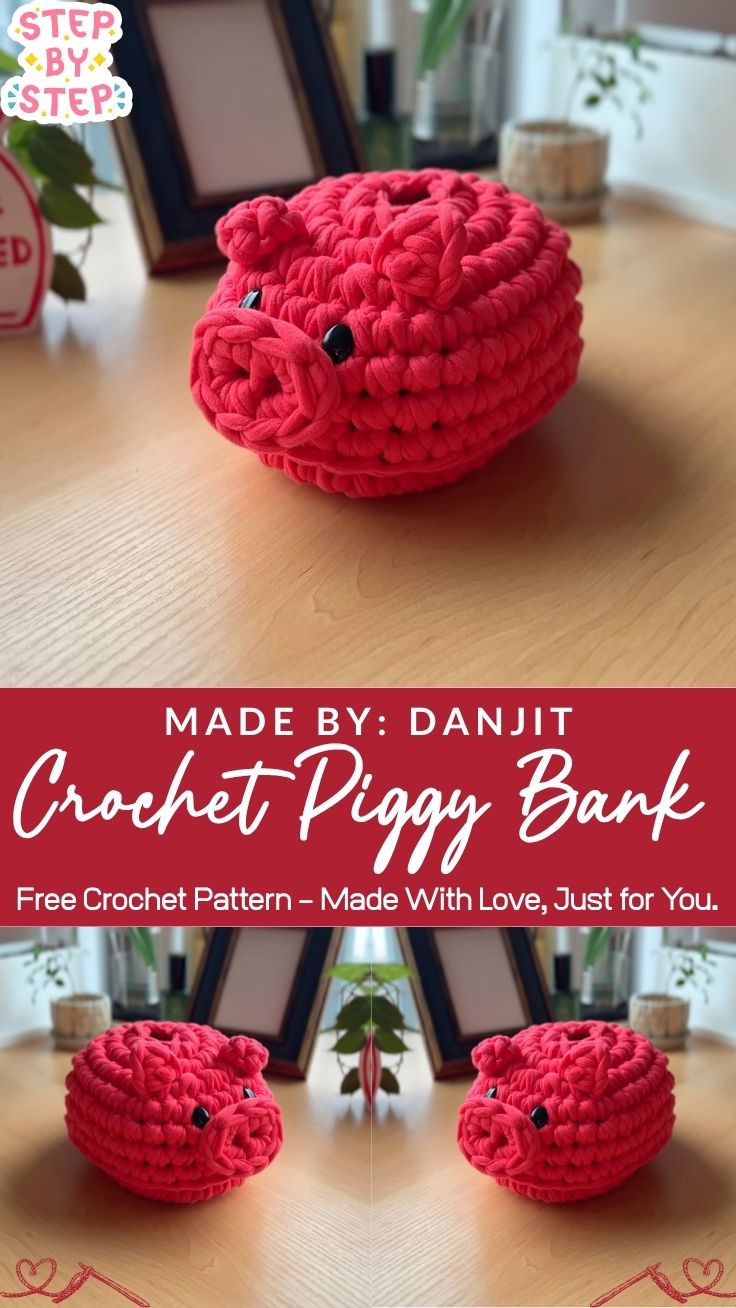
Piggy banks carry playful nostalgia, coins clinking inside a round pig shape guarding pocket change. Our Crochet Pink Piggy Bank Amigurumi Pattern with a Working Coin Slot reimagines that charm in soft yarn, blending nursery decor with a savings companion.
The piggy bank amigurumi begins as a plump round body worked in continuous single crochet pattern rounds, then grows a rounded snout, two perky ears, four stubby legs, and a curly tail. A reinforced coin slot sits along the back, letting the finished pig double as a working savings jar.
Perfect for nursery shelves, playroom decor, or a handmade gift, the pattern uses beginner-friendly stitches throughout, making the whole project approachable for first-time amigurumi crocheters within a single weekend.
Skill Level
Rated beginner to intermediate. Anyone comfortable with a magic ring, single crochet, and basic increases or decreases can finish the body and limbs without trouble. The coin slot opening asks for a touch more patience, since it needs even tension and a reinforced edge, but nothing here goes beyond an easy crochet tutorial pace.
Materials and Supplies
Gather everything before starting so the project flows without pauses.
- Worsted weight (medium, 4) yarn in pink for the main body, plus a small scrap of darker pink or rose for the snout and ears
- A pinch of black yarn or embroidery floss for the eyes and nostrils (skip if using safety eyes)
- 4.0mm (G/6 US) crochet hook, or whichever size gives firm, gap-free stitches with the chosen yarn
- 9mm safety eyes (two)
- Polyester fiberfill stuffing
- Yarn needle for sewing and weaving ends
- Sharp scissors
- Stitch markers (a locking marker or scrap yarn works fine)
- A small rectangle of plastic canvas, felt, or heavy cardstock to reinforce the coin slot
- Optional accessories: a thin ribbon or fabric bow for the neck, or a small keychain ring if making a mini charm-sized version instead of a full bank
Crochet Techniques Used
- Magic ring (adjustable ring start)
- Single crochet (sc)
- Increase (inc) and decrease (sc2tog or invisible decrease)
- Working in continuous spiral rounds
- Sewing parts together with a yarn needle
- Basic embroidery for facial details
- Reinforcing an opening (the coin slot)
Step-by-Step Pattern Instructions
Stitch counts below follow standard amigurumi conventions for a medium-sized bank, roughly 5 inches tall once stuffed. Adjust hook size or yarn weight for a bigger or smaller pig.
Shaping the Head (Top Rounds)
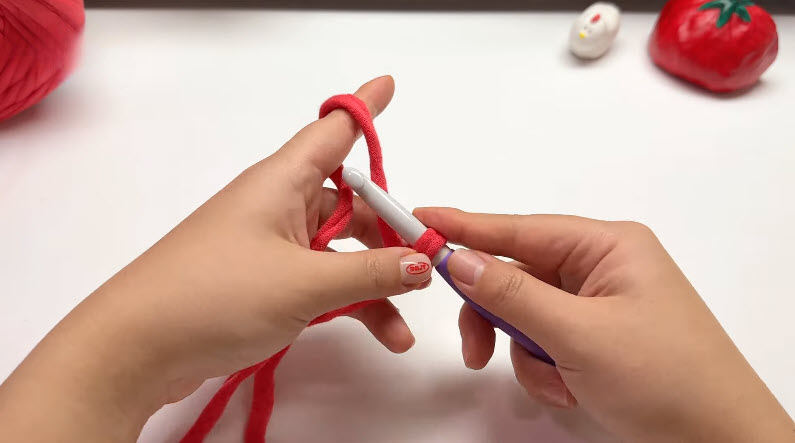
- Start with a magic ring, 6 sc into the ring (6 stitches)
- Round 2: increase in every stitch (12)
- Round 3: sc 1, increase repeat around (18)
- Round 4: sc 2, increase repeat around (24)
- Round 5: sc 3, increase repeat around (30)
- Round 6: sc 4, increase repeat around (36)
Pro tip: Keep every stitch snug on the hook rather than loose. Tight amigurumi stitches keep stuffing from peeking through later.
Building the Body (Widening and Base Rounds)
- Rounds 7–14: sc even in every stitch, no increases (36), shaping the round belly
- Place a stitch marker at the start of round 10 to mark where the coin slot will sit later
- Rounds 15–17: sc 4, decrease repeat around, dropping the count by 6 stitches each round (30, 24, 18)
- Begin stuffing firmly as the opening narrows, working small handfuls in at a time rather than one big clump
- Rounds 18–19: sc 1, decrease repeat around (12, 6)
- Fasten off, leaving a long tail, and close the remaining 6 stitches with a needle for a smooth, seamless bottom
Coin Slot Construction
- Locate the stitch marker placed in round 10, near the top-back of the body
- On that round, work a straight line of about 8–10 single crochets loosely, then skip those stitches on the next round instead of stitching into them, leaving a slit-shaped gap
- Slip stitch neatly along both long edges of the gap to keep the opening from stretching or curling
- Tuck the plastic canvas or felt rectangle just behind the slot before finishing the stuffing, holding the opening in a tidy, coin-friendly shape
Pro tip: A slot that measures roughly 1.5 inches long fits most standard coins without letting stuffing spill out.
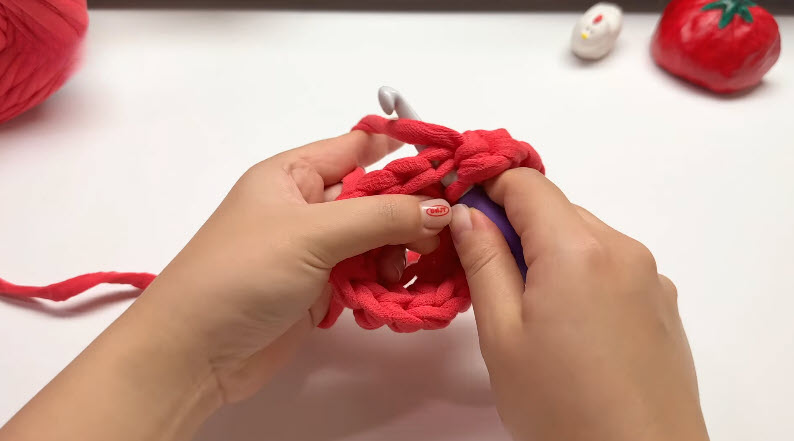
Ears
- Magic ring, 4 sc into the ring (4)
- Round 2: increase in every stitch (8)
- Rounds 3–4: sc even (8)
- Flatten the piece and fold slightly, then sew to the head just behind where the eyes will sit; repeat for a matching second ear
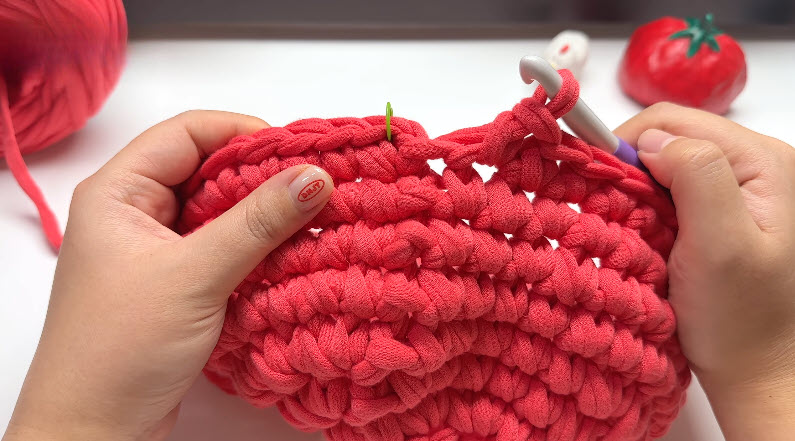
Snout
- Magic ring, 6 sc into the ring (6)
- Round 2: increase in every stitch (12)
- Rounds 3–4: sc even (12)
- Stuff lightly and sew onto the center-front of the face, positioned slightly below the eye line
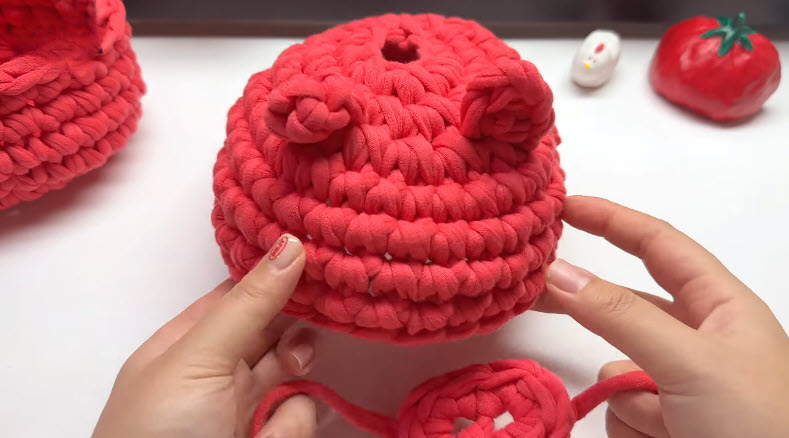
Legs (make 4)
- Magic ring, 6 sc into the ring (6)
- Rounds 2–4: sc even (6)
- Flatten the top opening and sew shut, then stuff lightly before attaching evenly around the base so the finished pig sits level
Tail
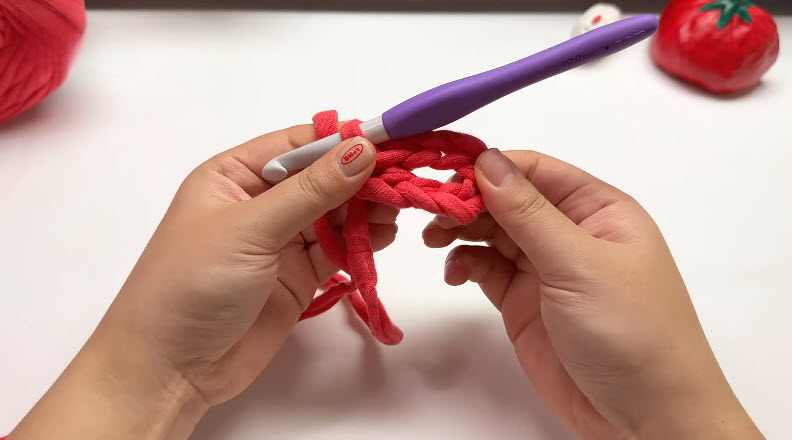
- Chain 9
- Slip stitch into the second chain from the hook and each chain across, letting the strand curl naturally as it’s worked
- Secure to the center-back of the body, just below the coin slot
Facial Details
- Attach safety eyes on either side of the snout, spaced evenly, before the head closes up and gets stuffed
- Embroider two small nostril dots on the snout using black yarn or floss
- Add a gentle curved mouth line beneath the snout with a few small backstitches
- A light dusting of pink blush (chalk pastel or blush makeup applied sparingly) under each eye gives extra warmth, though it’s entirely optional
Assembly Process
Lay every piece out around the body before sewing anything down, checking that ears, snout, legs, and tail sit symmetrically. Pin or use stitch markers to hold placement, then sew each part on with a whip stitch, weaving in loose ends as each piece gets secured. Save the coin slot reinforcement for last so stuffing stays contained while the other parts are attached.
Finishing Touches
- Weave in every loose yarn tail deep into the stuffing so nothing works its way back out
- Brush the finished pig gently with a soft-bristle brush if using a plush or fuzzy yarn, fluffing the texture
- Tie a small ribbon or bow around the neck for a decorative finish
- Check the coin slot one last time, gently working a coin through it to confirm it opens and closes smoothly
Beginner Tips
- Keep stitches tight: drop down half a hook size from what the yarn label suggests, since loose amigurumi stitches let stuffing show through gaps
- Use stitch markers generously: mark the start of every round, and mark the coin-slot position early so it isn’t missed later
- Stuff a little at a time: small handfuls packed firmly hold shape better than one large clump pushed in at the end
- Count stitches often: pause every few rounds to count and confirm the stitch total matches the pattern before moving on
Design Customization Ideas
Color Variations
Swap the classic pink for a soft blush, a deep rose, or even a novelty print yarn for a spotted pig look. A gold or metallic thread accent around the coin slot adds a playful touch for a gift version.
Cute Accessories
Add a tiny crochet flower behind one ear, a bow tie under the chin, or a small crown for a “prince and princess piggy” gift set. Button-style safety eyes in unusual colors give each pig its own personality.
Mini Size Variations
Drop to a 3.0mm hook with sport weight yarn for a palm-sized charm version, perfect to dangle from a bag or attach to a keychain ring instead of building a full working bank. Alternatively, size up with bulky yarn and a 6.0mm hook for an oversized floor pillow-style piggy bank.
Frequently Asked Questions
How much yarn does the piggy bank amigurumi need?
Roughly 80–100 grams of worsted weight yarn covers the body, snout, ears, legs, and tail for a standard-sized bank, with only a few grams needed for the darker accent pieces.
Can the coins be removed after the bank is stuffed?
Yes. Keep the stuffing loose enough near the coin slot rather than packed rock-hard, so a hand or a small tool can reach through the reinforced opening to retrieve coins as needed.
What yarn works best for a piggy bank amigurumi?
Cotton or acrylic worsted weight yarn holds shape well and keeps the coin slot from stretching out of place, making either a solid, dependable choice for the project.
Is safety eye placement dangerous for young children?
For a bank intended for toddlers, embroider the eyes with yarn instead of using plastic safety eyes, since embroidered features remove any small, detachable parts.
How long does the project usually take?
Most crocheters finish the body, limbs, and assembly across two to three relaxed sessions, with the coin slot reinforcement adding a short extra step near the end.
Can the pattern be adapted into other animals?
Absolutely the same round-body base works for a bear, cat, or owl coin bank simply by swapping the snout, ears, and color palette for a different face.
Troubleshooting Common Issues
The coin slot keeps stretching out of shape.
Add a firmer reinforcement piece behind the opening, such as doubled felt or a sturdier plastic canvas rectangle, and slip stitch the edges a second time for extra hold.
Stuffing pokes through the stitches.
Drop to a smaller hook size for tighter stitches, or stuff more conservatively near thin spots like the snout and legs.
The body looks lopsided instead of round.
Recount stitches at the end of every round during the increase rows, since one skipped increase early on throws off the whole shape.
The legs wobble, and the pig won’t sit flat.
Flatten and pin all four legs at the same height before sewing, checking from the side that the base sits level on a flat surface.
Safety eyes sit crooked.
Insert both eyes before stuffing the head, holding the piece up to a mirror or light to compare spacing from both angles before locking the washers in place.
Bonus Section: Quick Care and Cleaning Guide
- Spot clean gently with a damp cloth and mild soap, avoiding full submersion since safety eye washers can loosen when soaked
- Air dry flat, away from direct heat, to keep the stuffing from clumping
- Empty coins occasionally and gently reshape the coin slot opening by hand if it starts to relax
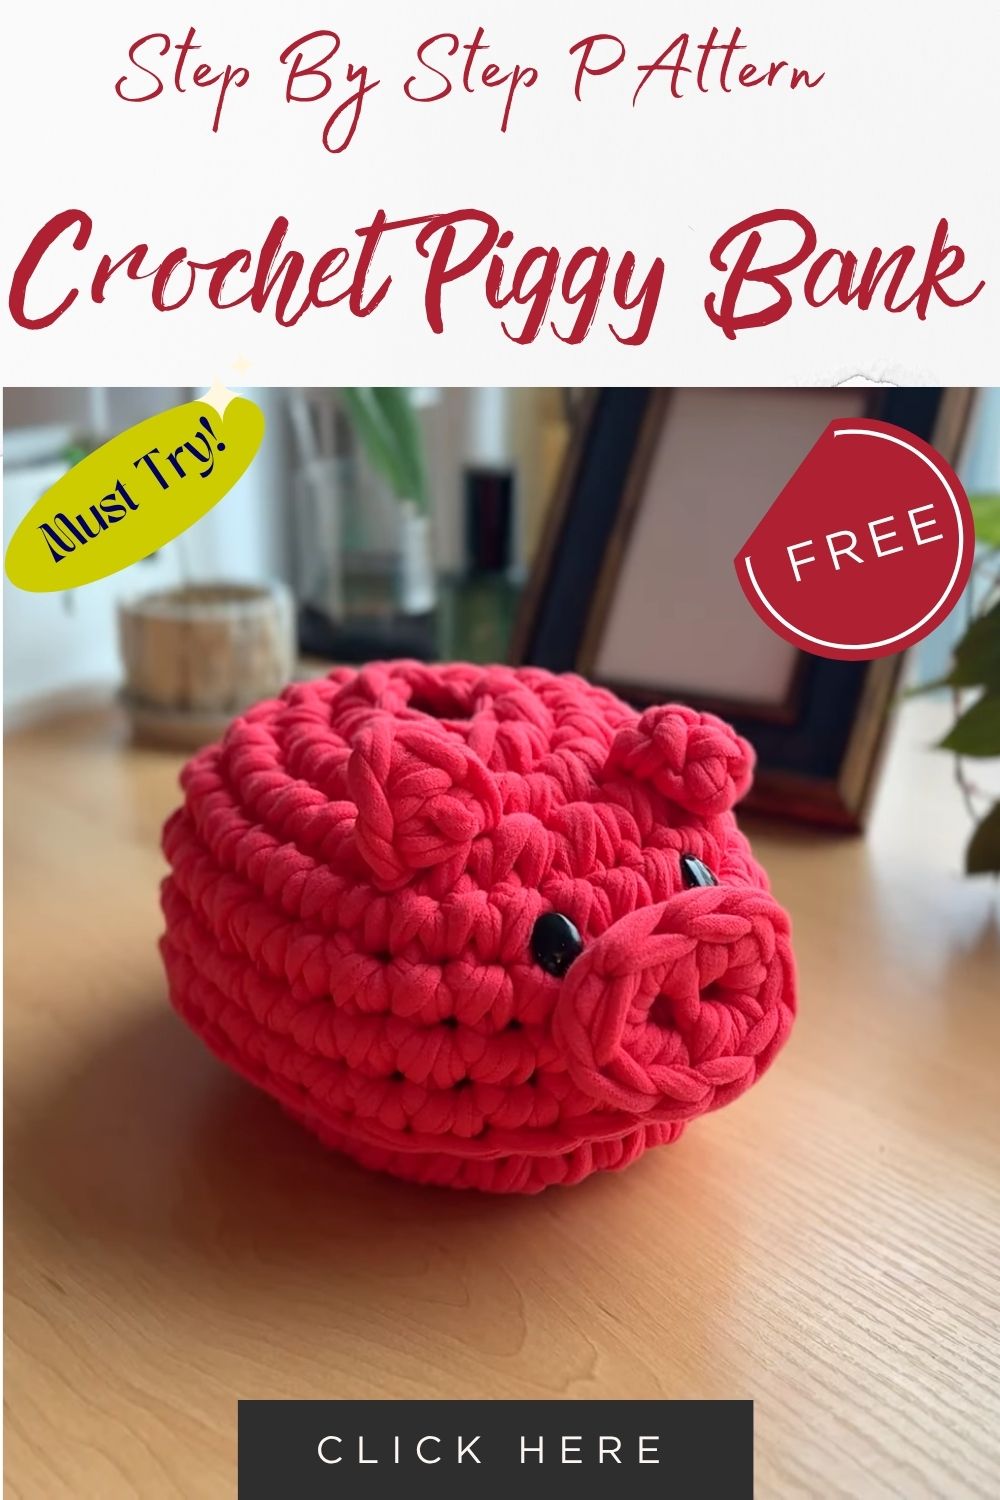
Final Thoughts
A hand-stitched piggy bank amigurumi turns loose change into something worth smiling at every time a coin drops in. Grab a hook, pick a favorite shade of pink, and start looping; the pattern above walks through every stitch needed for a finished pig ready for a shelf, a nursery, or a gift box. Share progress photos, tag fellow easy crochet project lovers, and keep the pattern handy for the next round of handmade crochet ideas waiting to be stitched.