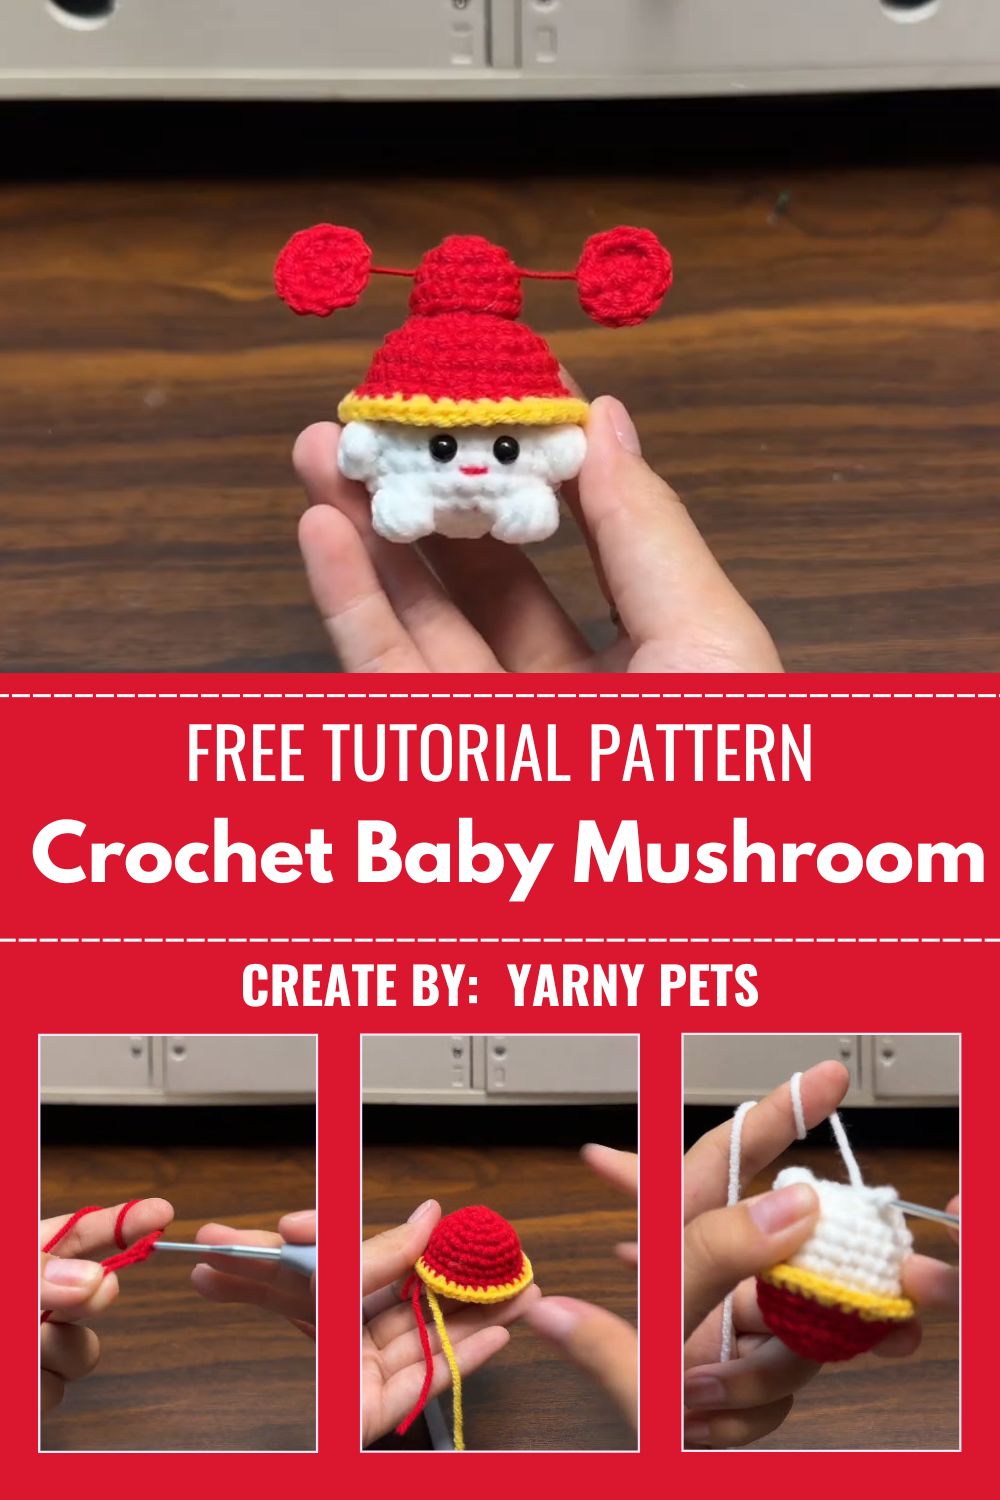
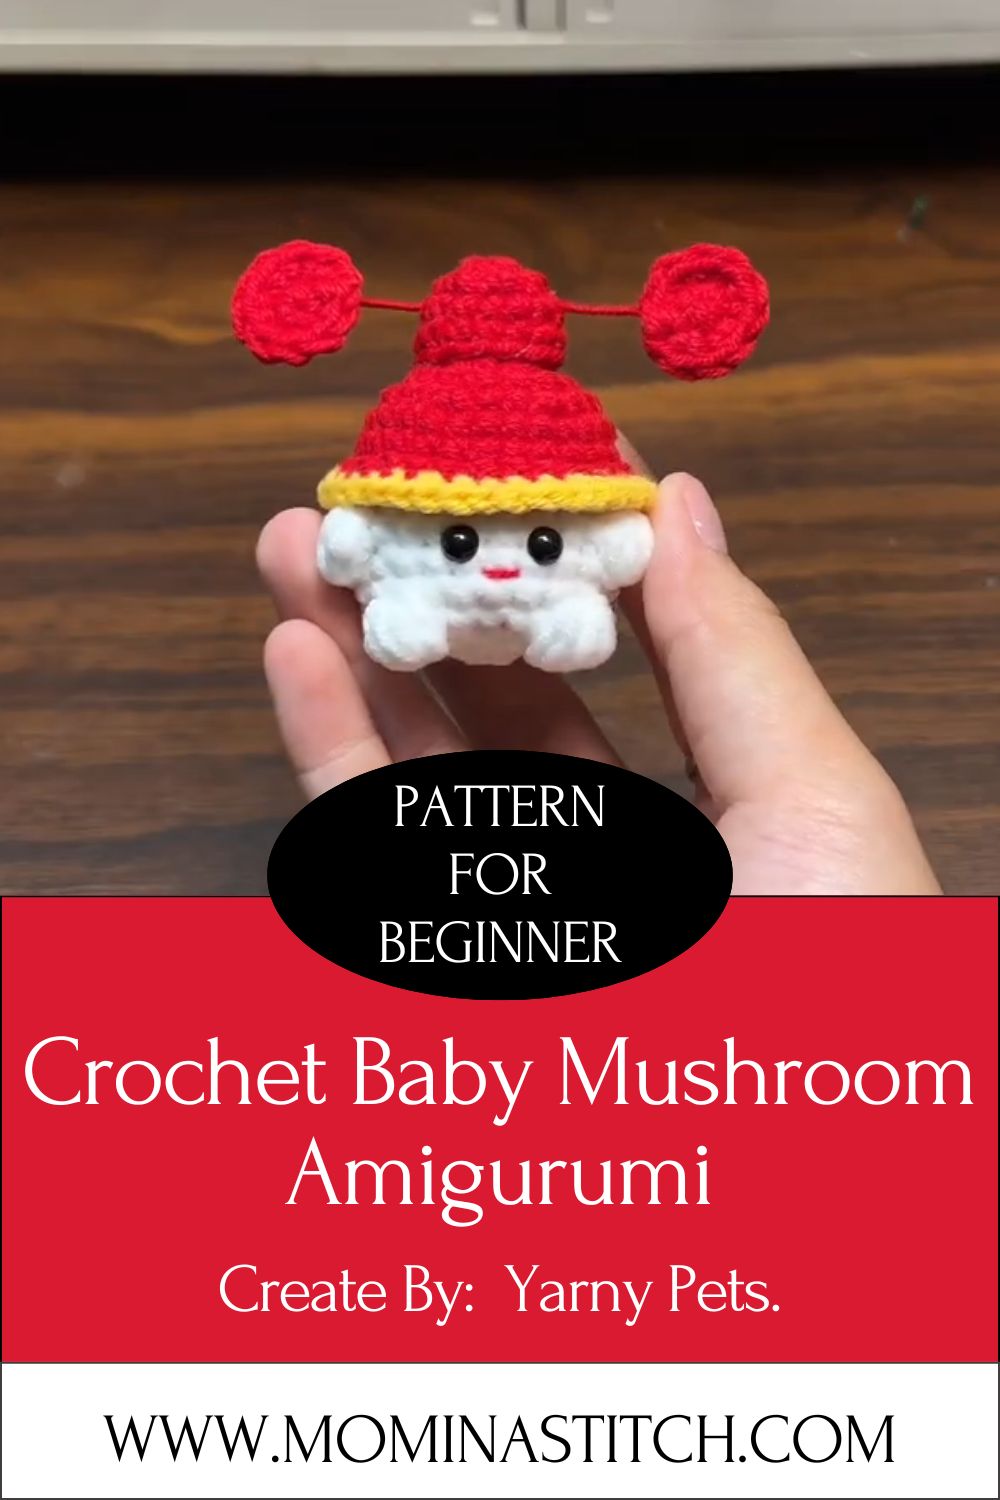
Charming Crochet Baby Mushroom Amigurumi Pattern for Good Vibes
Honestly, some projects just make you smile before you even pick up the hook, and this Crochet Baby Mushroom Amigurumi is exactly that kind of project. It’s small, squishy, and packed with personality. Trust me, once you finish your first one, you will want a whole basket of these cheerful little fungi friends sitting on your shelf.
This pattern is perfect for anyone who loves a quick, satisfying make. Whether you are gifting it to a friend, adding it to your handmade shop, or just crocheting for the joy of it, this little mushroom buddy brings good vibes with every stitch. It works up fast, uses minimal yarn, and the round shapes make it incredibly forgiving for new crocheters.
What Is This Crochet Project All About?
This Crochet Baby Mushroom Amigurumi pattern creates a tiny, huggable mushroom character with a rounded cap, a soft round body, and simple stitched details that give it a friendly face. It is part of a growing trend of amigurumi food and nature-inspired toys that people love collecting, gifting, and displaying around the house.
The design uses basic amigurumi shaping, meaning you increase and decrease stitches in rounds to form the curved cap and plump body. No complicated shaping or advanced techniques are needed here, which makes it a lovely beginner crochet project. For real, if you have ever made a simple amigurumi ball or a basic stuffed toy, you already have the skills to complete this one.
Skill Level
This pattern is rated beginner-friendly, though it also works well for intermediate crocheters wanting a fast weekend project. You only need to know basic single crochet, increasing, and decreasing stitches. The color changes are simple and limited, so nobody gets overwhelmed. Low-key, this is a great pattern to practice tension control and shaping skills.
Materials and Supplies Needed
Yarn Type
- Worsted weight cotton or acrylic yarn works best for good stitch definition
- Main cap color (red, pink, brown, or any shade you like)
- Contrast color for the body and stem (usually cream or white)
- Small amount of white yarn for cap spots (optional)
Hook Size
- 3.0mm to 3.5mm crochet hook, depending on your yarn weight and desired tightness
Extra Tools
- Yarn needle for weaving in ends
- Stitch marker to track your rounds
- Polyester fiberfill stuffing
- Small pair of safety eyes or black embroidery thread for the face
- Scissors
Crochet Stitches and Abbreviations Used
- MR – Magic Ring
- Ch – Chain
- Sc – Single Crochet
- Inc – Increase (2 sc in same stitch)
- Dec – Invisible Decrease
- St(s) – Stitch(es)
- Rnd – Round
- BLO – Back Loop Only
- ( ) – Repeat instructions inside brackets
- [ ] – Total stitch count at end of round
Step-by-Step Crochet Instructions
Mushroom Cap
Round 1: 6 sc in MR [6] Round 2: Inc in each st around [12] Round 3: (Sc, inc) repeat around [18] Round 4: (2 sc, inc) repeat around [24] Round 5: (3 sc, inc) repeat around [30] Round 6: (4 sc, inc) repeat around [36] Rounds 7-9: Sc in each st around [36] Round 10: (4 sc, dec) repeat around [30] Round 11: (3 sc, dec) repeat around [24]
Stuff lightly at this point before closing the cap shape further.
Round 12: (2 sc, dec) repeat around [18] Fasten off, leaving a long tail for sewing later.
Mushroom Body
Round 1: 6 sc in MR [6] Round 2: Inc in each st around [12] Round 3: (Sc, inc) repeat around [18] Rounds 4-8: Sc in each st around [18] Round 9: (Sc, dec) repeat around [12]
Insert safety eyes between rounds 7 and 8, spaced evenly apart. Begin stuffing firmly.
Round 10: Dec in each st around [6]. Fasten off and close the opening with your yarn needle.
Assembling Your Amigurumi Mushroom
- Place the cap over the top of the body like a little hat
- Use the long tail from the cap to sew it securely to the body
- Sew through a few layers of stitches to keep the cap from lifting
- Add small white yarn dots to the cap using French knots for a classic spotted mushroom look
- Embroider a tiny smile with black thread for a cheerful face
Helpful Beginner Tips
- Always count your stitches after each round to avoid shaping mistakes
- Use a stitch marker on the first stitch of every round
- Stuff firmly but not overly tight, since too much stuffing can distort the round shape
- Keep your tension consistent throughout so the cap and body match in density
- Work in good lighting so you can clearly see your stitches while shaping the curves
Common Mistakes and Solutions
Mistake: The mushroom cap looks lopsided.
Solution: Make sure your increases are spaced evenly around each round rather than bunched together.
Mistake: Stuffing pokes through the stitches.
Solution: Switch to a smaller hook size for tighter, denser fabric.
Mistake: The cap keeps popping off the body.
Solution: Sew through multiple layers of both pieces, not just the surface stitches.
Mistake: Uneven round shape in the body.
Solution: Stuff gradually as you crochet instead of waiting until the very end.
Pattern Customization Ideas
- Add tiny arms and legs for a more character-like mushroom
- Use pastel yarn shades for a soft nursery theme
- Try ombre or speckled yarn for a natural woodland look
- Turn it into a keychain by adding a small clasp
- Make a mini version using fingering weight yarn and a smaller hook
- Add a bow, hat, or scarf for seasonal versions
Size and Color Suggestions
The finished mushroom typically measures around 3 to 4 inches tall when made with worsted weight yarn. Using bulkier yarn creates a bigger, chunkier mushroom, while thinner yarn results in an adorable miniature version.
Popular color combinations include:
- Classic red cap with white spots and cream body
- Soft pink cap for a gentle, girly look
- Earthy brown cap for a natural woodland feel
- Pastel rainbow set for a cheerful mushroom family display
Frequently Asked Questions
Is this pattern suitable for absolute beginners?
Yes, it only uses basic stitches like single crochet, increase, and decrease, making it very approachable.
How much yarn do I need?
A small amount of two yarn colors is enough, usually under 20 grams total for a mini mushroom.
Can I skip the safety eyes?
Absolutely, you can embroider simple eyes with black thread if you prefer a softer, child-safe finish.
What is the best stuffing to use?
Polyester fiberfill works best since it holds shape well and stays soft over time.
Can I make this without a magic ring?
Yes, you can substitute a chain-2 and 6 sc into the second chain from the hook if you find magic rings tricky.
Conclusion
This Crochet Baby Mushroom Amigurumi pattern is proof that small projects can carry big charm. It’s quick, beginner-friendly, and endlessly customizable, making it a wonderful addition to your handmade crochet collection. Whether you stitch up one cheerful mushroom or an entire cozy family of them, this little project is bound to spread good vibes wherever it goes.