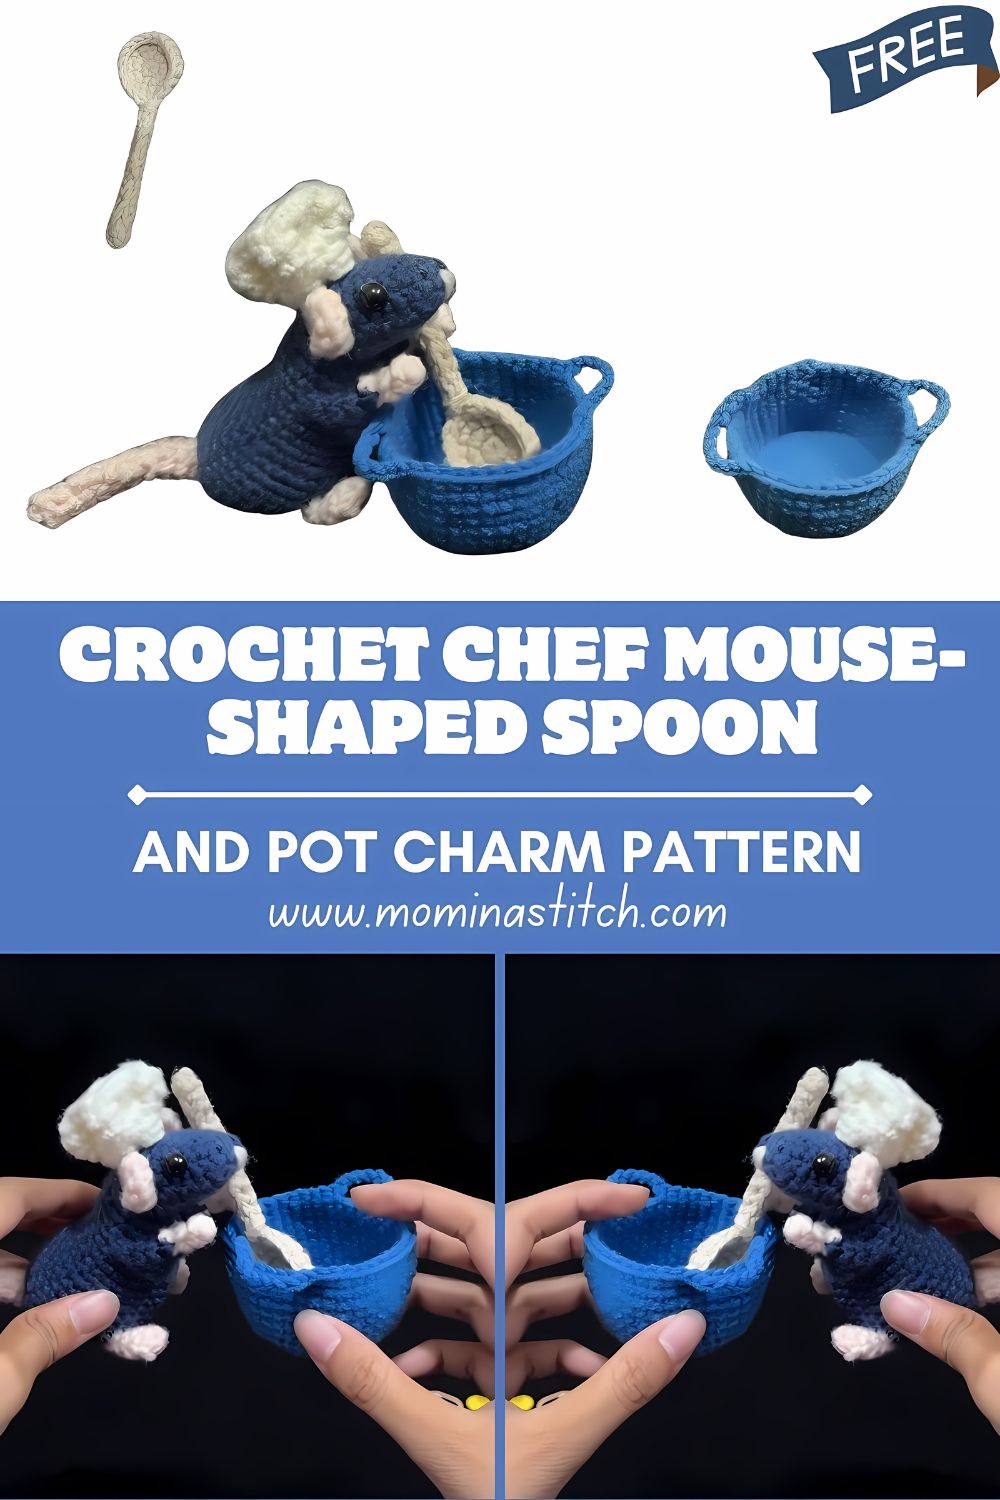
Crochet Chef Mouse-Shaped Spoon and Pot Charm Pattern
This Chef Mouse crochet spoon and pot charm is a sweet little amigurumi crochet toy that doubles as a baby-friendly decoration and a cute kitchen-themed charm. Make it as a handmade crochet decoration, a nursery accessory, or a small soft companion (with embroidered features for baby safety).
Amigurumi crochet toys are small stuffed figures crocheted with tight stitches to create sturdy, huggable shapes. They’re popular with crocheters because they’re quick to finish, easy to personalize, and instantly giftable. Mouse-shaped crochet toys are especially loved thanks to their simple round features—cute ears, a tiny nose, and a friendly expression that looks adorable in any color palette.
What makes this chef mouse design with spoon and pot unique is the storytelling: it’s not just a mouse—it’s a tiny kitchen helper, complete with a chef hat and miniature cookware. When made with soft yarn and securely attached parts, handmade crochet toys can be a safer, gentler option for babies than hard plastic décor. This step-by-step pattern is suitable for beginners to intermediate crocheters, especially anyone who enjoys amigurumi and themed gifts.
3) Materials Needed
- Grey yarn (for mouse body): Main color for head and body; choose soft cotton/acrylic for a baby-friendly finish.
- Pink yarn (for ears and nose): Adds the cute mouse details and a warm, playful contrast.
- White yarn (chef hat): Helps the hat stand out clearly and gives that classic “chef” look.
- Brown or beige yarn (spoon and pot): Creates a cozy kitchen aesthetic; beige looks like wood utensils.
- Crochet hook (2.5–3.5 mm): Smaller hook = tighter stitches for amigurumi (reduces gaps).
- Safety eyes or black embroidery thread: Use embroidery for baby toys; safety eyes for display items.
- Yarn needle: For sewing parts together and weaving in ends securely.
- Stitch marker: Keeps track of rounds (especially in continuous spirals).
- Polyester fiberfill stuffing: Light stuffing shapes the mouse without making it too firm.
- Scissors: For clean trimming and finishing.
4) Crochet Abbreviations
- MR – Magic Ring
- ch – Chain
- sc – Single Crochet
- inc – Increase (2 sc in the same st)
- dec – Decrease (sc2tog; invisible decrease recommended)
- sl st – Slip Stitch
- st – Stitch
- FO – Fasten Off
5) Step-by-Step Crochet Pattern (Beginner-Friendly)
Notes:
Work in continuous rounds unless stated otherwise.
- Use a stitch marker in the first stitch of each round.
- Stuff as you go for a smooth shape.
- For a baby toy, embroider eyes and facial details instead of using safety eyes, and avoid loose accessories.
Step 1 – Start the Mouse Head
Round 1: MR, 6 sc into the ring. (6)
Step 2 – Increase Rounds
Round 2: inc in each st around. (12)
Round 3: (1 sc, inc) repeat around. (18)
Step 3 – Shape the Head
Continue with a few even rounds to build a rounded head.
Round 4: (2 sc, inc) repeat around. (24)
Rounds 5–7: sc around. (24)
Now begin narrowing slightly to close the head.
Round 8: (2 sc, dec) repeat around. (18)
Round 9: (1 sc, dec) repeat around. (12)
Stuff firmly but not overstretched.
Round 10: dec around. (6)
FO and close the opening.
Step 4 – Crochet the Mouse Body
Attach grey yarn (or start fresh) to make a small, rounded body.
Body Round 1: MR, 6 sc. (6)
Body Round 2: inc around. (12)
Body Round 3: (1 sc, inc) repeat around. (18)
Body Rounds 4–6: sc around. (18)
Body Round 7: (1 sc, dec) repeat around. (12)
Stuff lightly (keep it soft for baby use).
Body Round 8: dec around. (6)
FO and close.
Sew the body to the head, centered and snug.
Step 5 – Make the Mouse Ears (Pink)
Crochet two small circles.
Ear Round 1: MR, 6 sc. (6)
Ear Round 2: inc around. (12)
FO leaving a sewing tail.
Sew ears to the top sides of the head. Slightly angle them forward for extra cuteness.
Step 6 – Create the Chef Hat (White)
Make a simple puffed hat: a small brim + a rounded top.
Hat Brim
Round 1: MR, 6 sc. (6)
Round 2: inc around. (12)
Round 3: (1 sc, inc) repeat around. (18)
Hat Top (puff shape)
Rounds 4–6: sc around. (18)
Lightly stuff if you want a puffier look (optional).
Round 7: (1 sc, dec) repeat around. (12)
Round 8: dec around. (6)
FO, close.
Sew a hat to the top of the head.
Step 7 – Crochet the Spoon (Brown/Beige)
A simple spoon can be made as a small oval “bowl” plus a narrow handle.
Spoon Bowl (oval start):
- ch 4
- sc in 2nd ch from hook, sc in next, 3 sc in last ch
- working on opposite side of chain: sc in next, inc in last (or 2 sc) to round the oval
Next round (shape): sc around, adding 1–2 inc at the rounded ends to keep it oval.
Then create the handle:
- ch 6–10 (depending on size), sl st back into the bowl edge, FO.
Weave ends and flatten gently.
Step 8 – Crochet the Cooking Pot (Brown/Beige)
Make a tiny cylinder.
Pot Round 1: MR, 6 sc. (6)
Pot Round 2: inc around. (12)
Pot Rounds 3–5: sc around. (12)
(Optional: add a lip)
Pot Round 6: (1 sc, inc) repeat around. (18)
sl st to finish neatly, FO.
Optional tiny handles: sew short yarn loops on each side.
Step 9 – Assemble the Toy (Attach Spoon + Pot)
Decide how you want your Chef Mouse to “hold” the items:
- Display charm style: stitch the spoon and pot to the body sides (like accessories).
- Baby-safe toy style: sew them very securely, or skip detachable pieces and embroider a spoon/pot motif instead.
To attach: use a yarn needle and sew through multiple stitches on both the accessory and the mouse body for strength.
Step 10 – Add Facial Details
Use embroidery thread or yarn.
- Small nose (pink): a tiny triangle or a few satin stitches at the center front.
- Cute whiskers (black): 2–3 short straight lines on each side.
- Tiny smile (black or pink): a small curved stitch under the nose.
- Eyes: embroider two small ovals (recommended for baby toys).
Step 11 – Final Finishing
- Stuff lightly (especially if it’s a baby toy—keep it soft and squishy).
- Pull and shape the piece gently to smooth the stuffing.
- Secure all threads: knot, weave in, and hide ends inside.
- Double-check that anything attached (hat, ears, spoon, pot) is stitched down firmly.
6) Tips for Beginners
- Use stitch markers to avoid losing your place in the round.
- Crochet tightly for amigurumi so stuffing won’t show through.
- Use soft yarn for baby toys (and avoid scratchy fibers).
- Always secure safety eyes well—or choose embroidered eyes for baby-safe makes.
- Stuff in small amounts and shape as you go for a smooth finish.
7) Customization Ideas
- Turn it into a keychain: Add a small loop on top of the hat and attach hardware.
- Add a hanging loop: Great for stroller toys, nursery hooks, or kitchen décor.
- Make different colored chef outfits: Add a tiny apron (white), scarf (red), or striped shirt.
- Turn it into a baby rattle toy: Insert a rattle capsule securely inside the body (only if fully enclosed and baby-safe).
- Add cheeks (pink blush) or a tiny embroidered name on the pot for gifting.
8) Conclusion
This Chef Mouse-shaped spoon and pot charm is a fun, storybook-style amigurumi crochet toy that looks adorable in photos and feels extra special because it’s handmade. Whether you use it as a nursery decoration, a soft baby toy (with embroidered features), a thoughtful handmade gift, or a cute kitchen décor charm, it’s a cheerful project that brings personality to your crochet collection. Make one chef mouse—or a whole kitchen crew!