Free Crochet Hangyodon Amigurumi Pattern
Have you ever wanted to crochet your very own little sea buddy? If you love quirky, big-lipped, smiley fish characters, then this Free Crochet Hangyodon Amigurumi is going to make your day. Today we are making an adorable Hangyodon-inspired amigurumi a soft, squishy, huggable friend that fits right in your hand.
This guide walks you t hrough everything you need, from yarn to the final stitch. Whether you are a total newbie or a seasoned hook-holder, you will find this Free Crochet Hangyodon Amigurumi fun, relaxing, and very rewarding.
So grab your yarn, get cozy, and let’s bring this cheerful little fish to life.
Note: Hangyodon is a character owned by Sanrio. This is a fan-made, handmade-for-fun pattern. Please keep your finished plushies for personal use and avoid selling them under the character name.
What Is This Crochet Project About?
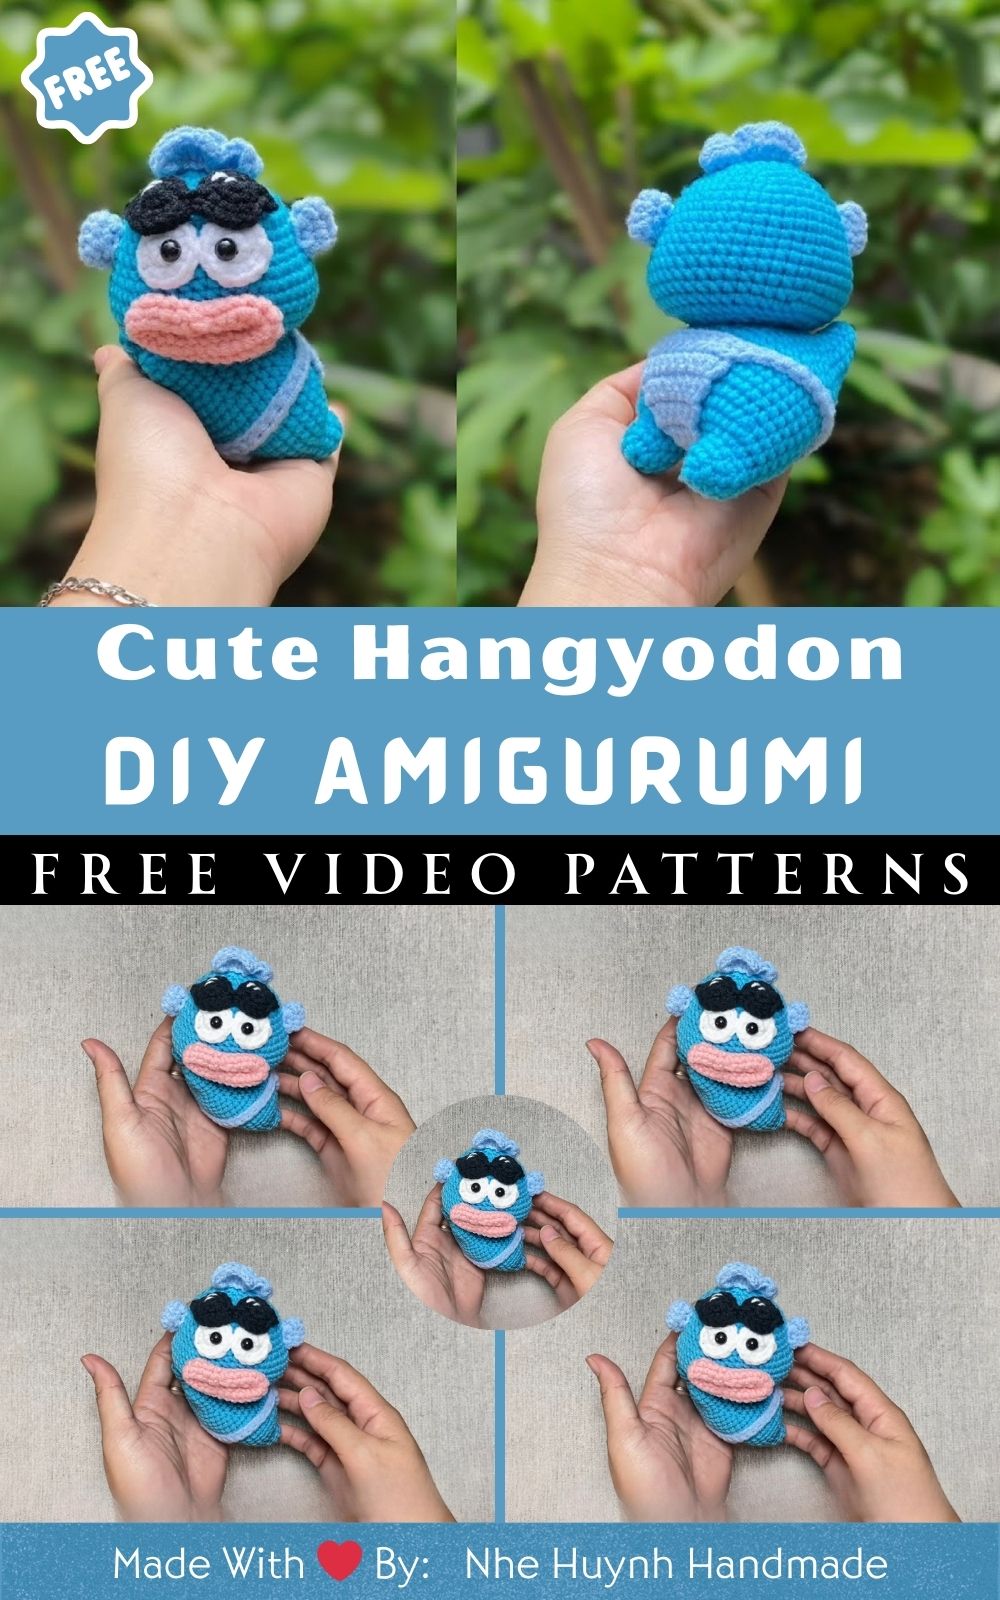
This project is a small amigurumi the Japanese art of crocheting cute stuffed toys. Our little fish friend features a round head, a chubby body, two side fins, tiny arms, and those signature pouty lips that make this character so lovable.
The whole plushie is worked in continuous rounds, which means no fussy seams and a smooth, professional finish. When you are done, you will have a handmade buddy that stands around 4 to 6 inches tall, perfect for shelves, desks, gift baskets, or simply squishing while you watch your favorite show.
Following along with a video while reading a written guide is one of the best handmade crochet ideas for learning new shapes quickly.
Skill Level: Beginner to Easy Intermediate
Good news —you do not need to be an expert to make this!
This is a great beginner crochet project because it uses only a handful of basic stitches. If you can make a magic ring and a single crochet, you are already 90% of the way there.
That said, the shaping (especially the lips and fins) gives you a tiny bit of a challenge, so I would call it a confident beginner to easy-intermediate make. It is the perfect “level up” project if you have already finished a simple ball or coaster.
Materials and Supplies You Will Need
Before you start, gather your supplies. Having everything ready makes the whole crochet tutorial smoother and more enjoyable.
Yarn Type
- Worsted weight (medium / #4) acrylic yarn is ideal for beginners it is affordable, easy to find, and very forgiving.
- You can also use cotton yarn if you want crisp stitch definition.
- Main colors needed:
- Light blue or teal (body and head)
- White (belly and eye area)
- Pink or coral (lips)
- Black (eyes and small details)
Tip: For a softer, baby-safe plushie, choose a “soft” or “baby” acrylic blend.
Hook Size
- A 3.5 mm (E) or 4.0 mm (G) crochet hook works best.
- Always go one or two sizes smaller than your yarn label suggests. This keeps the fabric tight so the stuffing does not peek through the gaps.
Extra Tools and Supplies
- Polyester fiberfill (stuffing)
- Safety eyes (6 mm to 9 mm) or black yarn for embroidered eyes
- Yarn needle (tapestry needle)
- Stitch markers (a paperclip or bobby pin works too)
- Small sharp scissors
- Optional: blush or pink chalk for rosy cheeks
Crochet Stitches and Abbreviations Used
Here are all the stitches and terms you will see in this pattern. Keep this list handy as you go!
- MR – Magic Ring
- ch – Chain
- sc – Single Crochet
- inc – Increase (2 sc in the same stitch)
- dec – Decrease (single crochet two stitches together)
- st / sts – Stitch / Stitches
- sl st – Slip Stitch
- FO – Fasten Off
- ( ) x6 – Repeat the sequence inside the brackets the number of times shown
This pattern uses US crochet terms. We work in continuous spiral rounds, so use a stitch marker to keep track of where each round begins.
Step-by-Step Crochet Instructions
The amounts below are a general guide for shaping each part. Follow the video for exact stitch counts and timing, and use this written breakdown to stay organized.
1: Make the Head and Body
The head and body are often worked as one connected piece for this character, since the fish has a big, round head.
- Start with a magic ring with 6 sc.
- Work increase rounds: round 2 is (inc) x6, round 3 is (1 sc, inc) x6, and continue adding one extra sc between increases each round.
- Keep crocheting even rounds (no increases) once the head reaches the width you like.
- Begin decrease rounds to round the shape back in: (2 sc, dec), then (1 sc, dec), and so on.
- Stuff firmly as you close the piece so it holds its shape.
Step 2: Add the White Belly
- Crochet a flat oval in white yarn using a magic ring, then a row of increases on each side.
- Pin it to the front of the body and sew it down with a yarn needle.
- A tidy belly patch instantly makes your fish look more “finished.”
Step 3: Crochet the Lips
The lips are the star of the show!
- Work a small oval shape in pink yarn.
- Fold and pinch it slightly in the center to create that signature pout.
- Sew it onto the lower face area, just below where the eyes will sit.
4: Make the Fins and Arms
- Fins: Crochet two small teardrop or leaf shapes. Leave them flat (no stuffing) so they stay floppy and cute.
- Arms: Work two short tubes, lightly stuffed or left flat.
- Attach the fins to each side of the body and the arms toward the front.
5: Add the Eyes and Face
- Place safety eyes about one round apart, above the lips.
- If sewing instead, embroider two oval eyes with black yarn.
- Add tiny white highlights or rosy cheeks for extra charm.
Step 6: Final Assembly
- Weave in all loose ends with your yarn needle.
- Gently shape the stuffing with your fingers.
- Give your new friend a squish you did it!.
Helpful Beginner Tips
A few small habits make a huge difference for your first amigurumi:
- Count out loud. Saying your stitches as you go prevents miscounts.
- Use a stitch marker every round. Move it up as you start each new round.
- Keep tension snug. Loose stitches let stuffing show through.
- Stuff in small pieces. Add fiberfill bit by bit for a smooth, lump-free finish.
- Don’t rush the face. Pin everything in place before sewing so you can adjust the expression.
Common Mistakes and How to Fix Them
Even experienced crocheters hit these snags. Here is how to solve them fast.
Mistake 1: Holes Between Stitches
Solution: Switch to a smaller hook or tighten your tension. A firmer fabric hides stuffing beautifully.
Mistake 2: Losing Count of Rounds
Solution: Always use a stitch marker and jot down your round numbers on paper as you go.
Mistake 3: Lopsided Eyes or Lips
Solution: Pin features first. Step back, look at the face, and only sew once it looks balanced.
Mistake 4: Floppy or Misshapen Head
Solution: Add more stuffing. Amigurumi almost always needs more fiberfill than you think.
Mistake 5: Tangled or Knotty Color Changes
Solution: Change colors at the end of a round and weave the tail in immediately so it does not unravel.
Pattern Customization Ideas
One of the best parts of this crochet pattern is how easy it is to make it your own. Try these creative twists:
- Mini keychain version: Use thinner yarn and a 2.5 mm hook for a tiny charm.
- Giant cuddle buddy: Use bulky yarn and a 5.5 mm hook for a pillow-sized plush.
- Seasonal styles: Add a tiny crochet scarf for winter or a flower for spring.
- Sleepy face: Embroider closed “u u” eyes for a dreamy look.
- Glow-up details: Add sparkly thread highlights or felt cheeks.
These small changes turn one simple pattern into endless handmade crochet ideas.
Size and Color Suggestions
Size Options
- Small (keychain): about 2–3 inches — use sport or DK yarn + 2.5 mm hook
- Standard (palm-size): about 4–6 inches — use worsted yarn + 3.5–4 mm hook
- Large (huggable): about 8–10 inches — use bulky yarn + 5–6 mm hook
Color Ideas
- Classic: light blue body, white belly, pink lips
- Pastel dream: mint green, cream, and soft peach
- Bold and bright: turquoise with hot-pink lips
- Cozy neutral: dusty blue with beige accents
Pick colors that match your personality — there are no wrong choices in crochet!
Frequently Asked Questions (FAQ)
Is this Free Crochet Hangyodon Amigurumi pattern really free?
Yes! This written guide and the linked video tutorial are completely free to follow for personal, fun crochet.
How long does it take to make?
Most beginners finish in 2 to 4 hours, often spread over a couple of cozy sessions.
Can I use any yarn I already have?
Absolutely. Worsted weight is easiest, but you can adjust your hook size to match almost any yarn in your stash.
What if I can’t make a magic ring?
No problem — start with “ch 2, then 6 sc into the second chain from the hook.” It works just as well for beginners.
Are safety eyes necessary?
No. Embroidered eyes with black yarn are a safe, soft option, especially for plushies meant for little kids.
My plushie looks different from the pattern did I do it wrong?
Not at all! Handmade items always have their own charm. Small differences make your creation one of a kind.
Final Thoughts
And there you have it your very own cute, smiley fish friend made completely by hand.
This Free Crochet Hangyodon Amigurumi is proof that you do not need fancy skills to create something adorable. With a little yarn, a hook, and a bit of patience, you crocheted a plushie that you (or a lucky friend) will treasure.
If you are new to amigurumi, give yourself a huge pat on the back. Every stitch you make builds your confidence for bigger projects down the road. And if this was your first Free Crochet Hangyodon Amigurumi plushie, trust me it will not be your last.