Free Crochet Lemon Pig Keychain Amigurumi Pattern
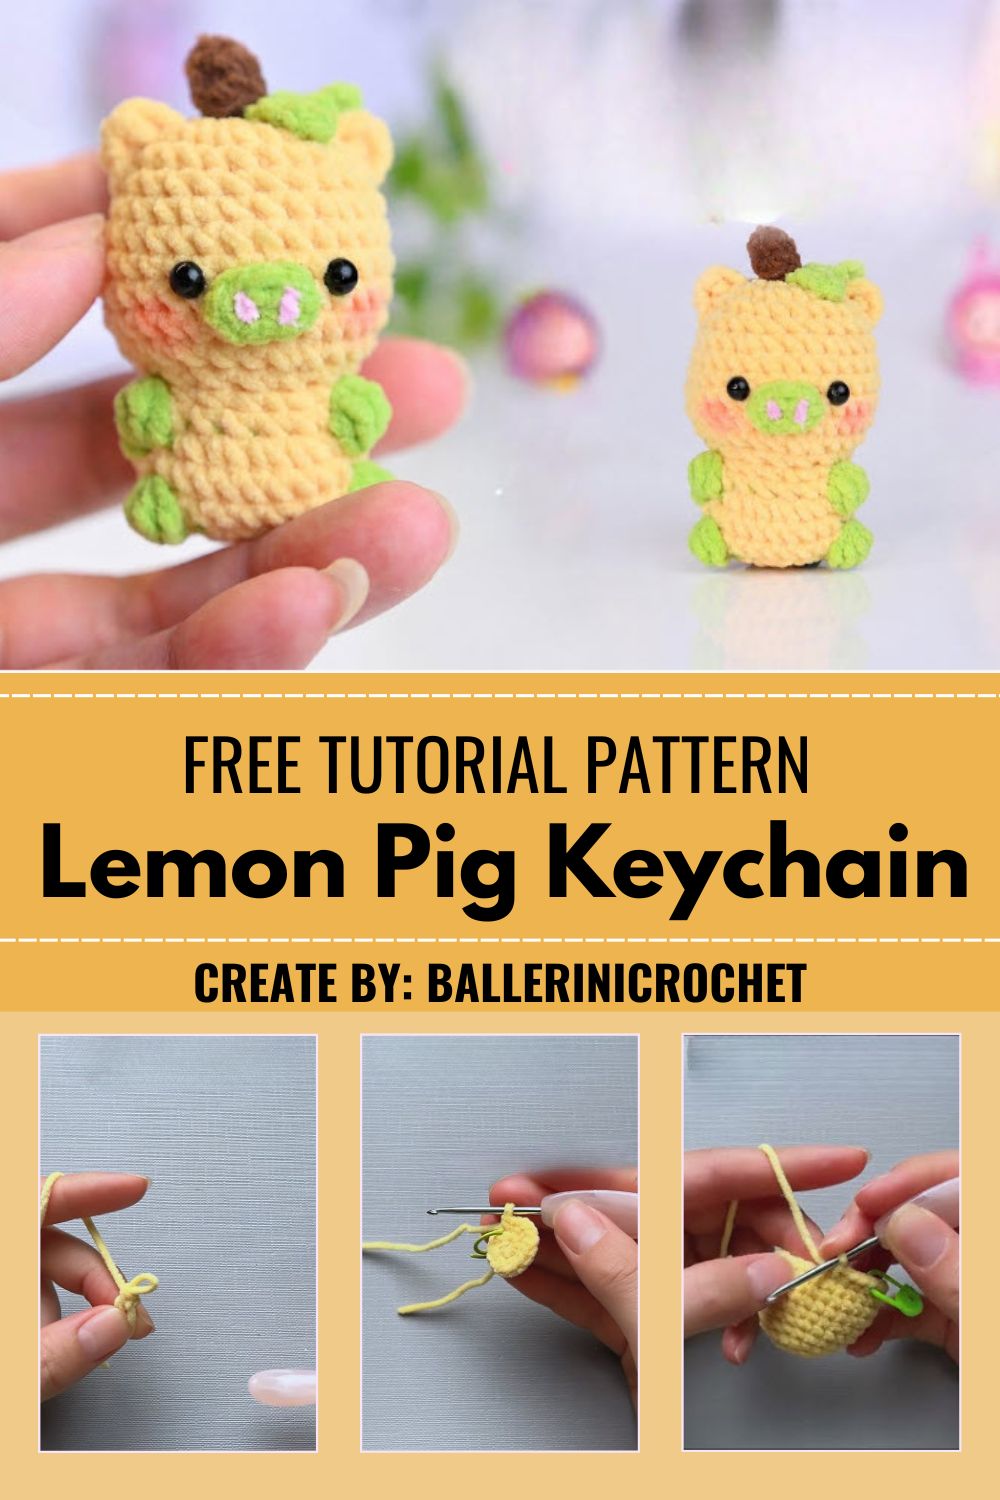
Project Details
- Skill Level: Beginner to Confident Beginner
- Finished Size: Approximately 2.5 to 3 inches tall (excluding keychain clasp)
- Estimated Time Required: 2 to 3 hours
- Recommended Yarn Weight: Chenille or velvet yarn, medium weight (worsted equivalent)
- Crochet Hook Size: 2.5mm hook (adjust based on yarn thickness for a tight, stuffing-proof fabric)
Materials Needed
- Yellow chenille yarn (main lemon body)
- Green chenille yarn (leaf details)
- Small amount of brown yarn (curly stalk on top)
- Pair of 6mm black safety eyes
- Pink blush or eyeshadow pigment, plus a small soft brush
- Polyester fiberfill stuffing
- Tapestry needle for sewing pieces together
- Stitch marker or locking marker for tracking rounds
- Sharp scissors
- Small keychain clasp and jump ring
Crochet Stitches & Techniques
- Magic Ring (MR)
- Single Crochet (sc)
- Increase (inc)
- Invisible Decrease (dec)
- Color Changes
- Fastening Off
- Sewing Pieces Together
- Surface Embroidery (for the snout and mouth details)
Pattern Instructions
Starting the Base with a Magic Ring
Every good amigurumi begins with a snug foundation, and this lemon pig is no exception. Loop the yellow yarn into a magic ring, then work single crochets into the center of the loop. Pull the tail firmly to close the ring, keeping the very first stitches tight since this small circle becomes the foundation for the entire lemon shape.

Building the Rounded Lemon Body
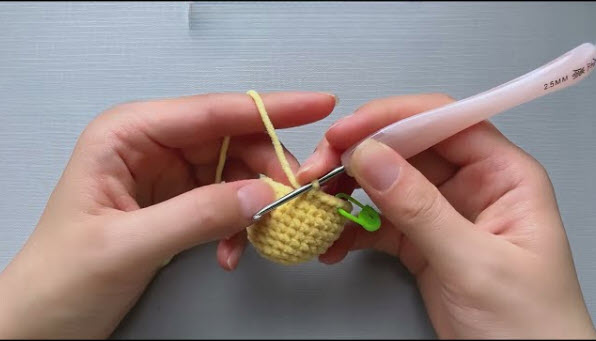
Rounds build up steadily from that first tight circle. Work single crochet stitches around in a continuous spiral, holding the piece snugly between the fingers to keep tension even. A stitch marker dropped into the first stitch of each round makes it easy to track progress without losing count as the yellow fabric grows.
Making the Green Leaves
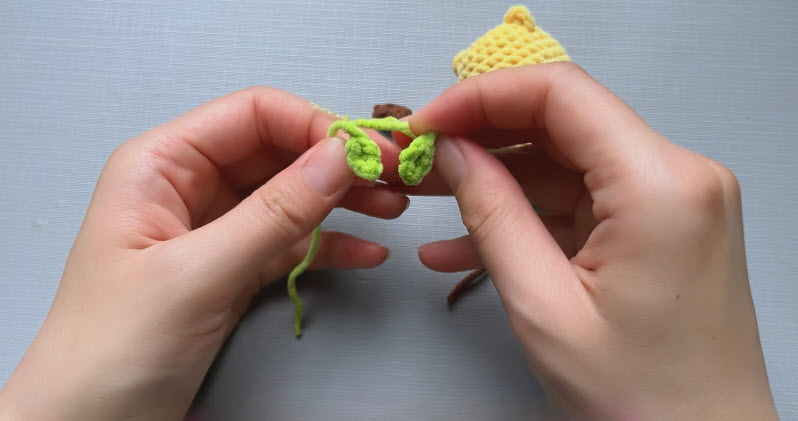
Small green leaves come together separately before joining the body. Using green yarn, crochet two little pointed shapes, working just a few rounds so each leaf stays compact and slightly tapered at the tip. Set both leaves aside once finished, leaving a workable end of yarn for attaching them in the next step.
Attaching the Leaves to the Top
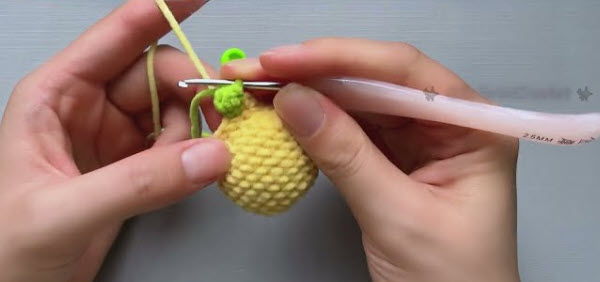
Joining happens directly through the crochet fabric rather than with a separate sewing step. Insert the hook through a stitch on the green leaf and into the corresponding stitch at the top of the yellow body, then pull the working yarn through both layers to lock them together. Continue stitching around the base of the leaf this way until it sits securely in place, positioning the second leaf right beside it.
Blushing the Cheeks
Soft color across the cheeks brings warmth to the finished face. Dip a small makeup brush lightly into pink blush or eyeshadow pigment, tapping off any excess before applying. Brush gentle circular strokes onto the fabric just below each eye, building up color gradually until the shade looks soft rather than harsh.
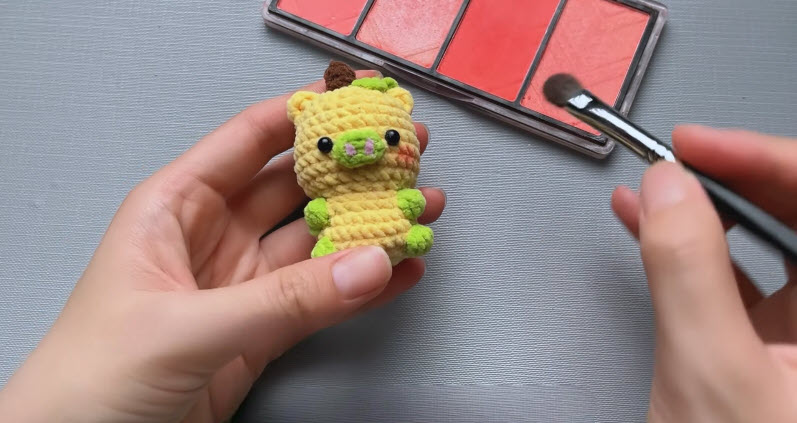
Attaching Safety Eyes and Facial Features
Placement makes all the difference on amigurumi faces, so take a moment before locking anything in. Insert the black safety eyes a few rounds down from the top of the lemon, spacing them evenly on either side of where the snout will sit. Secure the backings firmly on the inside, then stitch the snout just below and between the eyes using the long tail left earlier.
Final Assembly and Keychain Attachment
Every piece comes together in this last stage, so double-check placement before committing to final stitches. Weave in any remaining loose ends throughout the body, ears, and stalk, trimming tails close to the fabric. Attach a jump ring through a sturdy stitch near the top of the stalk, then clip on the keychain clasp to finish the piece.
Tips for Success
- Count stitches at the end of every round to catch mistakes early
- Keep tension consistent so the fabric stays tight enough to hold stuffing
- Stuff in small amounts throughout the body rather than one large handful at the end
- Use a stitch marker on every round change, especially during increase and decrease sections
- Apply blush sparingly first, since more pigment can always be added later
- Hide yarn tails by weaving them through several stitches in different directions
Personalization Ideas
- Swap the yellow yarn for orange or green to create matching citrus-friend keychains
- Add a tiny bow or flower between the ears for a seasonal twist
- Try a mini version using thinner yarn and a smaller hook for a charm-sized piece
- Experiment with different facial expressions by shifting eye spacing slightly
- Turn the finished piece into a bag charm, ornament, or stroller toy instead of a keychain
- Mix pastel shades for a spring-themed batch of lemon piggies
Common Mistakes to Avoid
Loose tension often causes stuffing to peek through the fabric, so checking gauge early prevents frustration later. Uneven increase spacing can distort the lemon shape, making it lopsided rather than symmetrical, so spacing increases evenly matters more than it might seem. Skipping stitch markers tends to cause lost rounds, especially during long stretches of plain single crochet. Overstuffing before the decrease rounds start can also stretch stitches unevenly, so gradual stuffing throughout the project works far better than one final push.
Frequently Asked Questions
What yarn works best for this pattern?
Chenille or velvet yarn gives the smoothest, plush finish, though standard worsted weight cotton works fine too.
Can this Crochet Lemon Pig Keychain pattern be made without safety eyes?
Embroidered eyes using black yarn work as a safe alternative, especially for keychains meant for young children.
How long does one Crochet Lemon Pig Keychain take to finish?
Most crocheters finish the entire project, including assembly, within two to three hours.
Is this pattern suitable for complete beginners?
Anyone comfortable with magic rings, single crochet, and basic increases or decreases should manage this pattern without trouble.
What size hook works best with chenille yarn?
A 2.5mm hook tends to keep stitches tight enough to prevent stuffing from showing through the fabric.
Can the blush be skipped?
Skipping the blush still results in a cute piece, though the added shading gives the face extra warmth and dimension.
How is the Crochet Lemon Pig Keychain clasp attached securely?
Threading a sturdy jump ring through a reinforced stitch near the stalk keeps the clasp from pulling loose over time.
Conclusion
Few amigurumi projects pack this much personality into such a small package, and that’s exactly what makes this lemon pig keychain worth trying. Every stage, from the very first magic ring to the final blush of pink on the cheeks, builds toward a genuinely charming little piece. Give this pattern a try, share progress photos along the way, and enjoy watching a simple ball of yellow yarn transform into the cutest citrus critter on the keychain.