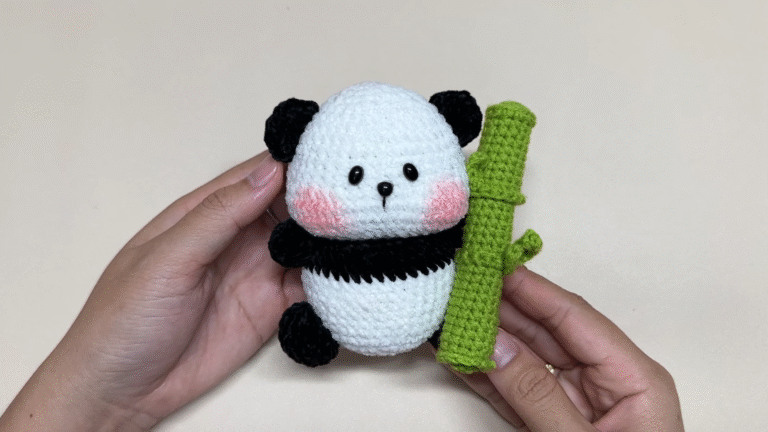
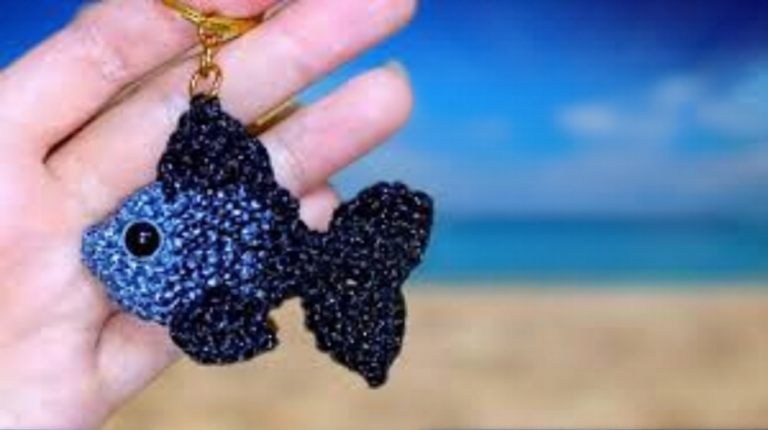
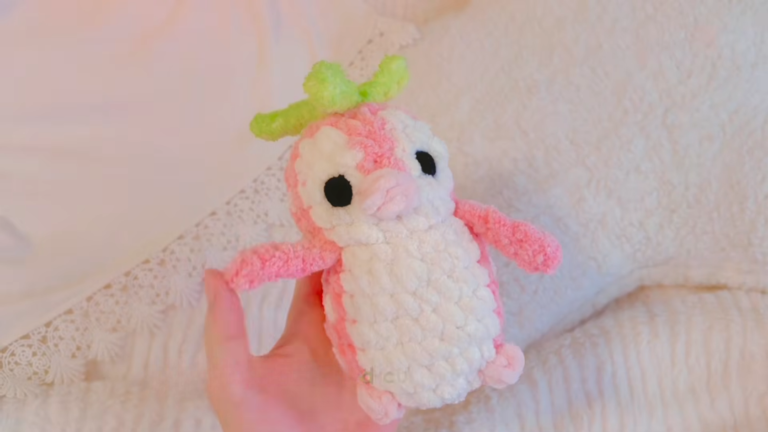
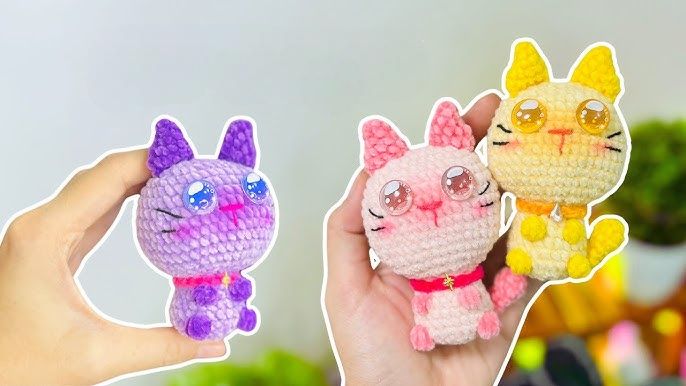
Crochet Duckling Keychain Amigurumi Pattern for Bags
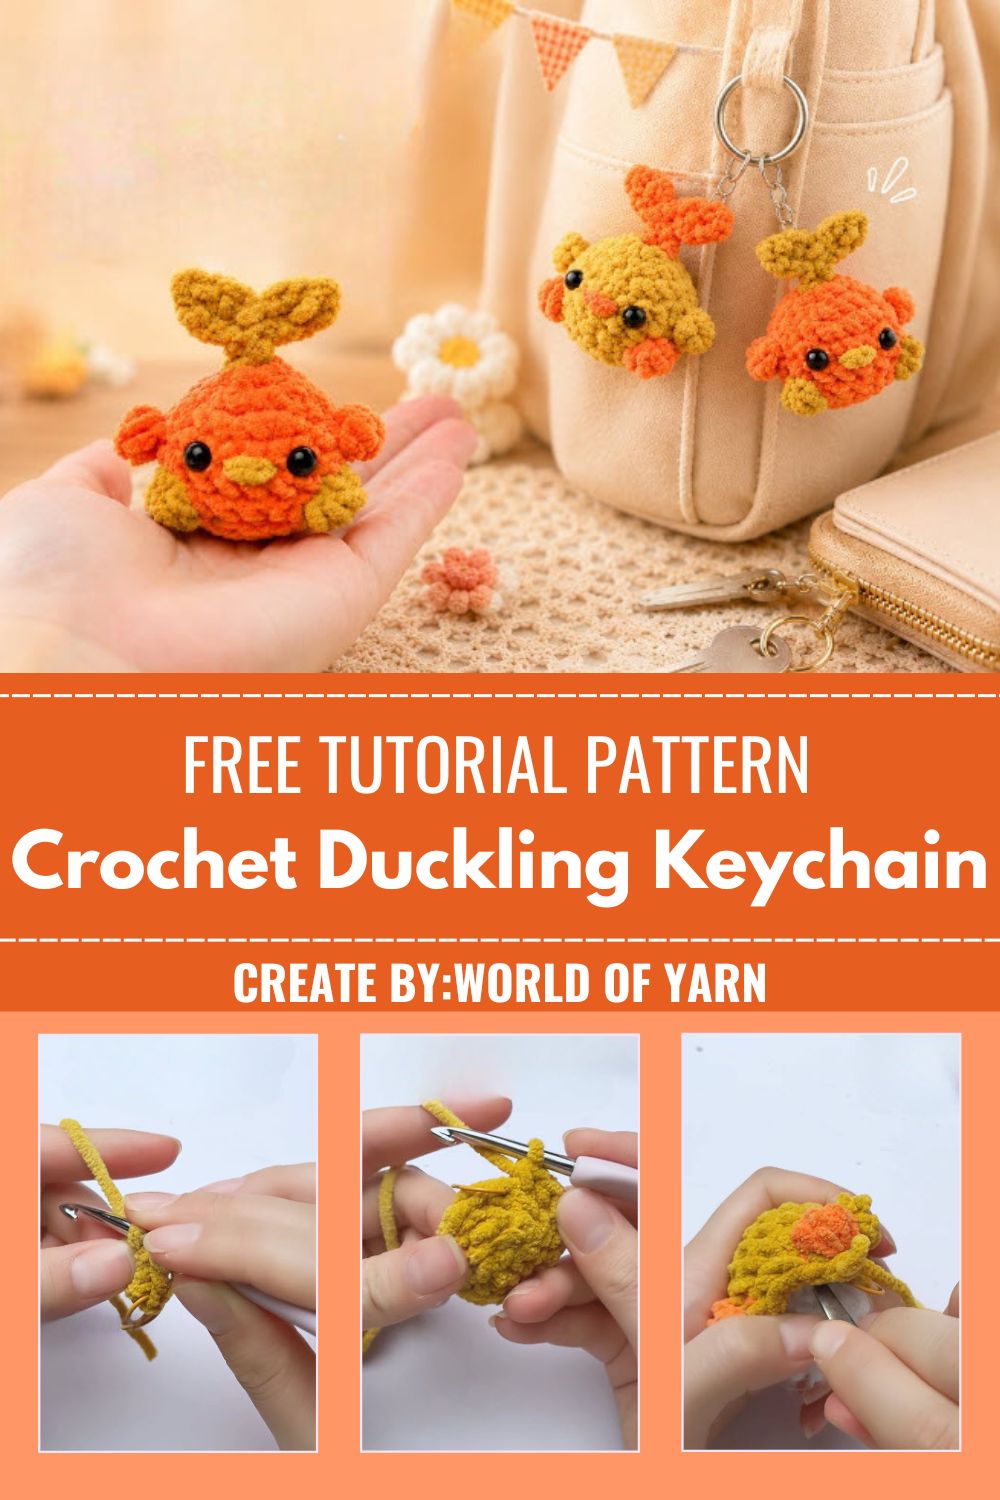
Texture plays the starring role in this design. Bobble or “fur” stitches create a soft, feathery surface without any fussy embroidery work, so even someone newer to amigurumi can achieve a professional-looking finish. Assembly stays minimal too, since most of the shaping happens directly in the stitch pattern rather than through separate sewn pieces.
Project Details
- Skill Level: Beginner to Intermediate
- Finished Size: Approximately 2.5–3 inches tall
- Estimated Time Required: 1.5–2 hours
- Recommended Yarn Weight: Worsted weight (Category 4) or fluffy/chenille-style yarn for the fur texture
- Crochet Hook Size: 3.5mm – 4mm
Materials Needed
- Yellow yarn (main body color)
- Orange yarn (wings, tail, and beak)
- Small amount of black yarn or a black safety eye
- 3.5mm–4mm crochet hook
- Fiberfill stuffing
- Tapestry needle
- Stitch marker
- Scissors
- Keyring or lobster clasp for the keychain attachment
Crochet Stitches & Techniques
Getting familiar with these stitches beforehand makes the whole process smoother:
- Magic Ring – forms the tight starting point for the body
- Chain Stitch – used for the keychain loop
- Single Crochet – base stitch throughout the body
- Bobble/Puff Stitch – creates the signature fluffy texture
- Increase – shapes the rounded body
- Invisible Decrease – closes gaps neatly without leaving holes
- Color Change – switches between yellow and orange sections
- Fastening Off – secures the final stitch
- Sewing Pieces Together – attaches wings, beak, and tail
Only the stitches actually needed for this duckling are listed above, so nothing here should overwhelm a first-timer.
Creating the Head and Body
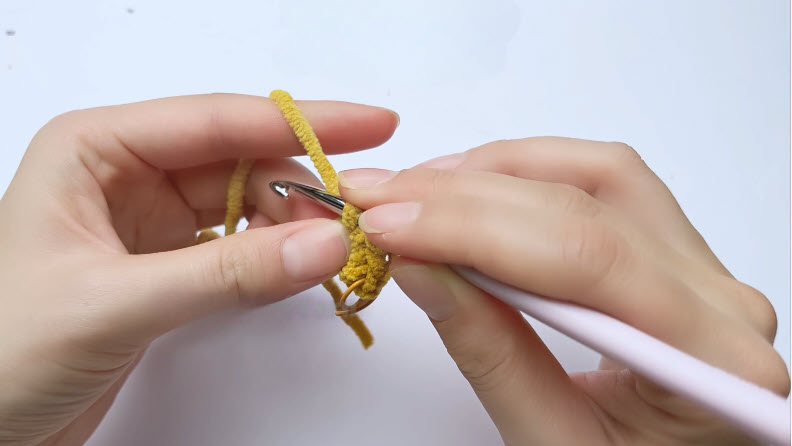
Start with a magic ring in yellow yarn, then work single crochets around before switching into the bobble stitch pattern. Building the fluff gradually, row by row, gives the rounded silhouette its plush look. Increase evenly across the first few rounds to widen the base, then hold steady for a couple of rounds before beginning the decrease sequence to close the top.
Making the Wings
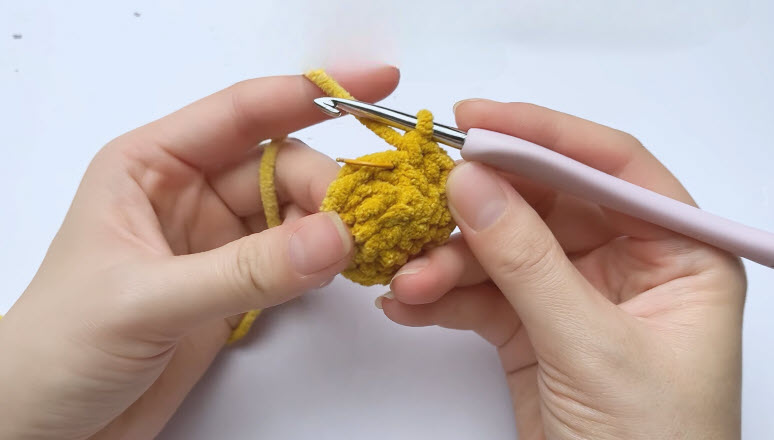
Orange yarn takes over for this part. Small bobble-stitch triangles, worked flat or in the round depending on preference, form two wing shapes that double visually as a little tail when positioned near the back of the body. Keep each wing roughly the same size so the finished piece looks balanced.

Beak and Face Details
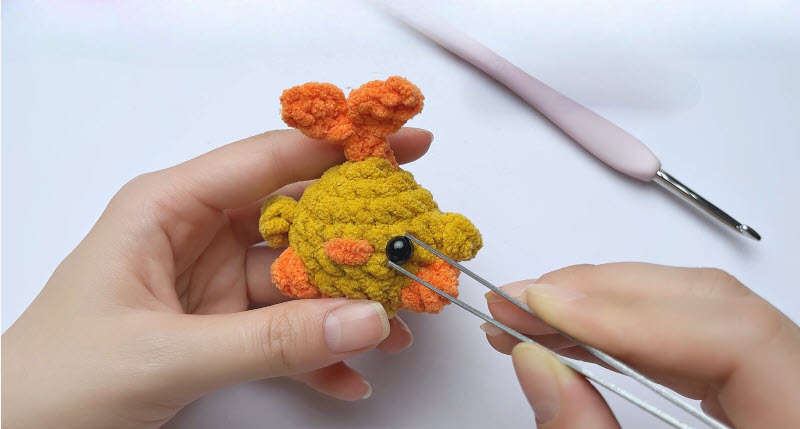
Switching to a tiny orange triangle for the beak adds instant personality. Attaching it just below the center of the face brings the whole design together. Black safety eyes, placed with tweezers or a similar tool for precision, finish the expression. Spacing them evenly apart keeps the duckling looking cheerful rather than cross-eyed.
Joining All Pieces
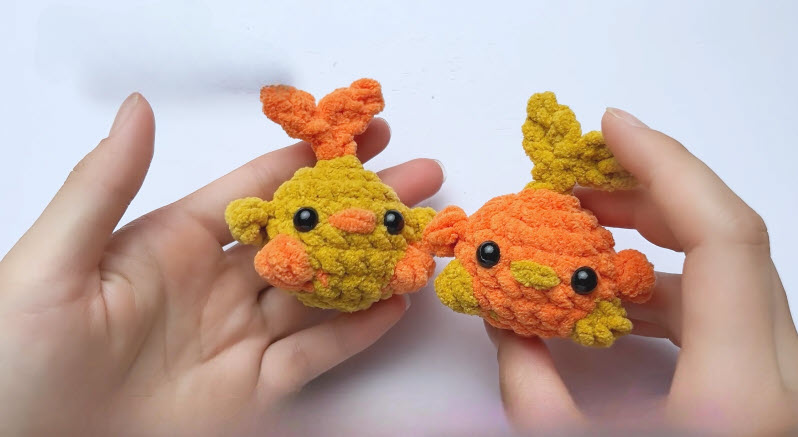
Sewing the wings onto the upper back section, angled slightly outward, creates that signature tail-feather look seen in the reference photo. Attaching the beak securely with a few whip stitches prevents it from shifting during regular keychain use.
Adding the Keychain Loop
A short chain made from yellow yarn, folded and secured at the top of the head, forms the loop for attaching a keyring. Reinforcing this loop with a couple of extra stitches keeps it from stretching out over time, since this is the part that takes the most wear.
Final Assembly
Stuffing the body firmly but not overly tight helps the fluffy texture stand out rather than flatten. Weaving in all loose ends neatly, then giving the bobble stitches a gentle fluff with fingers, brings the whole duckling to life.
Tips for Success
- Counting stitches after every round prevents unnoticed shaping errors
- Stitch markers save a lot of frustration when tracking rounds in fluffy yarn
- Stuffing evenly avoids lumpy or lopsided shapes
- Hiding yarn ends inside the stitches, rather than trimming them short, keeps the fur texture undisturbed
- Working slightly looser tension on bobble rows helps the fluff puff out properly
Personalization Ideas
- Swapping yellow for white creates a fluffy baby chick instead
- Pastel spring colors work well for Easter-themed versions
- Adding a tiny bow or scarf changes the character’s personality
- Making a jumbo size turns it into a nursery decoration rather than a keychain
- Attaching it to a zipper pull or backpack clip instead of a keyring offers another gifting option
Common Mistakes to Avoid
Skipping stitch counts is probably the most common beginner slip, since fluffy yarn hides missed stitches easily. Overstuffing the body can also flatten the bobble texture, so a moderate amount works better than packing it tight. Eye placement mistakes happen often too testing position with pins before sewing permanently saves a lot of unpicking later.
Frequently Asked Questions
What yarn works best for the fluffy texture?
Chenille or velvet-style yarn gives the softest look, though regular worsted weight with bobble stitches still works fine.
Can I make this without safety eyes?
Embroidered eyes with black yarn work as a safe alternative for anyone gifting this to small children.
How long does one duckling take to finish?
Most crocheters finish within two hours once comfortable with the bobble stitch.
Is this Crochet Duckling Keychain Amigurumi pattern suitable for complete beginners?
Basic single crochet and magic ring knowledge helps, though the bobble stitch is easy to pick up within a few rows.
Can the size be adjusted?
Adding extra rounds before the decrease sequence creates a larger version without changing the overall shape.
What’s the best way to attach the keyring?
A reinforced chain loop stitched securely at the top holds up best under daily bag or backpack use.
Does the fur texture wear down over time?
Gentle care keeps it looking fresh for years, though brushing it lightly with a soft brush restores fluffiness if it flattens.
Conclusion
Little amigurumi projects like this Crochet Duckling Keychain Amigurumi prove that big charm often comes in small packages. Trying out the bobble stitch here opens the door to plenty of other fluffy animal designs down the road. Sharing a finished photo with fellow crocheters always makes the effort feel even more worthwhile, so grabbing a hook and giving this pattern a go seems like the perfect next project.