Plush Crochet Kitty Amigurumi Pattern Step-by-Step For Beginner-Friendly
Cute crochet cats have a special kind of charm: tiny paws, a rounded little body, and that sweet face that instantly looks playful. Plus, the soft texture (especially with plush yarn) makes the finished cat feel extra cuddly and “squishy” in the best way.
Next, this crochet a cat amigurumi project is a wonderful starting point for beginners. It stays simple, uses easy shaping, and still looks impressive when finished. Even better, it works beautifully as a small handmade gift, a desk buddy, or a cheerful decoration on a shelf.
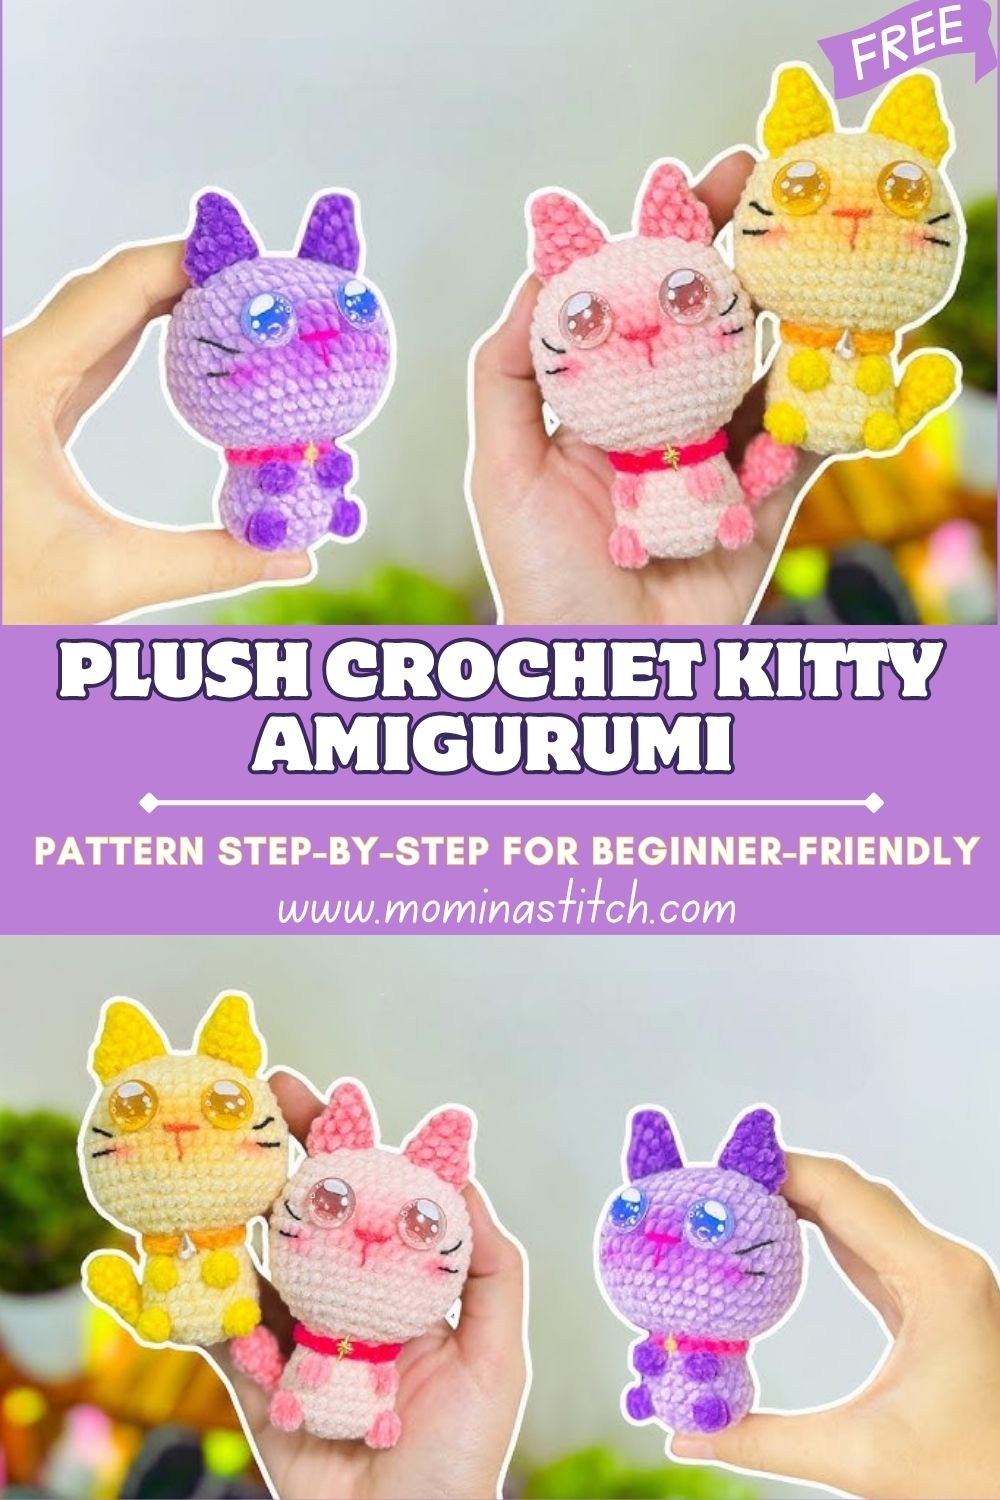
Meanwhile, crochet cats remain one of the most loved amigurumi projects because they are easy to personalize. Tiny changes like bigger eyes, smaller ears, or a different nose can completely change the expression. Additionally, color swaps can create anything from a classic gray kitty to a magical pastel cat.
Finally, this beginner-friendly amigurumi cat pattern is designed to build confidence. It gently practices shaping, stitching, and assembly without feeling overwhelming. Later, the finished cat can become a plush toy, a keychain-sized buddy, or even a small decorative piece for a nursery or craft corner.
Materials Needed
- Yarn (choose one):
- Soft chenille yarn, super bulky (#6) for a plush look (about 30–40 g)
- Cotton yarn, DK/light worsted (#3) for clean stitches (about 25–35 g)
- Colors: one main cat color + small amounts of pink/white/black for details
- Crochet hook: 3.5 mm to 5.0 mm (match yarn; smaller hook = tighter stitches)
- Safety eyes: 8–12 mm (larger sizes create a cuter, more expressive face)
- Stuffing: Polyfill (about 10–15 g, adjust as needed)
- Stitch marker: 1 (or a small piece of yarn)
- Yarn needle: for sewing parts and weaving in ends
- Scissors
- Optional: Keychain ring or clip (if turning the cat into a bag charm)
Skill Level
Beginner / Easy
Making Time (Overview)
Total time: about 1–2 hours, depending on yarn type and how detailed the face becomes.
Step-by-Step Instructions
Before Starting: Helpful Notes
- Use tight stitches so stuffing does not show through.
- Work in continuous rounds (spiral), unless stated otherwise.
- Abbreviations: MR (magic ring), sc (single crochet), inc (increase: 2 sc in same stitch), dec (decrease: invisible decrease recommended).
Body (Main Shape)
Making time: about 35–55 minutes
- Start with a magic ring:
- Make MR, then crochet 6 sc into the ring.
- Pull tight to close the center.
- Place a stitch marker in the first stitch of the round.
- Shape the body (round and chubby):
Next, build a smooth ball shape by increasing, then crocheting even rounds.- Round 2: inc in each stitch (12)
- Round 3: (sc, inc) repeat around (18)
- Round 4: (2 sc, inc) repeat around (24)
- Round 5: (3 sc, inc) repeat around (30)
- Rounds 6–9: sc around (30 each round)
- Stuff and close:
After that, begin decreasing while stuffing evenly.- Round 10: (3 sc, dec) repeat around (24)
- Round 11: (2 sc, dec) repeat around (18)
- Start stuffing firmly but gently. Add small bits of polyfill and push it into shape.
- Round 12: (sc, dec) repeat around (12)
- Add a final bit of stuffing, then:
- Round 13: dec around (6)
Finally, cut yarn (leave a tail), thread the needle, and weave through the last 6 stitches to close neatly.
Additional Parts
Ears (Make 2)
Making time: about 10–15 minutes
- Start: MR, 3 sc into ring (tight triangle start).
- Next: (sc, inc) repeat around (5)
- After that: sc around for 1 round (5) to give a tiny bit of height.
- Fasten off, leave a long tail for sewing.
- Later, pinch the base slightly to form a triangle, then stitch in place.
Placement tip: Position ears evenly on top of the head/body, with the same distance from the center line.
Arms & Legs (Simple Bumps – Make 4)
Making time: about 10–20 minutes
These are intentionally beginner-friendly and quick.
- MR, 5 sc into ring.
- sc around for 1 round (5)
- Lightly stuff (optional—tiny pieces only) or leave unstuffed for a flatter look.
- Fasten off, leave a sewing tail.
Attachment tip:
- Place two legs near the bottom front so the cat sits nicely.
- Next, place two arms slightly higher and a bit to the sides for balance.
Tail (Make 1)
Making time: about 8–12 minutes
- Chain 9–12 (shorter chain = smaller tail).
- Starting in the second chain from hook, sc across.
- After that, sc around the tail once more if a thicker tail is preferred (optional).
- Fasten off, leave a long tail.
- Later, curve the tail gently and stitch securely to the back.
Face & Assembly
Making time: about 20–35 minutes
- Attach safety eyes evenly:
First, decide the front of the body. Then place eyes between Rounds 7 and 8 (or similar mid-height area).- Space them about 5–7 stitches apart depending on cat size.
- After placement looks right, secure the backs tightly.
- Embroider the nose, mouth, and whiskers:
Next, use embroidery thread or a thin yarn strand.- Nose: a small triangle or tiny horizontal stitch centered beneath the eyes
- Mouth: a simple “Y” shape or two short curves
- Whiskers: 2–3 straight stitches on each side
- Add optional blush or extra details:
Meanwhile, rosy cheeks can be added with pink yarn, pastel chalk, or blush (very lightly). Tiny eyebrow stitches can also add personality. - Sew on ears, limbs, and tail (neat + symmetrical):
After that, pin all parts first (or use stitch markers) before stitching.- Sew ears on top, evenly spaced
- Next, sew arms and legs so they match left and right
- Finally, attach the tail firmly with several passes of yarn
- Final shaping check:
Before cutting remaining ends, push stuffing gently into place and smooth the shape. Then weave in yarn tails inside the body for a clean finish.
Beginner-friendly assembly tips:
- Use a longer yarn tail than expected extra length makes sewing easier.
- Stitch through both the part and the body stitches so pieces do not wobble.
- Step back and look at the face from a distance; small adjustments make a big difference.
Special Features
- Texture: Soft, plush, and slightly fluffy with chenille; crisp and defined with cotton
- Expression: Big shiny eyes plus simple embroidery create an instantly cute look
- Shape: Round and compact body with tiny limbs for an adorable, minimal design
Sizing Tips
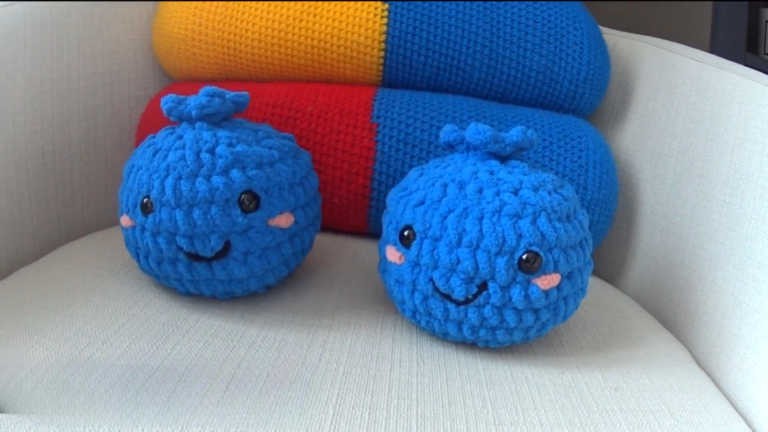
Changing yarn and hook size will change the final cat size quickly.
- Thicker yarn (chenille #6) + 5.0 mm hook: creates a larger plush cat, usually about 10–14 cm tall depending on tension.
- Cotton DK (#3) + 3.5 mm hook: creates a smaller, more detailed cat, usually about 7–10 cm tall.
Additionally, tighter tension makes the cat slightly smaller and firmer, while looser tension makes it larger but can create gaps.
Finishing Tips
- Keep stitches tight and even so stuffing stays hidden.
- Next, weave ends into the body in multiple directions to prevent them from popping out.
- After that, secure all sewn parts with extra stitches, especially the tail and ears.
- Finally, shape while stuffing: add small amounts and smooth often for a round, clean look.
Common Mistakes to Avoid
- Loose stitches creating holes: Use a smaller hook or tighten tension.
- Uneven stuffing: Add stuffing in small pieces and spread it as rounds close.
- Misaligned eyes or ears: Pin first, then double-check symmetry before securing.
- Skipping stitch markers in rounds: Mark the first stitch every round to avoid drifting.
Variations & Customization Ideas
- Try different cat colors: pink, purple, yellow, gray, cream, or black.
- Next, add stripes or spots by changing yarn color for a few rounds or embroidering details afterward.
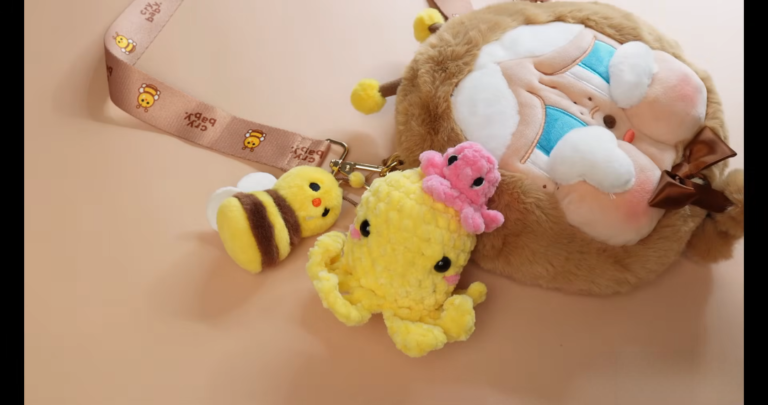
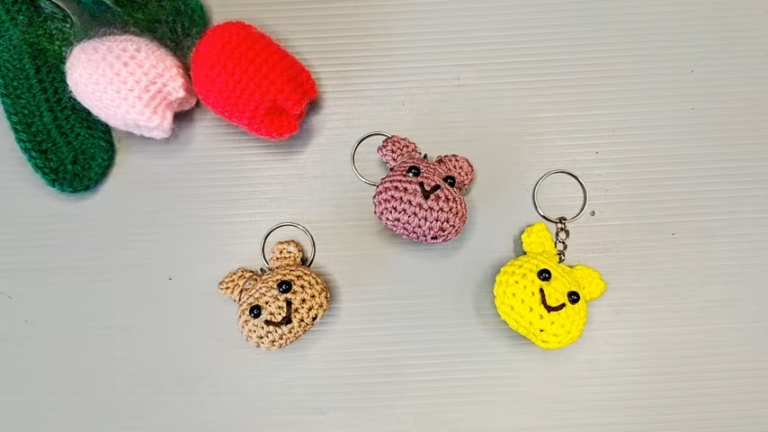
- After that, create a mini keychain version using thinner yarn and smaller eyes, or make a bigger plush with jumbo yarn.
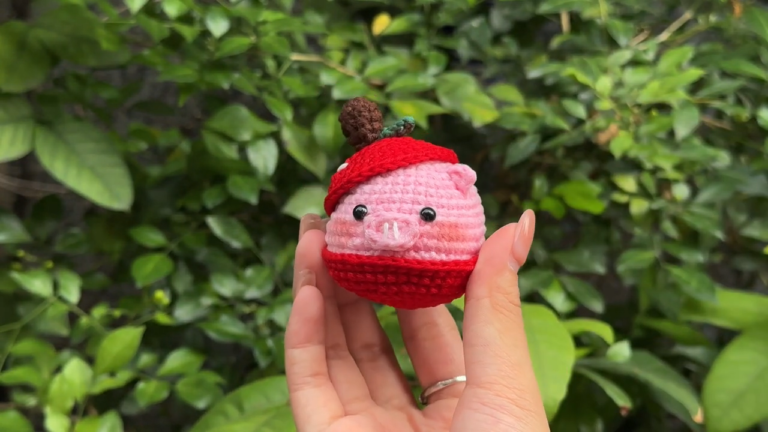
- Finally, add accessories: a tiny bow, a collar with a stitched “tag,” or even a mini hat for extra personality.
Tutor Suggestions
- Maintain consistent tension all the way through so the body stays neat and round.
- Next, take extra care with the facial features because eye placement and a small nose instantly change the expression.
- After that, practice small parts (ears or limbs) once before making the final set—confidence grows quickly.
- Finally, stay patient and enjoy the process; amigurumi improves dramatically with each finished piece.
Conclusion for ( Crochet Kitty Amigurumi Pattern )
This crochet a cat amigurumi pattern keeps everything simple, cozy, and beginner-friendly while still creating a seriously cute result. Next, try a favorite color, play with eye size, and add tiny details to make each cat feel unique. Finally, enjoy the relaxing rhythm of crocheting in the round and have fun turning a few stitches into a soft little companion.