Sophisticated Crochet Little duck Amigurumi Plush Pattern For absolute beginners
Bright, sweet, and full of personality, this little duck is the kind of crochet project that instantly lifts your mood. With a slightly long neck, a slim, rounded body, and cheerful orange beak and feet, it turns a few simple stitches into a lovable, handmade friend.
If you have been searching for a crochet duck pattern that feels relaxing and doable, this cute duck amigurumi is a perfect beginner crochet toy. It works up quickly, stays simple from start to finish, and makes a charming gift or a small toy to keep close.
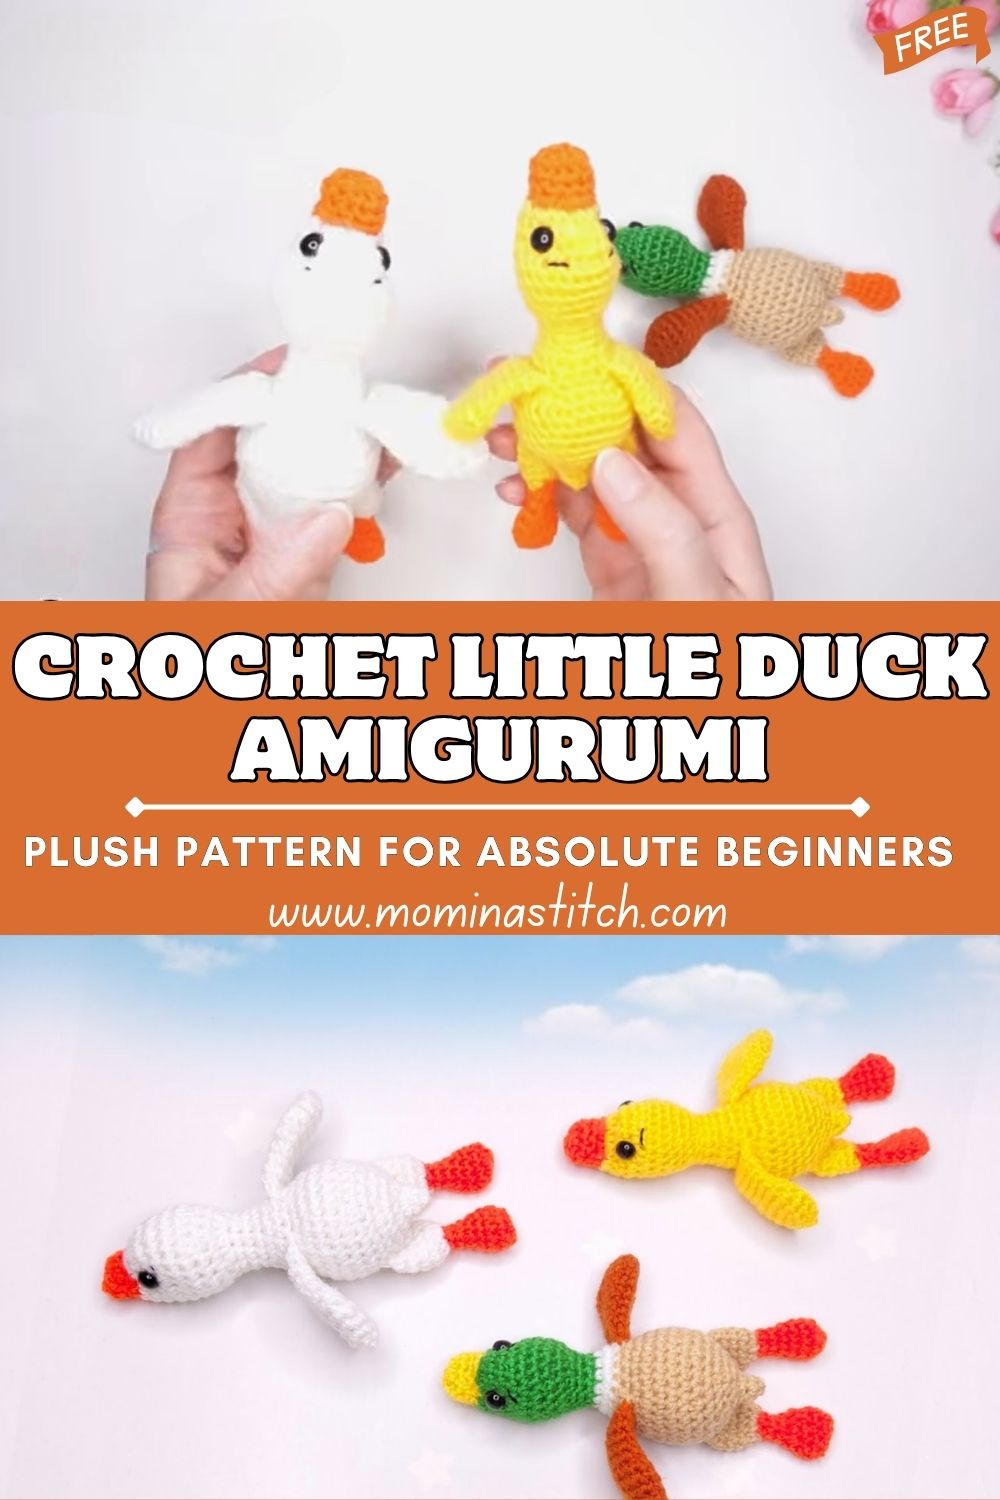
What I love most about this duck is the shape. The body is rounded yet still slim, and the neck is slightly longer than that of a classic chubby duck. That gives it a sweet, gentle look, especially once the little wings and bright orange beak are added. The face stays simple too, with safety eyes and a tiny stitched smile, so it is beginner-friendly but still full of personality.
Another reason this is a great first amigurumi is the size. Since it is a small, palm-sized duck, you do not need much yarn, and you can see progress quickly. You build the head and body in one piece with single crochet, increases, and decreases. Next, you add the neck, then the small pieces, such as the wings, beak, and legs. After that, you assemble everything and finally do a little shaping and fluffing.
Materials Needed
- Yellow yarn (main body): 25 to 35 g (worsted or DK cotton, or plush yarn)
- Orange yarn (beak and feet): 5 to 10 g
- White yarn (optional variation): 10 to 20 g (for belly or whole duck)
- Crochet hook: 3.0 mm to 5.0 mm (use the smaller end for tight stitches)
- Safety eyes: 8 mm to 12 mm (8 to 10 mm looks best for a tiny face)
- Stuffing: polyfill, about 10 to 15 g
- Stitch marker: 1
- Tapestry needle: 1
- Scissors: 1
Abbreviations (US Terms)
- MR = magic ring
- sc = single crochet
- inc = increase (2 sc in the same stitch)
- dec = decrease (single crochet 2 together)
- sl st = slip stitch
- ch = chain
- rep = repeat
- FO = fasten off
Skill Level
Beginner. This Crochet Little Duck Amigurumi uses the most common amigurumi stitches: single crochet, increase, and decrease. If you can count stitches and keep your rounds steady, you can make this duck.
Finished Size
About 4 to 6 inches (10 to 15 cm) tall, so it fits in your palm. The final size depends on your yarn thickness, hook size, and how firmly you stuff it.
Time Planning at a Glance
Total time: 1.5 to 3 hours (depending on experience and yarn)
- Body and neck: 45 to 90 minutes
- Beak: 10 minutes
- Wings (2): 15 minutes
- Legs and feet (2): 20 to 30 minutes
- Assembly: 20 to 30 minutes
Important Notes Before Starting (Beginner Tips)
- Count every round. It is easy to drift by one stitch in amigurumi, so use a marker.
- Keep tension tight. Tight stitches help stop stuffing from showing through.
- Stuff slowly. Add small bits of polyfill as you go so the duck stays smooth.
- Use the invisible decrease. It makes the body look cleaner and less bumpy.
- Check symmetry often. Before sewing, hold parts in place and adjust for balance.
Crochet Pattern
This pattern is written in continuous rounds unless noted. Move your stitch marker to the first stitch of each round.
A. Head and Body (One Piece)
First, we make a rounded head that blends into a slim, oval body.
- Round 1: MR, 6 sc (6)
- Round 2: inc in each st around (12)
- Round 3: (sc, inc) rep around (18)
- Round 4: (2 sc, inc) rep around (24)
- Round 5: (3 sc, inc) rep around (30)
Next, we gently form the head height.
- Rounds 6 to 7: sc around (30)
Then we start narrowing slightly to transition into the neck area.
- Round 8: (3 sc, dec) rep around (24)
- Round 9: (2 sc, dec) rep around (18)
- Round 10: sc around (18)
Now widen again to form that slim, rounded body.
- Round 11: (2 sc, inc) rep around (24)
- Round 12: (3 sc, inc) rep around (30)
- Rounds 13 to 15: sc around (30)
After that, stretch the body slightly so it looks more oval than round.
- Round 16: (4 sc, dec) rep around (25)
- Round 17: sc around (25)
- Round 18: (3 sc, dec) rep around (20)
- Round 19: sc around (20)
Start stuffing now. Add stuffing gradually, keeping the body slim but still soft.
- Round 20: (2 sc, dec) rep around (15)
- Round 21: (sc, dec) rep around (10)
- Round 22: dec around (5)
- FO: Close the opening, weave in the nd.
B. Neck (Slightly Long Neck Look)
If you want the neck to look a bit longer, you can build it into the body by adding extra straight rounds before you widen for the body.
Option to customize the neck:
- After Round 10 of the head, add 2 to 4 more rounds of sc around (18) before Round 11.
This gives the duck a slightly long-necked shape while still keeping it stable.
C. Beak (Orange Yarn)
Next, we make a small, rounded beak. Keep it simple and slightly puffy.
- Round 1: MR, 6 sc (6)
- Round 2: (sc, inc) rep around (9)
- Round 3: sc around (9)
- FO: Leave a tail for sewing. Lightly stuff or leave unstuffed for a flatter beak.
Tip: A softly stuffed beak looks cute and rounded. A flat beak looks more cartoonish, both work.
D. Wings (Make 2 Small Flat Wings)
These wings are tiny and sit on the sides.
- Round 1: MR, 6 sc (6)
- Round 2: (sc, inc) rep around (9)
- Round 3: sc around (9)
- FO: Do not stuff. Pinch slightly flat and leave the tail for sewing.
E. Legs and Feet (Simple and Slightly Flat)
The duck in my mind looks cutest with small, slightly stretched legs and little flat orange feet.
Legs (Make 2, yellow or orange)
- Ch 7 (or ch 6 for shorter legs)
- Starting in the 2nd ch from the hook: sc in each ch (6 sc)
- FO leaving a tail for sewing.
Feet (Make 2, orange yarn)
- Ch 5
- In 2nd ch from hook: sl st, next ch sl st, next ch sl st (this forms little toes)
- In last ch: sl st again (helps make the foot a bit wider)
- FO leaving a tail.
Next, sew each leg to a foot. Keep the foot flat and pointing forward.
F. Face Details (Eyes and Smile)
First, place the safety eyes, then add the smile.
- Safety eyes: Place between Rounds 6 and 8 of the head area, about 5 to 7 stitches apart.
- Smile: With black embroidery thread or thin black yarn, stitch a tiny curved smile under the beak area.
Tip: Before locking safety eyes, test the look by pinning the beak in place. Small changes make a big difference.
Assembly Instructions
Take your time here. Assembly is where the duck turns from a ball of yarn into a personality.
- Attach the beak centered under the eyes. Sew around the edge neatly.
- Attach the wings on the sides of the body, slightly below the neck area. Make surethey matchh the height on both sides.
- Attach the legs and feet to the bottom of the body. Place them slightly forward so the duck can sit without tipping backward.
- Check balance: Set the duck down on a table. If it tips, move the legs a little until it sits well.
Finishing Touches
- Adjust the stuffing by gently pushing it with the back of your hook or a pencil.
- Shape the neck with your fingers so it looks softly stretched and upright.
- Fix alignment by tugging and smoothing seams, especially around the beak and wings.
- Weave in ends securely and trim yarn tails.
Beginner Tips (Extra Helpful!)
- Use a smaller hook than usual for your yarn so stitches are tight.
- If your rounds get confusing, write the stitch count on paper as you go.
- For smooth shaping, place increases evenly around the round.
- When sewing pieces together, use pins or stitch markers first to hold their placement.
- If plush yarn is hard to see, use a bright light and count by feeling each stitch.
Common Mistakes to Avoid
- Loose stitches: Stuffing may show through. Tighten the tension or size down your hook.
- Uneven stuffing: A lumpy body occurs when stuffing is added in large chunks. Add small bits.
- Wrong eye placement: Eyes too high can look surprised, too low can look sleepy—test before securing.
- Crooked neck shape: If the neck leans, reduce stuffing in the neck and add more to the body for support.
Variations to Personalize Your Duck
- Different colors: Try a white duck with one range beak and feet, or a brown duck for a rustic look.
- Keychain version: Use thinner yarn, a smaller hook, and add a keychain loop at the top of the head.
- Add a hat or bow: A tiny bow at the neck or a mini beanie makes it gift-ready.
- Make mini or large: For mini, use sport-weight yarn and a 2.5-3.0 mm hook. For large, use blanket yarn and a 6.0-8.0 mm hook.
Conclusion
This Crochet Little Duck Amigurumi is one of those projects that feels calming from start to finish. You shape the head, then build the slim little body, add the bright orange beak and feet, and finally, the duck comes to life with a sweet face. If you are new to amigurumi, I hope this duck helps you feel confident, because small projects like this are the best way to learn and have something adorable to show for it.