Crochet Wizard Frog Plushie Pattern + Wizard Hat & Cape in Red, Blue, or Purple
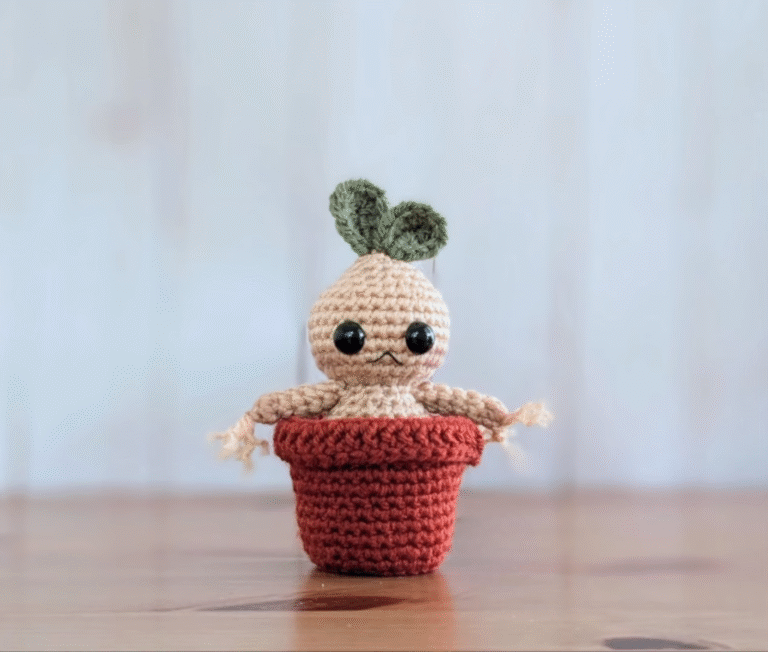
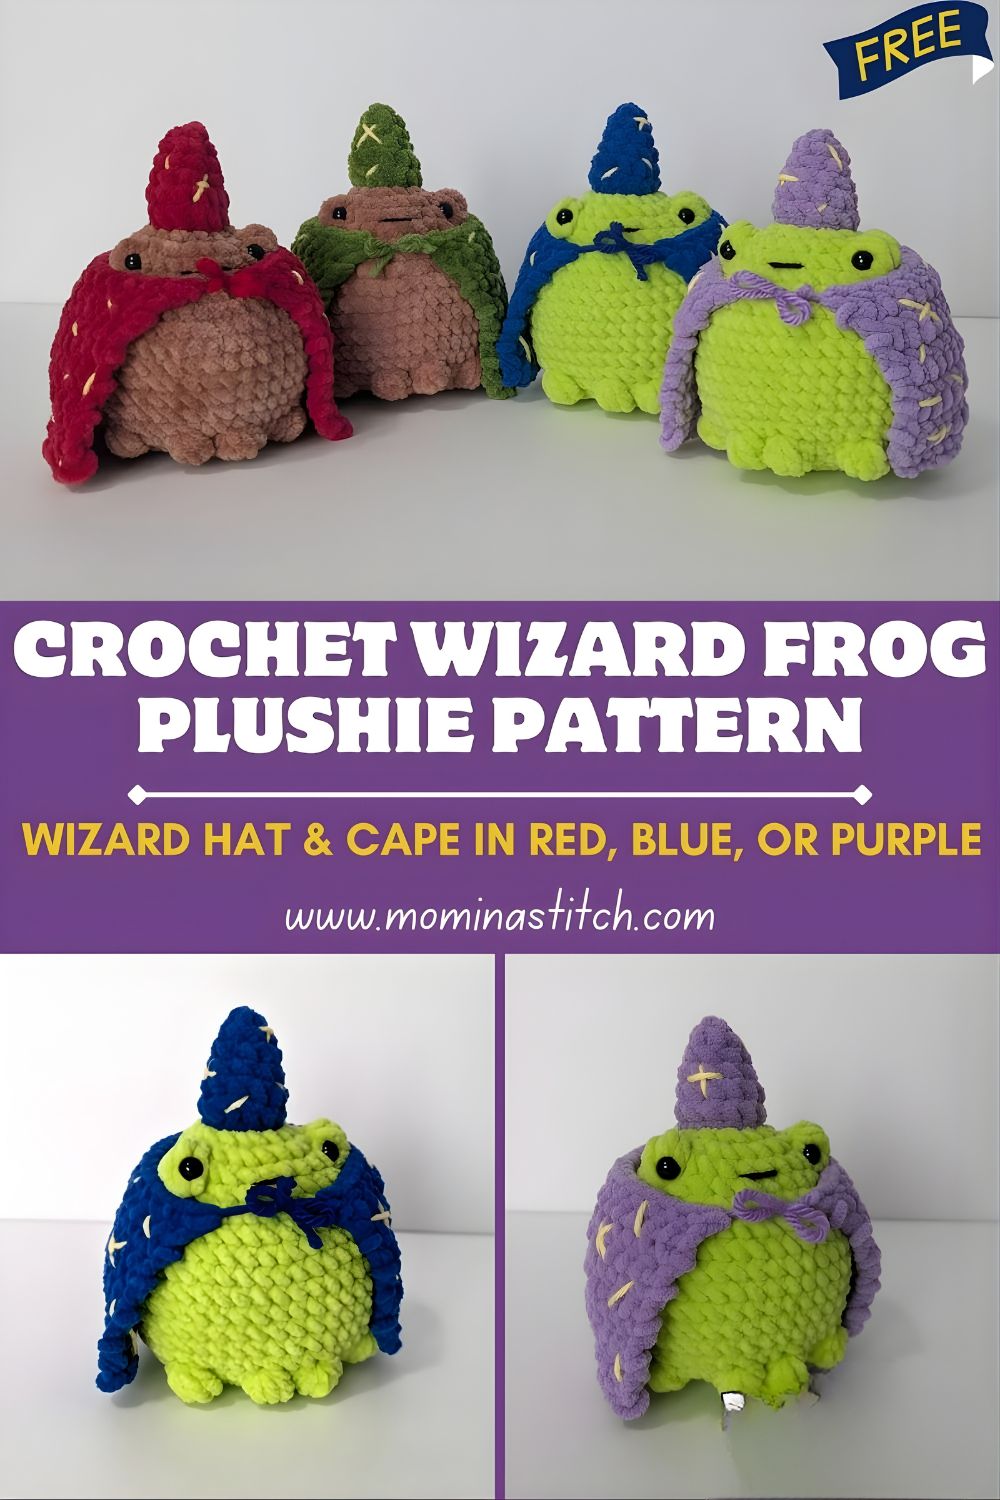
If you’ve been craving a fun, slightly “magical” wizard frog crochet plushie, this is the project. It’s a simple amigurumi frog with big sweet eyes, plus a tiny wizard hat and cape you can make in red, blue, or purple, perfect for gifting or keeping on your desk as a crochet buddy.
If you’re newer to stuffed toys, amigurumi crochet is basically the cozy art of crocheting little 3D shapes,s usually in continuous rounds and stuffing them into soft plushies. Most amigurumi is made with single crochet, strategic increases, and decreases. Once you get the rhythm, it’s wonderfully relaxing (and a little addictive).
And frogs? Frogs are super popular in crochet right now for a reason: they’re naturally cute, you can make them super expressive with just eye placement, and the shapes are beginner-friendly (round head, round body, stubby arms/legs). They also look adorable in outfits—tiny sweaters, overalls… and yes, wizard gear.
What makes this wizard frog design special is the personality you get from just a few details: the taller pointed hat, the little cape that drapes behind, and the color choices that totally change the vibe. A red wizard hat and cape feel bold and classic, blue looks more “moon-and-stars” magical, and purple gives that dreamy fantasy look. You can keep the frog body green for that classic frog feel, or swap in different greens for a woodland-style wizard.
Beginners tend to love this plushie because it’s made from simple parts, it works up fast, and it’s forgiving. If your stitches aren’t perfectly even yet—no problem. Once it’s stuffed and assembled, it still comes out ridiculously cute.
Materials Needed
Here’s what I recommend for a neat, sturdy plushie:
- Yarn:
- Green yarn for the frog body (worsted or DK works great)
- Red, blue, or purple yarn for the wizard hat and cape
- Optional: a tiny bit of black/white yarn or embroidery floss for mouth/eye details
- Crochet hook: 2.75 mm to 3.5 mm (pick a smaller hook than the yarn label suggests so stuffing won’t show)
- Safety eyes: 8–10 mm (or embroider eyes for child-safe version)
- Fiberfill stuffing
- Yarn needle (tapestry needle)
- Stitch marker (or scrap yarn)
- Scissors
Crochet Abbreviations
- MR – Magic Ring
- sc – Single Crochet
- inc – Increase (2 sc in the same stitch)
- dec – Decrease (use invisible decrease if you can)
- sl st – Slip Stitch
- ch – Chain
- st – Stitch
Step-by-Step Crochet Pattern (Wizard Frog Plushie)
Before You Start (Quick Notes)
- Work in continuous rounds unless noted.
- Use a stitch marker in the first stitch of every round.
- Stitch counts are listed in [brackets].
This pattern creates a small plushie you can finish in an afternoon or a relaxed evening.
Head (Green)
Rnd 1: MR, 6 sc in MR [6]
Rnd 2: inc x6 [12]
Rnd 3: (sc, inc) x6 [18]
Rnd 4: (2 sc, inc) x6 [24]
Rnd 5: (3 sc, inc) x6 [30]
Rnd 6: (4 sc, inc) x6 [36]
Rnd 7–10: sc around [36]
Beginner tip: If your circle starts looking hexagon-ish, that’s normal in single crochet—just keep your increases evenly spaced.
Rnd 11: (4 sc, dec) x6 [30]
Rnd 12: (3 sc, dec) x6 [24]
Rnd 13: (2 sc, dec) x6 [18]
Start stuffing the head firmly now—especially around the top and cheeks.
Rnd 14: (sc, dec) x6 [12]
Rnd 15: dec x6 [6]
Fasten off, close the opening, wand eave in the end.
Body (Green)
Rnd 1: MR, 6 sc [6]
Rnd 2: inc x6 [12]
Rnd 3: (sc, inc) x6 [18]
Rnd 4: (2 sc, inc) x6 [24]
Rnd 5: (3 sc, inc) x6 [30]
Rnd 6–8: sc around [30]
Rnd 9: (3 sc, dec) x6 [24]
Rnd 10: (2 sc, dec) x6 [18]
Stuff firmly.
Rnd 11: (sc, dec) x6 [12]
Rnd 12: sc around [12]
Fasten off, leaving a long sewing tail.
Beginner tip: A well-stuffed body helps the cape sit nicely and keeps the plushie from looking “slouchy.
Eyes (Make 2)
You can do cute round “frog eyes” that sit on top of the head.
Rnd 1: MR, 6 sc [6]
Rnd 2: inc x6 [12]
Rnd 3: sc around [12]
Fasten off,f leaving a long tail. Lightly stuff (optional).
Safety eyes placement option:
- Instead of placing safety eyes directly into the head, you can place them into the eye bumps for that classic frog look. If you do this, insert safety eyes through the center of each eye piece before sewing them on.
Beginner tip: If you’re unsure about eye placement, pin them on first and step back a foot or two. Tiny shifts make a big difference in expression.
Arms (Make 2, Green)
Rnd 1: MR, 6 sc [6]
Rnd 2–4: sc around [6]
Lightly stuff the hand end (or leave unstuffed for a softer look).
Flatten and close with 3 sc through both layers. Fasten off,ff leaving a tail.
Beginner tip: Don’t overstuff skinny limbs—it makes them look lumpy and harder to sew.
Legs (Make 2, Green)
These are simple little seated legs.
Rnd 1: MR, 6 sc [6]
Rnd 2: (sc, inc) x3 [9]
Rnd 3–5: sc around [9]
Stuff lightly.
Flatten and close with 4 sc through both layers. Leave a sewing tail.
Beginner tip: If you want your frog to sit more easily, keit’s ep legs slightly under-stuffed and stitch them on angled forward.
Wizard Hat (Red, Blue, or Purple)
This hat is worked in a cone. Pick your wizard color: red, blue, or purple.
Rnd 1: MR, 4 sc [4]
Rnd 2: (sc, inc) x2 [6]
Rnd 3: (2 sc, inc) x2 [8]
Rnd 4: (3 sc, inc) x2 [10]
Rnd 5: (4 sc, inc) x2 [12]
Rnd 6: (5 sc, inc) x2 [14]
Rnd 7: (6 sc, inc) x2 [16]
Rnd 8: sc around [16]
Hat Brim
Rnd 9 (brim): (inc, sc) around [24]
Rnd 10: sc around [24]
Fasten off, leaving a long tail.
Beginner tip: If you want a floppier wizard hat, go up 0.5 mm in hook size just for the hat, or work the last round a bit looser.
Wizard Cape (Red, Blue, or Purple)
The cape is made as a small flat piece that you sew to the back of the body. (I love this because it’s simple and it sits nicely—no fiddly straps unless you want them.)
Ch 13.
Row 1: sc in 2nd ch from hook and across (12 sc). ch 1, turn. [12]
Row 2: dec, sc 8, dec. ch 1, turn. [10]
Row 3: dec, sc 6, dec. ch 1, turn. [8]
Row 4: dec, sc 4, dec. ch 1, turn. [6]
Row 5: dec, sc 2, dec. [4]
Fasten off,f leaving a long tail for sewing.
Optional edging: join yarn and sc evenly around the cape for a cleaner border.
Beginner tip: If your edges look a little wavy, that’s totally normal with decreases on rows. The border round (even just a simple sc edge) makes it look super polished.
Assembly Instructions (Make It Cute!)
1) Attach the Eyes
- Decide where you want the frog’s face to be (usually around the widest part of the head).
- Sew the two eye bumps onto the top-front of the head, spaced evenly.
- If using safety eyes in the eye bumps: insert them first, secure the backs, then sew the eye bumps on firmly.
Shaping trick: After sewing each eye, pull the yarn tail through the head and out the back. Tug gently to “sink” the eye area a touch—this gives a really sweet expression.
2) Sew Head to Body
- Center the head on top of the body.
- Stitch all the way around, using small, ll tight whipstitches.
- Add a little extra stuffing at the neck before you fully close if it feels wobbly.
3) Sew Arms and Legs
- Arms: stitch them to the sides of the body just below the head join. Angle them slightly forward like the frog is holding its cape.
- Legs: attach to the lower front of the body so the frog naturally sits.
4) Place the Wizard Hat
- Set the hat slightly between the eyes tiltedd a little to one side (the tilt gives it so much personality).
- Sew around the brim to secure. If you want it removable, stitch only at a few points and tie off inside.
5) Add the Cape
- Sew the cape to the upper back of the body, right under the head.
- Tack the top corners first, then stitch along the top edge so it drapes naturally.
Final shaping: Once everything is on, squeeze and roll the plush lightly in your hands to distribute stuffing and smooth any bumps.
Customization Ideas
- Try different hat colors: gold, black, or even variegated yarn for a “spellbook” vibe.
- Add stars to the cape: stitch on little embroidered stars, or crochet tiny star appliqués and sew them on.
- Make it bigger or smaller:
- Bigger: use chunky yarn + larger hook
- Smaller: use crochet thread + a tiny hook (great for keychains)
- Use fluffy yarn: velvet or chenille makes a super plush frog—just know it’s harder to see stitches, so you’ll want a stitch marker and patience.
- Add a tiny wand: a toothpick-sized crocheted stick with a star at the end is ridiculously cute.
Beginner Crochet Tips (Amigurumi-Friendly)
- Use a stitch marker from the very first round—spirals are sneaky.
- Count your stitches at the end of every round (seriously, it saves so much time).
- Invisible decreases make your plush smoother and less “gappy.”
- Stuff gradually, not all at once—especially small pieces like the eyes.
- Choose the right hook size: tighter stitches = cleaner plushie and no stuffing showing.
- Pin pieces before sewing so you can adjust placement easily.
- Weave in ends securely (toys get handled a lot, even if they’re “just decor”).
FAQs (Crocheting Frog Plushies)
1) Is a wizard frog crochet plushie beginner-friendly?
Yes! It’s mostly single crochet with simple increases/decreases and small accessories.
2) What yarn is best for an amigurumi frog?
Smooth DK or worsted yarn is easiest for beginners. Chenille is cute but harder to count.
3) Can I crochet this without safety eyes?
Absolutely—embroider eyes with black yarn or use felt circles (stitched on securely).
4) Why does my frog look lopsided?
Usually, it’s uneven stuffing or missed stitch counts. Try re-stuffing and double-checking rounds.
5) How do I make my frog sit nicely?
Attach the legs slightly forward and keep them lightly stuffed so they act like little supports.
Conclusion
If you want a project that’s cute, quick, and guaranteed to make you smile, this wizard frog crochet plushie is it. Pick your favorite wizard color (red, blue, or purple), take your time with the assembly, and you’ll end up with a magical little frog friend that’s perfect for gifting—or keeping right on your craft shelf.