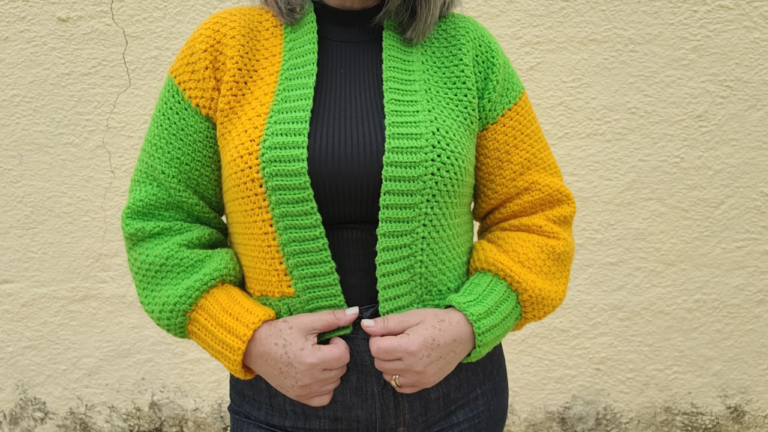
Chunky Crochet Cardigan Pattern Beginner-Friendly Cardigan & Front Tie
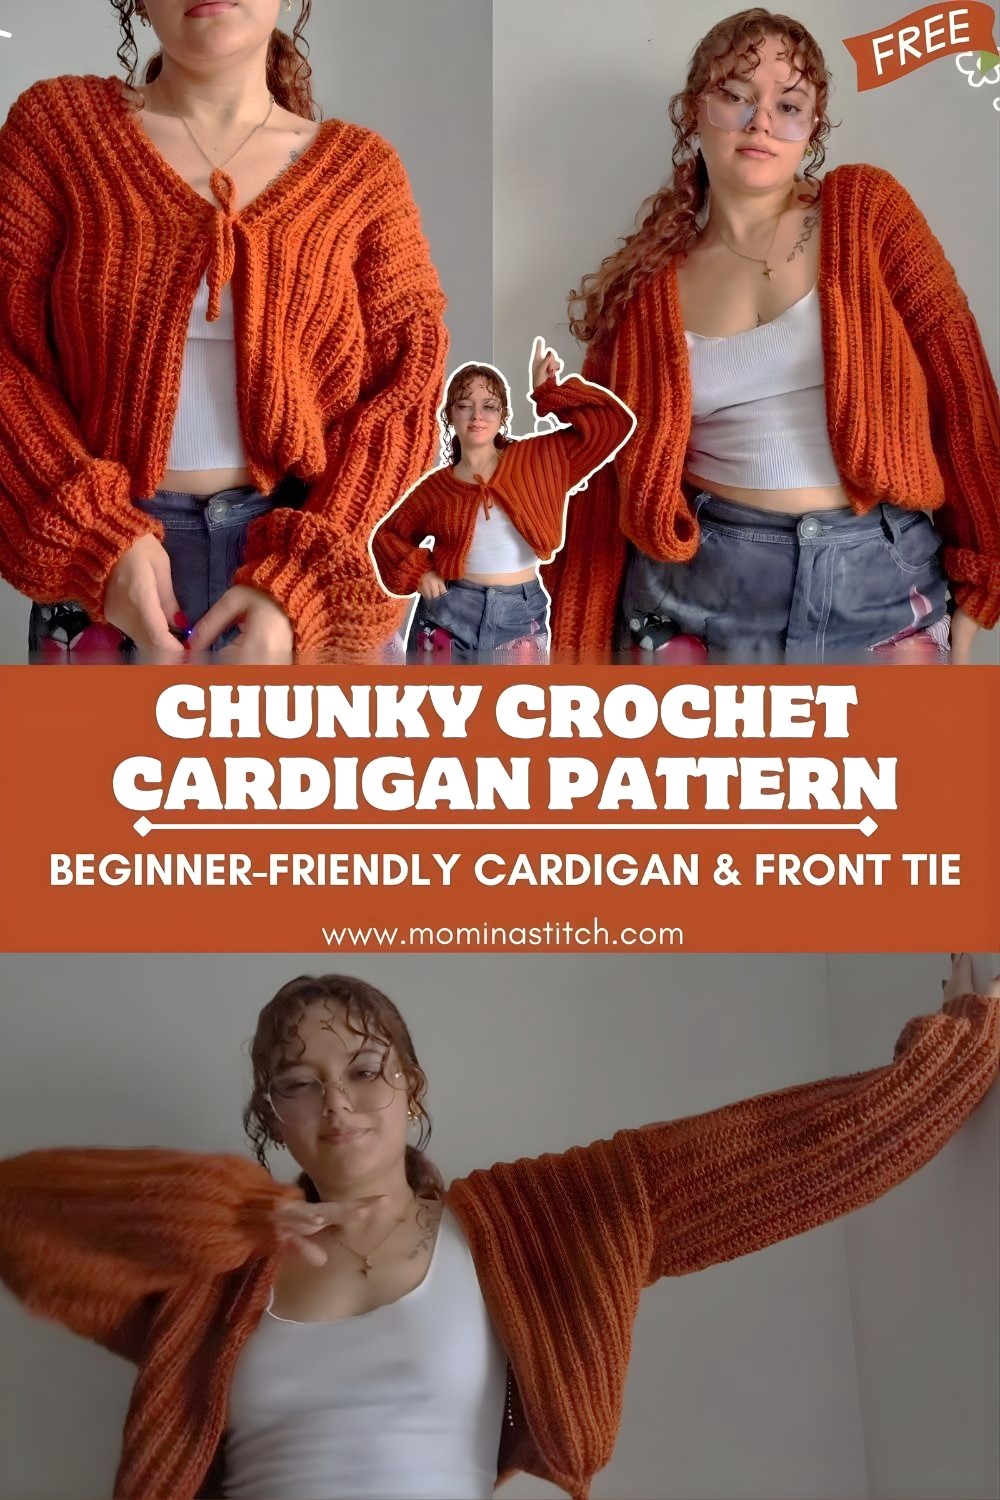
This Chunky Crochet Cardigan Pattern is an oversized, ribbed-texture, cozy layer with balloon sleeves and a sweet front tie. If you’re searching for a crochet cardigan tutorial, an oversized crochet sweater, or a crochet cardigan for beginners, this trendy handmade staple is perfect.
Chunky crochet cardigans are a fall-and-winter favorite because they’re warm, stylish, and satisfyingly quick to make with bulky yarn. This DIY crochet cardigan boasts a relaxed, cozy aesthetic that everyone loves, oversized fit, squishy ribbing, and roomy balloon sleeves that instantly elevate a simple outfit. If you’ve been looking for a chunky crochet sweater pattern that feels modern and wearable (without complex shaping), this cardigan is designed to be beginner-friendly and easy to customize.
Materials Needed
- Chunky/bulky yarn (Category 5 bulky or Category 6 super bulky)
- Approx: 900–1400 yards (825–1280 m) depending on size and length
- Crochet hook: 6.0 mm – 8.0 mm (use 7.0 mm as a great starting point)
- Stitch markers (at least 4)
- Yarn needle (tapestry needle)
- Scissors
- Measuring tape
- Optional but helpful: row counter, blocking mat/pins, steamer, or spray bottle
Crochet Abbreviations
- ch – chain
- sc – single crochet
- hdc – half double crochet
- dc – double crochet
- sl st – slip stitch
- BLO – back loop only
Skill level: Beginner-friendly
Construction: 3 panels (back + 2 fronts) + 2 balloon sleeves, seam, add cuffs/collar/tie.
Chunky Crochet Cardigan Pattern (Step-by-Step)
Fit + Sizing Notes (read first)
This cardigan is intentionally oversized with a relaxed drop-shoulder fit. The pattern is written as made-to-measure, so beginners can get a great fit without complicated grading.
You’ll measure:
- Back width: across your back + ease (add 6–12 in / 15–30 cm for oversized)
- Length: shoulder to desired hem
- Sleeve length: from underarm to wrist (balloon shape adds extra volume)
Ribbed Stitch Pattern (used throughout):
Most ribbing in crochet comes from working BLO. The simplest chunky ribbing is:
Ribbing Row: Ch 1, sc BLO in each st across, turn.
This creates a thick, stretchy ribbed texture—perfect for a chunky crochet cardigan.
BACK PANEL
Step 1: Foundation Chain
Ch until your piece measures your desired back panel length (from shoulder down to hem).
- Example: 24–30 in (61–76 cm), depending on your style.
Tip: chunky yarn can grow—keep the chain relaxed.
Step 2: Start Ribbing Rows
Row 1: Sc in 2nd ch from hook and in each ch across, turn.
Row 2: Ch 1, sc BLO across, turn.
Repeat Row 2 until the panel measures your desired back width.
Fasten off, or keep yarn attached if you prefer.
Back Panel Shape: It’s a simple rectangle—beginner-proof and very wearable.
FRONT PANELS (make 2)
Front panels are narrower rectangles using the same ribbing.
Step 1: Foundation Chain
Ch the same number as the back panel (so the length matches).
Step 2: Ribbing Rows
Row 1: Sc in 2nd ch from hook and across, turn.
Row 2: Ch 1, sc BLO across, turn.
Repeat until each front panel is about ½ the back width, minus a small gap (1–3 in / 2.5–7.5 cm) for the opening.
Quick fitting guide:
Lay both front panels next to the back panel. The combined width of fronts should be slightly less than the back width, so it drapes open nicely.
Make 2 identical panels.
BALLOON SLEEVES (make 2)
Balloon sleeves are roomy at the upper arm and taper into cuffs.
Step 1: Sleeve Rectangle (worked in ribbing)
Ch until you reach your desired sleeve length (from underarm to wrist).
Row 1: Sc in 2nd ch from hook and across, turn.
Row 2: Ch 1, sc BLO across, turn.
Repeat Row 2 until the sleeve rectangle is wide enough to wrap comfortably around your upper arm with extra ease:
- Aim for 14–20 in (36–51 cm) around,d depending on how dramatic you want the balloon.
Step 2: Form the Sleeve Tube
FFold thesleeve rectangle in half (lengthwise) and seam the long edge using:
- slip stitches through both layers, or
- Whip stitch with a yarn needle.
Now you have a tube.
Step 3: Create the “Balloon” Taper at the Wrist
At the wrist opening, we’ll tighten the opening before adding cuffs.
With yarn attached at the wrist opening:
Round 1: Work sc evenly around, placing stitch markers at quarter points.
Round 2 (decrease round): (sc 2, dec) repeat around OR decrease until the opening is wrist-sized.
Goal: Wrist opening should be snug-ish (not tight), because the cuff will add structure.
CUFFS (ribbed)
Option A: Built-in cuff (easy + clean)
With wrist opening facing you:
Round 1: Work 1 round of hdc evenly around (gives height).
Now create cuff ribbing by working short rows:
- Ch 9–13 (depending on desired cuff height)
- Row 1: sc in 2nd ch from hook and across back toward sleeve, sl st into next 1–2 sts on sleeve opening to anchor, turn
- Row 2: ch 1, sc BLO back up the cuff, turn
Repeat until the cuff goes all the way around. Seam the cuff edges together.
Option B: Simple folded cuff
Crochet 6–10 rounds of sc/hdc, then fold inward and tack down.
NECKLINE / COLLAR
This cardigan looks especially cozy with a thick ribbed collar.
Step 1: Seam shoulder + sides first (see Assembly), then add collar
Attach yarn at the bottom front edge, work up the front, around the neckline, and down the other side.
Collar Setup Round: sc (or hdc) evenly around all edges. Place extra stitches at the corners so it lies flat.
Step 2: Ribbed Collar Rows
Work the same cuff ribbing method (short rows anchored along the neckline edge):
- Ch 9–15 for a taller collar
- sc down, sl st to anchor, turn
- sc BLO backup
Repeat around the eckline.
Style note: A taller collar gives “coatigan” vibes; a shorter collar keeps it lightweight.
FRONT TIE STRING (decorative closure)
Option 1: Simple crochet cord (beginner-fast)
Ch 80–140 (depending on your size and desired bow).
Sl st into 2nd ch from hook and sl st across for a thicker cord (optional).
Fasten off.
Make 2 ties.
Attach ties:
Sew or knot one tie to the inside of the right front panel and one to the inside of the left front panel at the waist or under-bust level.
Option 2: I-cord style (thicker, more premium)
With sc stitches worked tightly in the round (advanced beginner), create a longer cord for a luxe tie.
ASSEMBLY
Step 1: Block panels lightly (optional but helpful)
A light steam or spray block can make seaming easier.
Step 2: Seam shoulders
Lay the back panel flat. Place front panels on top, aligning top edges.
Seamless shoulders, leaving a neck opening that feels comfy:
- Typical neck opening width: 7–10 in (18–25 cm)
Step 3: Seam sides (leave armholes)
With panels aligned, seam down each side.
Leave an armhole opening approx:
- 7–10 in (18–25 cm) tall, depending on how oversized you want it.
Step 4: Attach sleeves
Turn the cardigan inside out. Insert sleeve into armhole, align sleeve seam with side seam.
Pin/clip, then seam around the armhole securely.
Turn the right side out.
FINISHING TOUCHES
- Weave in ends neatly (especially at shoulder seams and collar).
- Blocking: Lightly steam block to relax ribbing and even edges. Don’t over-stretch—let it stay chunky and plush.
- Shaping: Gently tug cuffs and collar into shape and let dry flat.
- Optional: Add a tiny label, tassels on tie ends, or pockets (two simple ribbed rectangles).
Beginner Tips
- Keep even tension: chunky yarn shows uneven rows quickly—pause and relax your grip.
- Count stitches/rows: ribbing can trick your eye; use a row counter or mark every 5–10 rows.
- Use stitch markers: mark shoulder corners, armhole edges, and tie placement so both sides match.
- Block the final garment: even 10 minutes of light steaming can make your cardigan look store-bought.
Styling Ideas (Cozy + Wearable)
- With jeans: a fitted tee + high-waisted jeans balances the oversized crochet sweater silhouette.
- With skirts: pair with a satin midi or ribbed knit skirt for “soft cozy” contrast.
- Casual outfits: leggings + tank + boots = effortless weekend look.
- Fall/winter layered fashion: wear over a turtleneck, add a scarf, and finish with chunky sneakers or ankle boots for a modern, handmade vibe.
Conclusion
If you’ve been wanting a wearable project that’s cozy, stylish, and actually beginner-friendly, this Chunky Crochet Cardigan Pattern is the perfect place to start. The oversized fit is forgiving, the ribbed texture looks high-end, and the balloon sleeves plus front tie make it feel fashion-forward. Try it in your favorite chunky yarn color and make it uniquely yours!
Make a chunky crochet cardigan with this beginner-friendly crochet sweater pattern! Oversized crochet sweater fit, ribbed texture, balloon sleeves + front tie. Cozy DIY crochet cardigan tutorial for fall/winter.