
Crochet Banana Cat Amigurumi Pattern Free & Beginner-Friendly
Make the cutest Crochet Banana Cat Amigurumi Pattern a Cute Banana Cat Crochet plush that’s perfect for gifts! Follow this Step-by-Step Crochet Tutorial for a beginner-friendly cat inside a banana peel.
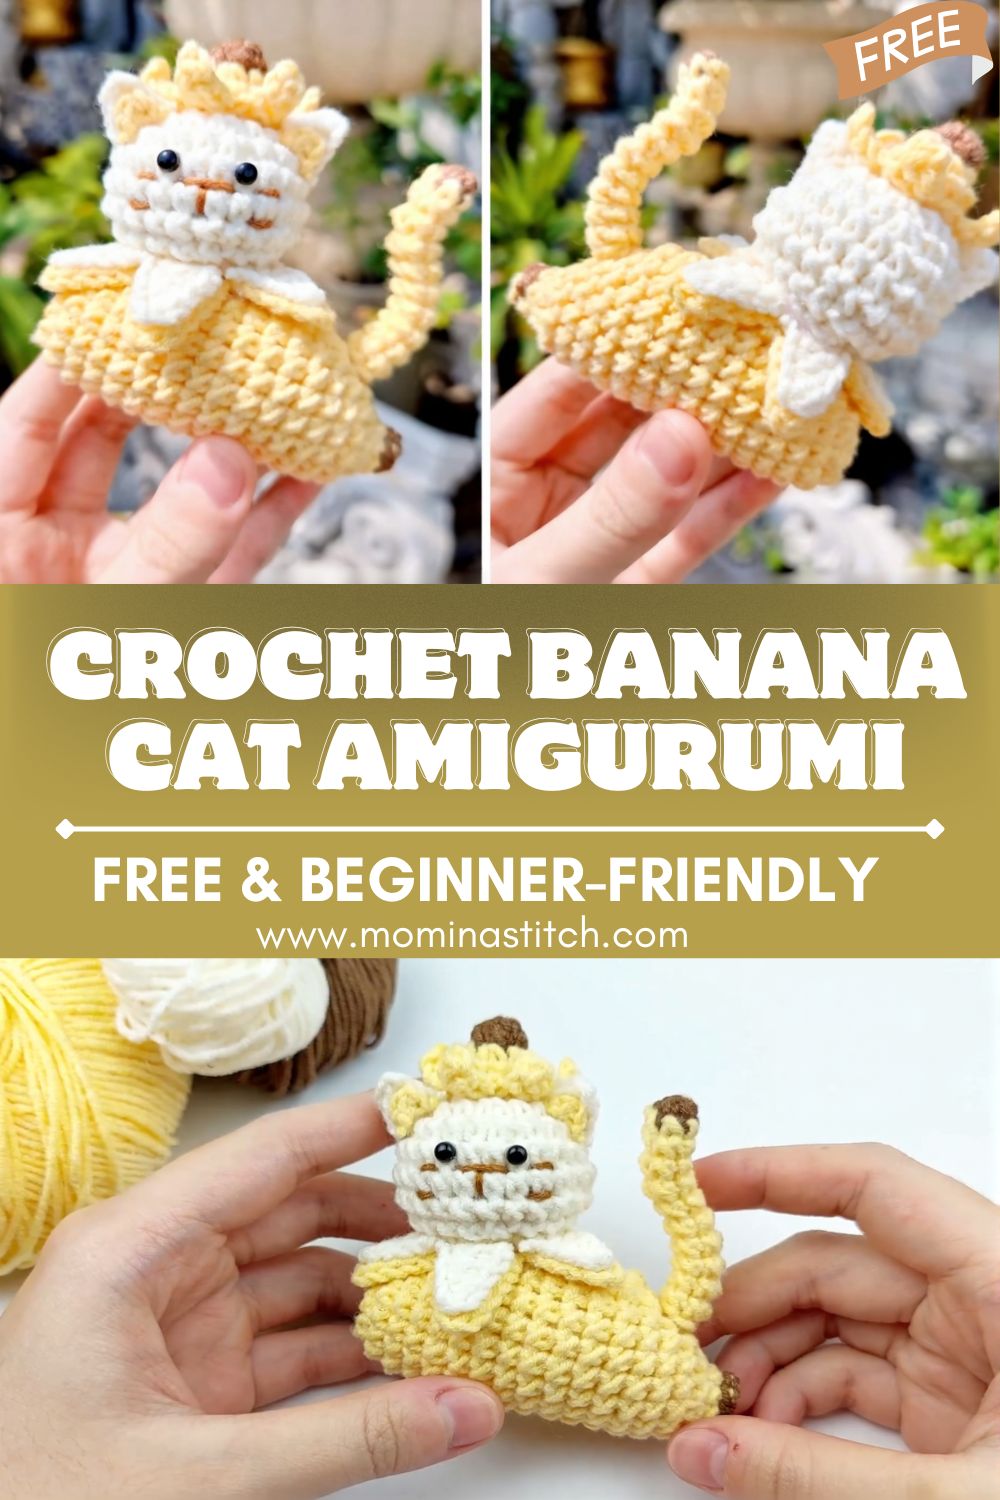
If you love playful, “wait, is that a cat in a banana?” kind of projects, you’re going to adore this Crochet Banana Cat Amigurumi Pattern. Banana cat designs are popular because they’re equal parts cozy and silly classic amigurumi cuteness with a fun twist. Plus, this Crochet Banana Cat makes an awesome desk buddy, gift, or craft-fair bestseller.
This project is also a great confidence booster if you’re learning amigurumi: you’ll crochet a simple cat body and then wrap it in an easy banana peel. In this Step-by-Step Crochet Tutorial, I’ll walk you through each piece with round-by-round directions and beginner-friendly tips so you can finish your own Beginner Crochet Cat Toy without stress.
Materials Needed
To make this Crochet Banana Cat Amigurumi Pattern, gather:
- Yellow yarn (banana peel) – worsted or DK cotton/acrylic works well
- White or cream yarn (cat) – same weight as yellow
- Crochet hook – typically 2.75 mm to 3.5 mm (choose a size that makes tight stitches)
- Stuffing (polyfill)
- Safety eyes (6–10 mm depending on yarn weight)
- Embroidery thread (black for mouth/whiskers; pink optional for cheeks/nose)
- Yarn needle (tapestry needle)
- Scissors
- Optional: stitch marker, pins for positioning, a little blush
Crochet Abbreviations
- MR – Magic Ring
- sc – Single crochet
- inc – Increase (2 sc in the same stitch)
- dec – Decrease (invisible decrease recommended)
- ch – Chain
- sl st – Slip stitch
- BLO – Back loop only
- FLO – Front loop only
Finished Size
Approximately 4–6 in (10–15 cm) tall depending on yarn, hook size, and tension.
Skill Level
Beginner Friendly (basic amigurumi skills: magic ring, sc, inc, dec, simple sewing)
Estimated Time Required
About 2–4 hours, depending on experience and how much detail you add.
Complete Step-by-Step Crochet Pattern
This is an original, complete pattern inspired by the “banana cat” concept described. Use a stitch marker and work in continuous rounds unless noted.
Notes Before You Start
- For a neat amigurumi fabric, use a smaller hook than the yarn label suggests.
- Use invisible decreases for smoother shaping.
- Numbers in parentheses are stitch counts at the end of each round.
Cat Body (Head + Body in One Piece)
Using white/cream yarn:
Rnd 1
MR, 6 sc in ring (6)
Rnd 2
inc around (12)
Rnd 3
(1 sc, inc) around (18)
Rnd 4
(2 sc, inc) around (24)
Rnd 5
(3 sc, inc) around (30)
Rnds 6–9
sc around (30) for 4 rounds
Place safety eyes between Rnds 7–8, about 6–7 stitches apart (adjust for your look).
Rnd 10
(3 sc, dec) around (24)
Rnd 11
(2 sc, dec) around (18)
Rnd 12
(1 sc, dec) around (12)
Start stuffing the head firmly.
Rnd 13
(1 sc, inc) around (18)
Rnd 14
(2 sc, inc) around (24)
Rnds 15–18
sc around (24) for 4 rounds
Rnd 19
(2 sc, dec) around (18)
Rnd 20
(1 sc, dec) around (12)
Stuff the body—firm but not stretched.
Rnd 21
dec around (6)
Fasten off, close the hole, weave in ends.
You’ve completed the cat base for the Crochet Banana Cat Amigurumi Pattern.
Cat Ears (Make 2)
Using white/cream yarn:
Rnd 1
MR, 4 sc (4)
Rnd 2
(1 sc, inc) around (6)
Rnd 3
sc around (6)
Fasten off leaving a long tail for sewing. Flatten the ear slightly.
Cat Arms (Make 2)
Using white/cream yarn:
Rnd 1
MR, 6 sc (6)
Rnds 2–4
sc around (6) for 3 rounds
Lightly stuff the hand end only (optional). Fasten off leaving a sewing tail.
Cat Tail (Make 1)
Using white/cream yarn:
Rnd 1
MR, 6 sc (6)
Rnds 2–8
sc around (6) for 7 rounds
No stuffing or very light stuffing. Fasten off with a sewing tail.
Banana Peel (Base + 3 Peels/Flaps)
Using yellow yarn. The peel is designed like a snug “cup” with flaps that fold down around the cat.
Banana Base (Cup)
Rnd 1
MR, 6 sc (6)
Rnd 2
inc around (12)
Rnd 3
(1 sc, inc) around (18)
Rnd 4
(2 sc, inc) around (24)
Rnd 5
(3 sc, inc) around (30)
Rnd 6
BLO sc around (30)
(This creates a crisp corner so the peel stands up.)
Rnds 7–11
sc around (30) for 5 rounds
Sl st to next stitch and fasten off OR continue to first flap (below). Test fit: the cat should sit inside snugly. If your cat is larger, add one more increase round to 36 and work a few even rounds.
Peel Flaps (Make 3, evenly spaced)
Join yellow yarn to the outer top edge of the cup. You’ll crochet each flap back-and-forth in rows. Space them about 8–10 stitches apart around the rim.
Each flap is worked in rows:
Row 1
ch 1, sc in next 8 sts, turn (8)
Row 2
ch 1, dec, sc 4, dec, turn (6)
Row 3
ch 1, dec, sc 2, dec, turn (4)
Row 4
ch 1, dec twice (2)
Row 5
ch 1, dec (1)
Fasten off. Repeat for Flaps 2 and 3.
Optional: add a tiny brown tip by sewing a few stitches of brown embroidery thread at the flap ends.
This peel is what makes the Cute Banana Cat Crochet look instantly recognizable.
Face Details
Use embroidery thread (or thin yarn).
- Nose (optional): a small pink triangle or one stitch between the eyes.
- Mouth: stitch a small “Y” or smiling curve under the nose.
- Whiskers (optional): 1–2 short lines on each side.
Tip: Pin the face placement before stitching so it stays centered.
Stuffing Guidelines
For a polished Crochet Banana Cat Amigurumi Pattern finish:
- Stuff the head firmly so it stays round and holds the eyes nicely.
- Stuff the body medium-firm so it sits upright, but don’t overfill (overstuffing shows gaps).
- Keep arms and tail lightly stuffed or unstuffed to stay soft and flexible.
- Add stuffing in small pieces and push it to the edges with the back of your hook or a chopstick.
Assembly Instructions
- Sew ears to the head, slightly angled outward. A common placement is around Rounds 3–5 of the head area (adjust to your proportions).
- Sew arms to the sides of the body, about mid-body height. Angle them forward slightly for a “resting in the peel” pose.
- Sew tail to the back of the body, low and centered.
- Place the cat inside the banana cup to check fit and posture.
- Fold the banana flaps downward around the cat. You can leave them free or tack them with a few small stitches:
- Tack one flap to the front of the cat’s body so it looks like the cat is snug inside.
- Optional: Add a few hidden stitches at the bottom so the cat doesn’t pop out when handled.
This is where the project really becomes a Crochet Banana Cat—the contrast between the creamy cat and bright yellow peel is the charm.
Optional Customization Ideas
Make your Crochet Banana Cat Amigurumi Pattern your own:
- Different cat colors: gray tabby, black, orange, calico (use surface stitching for stripes)
- Mini keychain version: use thinner yarn (sport/fingering), a 2.0–2.25 mm hook, and add a keyring loop
- Rainbow banana: change banana colors every round or stripe the flaps
- Kawaii style face: bigger eyes, tiny mouth, blush cheeks, and a little embroidered sparkle
- Accessories: tiny bow tie, scarf, or a sleeping cap
Pro Crochet Tips (Especially for Beginners)
- Use a stitch marker in the first stitch of every round—amigurumi is much easier when you never lose your place.
- Tight stitches win: if you see stuffing through gaps, size down your hook.
- Invisible decreases look cleaner than standard dec and reduce “dimples.”
- Count stitches every round (it prevents mystery shapes).
- If your piece gets wonky, reshape while stuffing—push filling into low spots and smooth the outside with your hands.
- Consider yarn-under (YU) single crochet if you want super crisp “x” stitches (optional, but cute).
Care & Washing Instructions
Handmade toys last longer with gentle care:
- Spot clean with a damp cloth and mild soap for small marks.
- If deeper cleaning is needed: hand wash in cool water, gently squeeze (don’t wring).
- Roll in a towel to remove excess water, then air dry fully.
- If made for children, consider embroidered eyes instead of safety eyes for ages under 3.
Frequently Asked Questions
1) Is this Crochet Banana Cat Amigurumi Pattern good for absolute beginners?
Yes. If you can do MR, single crochet, and simple increases/decreases, you can make this. Sewing is minimal and forgiving.
2) What yarn is best for a Beginner Crochet Cat Toy like this?
Cotton or cotton-blend yarn gives great stitch definition. Acrylic is softer and often cheaper. Either works—just keep the hook small for tight stitches.
3) My cat head looks pointy—what did I do wrong?
Usually it needs more stuffing or your increases are slightly off. Stuff the head firmly and double-check stitch counts in the early rounds.
4) How do I stop the stuffing from showing through?
Use a smaller hook, avoid stretching the fabric while stuffing, and stuff in small amounts. Tight tension is key for amigurumi.
5) Can I make the banana peel bigger or smaller?
Yes. Adjust the base circle: stop increasing earlier for smaller, or add one more increase round (to 36 sts) for larger. Then add/remove straight rounds for height.
6) Should I sew the cat into the banana peel?
Optional. If it’s a display plush, leaving it removable is fun. For kids or gifting, a few hidden tacking stitches keep everything secure.
7) What size safety eyes should I use?
For worsted/DK, 6–10 mm is common. Bigger eyes = more kawaii. Always check proportions before locking the backs.
8) Can I sell finished items made from this pattern?
If you’re using this blog pattern, typically yes for small handmade batches—just don’t redistribute the pattern text. (If referencing the original video, check that creator’s policy too.)
Conclusion
This Crochet Banana Cat Amigurumi Pattern is the perfect mix of silly and sweet: a tiny cat plush tucked into a bright banana peel that instantly makes people smile. If you’ve been looking for an Easy Amigurumi Cat Pattern that feels fresh and giftable, this is it.


