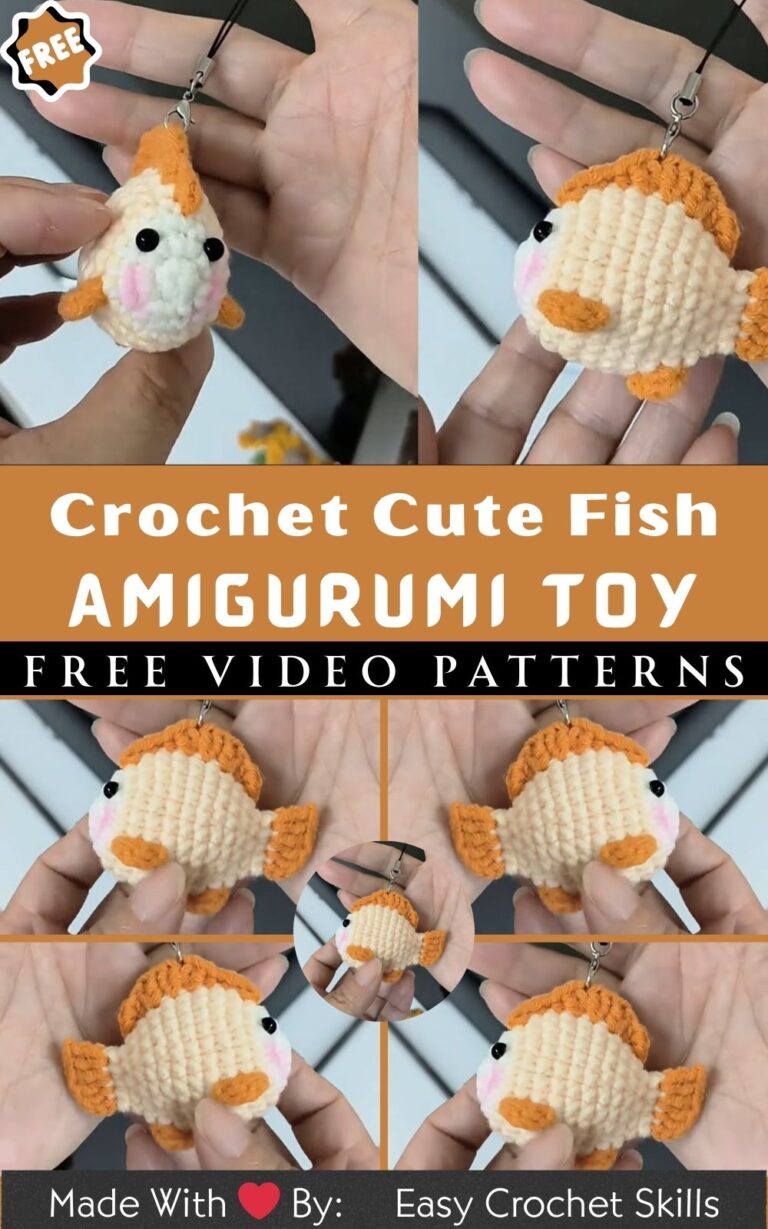
DIY Crochet Froggie Keychain Amigurumi Pattern Toy
If you love small, adorable projects that can be completed in a single afternoon, this Crochet Froggie Keychain Amigurumi will be your next favorite make. This tiny frog has the sweetest personality round body, bulging eyes, and a gentle smile that instantly brightens your day. Whether you hang it on your keys, backpack, or even your purse, this froggie brings a dose of charm everywhere it goes.
The finished piece is compact yet expressive. It features a round head and body (often crocheted as one piece), tiny limbs, and wide frog eyes that pop from the top. You can keep it simple with a solid green frog or add details like rosy cheeks, a tiny tongue, or a mini crown for extra cuteness. Despite its size, it’s surprisingly sturdy and holds its shape beautifully.
This project is wonderful for beginners wanting to learn amigurumi or for experienced crocheters who enjoy quick, relaxing projects. It’s also a great way to use up leftover yarn. You can make several frogs in different shades of green or even in pastel, rainbow, or neon tones to create your own mini collection. It’s an ideal handmade gift for kids, animal lovers, or anyone who adores cute accessories.

Materials Needed
You’ll only need a few materials to bring your froggie to life:
Yarn: Cotton or acrylic yarn in green, white, and pink (light/DK weight recommended). Approx. 15–25g total.
Crochet Hook: 2.0 mm–2.5 mm, depending on your yarn thickness.
Stuffing: Polyester fiberfill for a soft, round shape.
Safety Eyes: 6 mm or 8 mm (you can also embroider or crochet small black eyes).
Tapestry Needle: For sewing parts together and weaving in ends.
Scissors: For trimming yarn.
Stitch Markers: Optional but helpful when working in continuous rounds.
Keyring or Lobster Clasp: To turn it into a keychain.
Optional: Embroidery thread for cheeks or mouth details, tiny felt pieces for decoration.
For this type of amigurumi, cotton yarn is ideal it holds its shape well and makes the stitches look neat. However, acrylic yarn works nicely too if you prefer a softer, slightly fuzzier finish.
For colors, the classic combination is bright green for the body, white for the eyes, and pink for small blushes or accents. But don’t limit yourself! Mint, lime, olive, or even pastel blue frogs all look adorable. A tiny yellow crown or red bow tie can also add personality to your frog keychain.
Level of Difficulty
This pattern is beginner-friendly and perfect for those who want to practice amigurumi basics. The main stitches include chain (ch), single crochet (sc), increase (inc), and decrease (dec) all worked in the round using a magic ring.
Even if you’re new to crocheting stuffed toys, this little froggie is approachable and fun. The tutorial is easy to follow, and the small size means you’ll see progress quickly. If you’ve ever made a ball or simple plush shape, you’ll feel right at home with this pattern. And if not, this project is the perfect way to start!
Step-by-Step Overview
1. Starting the Head and Body
Begin with a magic ring to form the base of your froggie’s head. You’ll work continuous rounds of single crochet, increasing gradually to form a soft sphere. Keep your tension even to prevent gaps between stitches you want the fabric to be tight enough so the stuffing doesn’t show through.
Once the head is shaped, you can either continue crocheting downward to form the body (if it’s a one-piece design) or finish the head and make the body separately. Most froggie amigurumi use a combined head-body style for a cleaner look.
Stuff lightly as you go. It’s easier to fill gradually rather than trying to push all the stuffing in at the end.
2. Shaping the Eyes
The signature feature of any frog! The eyes are worked as two small round pieces, usually in white with a small black safety eye or embroidered dot in the center. They’re often attached to the top of the head, giving your froggie its wide-eyed, playful look.
If you’re using safety eyes, insert them before closing each eye piece completely. Then sew or attach the finished eyes symmetrically to the top of the head. At this stage, it helps to pause and check both sides from the front to ensure they look even a tiny shift can completely change the expression.
3. Making the Limbs
The legs and arms are simple tubes or ovals, usually worked in just a few rounds. You’ll make four in total two slightly longer for the back legs, two shorter for the front.
They’re not heavily stuffed, just enough to hold shape. Sew them evenly on the sides and base of the body. If your froggie looks too wide or narrow, you can adjust placement slightly moving the limbs closer or farther apart until it feels balanced.
4. Adding the Mouth and Cheeks
For the face, use embroidery thread or a thin strand of yarn to create a small, curved smile. You can add tiny blush spots or pink felt circles on the cheeks for extra cuteness.
Some crocheters like to embroider a small tongue or tiny white line for added personality. A little detail like this can make your frog truly unique!
5. Turning It Into a Keychain
Once your froggie is assembled and you’re happy with the details, attach a keyring or lobster clasp to the top of the head. You can use a short chain loop or crochet a small hanging loop directly with green yarn.
Make sure the loop is secure double-stitch it to the head so it won’t loosen with daily use. The finished keychain should feel lightweight but sturdy enough to handle being carried around.
6. Finishing Touches
Before declaring your froggie complete, give it a quick once-over. Check that all limbs are evenly placed, seams are tight, and ends are woven in securely. You can gently shape it with your hands flattening the bottom slightly so it sits upright if used as a mini desk buddy.
If you want, add accessories like a tiny bow tie, crown, or mini lily pad base for display. This is where your creativity shines!
Special Features of This Pattern
What makes this Crochet Froggie Keychain Amigurumi stand out is how it combines simplicity with personality. It’s one of those small projects that looks professional even when made with basic stitches.
Clear and simple structure: The head, body, and limbs are all basic rounded shapes.
Quick to complete: You can finish it in a few hours or less.
Minimal sewing: Most parts are small and easy to attach.
Highly customizable: Change the expression, add accessories, or make themed versions.
Perfect stash-buster: Uses only small amounts of yarn.
Portable and practical: Lightweight enough to use daily as a keychain or charm.
This project is proof that simple designs can be the most charming — especially when made with love and attention to detail.
Tips for Best Results
Here are some helpful tips to make your froggie look as neat and adorable as possible:
Use a smaller hook than usual for your yarn to keep stitches tight.
Count your rounds carefully so both sides of the body stay even.
Stuff gradually overstuffing can distort the shape.
Keep limbs symmetrical by attaching them at equal heights.
Insert safety eyes before closing the head for easier placement.
Use contrasting yarn for the mouth or cheeks to make features pop.
Block or shape gently by hand if your froggie looks uneven.
Weave in ends securely so nothing unravels over time.
Customize expressions try winking, smiling, or sleepy eyes for variety.
Relax and have fun! Amigurumi doesn’t have to be perfect every stitch adds personality.
How to Use or Gift Your Crochet Froggie Keychain Amigurumi
This little froggie is not only cute but surprisingly versatile. Here are a few ways you can use or share it:
As a keychain: Attach it to your keys, bag, or wallet it’s lightweight and durable.
As a desk buddy: Place it on your work table or car dashboard for a cheerful reminder of your creativity.
As a handmade gift: Perfect for birthdays, Valentine’s Day, or as a token of appreciation.
For kids: A safe, soft toy when made without small parts.
As party favors: Make multiple in different colors for themed events or craft fairs.
When gifting, wrap it in a small box or tie it with a ribbon and tag that says “Handmade with love.” It’s a simple touch that turns this tiny frog into a thoughtful keepsake.
Customization Ideas
One of the best things about this pattern is how easy it is to customize. Your frog can take on any style or theme you like!
Colors: Traditional green is always cute, but try pastel tones (mint, sage, or lime) or bright, playful shades like turquoise or yellow. You can even make themed versions pink “princess frog,” blue “ocean frog,” or rainbow party frog.
Yarn Types:
Cotton yarn gives a firm, defined look.
Acrylic yarn is soft and lightweight.
Velvet or chenille yarn turns your frog into a plush, squishy toy.
Size Variations: Use thicker yarn and a larger hook for a plush toy version, or thinner yarn for a miniature charm.
Add-ons:
Little crowns for frog princes.
Mini hearts or bows.
Tiny lily pad base to sit on.
Embroidered initials or names for personalized gifts.
Experimenting with different yarns and colors keeps this project fresh and exciting every time you make it. Each frog will have its own unique charm and expression no two ever look exactly the same!
Conclusion
The Crochet Froggie Keychain Amigurumi is one of those joyful little projects that remind you why handmade crafts are so special. It’s simple, quick, and incredibly rewarding you can finish one in an evening and immediately see the adorable results.
Whether you make it for yourself, as a small token of love for a friend, or to sell at a craft fair, this tiny frog carries a bit of your creativity wherever it goes.
Once you finish your own Crochet Froggie Keychain Amigurumi, you’ll see how much personality a few stitches, some yarn, and your imagination can create.