DIY Cute Crochet Coffee Bean Amigurumi Pattern
There’s something so comforting about handmade crochet projects the kind of comfort you can actually hold in your hands. One little ball of yarn, a hook, and a quiet moment can turn into a tiny character that feels full of warmth, charm, and handmade love. It’s like your stress softens with every loop you pull through.
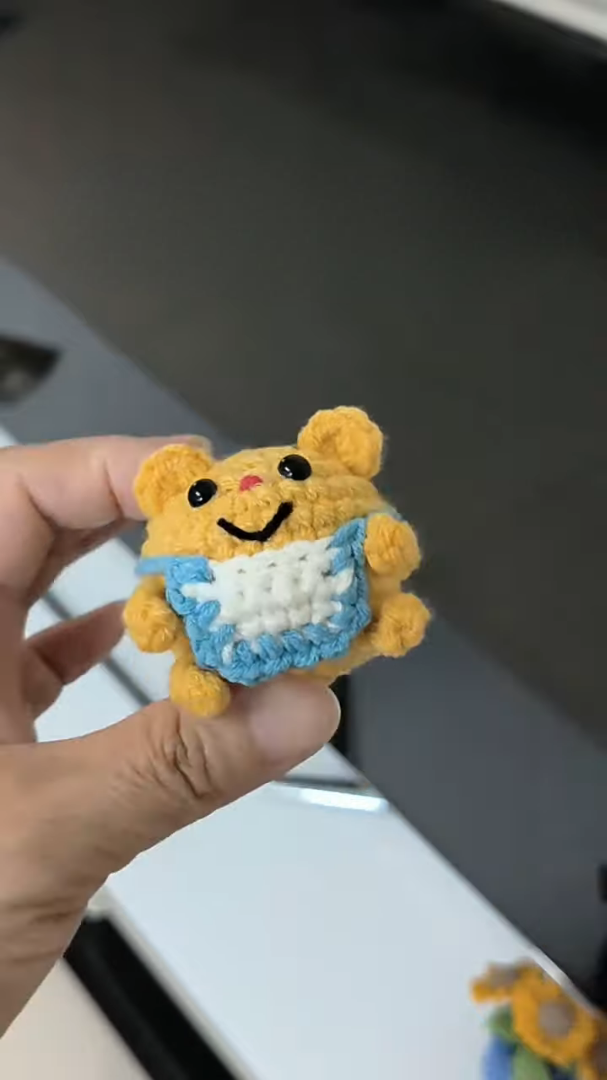
Themed crochet projects make that feeling even sweeter. When you crochet something inspired by real-life everyday joys like coffee, desserts, seasons, or holidays it adds personality to your space in an instant. A tiny themed amigurumi on your desk or shelf can turn an ordinary corner into a cozy little mood-board of happiness.
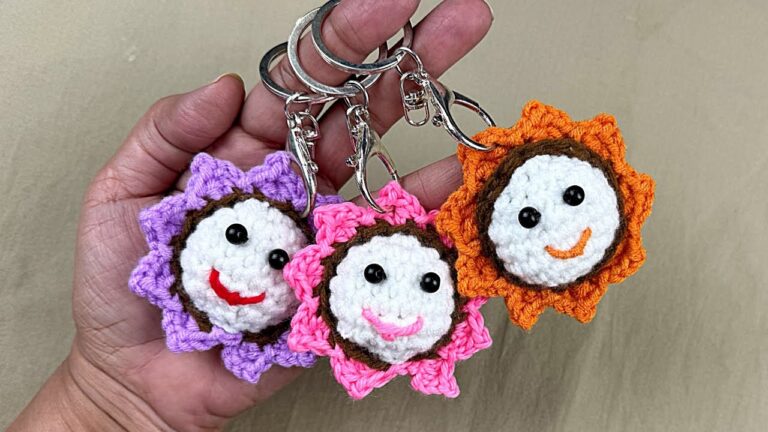
Today’s project is the DIY Crochet Coffee Bean Amigurumi Pattern a small, adorable coffee bean that’s surprisingly quick to make and perfect for beginners. It’s ideal as a keychain charm, a desk buddy, a gift for coffee lovers, or even as part of a full crochet café set (imagine a cup, croissant, and bean all together so cute!).

Materials You’ll Need
To make your coffee bean amigurumi, here’s a clear and complete supply list. You can absolutely adjust yarn weight and hook size just keep your stitches tight for that clean amigurumi look.
Essentials
Yarn (recommended: DK #3 or Worsted #4)
Main color: coffee brown (medium brown is classic)
Optional accent: dark brown (for shading/embroidery)
Optional detail color: cream/white (for highlights or a tiny tag)
Crochet hook
DK yarn: 2.5 mm–3.5 mm
Worsted yarn: 3.5 mm–4.0 mm
(Smaller hook = tighter stitches = stuffing won’t peek through)
Fiberfill stuffing (polyester stuffing)
Yarn needle (tapestry needle for sewing and weaving ends)
Scissors
Stitch marker (or a scrap piece of yarn)
Optional safety eyes (6 mm–8 mm) or black yarn for embroidered eyes
Optional (but fun!)
Keyring + jump ring (if you want it as a keychain)
Felt (tiny cheeks, tiny mouth shape, tiny coffee label)
Blush/pastel chalk (soft pink cheeks use lightly)
Fabric glue (only if you’re adding felt details)
Embroidery floss (for cute facial features or latte-art style lines)
Small bell or charm (for extra “kawaii” vibes)
3. Pattern Instructions (Step-by-Step)
This coffee bean is basically a cute oval shape with a signature “coffee bean groove” down the front. We’ll build the body first, then add the groove and face details.
Stitch Notes (quick and beginner-friendly)
You’ll work in continuous rounds (spiral), unless noted.
Use a stitch marker to mark the first stitch of each round.
Common abbreviations:
MR = magic ring
sc = single crochet
inc = increase (2 sc in one stitch)
dec = decrease (single crochet two stitches together)
sl st = slip stitch
ch = chain
Friendly reminder: Don’t worry if your first one isn’t perfect—every stitch adds character, and cute crochet is all about personality!
Step 1: Crochet the Coffee Bean Body (Top to Bottom)
Use your main coffee-brown yarn.
MR, 6 sc (6)
inc x6 (12)
(sc, inc) x6 (18)
(2 sc, inc) x6 (24)
Now we’ll build height and shape:
Rounds 5-9
sc around (24)
Start shaping into a rounded bean:
(2 sc, dec) x6 (18)
sc around (18)
(sc, dec) x6 (12)
Stuffing time: Begin stuffing gradually. Add small amounts and push it around evenly so the bean stays smooth and chubby like a real roasted coffee bean.
Round 13
dec x6 (6)
Fasten off with a long tail. Close the hole neatly and weave in the end.
Beginner tip for smooth shaping: Stuff a little, shape with your fingers, then stuff a little more. That slow stuffing makes your amigurumi look clean, not lumpy.
Step 2: Create the Signature Coffee Bean “Groove”
That center groove is what instantly makes it look like a coffee bean. There are two easy ways—choose your favorite:
Option A: Embroidered Groove (super easy)
Thread a yarn needle with dark brown or the same brown yarn.
Insert needle near the top center of the bean.
Bring it straight down the front center and pull snug (not too tight).
Go back up again and repeat a couple times until you get a clear groove line.
Tie off securely and hide the ends inside.
Tip: Pull tight enough to make a dent, but not so tight that the shape caves in.
Option B: Crocheted Surface Line (a bit more textured)
Chain a short strip (about the height of the bean).
Slip stitch it down the front and sew lightly.
This creates a raised “ridge” style groove cute for a cartoony bean look.
Step 3: Add the Face (optional but adorable!)
You can make your coffee bean minimalist (no face), or go full kawaii. Both look great.
Safety eyes method
Place eyes between Rounds 6–7, about 4–6 stitches apart.
Insert safety backs securely.
Add a tiny smile with embroidered black yarn.
Embroidered face method (kid-friendly)
Use black yarn or embroidery floss.
Stitch two small “U” shapes for sleepy eyes, or tiny oval eyes.
Add a small curved smile.
Optional: stitch tiny white highlights for “sparkle eyes.”
Cozy detail idea: Add blush cheeks using pink yarn stitches or a tiny dab of pastel chalk.
Step 4: Make it a Keychain (optional)
If you want to turn your coffee bean into a keychain charm:
Before closing the last round (or after finishing), insert a small loop of yarn at the top.
Knot and secure inside the bean.
Attach a jump ring and keyring.
Extra secure tip: Stitch the loop through multiple stitches and knot twice keychains get tugged a lot!
4. Decoration & Finishing Touches
Here’s where you can make your coffee bean feel totally “you.” Even if it’s a simple pattern, small finishing touches can change the whole vibe.
Simple personalization ideas
Two-tone roasting effect: Use a slightly darker brown for the bottom rounds for a “roasted” gradient look.
Latte highlight: Add a tiny cream stitch line on one side like a glossy highlight.
Mini tag: Crochet a tiny rectangle “coffee label” and sew it onto the bean.
Tiny accessories: A mini bow, a heart patch, or even a tiny crocheted mug buddy.
Themed color combos (yes, even for a coffee bean!)
The structure guide mentions Halloween colors so here are fun themed twists you can actually use:
Halloween Coffee Bean: black-brown bean + orange cheeks + tiny pumpkin face on the back
Ghost Latte Style: cream bean + light gray groove + cute ghost eyes
Spooky Glam: deep espresso brown + purple blush + tiny gold star charm
Holiday Mocha: brown bean + red/green mini scarf (so ridiculously cute)
Color choices really affect mood. A warm medium brown feels classic and cozy, while a deep dark brown feels bold and “espresso strong.” A lighter caramel shade looks sweet and dessert-like—like a candy coffee bean.
5. Uses & Display Ideas
Once your DIY Crochet Cute Coffee Bean Amigurumi Pattern is finished, you’ll find a million little ways to use it because tiny crochet makes everything feel more special.
Here are some fun ideas:
Desk buddy décor: Pop it near your laptop, notebook, or pen holder for cozy vibes
Keychain charm: Add it to keys, bags, or backpacks
Gift topper: Tie it onto a wrapped gift instead of a bow
Coffee-lover gift: Pair it with a mug, coffee sachets, or a small café gift card
Car mirror charm: Make sure it’s secure and not blocking visibility
Crochet café set: Make matching items (mini mug, donut, croissant, coffee bean)
Market item: Small amigurumi charms sell well because they’re cute, affordable, and impulse-friendly
If you love decorating for seasons, you can even make sets in different colors and rotate them through the year like a tiny crochet mood calendar.
6. Tips for Beginners
If you’re new to amigurumi, you’re honestly choosing a great first project. A coffee bean is small, forgiving, and quick so you learn a lot without feeling overwhelmed.
Common mistakes to avoid
Uneven tension: Try to keep stitches the same tightness all around.
Skipping stitches: Always count at the end of each round especially after inc/dec rounds.
Wrong hook size: If holes appear, go down a hook size to tighten stitches.
Overstuffing: Too much stuffing can stretch stitches and distort the shape.
Not using a stitch marker: In spiral rounds, losing your place happens fast markers save you.
Friendly encouragement (you deserve it!)
Take your time and enjoy the process. Crochet is not a race it’s a cozy little ritual. If you make a mistake, you can undo a few stitches and redo them. That’s not failure that’s part of crafting.
And if you ever feel stuck, watching a short YouTube tutorial on magic ring, invisible decreases, or joining parts neatly can make everything click quickly. Also, don’t be shy about using stitch markers even advanced crocheters use them all the time!
7. Conclusion
This DIY Crochet Cute Coffee Bean Amigurumi Pattern is one of those projects that feels small but brings big joy. It’s quick to make, beginner-friendly, and full of personality especially when you add a cute face, blush cheeks, or a tiny keychain loop. Plus, it’s the perfect “in-between” project when you want something relaxing and satisfying without committing to a huge build.
When you finish your little bean, share it online and tag your craft friends tiny handmade cuteness deserves to be shown off! And if you’re in the mood to keep crocheting, try building a whole themed set next maybe a cup, a donut, and a tiny bean family. One cute crochet makes you want to make ten more… and honestly, that’s the best part.