Learn to Crochet Classic Granny Square Top Free Pattern
If you’ve ever admired the timeless elegance of a Crochet Classic Granny Square Top and wished you could create one yourself, you’re in the right place. Crocheting is not only a rewarding hobby but also a wonderful way to create beautiful, handmade garments. we’ll delve into the step-by-step process of crocheting a classic granny square top. With our free pattern and detailed instructions, even beginners can master this project. 
Materials and Tools Needed
Before diving into the pattern, let’s gather everything you’ll need. Here’s a quick checklist to ensure you’re prepared:
-
Yarn: Choose a medium-weight, 100% cotton yarn for a breathable and comfortable top. Feel free to play with colors—classic combinations like white and pastel hues offer a timeless look.
-
Crochet Hook: A 5.0 mm (H-8) hook is ideal for this pattern, but you can adjust based on your tension and yarn choice.
-
Scissors: For cutting the yarn.
-
Tapestry Needle: Essential for weaving in ends and joining squares.
-
Measuring Tape: To ensure your squares and final garment fit perfectly.
Step 1: Create the Magic Circle
-
Start with a Magic Circle: Wrap the yarn around your fingers to form a loop.
-
Chain 3: This acts as your first double crochet (DC).
-
Double Crochet Into the Circle: Make two more DC stitches into the circle.
-
Chain 2: This forms a corner.
-
Repeat: Make 3 DC, chain 2, three more times, to form four clusters.
-
Close the Circle: Tighten the magic circle by pulling the tail and join with a slip stitch in the top of the starting chain 3.
-
Chain 3: Start the next round.
-
Second Round: In each corner space, work (3 DC, chain 2, 3 DC).
-
Chain 1: Between corner clusters.
-
Continue Growing the Square: Repeat until you have the desired size, typically 5 to 6 rounds for a small to medium top.
Step 4: Assemble the Top
-
Create Multiple Squares: Aim for 20-24 squares based on your measurements.
-
Joining Squares: Use a tapestry needle and whip stitch or crochet them together with slip stitches.
-
Form the Top: Arrange squares to form the front, back, and straps.
Styling Tips for Wearing the Granny Square Top
Once your granny square top is complete, styling it can be just as fun as making it! Here are some tips to create a chic look:
-
Layer Over a Dress: Perfect for adding a touch of handmade elegance.
-
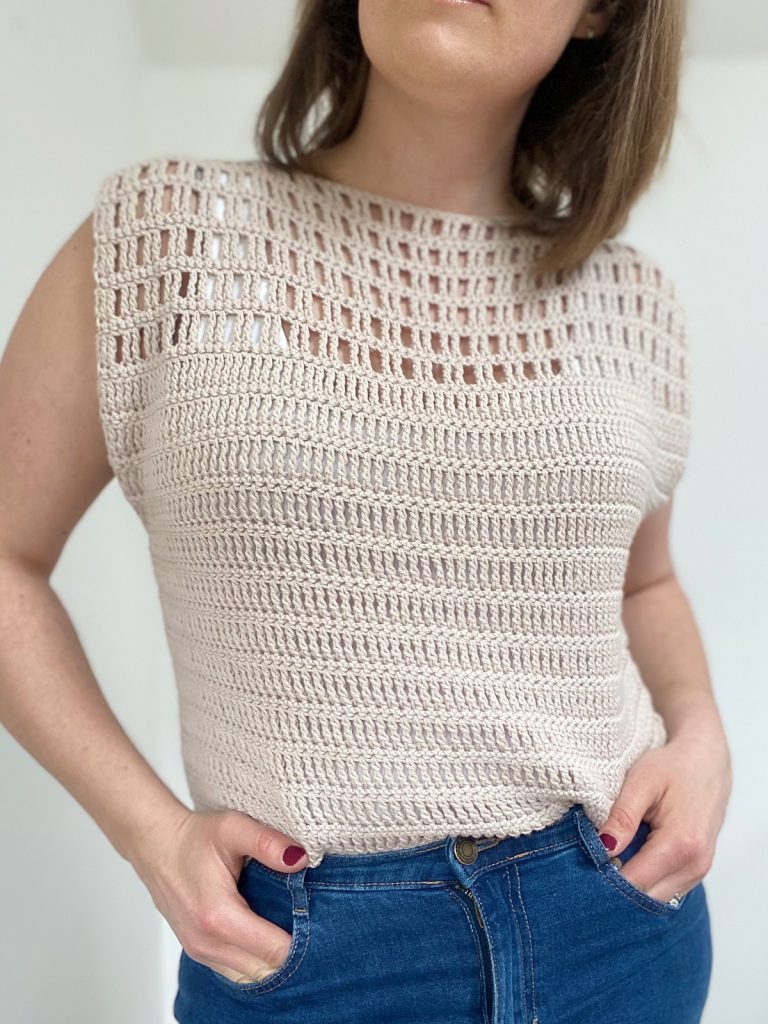
Pair with High-Waisted Jeans: A modern twist on a retro classic.
-
Accessorize: Add a belt to cinch the waist and chunky jewelry for a boho vibe.
-
Mix Textures: Pair with a denim jacket or leather skirt for contrast.
Conclusion
Creating a classic granny square top is more than just a crafting project; it’s an opportunity to express your creativity and style. With this comprehensive guide, you’re well on your way to mastering this iconic garment. So grab your hook and yarn, and let your imagination guide you. If you enjoyed this pattern, be sure to subscribe to our blog or follow us on social media for more inspiring crochet projects.