Cover Crochet Mini Bible Keychain With Embroidered
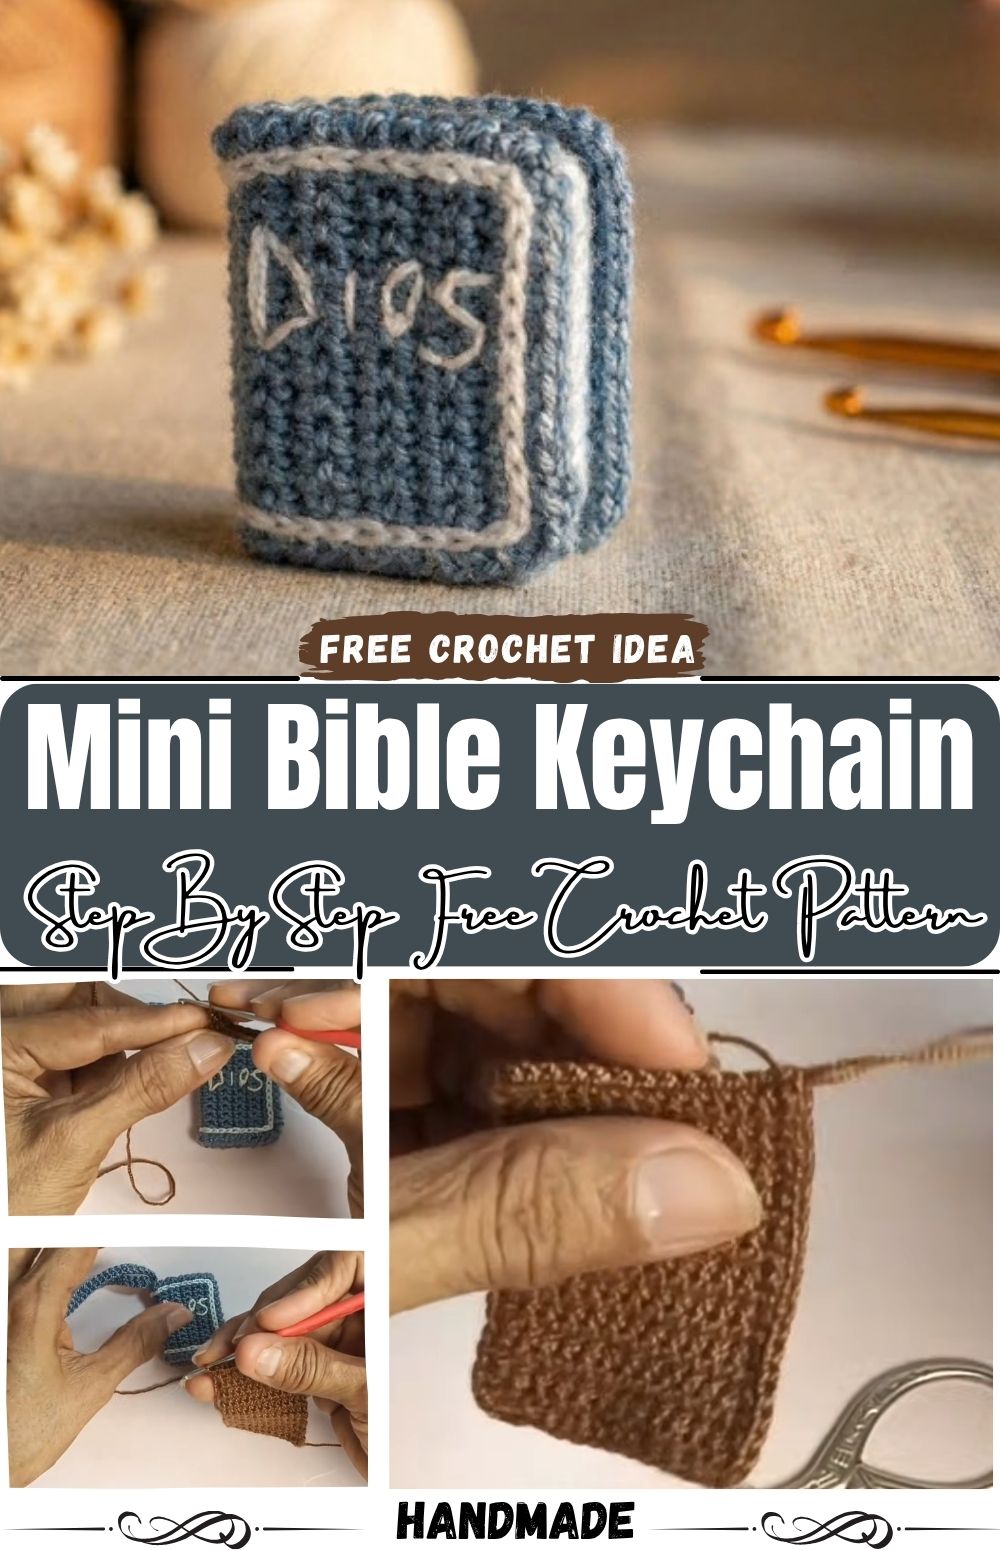
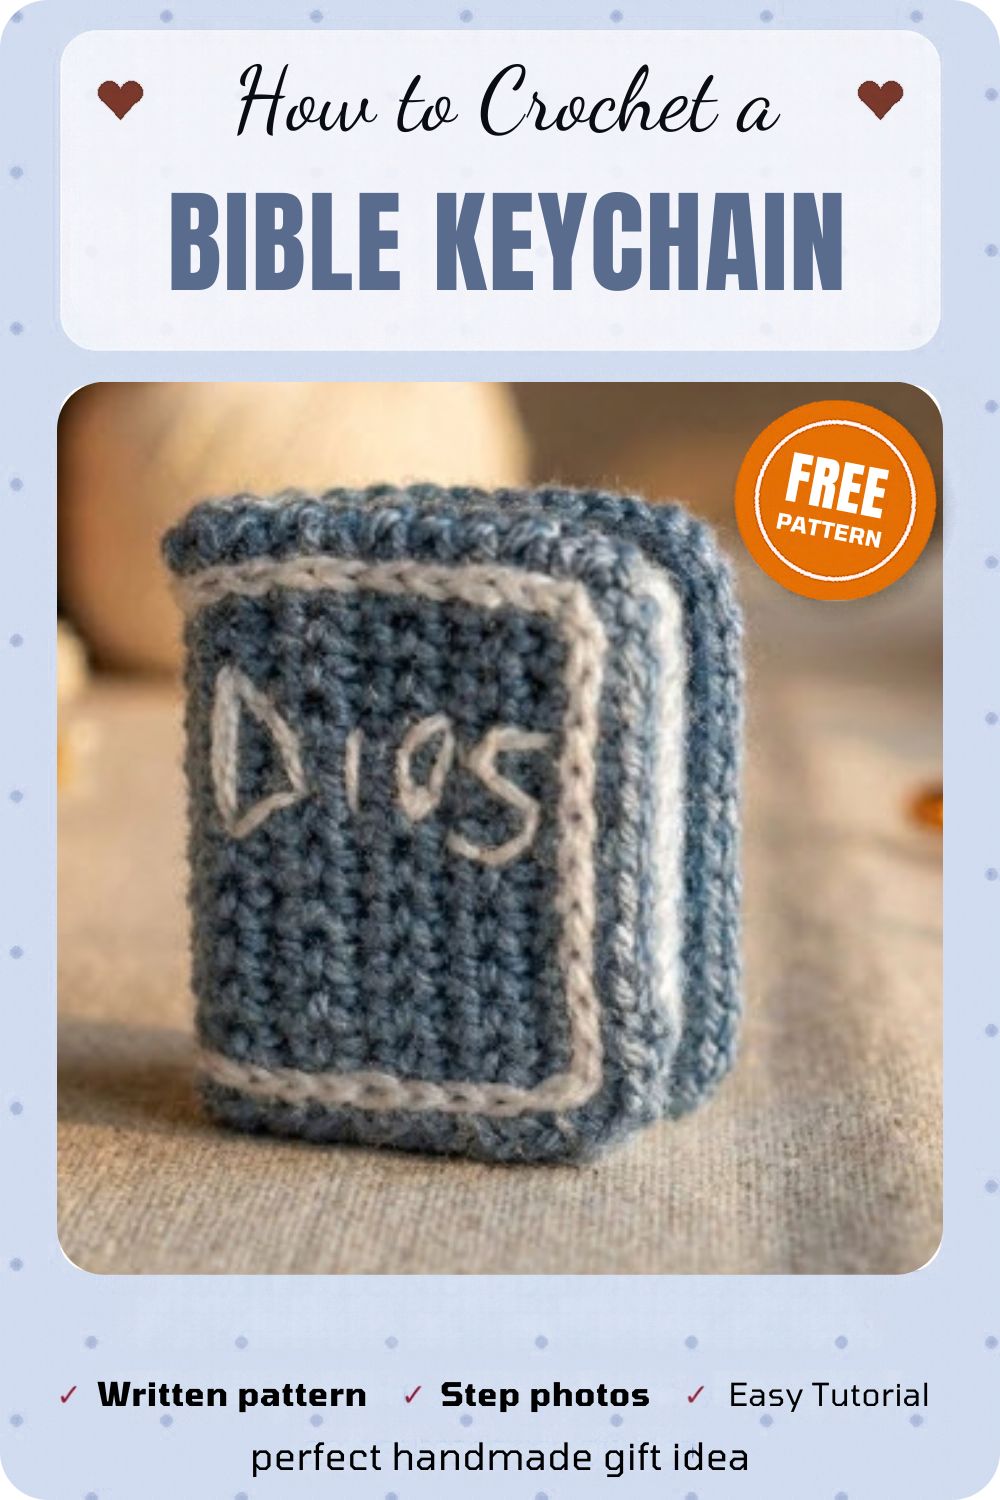
This crochet mini bible keychain is small enough to hang from a bag zipper, yet it is really just a few flat rectangles and a handful of embroidered lines. The cover is worked in soft blue and the pages in warm brown. The white stitching on top is what makes it look like a real little book.
If you can work a simple flat piece in rows, you can make this one. Below you will find the materials, a photo-led tutorial, tips for neat edges, and ideas for making your own version. It also makes a thoughtful handmade gift.
Crochet Mini Bible Keychain Overview
What You Are Making: The Crochet Mini Bible Keychain
The finished keychain has three main parts:
- A blue cover worked flat, with a white chain-stitch border and small embroidered lettering on the front.
- A brown page block with a white edge, which sits against the cover like paper.
- A narrow blue strap that loops through a keyring.
Everything is small, so the project works up quickly. The real skill here is neatness rather than difficulty.
Skill Level for the Crochet Mini Bible Keychain
Beginner to confident beginner. If you can chain, work single crochet in rows, and thread a needle, you can finish this keychain. The embroidery uses simple chain-stitch lines, so no fancy stitches are required.
Please note that exact chain and row counts are not listed in the photos. Choose a size that suits you, and keep the brown page block slightly smaller than the cover so the blue frames it. If you like small bag charms, the Crochet Flan Keychain and the Crochet Octopus Keychain are good companions to this project.
Materials for the Crochet Mini Bible Keychain
Yarn for the Crochet Mini Bible Keychain
- Blue yarn for the cover and strap
- Brown yarn for the pages
- White yarn for the border and lettering
A smooth, fine yarn works best, because fuzzy texture hides small embroidery. The yarn in the photos looks thin and slightly glossy, but check the label on your own yarn to confirm its weight. The Craft Yarn Council standards can help you match yarn weight to hook size.
Hook Size
Use a small hook that suits your yarn. The hook in the photos has a red handle and a fine metal tip, but its size is not visible. Choose a size that gives you firm, tight stitches.
Extra Tools for the Crochet Mini Bible Keychain
- Tapestry needle (for sewing and embroidery)
- Sharp scissors
- A keyring or lobster clasp
- Optional: a small piece of cardstock or thin interfacing to stiffen the cover
Stitches and Abbreviations
- ch: chain
- sc: single crochet
- sl st: slip stitch
- st(s): stitch(es)
- Chain-stitch embroidery: a line of linked loops worked with a needle (used for the white border and lettering)
Single crochet gives a dense, flat fabric, which is why the cover feels like a real book surface.
Crochet Mini Bible Keychain Instructions
Step 1: Start the Flat Piece
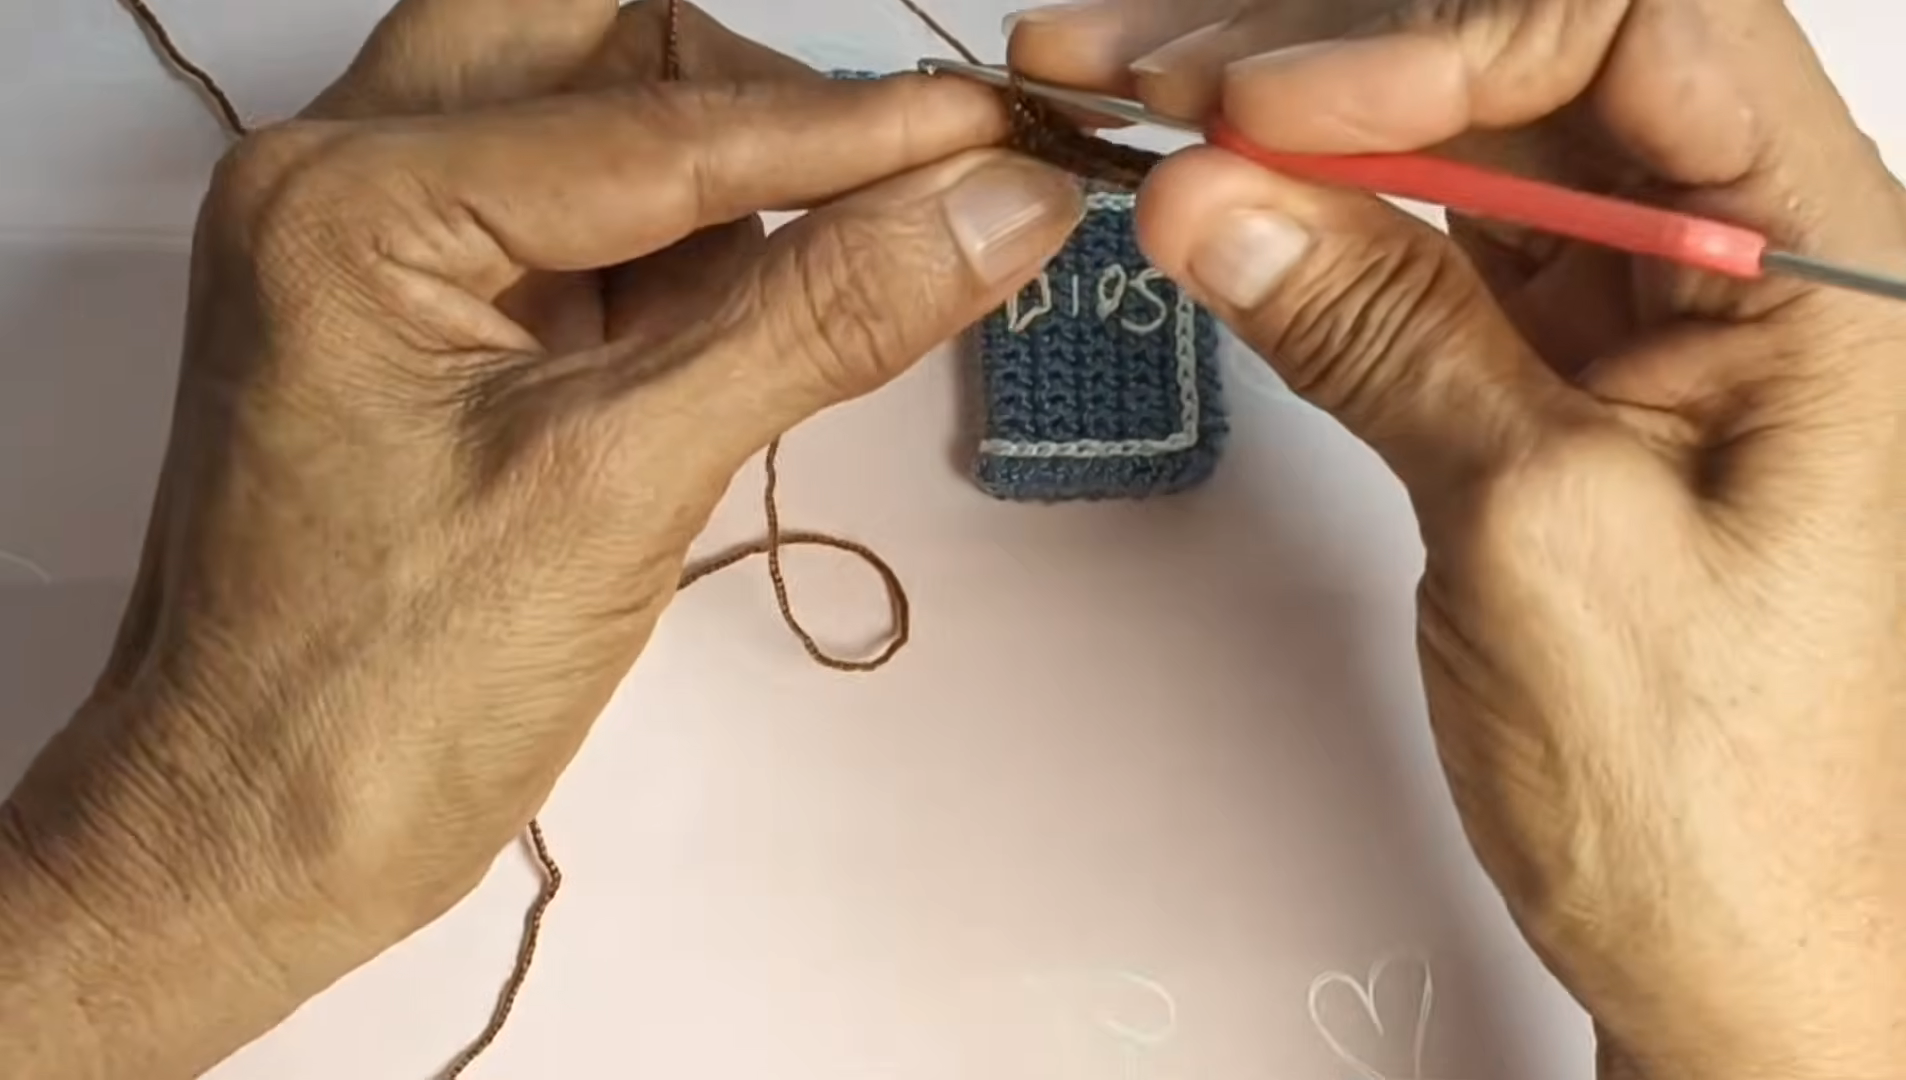
First, make a foundation chain, then work your first row of single crochet into it. The photo shows a brown row, but the same method applies to the blue cover. Keep your stitches small and even from the very first row.
Step 2: Check the Edges
Next, lay the panel flat. The sides should be straight, not curving in or flaring out. If they wave, you probably added or skipped a stitch at the turn.
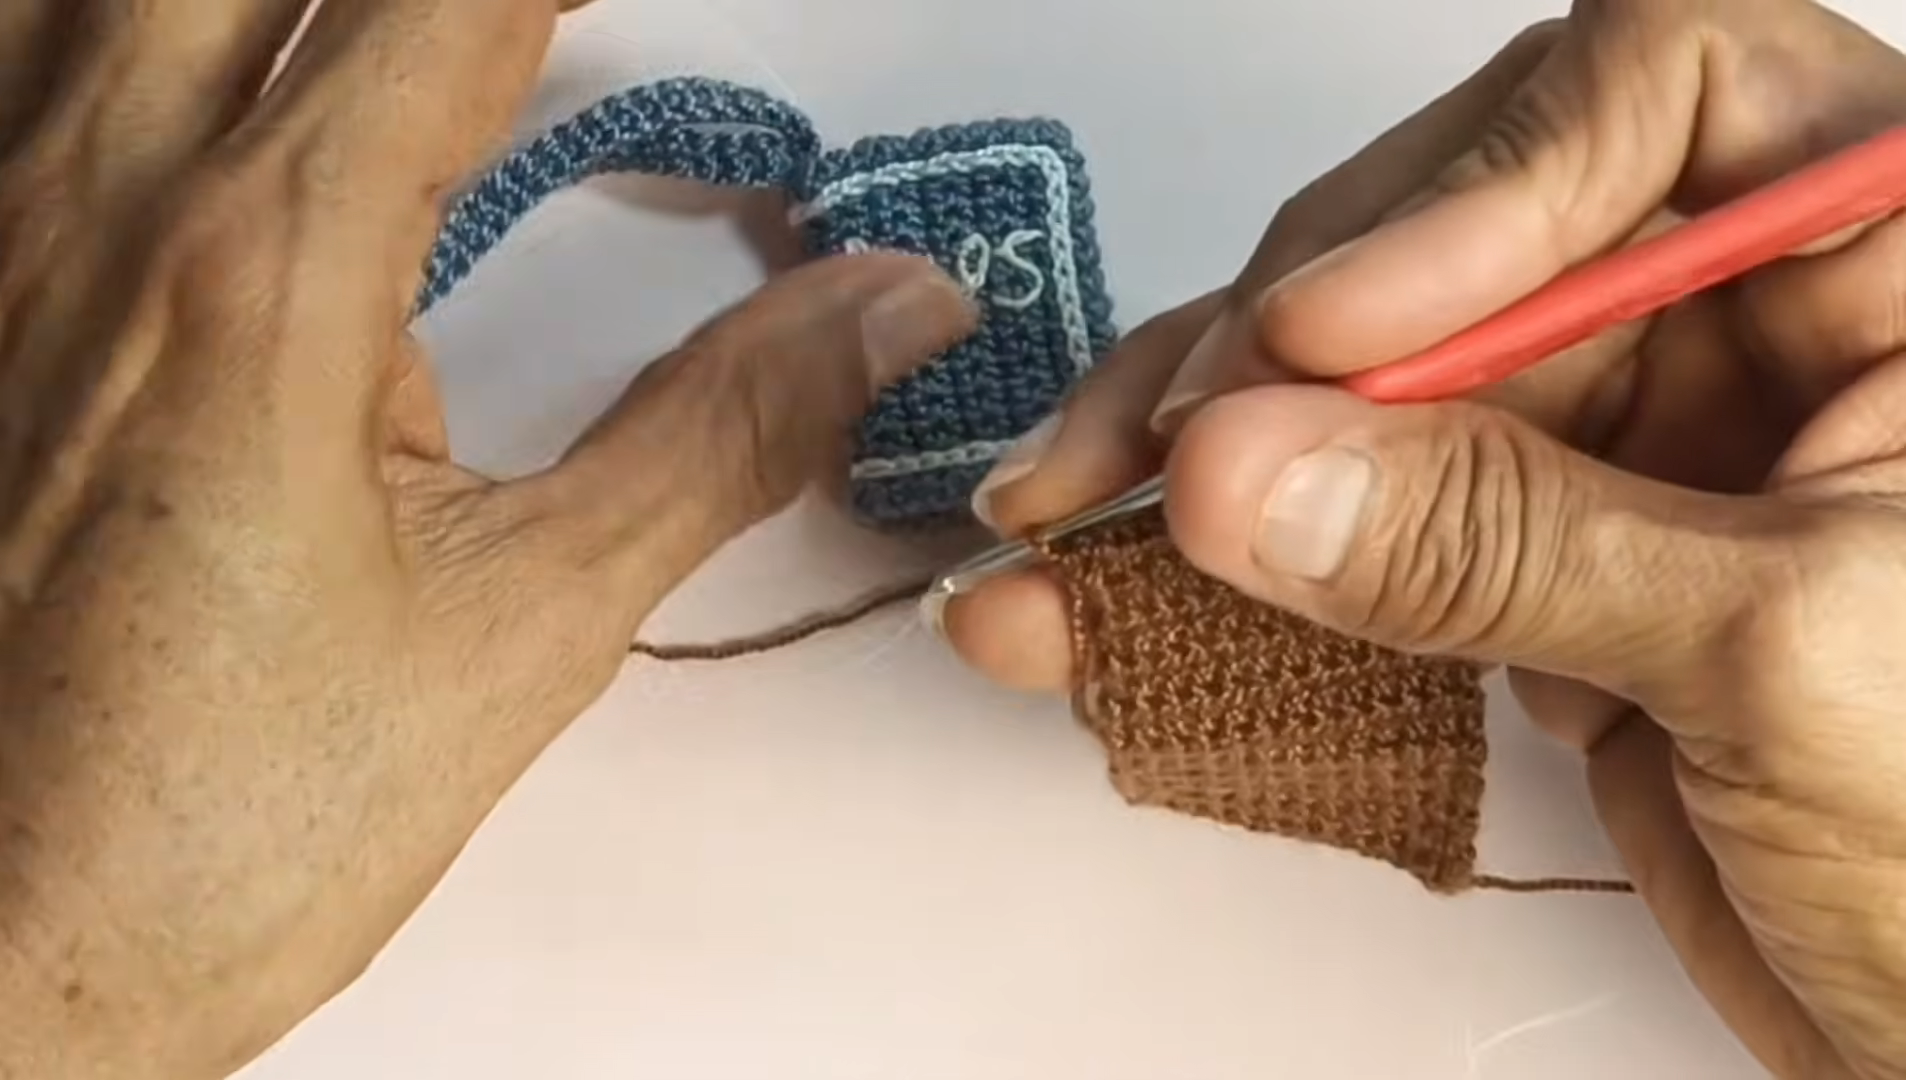
Step 3: Work the Brown Page Block
Switch to brown yarn and work a second flat rectangle in single crochet. This piece should be slightly smaller than the cover, so the blue frames it.
As you work, hold the piece between your thumb and index finger. That keeps the fabric steady and the stitches small.
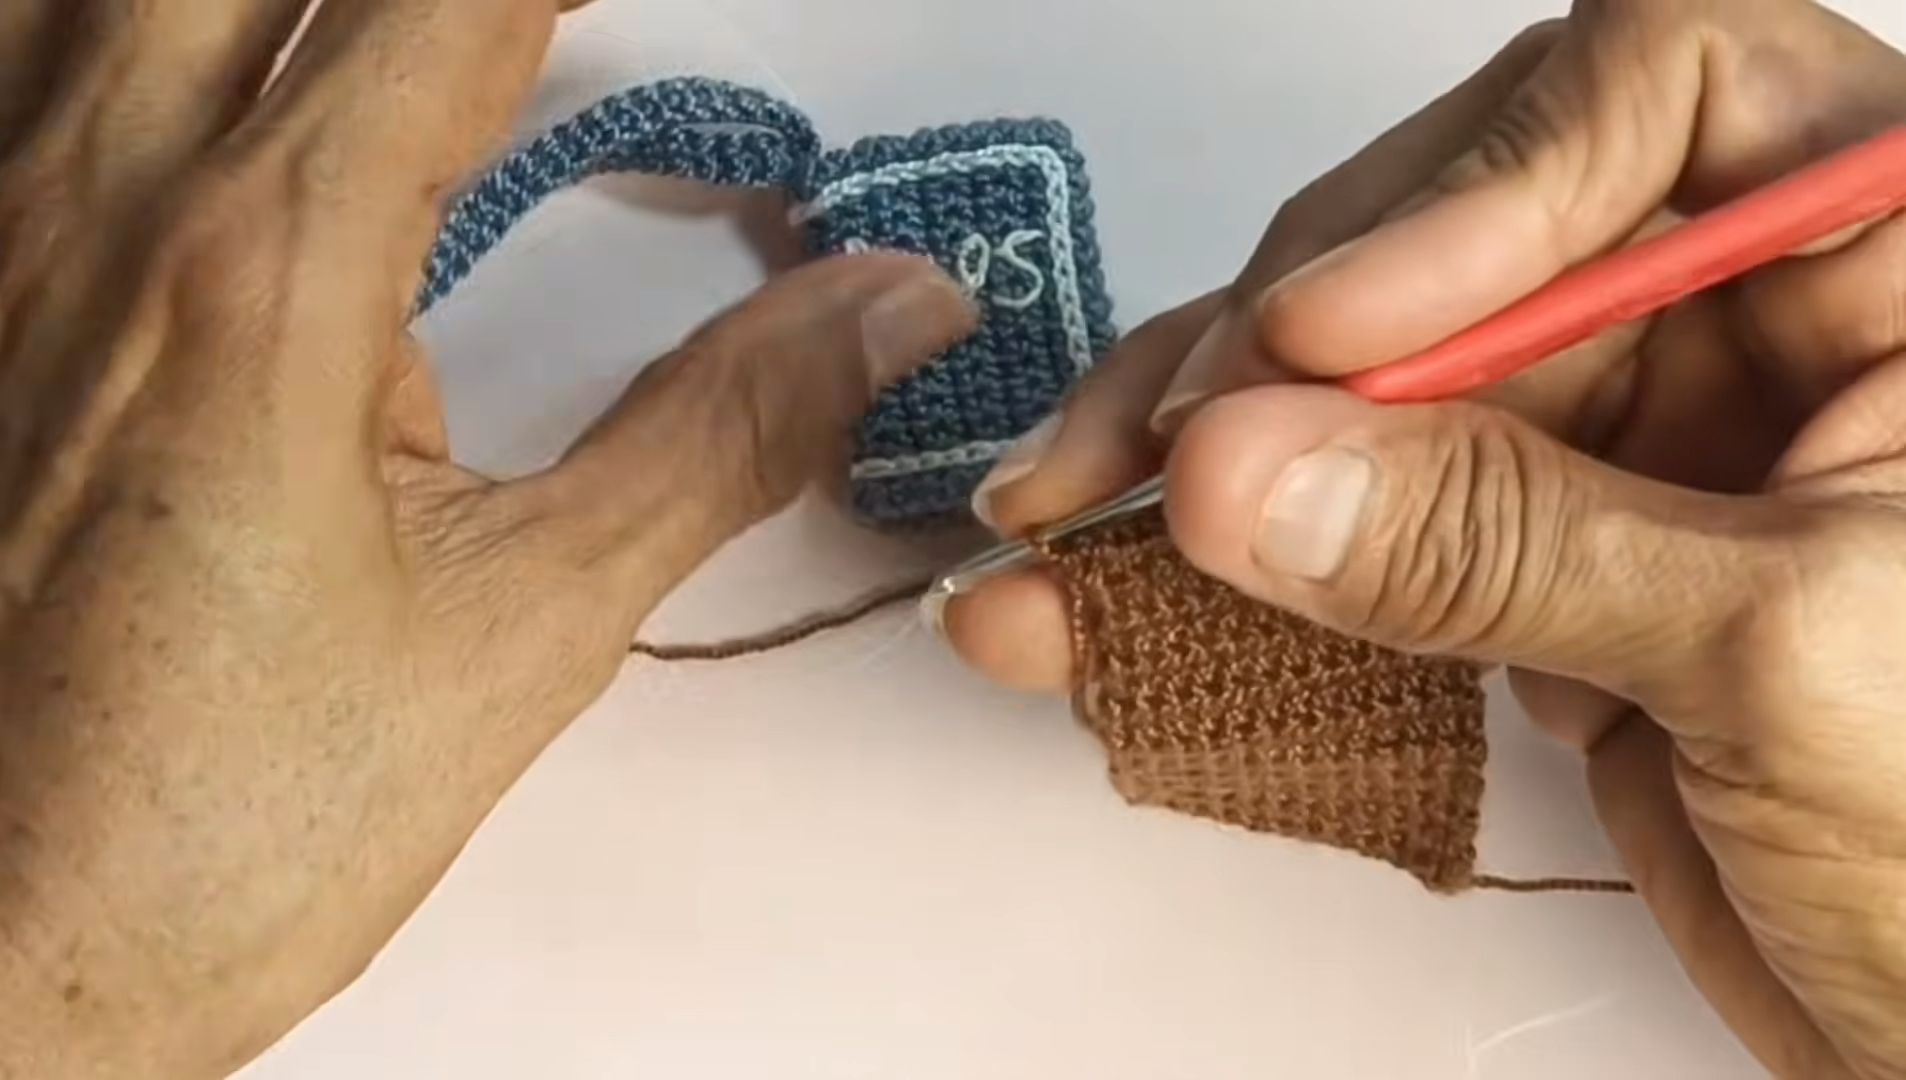
Step 4: Fasten Off Neatly
Cut the yarn, pull the tail through the last loop, and leave a short tail to weave in later. Then lay the brown piece next to the cover to compare their proportions.
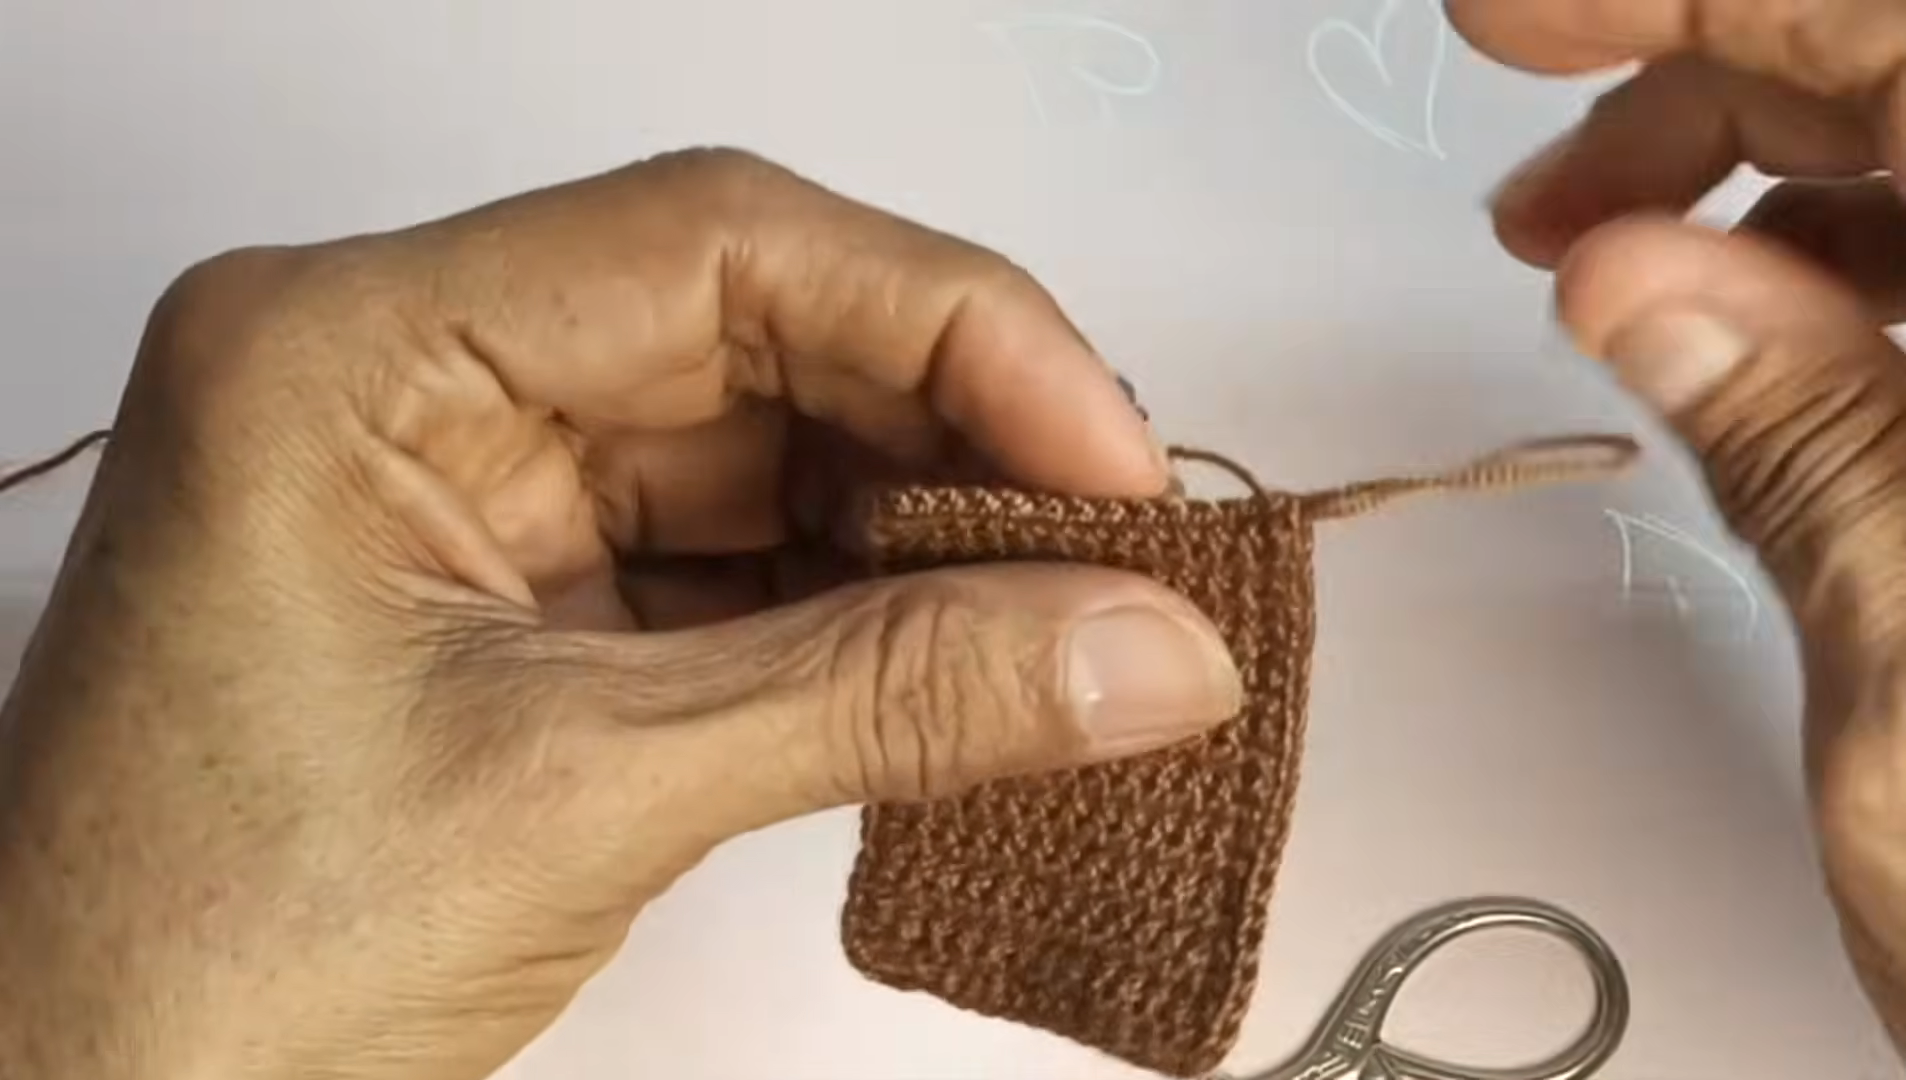
Step 5: Add the White Edge to the Pages
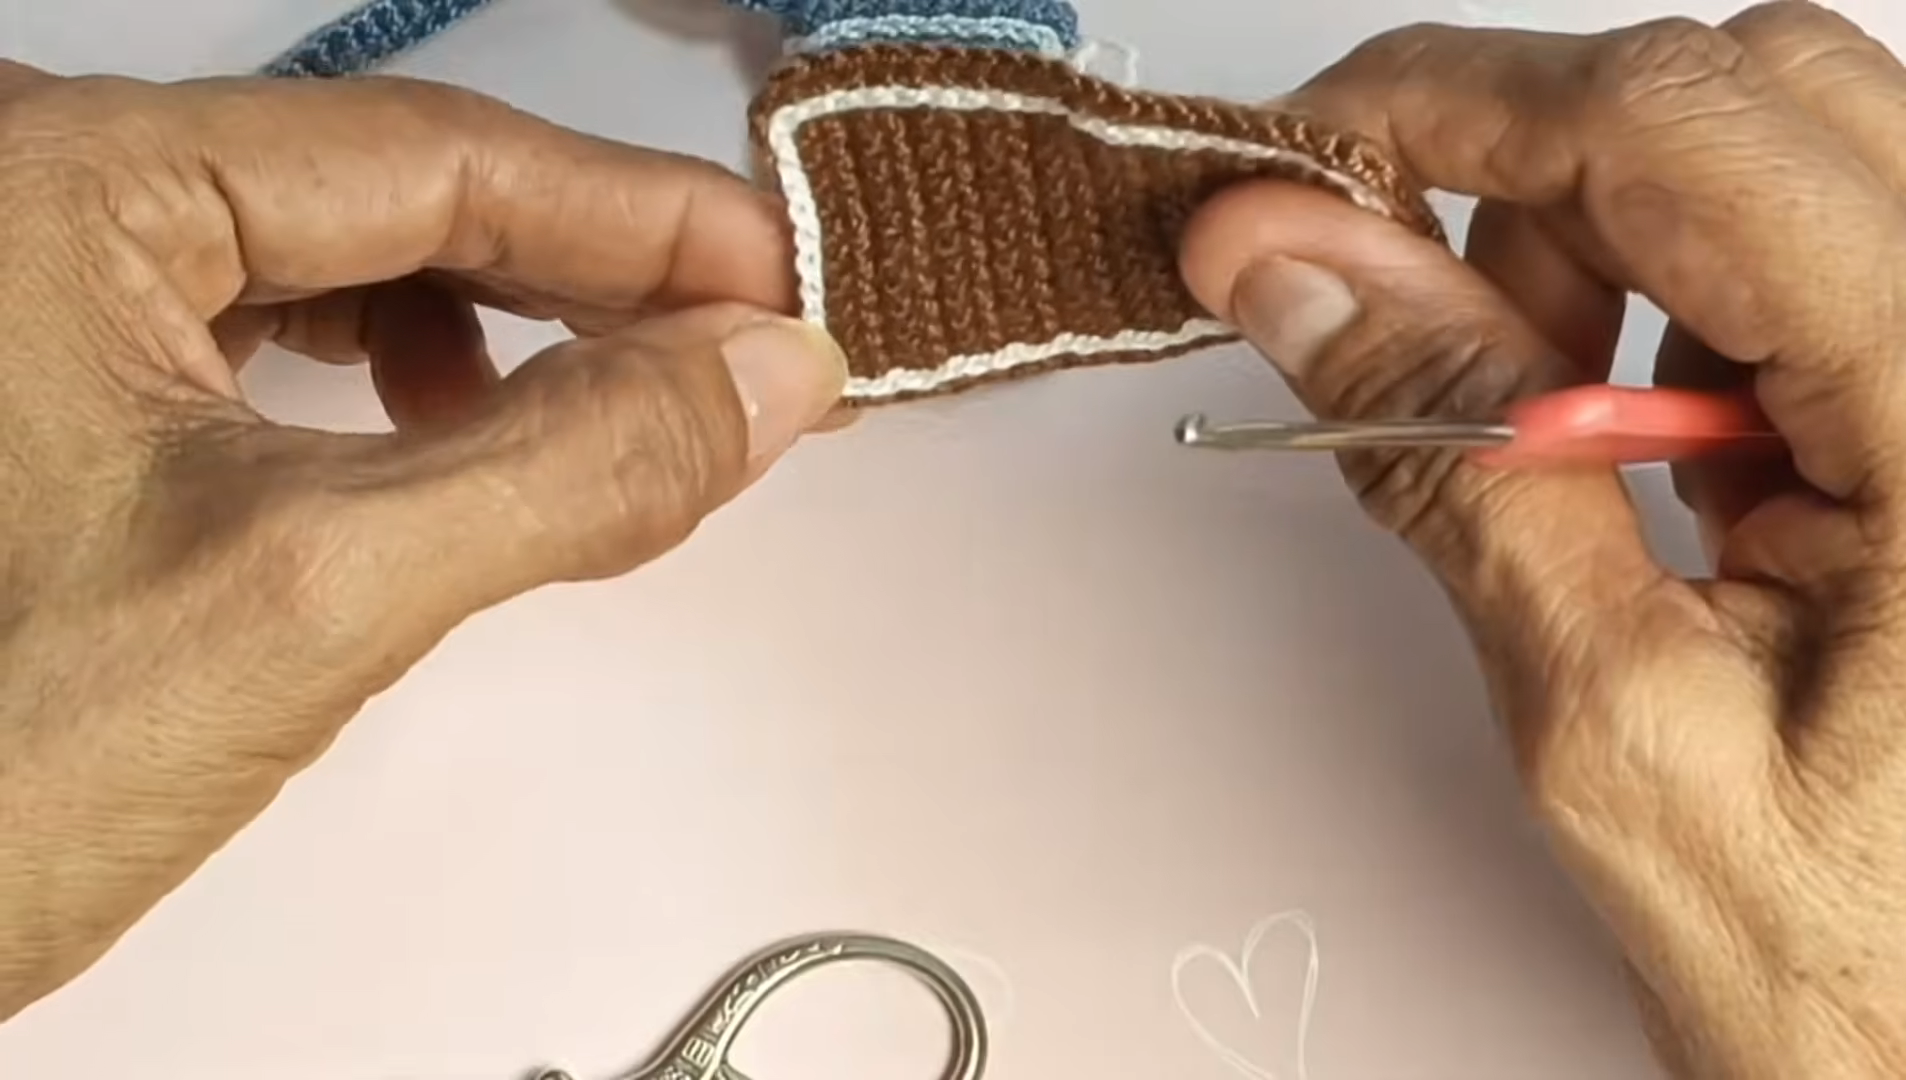
Join white yarn and work a thin line of stitches around the brown rectangle. This outlines the page block and gives it a crisp paper-edge look. Keep the line tight so it does not gap.
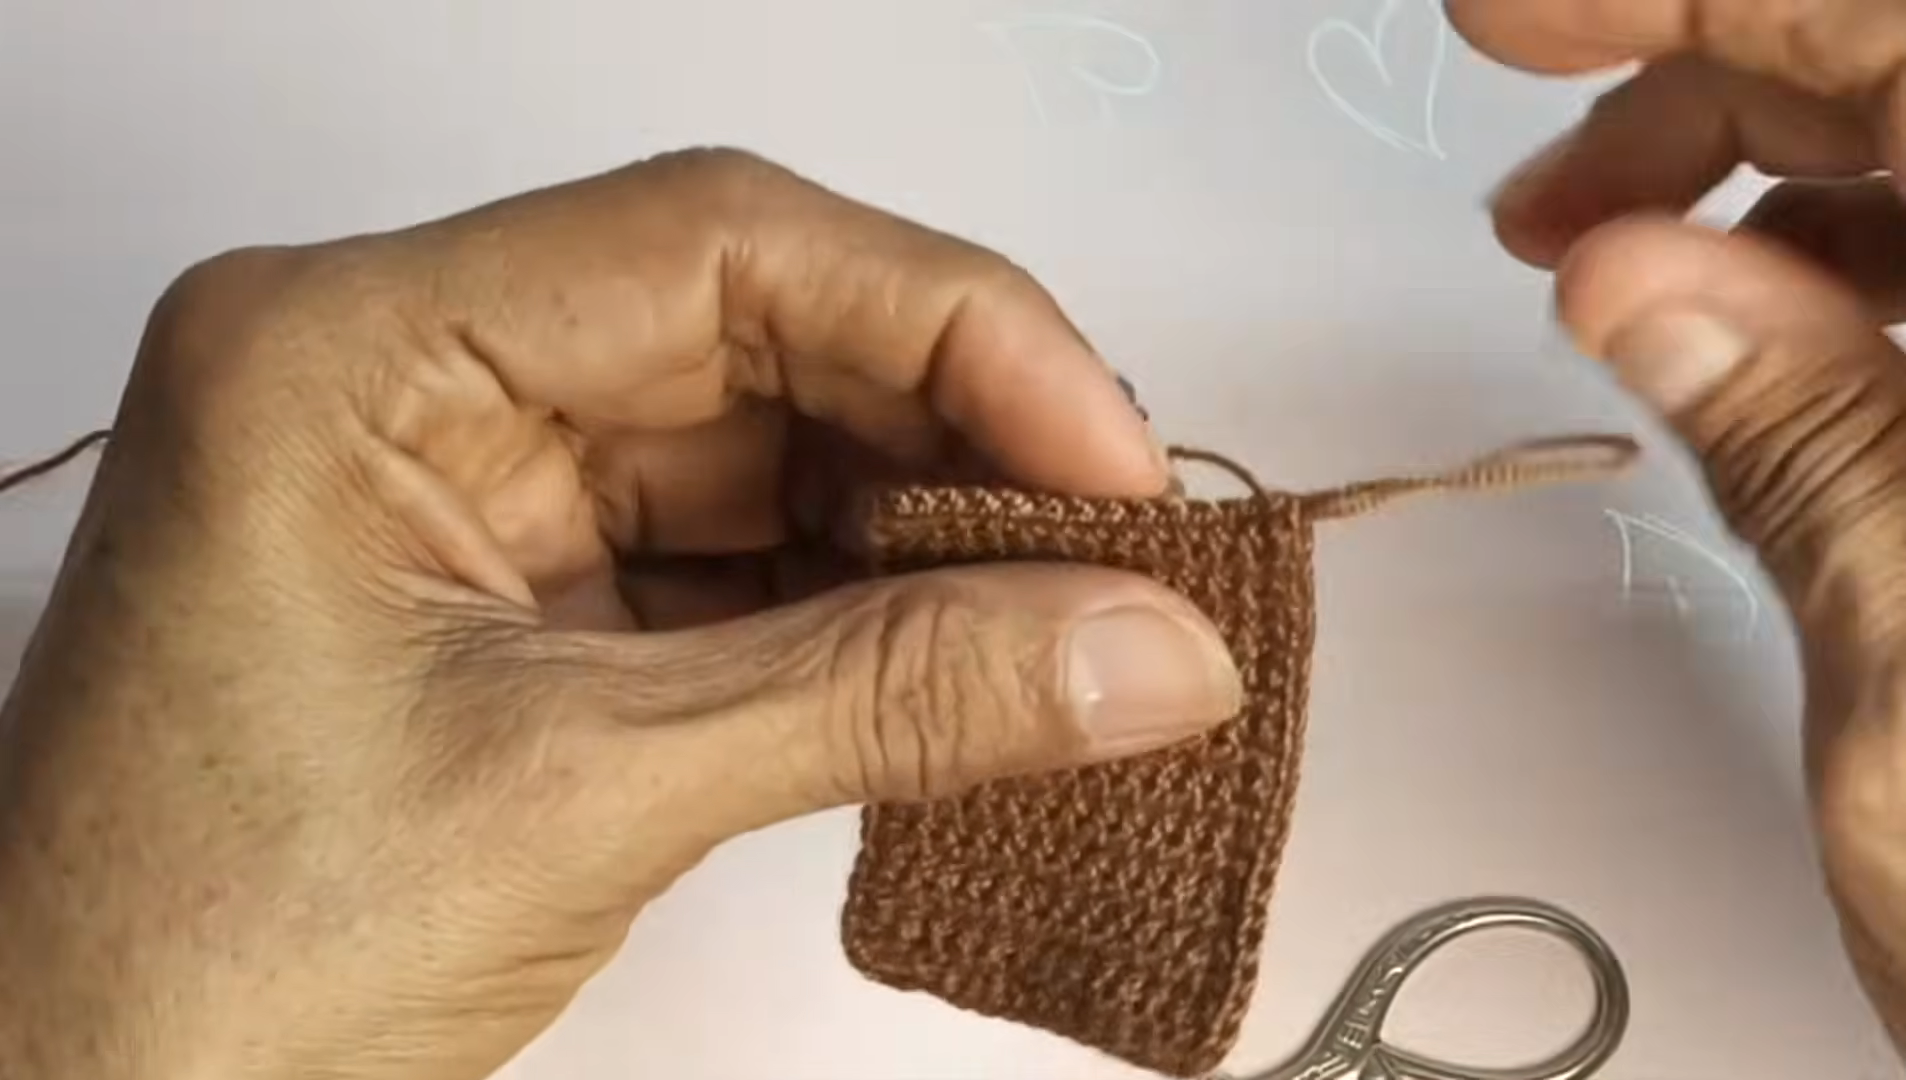
Step 6: Embroider the Cover Border
With white yarn and a needle, stitch a chain-stitch rectangle a little inside the edge of the blue cover. To keep the loops even, pull the yarn to the same point every time.
Step 7: Embroider the Lettering
Using the same white yarn, stitch your chosen word or initials in the upper part of the cover. If freehand feels scary, draw the letters lightly with a washable marker first. Keep the lettering small, since the cover is only a few inches across.
Step 8: Make the Strap
Work a narrow strip in blue, long enough to loop through a keyring. Then fasten off and leave a tail for sewing.
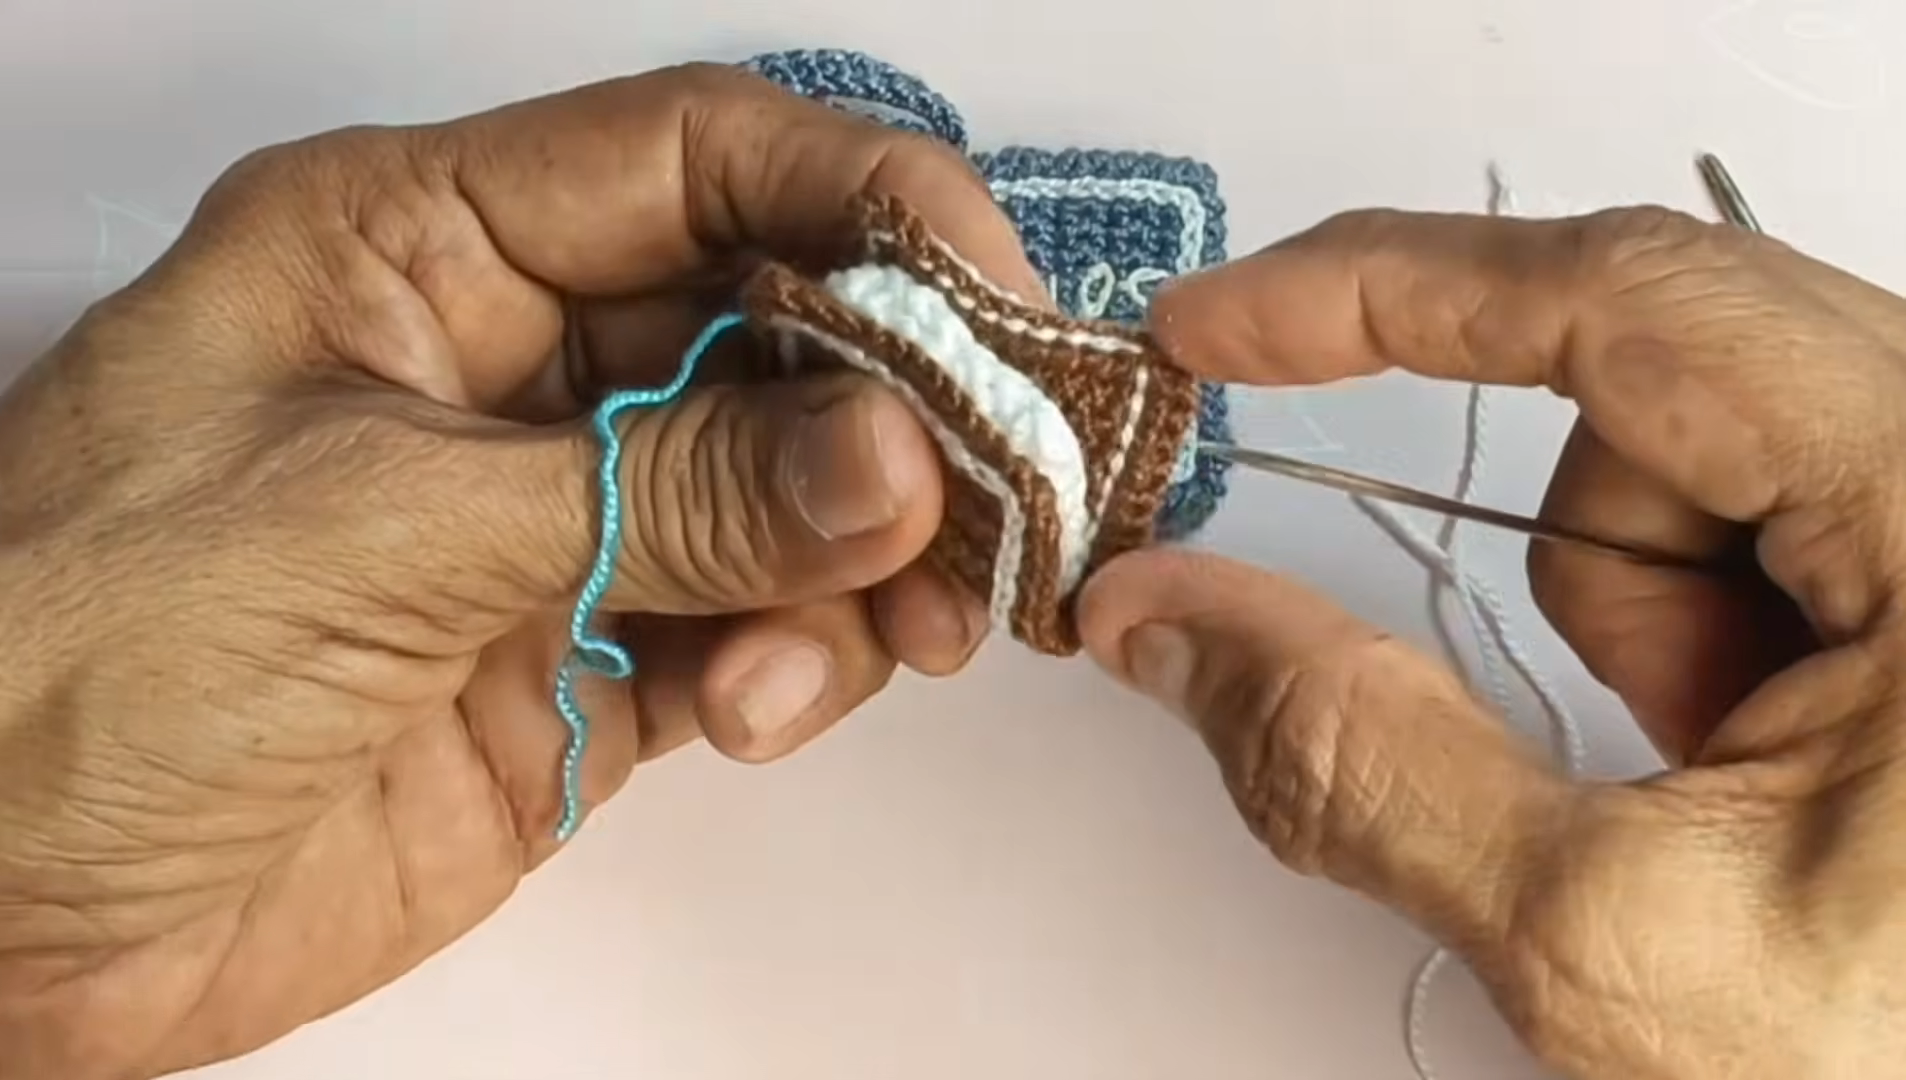
Step 9: Attach the Pages
Place the brown page block against the back (or inside) of the cover and sew the two together with the tapestry needle. Pass the needle through the stitches along the edge, and pull gently so the seam does not pucker.
Step 10: Attach the Strap and Finish
Finally, sew the strap to the top of the spine and loop it through the keyring. Weave in every tail, then trim the ends close to the fabric.
Tips and Troubleshooting for Your Crochet Mini Bible Keychain
Helpful Beginner Tips for the Crochet Mini Bible Keychain
- Count your first row twice. Every row after it depends on that foundation.
- Use a stitch marker on the first stitch. It stops you from drifting off the edge.
- Take a photo of the cover before embroidering. It helps you plan where the border goes.
- Keep embroidery loops small. Large loops look sloppy at this scale.
- Work in good light. Fine yarn and tiny stitches are hard on the eyes.
Common Mistakes With the Crochet Mini Bible Keychain
The cover curves like a banana. Your tension probably changed between rows, or you added a stitch at one end. Check the edge counts and keep the same hand position.
The white border looks wobbly. Mark the line first with pins or a faint pen. Then stitch slowly, keeping each loop the same size.
The pages look bigger than the cover. The brown piece has too many rows. Make it a little shorter, or resize the cover to match.
The fabric feels thin and floppy. Switch to a smaller hook, or stiffen the cover with a thin insert.
The lettering is hard to read. Simplify the shape by using fewer letters, or switch to a bolder yarn.
Keeping the Crochet Mini Bible Keychain Cover Firm
A crocheted book can sag after a few weeks on a keyring. To prevent that, cut a thin rectangle of cardstock slightly smaller than the cover. Slip it between the cover and the pages before you sew the last edge. As a result, the keychain keeps a crisp shape and the embroidery is protected from stretching.
Customize Your Crochet Mini Bible Keychain
Pattern Customization Ideas
- Stitch a name, initials, or a short word on the cover.
- Add a thin ribbon bookmark sewn into the spine.
- Try a small cross or heart as embroidery instead of text.
- Add a bead or charm to the keyring.
- Turn it into an ornament by swapping the keyring for a ribbon loop.
Size and Color Suggestions for the Crochet Mini Bible Keychain
Size: The project reads as a small pocket book. For a bigger version, choose thicker yarn and a larger hook. Then add rows to both the cover and the pages in equal amounts.
Colors that work well:
- Classic: navy cover, cream pages, white embroidery
- Warm: burgundy cover, tan pages, gold embroidery
- Soft: sage cover, ivory pages, cream embroidery
- Bold: black cover, white pages, red embroidery
Contrast matters most, because the embroidery should clearly stand out from the cover color.
Bonus: Make It a Handmade Gift
This keychain suits gift-giving because it is quick to make and easy to personalize. Pick colors the recipient likes, stitch their name or initials on the cover, and add a bead or charm to the keyring. Alternatively, swap the keyring for a ribbon loop so it can hang as an ornament.
Crochet Mini Bible Keychain FAQs
Is this a good project for beginners? Yes. It uses flat rows of single crochet and basic embroidery, so there is no shaping to worry about.
What yarn works best? A smooth, fine yarn gives clearer stitches and cleaner embroidery. Avoid fuzzy yarn, which hides detail.
Can I make it bigger? Yes. Use thicker yarn and a larger hook, then add rows evenly to every piece.
How do I keep the lettering neat? Lightly mark the letters first, and keep each loop small and consistent.
Can I wash it? Hand wash gently in cool water and air dry flat. Skip the washing machine.
Ready to Clip It On
A project this small leaves room for care. Slow down on the edges, keep the embroidery loops even, and let the colors do the talking. When the last tail is woven in, your crochet mini bible keychain will be ready to hang from a bag, a key ring, or a gift.