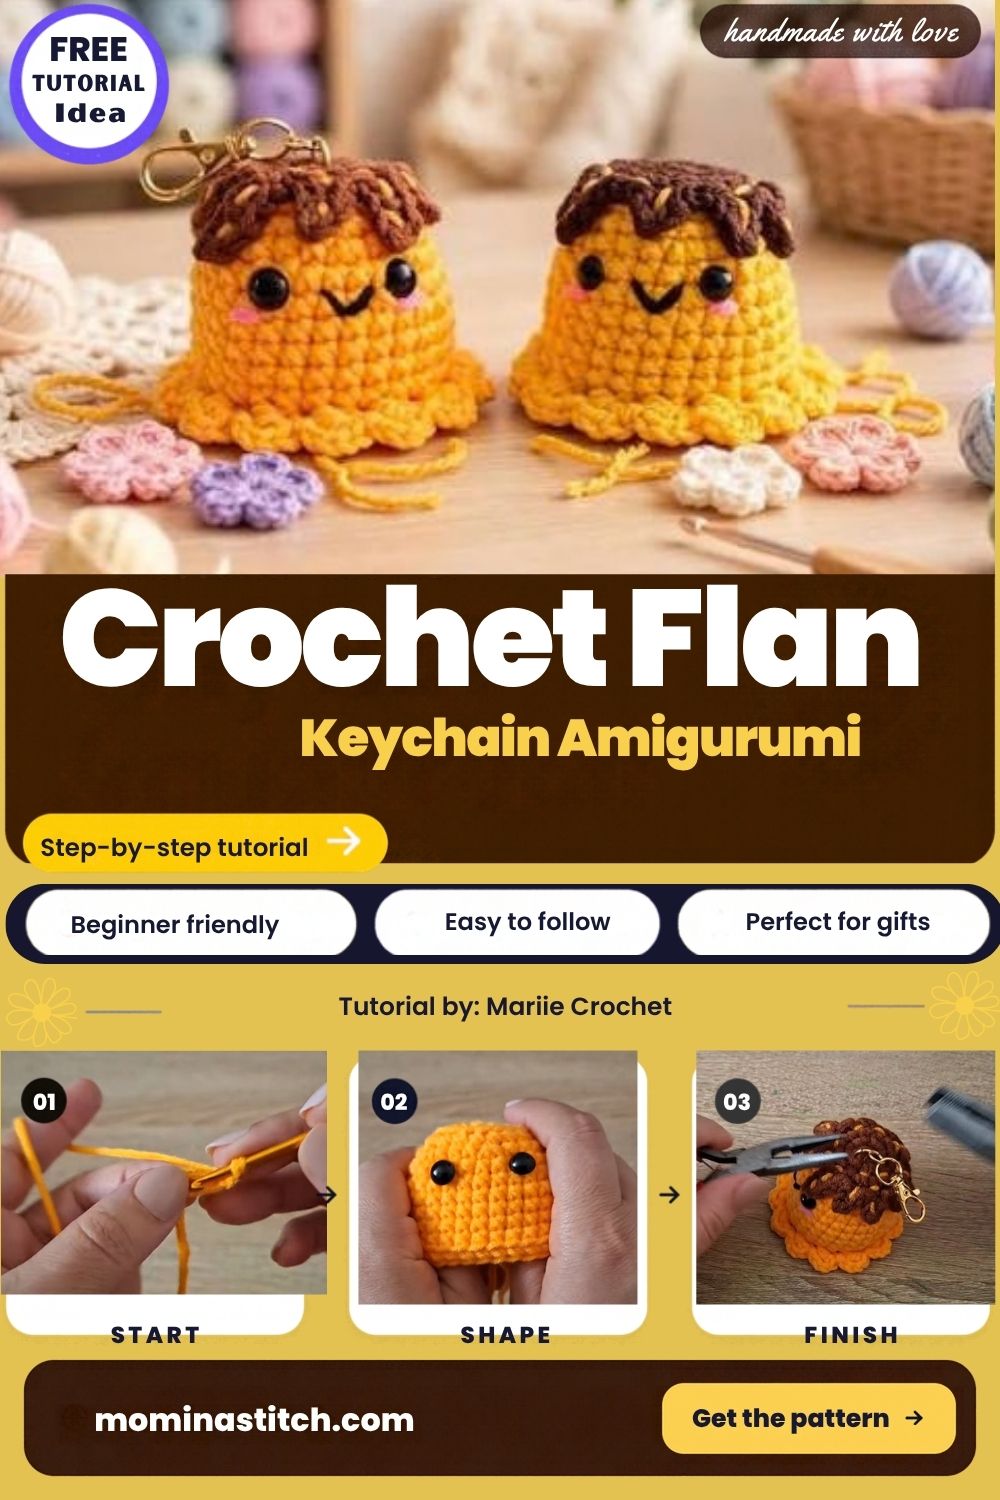
Crochet Flan Keychain Amigurumi with Sprinkled Topping
Soft, golden, and dripping with glossy brown caramel, the Crochet Flan Keychain Amigurumi with Sprinkled Topping looks like a tiny pudding that just slid off a café plate. Better still, two shiny eyes and pink cheeks give it a happy little face, so it feels like a small friend riding along on your keys.
To build the shape, you start with a flat round top, then work short straight sides, and finally close a firm base. After that, a brown topping with pointed drips sits on top, and small orange embroidered sprinkles finish the sweet look. In addition, a ruffled edge and a metal clasp turn the plush into a real keychain.
What makes the crochet flan keychain amigurumi stand out is its neat, moulded shape. Because a thin plastic disc hides inside the base, the flan stands up on a shelf just as well as it swings from a zipper. On top of that, every part uses basic stitches, so the pattern is a great pick for easy amigurumi fans who want a quick and cheerful make.
Time Box for the Crochet Flan Keychain
- Prep: about 10 minutes to pick yarn, cut the plastic disc, and set out your tools
- Stitching: close to 1.5 to 2 hours for the body, topping, and ruffle
- Finishing: 30 to 45 minutes for the face, sprinkles, and clasp
- Skill level: beginner to advanced beginner
If you already know the magic ring, single crochet in rounds, and simple increases and decreases, then you are ready. The drips and the ruffle add a small twist; however, both use stitches most makers learn early on.
Materials for the Crochet Flan Keychain Amigurumi
First of all, gather your supplies in one place. That way, you can stitch from start to end without stopping to hunt for a needle.
Yarn shades
- Golden orange for the flan body and ruffle
- Chocolate brown for the caramel topping
- Black for the mouth
- Soft pink for the cheeks
- Also, a bright orange or light yellow for the sprinkles (optional)
For a smooth finish, choose DK or light worsted yarn in milk cotton or soft acrylic. Both hold their shape well; as a result, small plush pieces stay neat for a long time.
Tools and small extras
- Crochet hook: 2.5 mm (or 2.25 mm if your stitches look loose)
- Safety eyes: one pair, 8 mm, black
- Polyester fiberfill
- Thin plastic disc cut from a clean food lid
- Yarn needle
- Sharp scissors
- Stitch marker
- Keychain clasp with a jump ring
- Small flat-nose pliers
Stitches and Techniques You Will Use
- Magic ring: A loop you can pull shut, so no hole shows in the middle of the top or base.
- Single crochet (sc): The main stitch in amigurumi, because it makes a thick fabric that hides the stuffing.
- Increase (inc): Two sc in one stitch, used to widen the flat top.
- Decrease (dec): Two stitches joined into one; in fact, an invisible decrease gives the cleanest base.
- Back loop only (BLO): Makes a sharp edge and, at the same time, leaves free loops for the ruffle.
- Whip stitch: Joins the caramel piece to the flan top with small, even stitches.
How to Crochet a Flan Keychain Amigurumi: Step-by-Step Pattern
Unless a step says otherwise, work in a continuous spiral. Also, move your stitch marker up at the start of each new round.
Step 1: Make the Magic Ring for the Flan Top
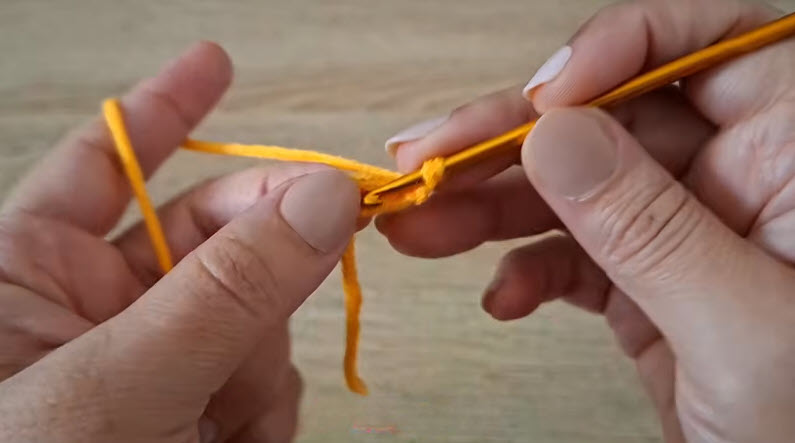
To begin, make a magic ring with golden orange yarn. Next, work 6 sc into the ring and pull the tail tight.
- Round 1: 6 sc in magic ring (6)
Meanwhile, keep the yarn over your index finger for even tension, just as the first photo shows.
Step 2: Grow the Flat Circle
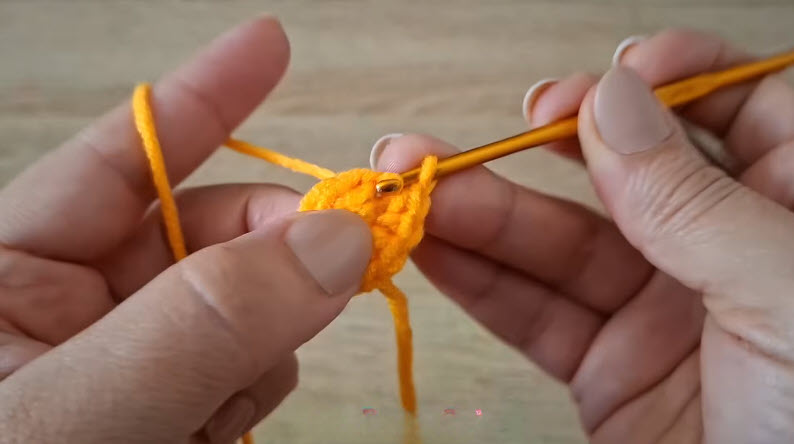
Now add stitches evenly, so the circle stays flat instead of forming a cup.
- Round 2: inc in each st (12)
- Round 3: (sc, inc) x 6 (18)
- Round 4: (2 sc, inc) x 6 (24)
- Round 5: (3 sc, inc) x 6 (30)
Pro tip: After round 5, press the circle flat on a table. If the edge looks wavy, your stitches are too loose. On the other hand, if it curls up like a bowl, relax your grip a bit.
Step 3: Shape the Flan Sides
Once the top is done, a single round turns it into straight walls.
- Round 6: sc in BLO of each st around (30)
- Rounds 7–14: sc in each st (30)
Because of the back loop round, a crisp ridge forms along the top edge. As a result, the flan gets the clean look of a real pudding mold. In addition, clip your marker on the last stitch so counting stays simple.
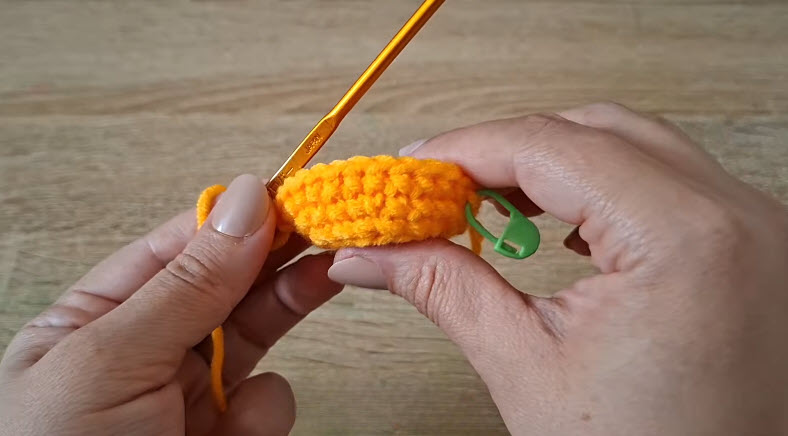
Step 4: Place the Safety Eyes
Set the eyes between rounds 9 and 10, about 6 stitches apart. Before you snap on the backs, however, look at the face from the front. After all, the washers cannot come off once they lock.
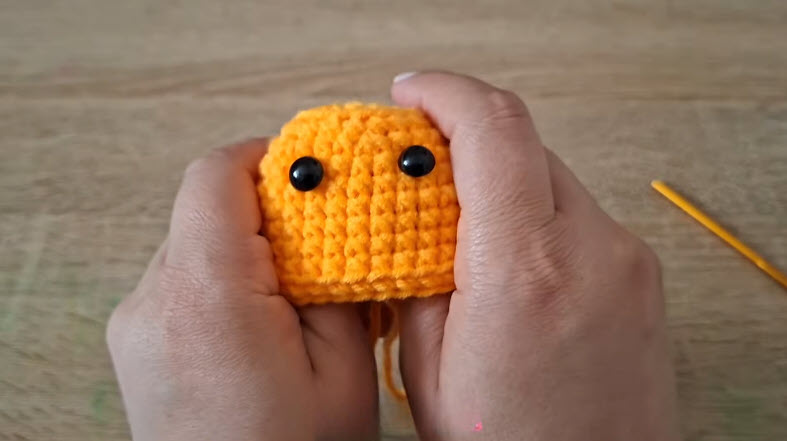
Step 5: Save Ruffle Loops and Close the Base
- Round 15: sc in BLO of each st around (30)
Keep in mind that the front loops left in round 15 will hold the ruffle later.
- Round 16: (3 sc, dec) x 6 (24)
- Round 17: (2 sc, dec) x 6 (18)
Right now, slide the plastic disc inside against the bottom. Then stuff firmly above it so the flan sits up straight.
- Round 18: (sc, dec) x 6 (12)
- Round 19: dec x 6 (6)
Finally, run the tail through the front loops of the last 6 stitches, pull it closed, and weave in the end.
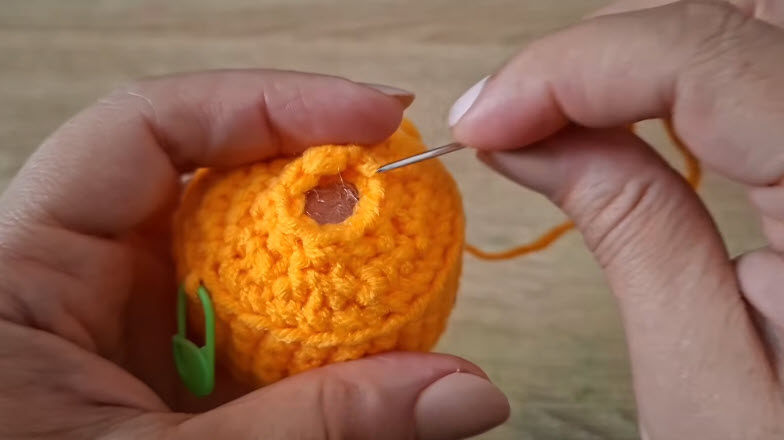
Step 6: Check the Body Shape
Next, squeeze the body softly between your palms. Ideally, it feels firm, stands level, and keeps a square pudding shape. If a corner still looks empty, push in tiny bits of stuffing with the tip of your needle.
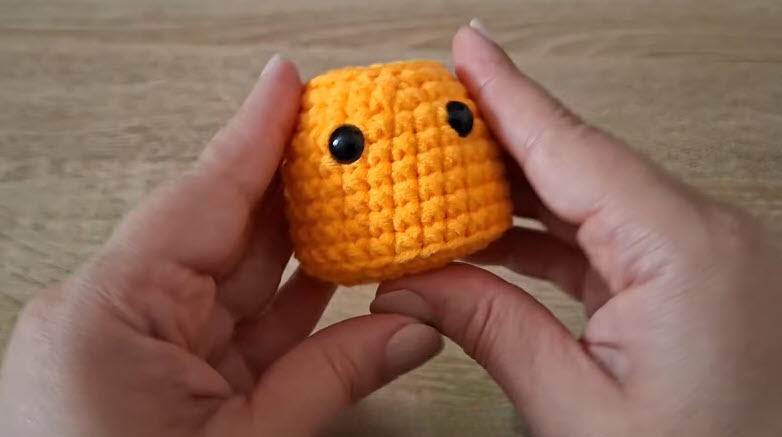
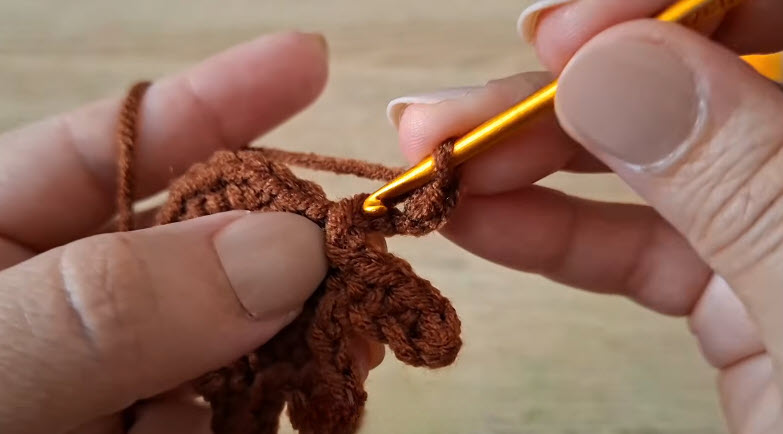
Step 7: Crochet the Caramel Topping
For the topping, switch to chocolate brown yarn.
- Round 1: 6 sc in magic ring (6)
- Round 2: inc x 6 (12)
- Round 3: (sc, inc) x 6 (18)
- Round 4: (2 sc, inc) x 6 (24)
- Round 5 (drips): ch 4, sc in 2nd ch from hook, hdc in next ch, dc in last ch, skip 1 st, sl st in next st – repeat 12 times
Fasten off and leave a long tail for sewing. As you can see, the pointed drips look just like caramel running down the sides.
Pro tip: Count the drips before you cut the yarn. You need 12 even points; otherwise, the topping will tilt once you sew it on.
Step 8: Stitch the Face and Sprinkles
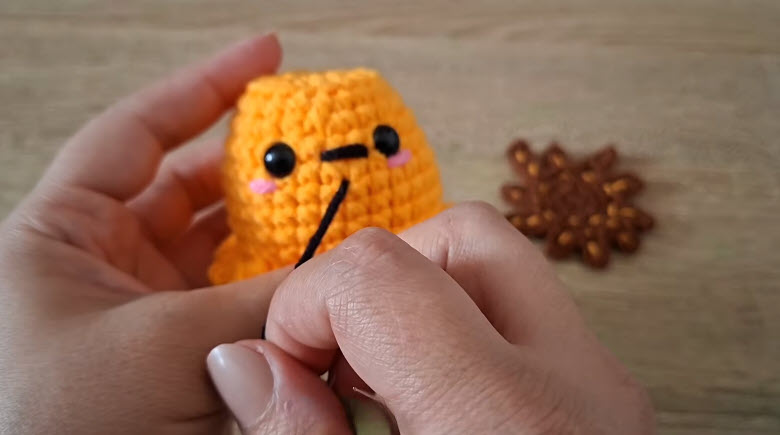
- First, sew a short straight mouth in black yarn, centered between the eyes.
- Then add two or three tiny pink stitches under each eye for blush.
- Lastly, scatter short orange stitches over the caramel, and tilt each one a little for a fun, random look.
Step 9: Join the Pieces, Add the Ruffle, and Fit the Clasp
- Pin the caramel over the flat top, and let the drips hang down the sides.
- Next, whip stitch around the inner edge with the brown tail.
- After that, join orange yarn in any front loop left from round 15.
- Ruffle round: (3 dc in next loop, sl st in next loop) x 15. Then fasten off and hide the tail.
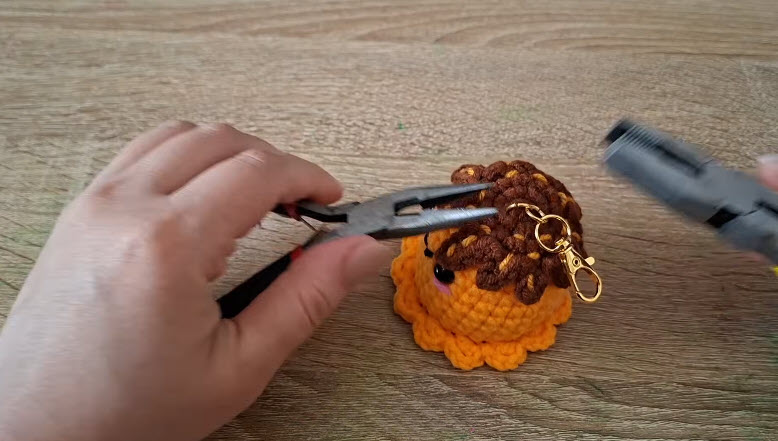
- Finally, open a jump ring with pliers, hook it through a strong stitch at the top center, add the clasp, and twist the ring shut.
Finishing Your Flan Keychain
To start, trim any fuzz with scissors and roll the flan between your hands to even out the stuffing. After that, tug the clasp gently to be sure the jump ring has no gap. For extra hold, add a tiny dot of fabric glue on the knot under the topping, especially if your crochet flan keychain amigurumi will hang from keys every day.
Common Mistakes with a Flan Keychain Amigurumi
- Skipping the BLO round: Without round 6, the sides lean outward instead of standing straight.
- Loose stitches: Small gaps open up and, as a result, white stuffing peeks through.
- Stuffing too late: Add the disc and filling at 18 stitches, because the hole gets too small after that.
- Adding the eyes last: Once the base is closed, you can no longer reach inside to press on the backs.
Beginner Tips for a Neat Crochet Flan
Keep Your Stitches Snug
Amigurumi needs thick fabric so the filling stays hidden. For that reason, use a hook one size smaller than the yarn label says. Even so, pull each stitch firm without hurting your hand.
Trust Your Stitch Marker
Spiral rounds have no clear start. Because of that, a marker in the first stitch of each round keeps your count right, especially during the increases on the top.
Stuff a Little at a Time
Pull the fiberfill into small tufts first. Big clumps leave bumps, whereas small bits pack in smoothly. So fill the corners first, then the middle, and stop once the body feels firm but not stretched.
Quick Fixes After You Finish
Even careful work can show small flaws at the end. Luckily, most of them take only a minute to fix.
- Flan wobbles on a table: The disc may have shifted, so press it flat from the outside with your thumbs.
- Topping sits crooked: Snip one or two whip stitches, turn the caramel slightly, and then sew it again.
- Ruffle flips upward: Steam it lightly from a distance, and afterward shape it down with your fingers.
- Sprinkles look too flat: Instead of single stitches, wrap each sprinkle twice for a raised effect.
Ways to Customize Your Crochet Flan Keychain Amigurumi
Fresh Flavors
- Cream body with dark brown topping for a classic custard
- Pink body with red topping for a strawberry pudding
- Light green body with brown topping for a matcha twist
Tiny Extras
- A small red cherry made from a 6-stitch ball, sewn on top
- A mini felt spoon stitched beside the flan
- A little pink bow on one side of the caramel
Smaller Size
For a charm small enough for an earbud case, use fingering weight yarn and a 2 mm hook. Alternatively, stop the top at round 4 (24 stitches) and cut one decrease round to match. If café charms are your thing, the crochet cup keychain amigurumi pairs nicely with your flan.
Gift Ideas for Your Dessert Keychain
A handmade charm feels even more special with a little wrapping. For example, try one of these easy ideas:
- Tuck the flan into a clear cupcake box with a paper doily underneath.
- Clip it onto a kraft card with a handwritten “sweet treat” label.
- Pair it with a real caramel candy in a small pouch for a birthday.
Crochet Flan Keychain Amigurumi FAQs
What yarn works best for a flan keychain?
Milk cotton and soft acrylic both work well. Milk cotton gives a soft, matte finish, while acrylic keeps its shape and comes in bright colors. However, avoid fuzzy yarn, since the stitches get hard to see.
How do I keep the flan firm?
Crochet tightly with a smaller hook, and then stuff in small tufts until the shape feels solid. In addition, the plastic disc in the base keeps the bottom flat and steady.
How long does the crochet flan keychain amigurumi take?
Most makers finish the crochet flan keychain amigurumi in 2 to 3 hours. Beginners, on the other hand, may need one more hour for the face and assembly, which is completely normal.
Your Pocket-Size Pudding Is Waiting
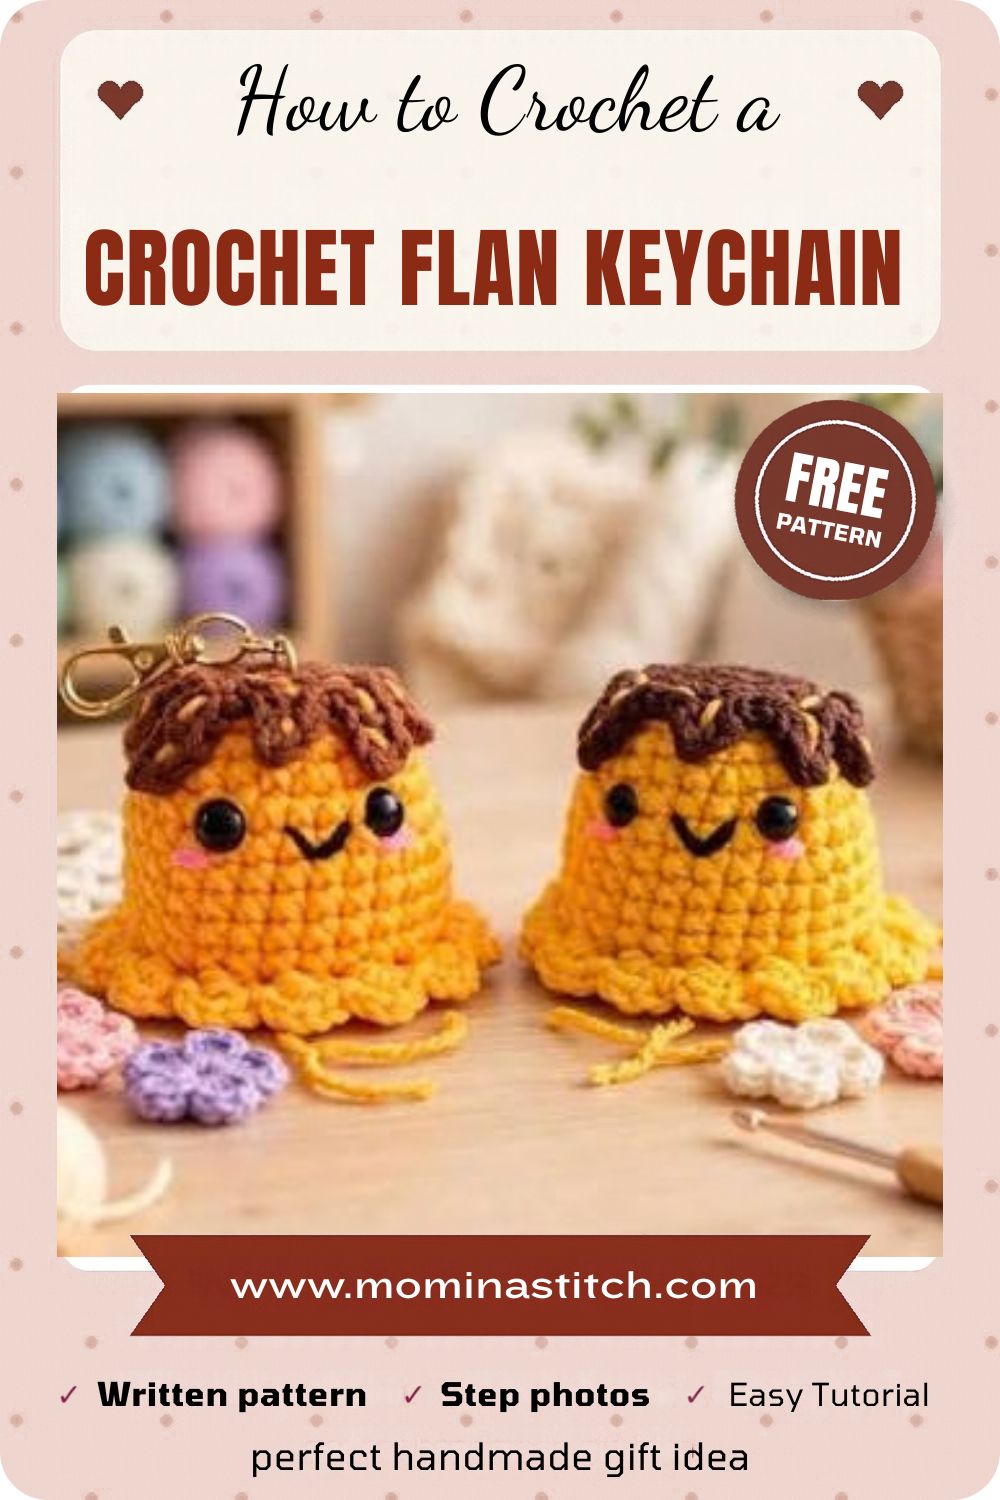
Few things feel as fun as turning a small ball of yarn into a smiling caramel treat. Once your first crochet flan keychain amigurumi is done, the next one goes even faster. Before long, you may have a whole dessert shop hanging from your bags.
So choose a flavour, pick up your hook, and start today. Afterward, keep the fun rolling with the crochet duckling keychain amigurumi, the crochet kitten keychain amigurumi, or the sunny crochet sunflower keychain for your next quick project.