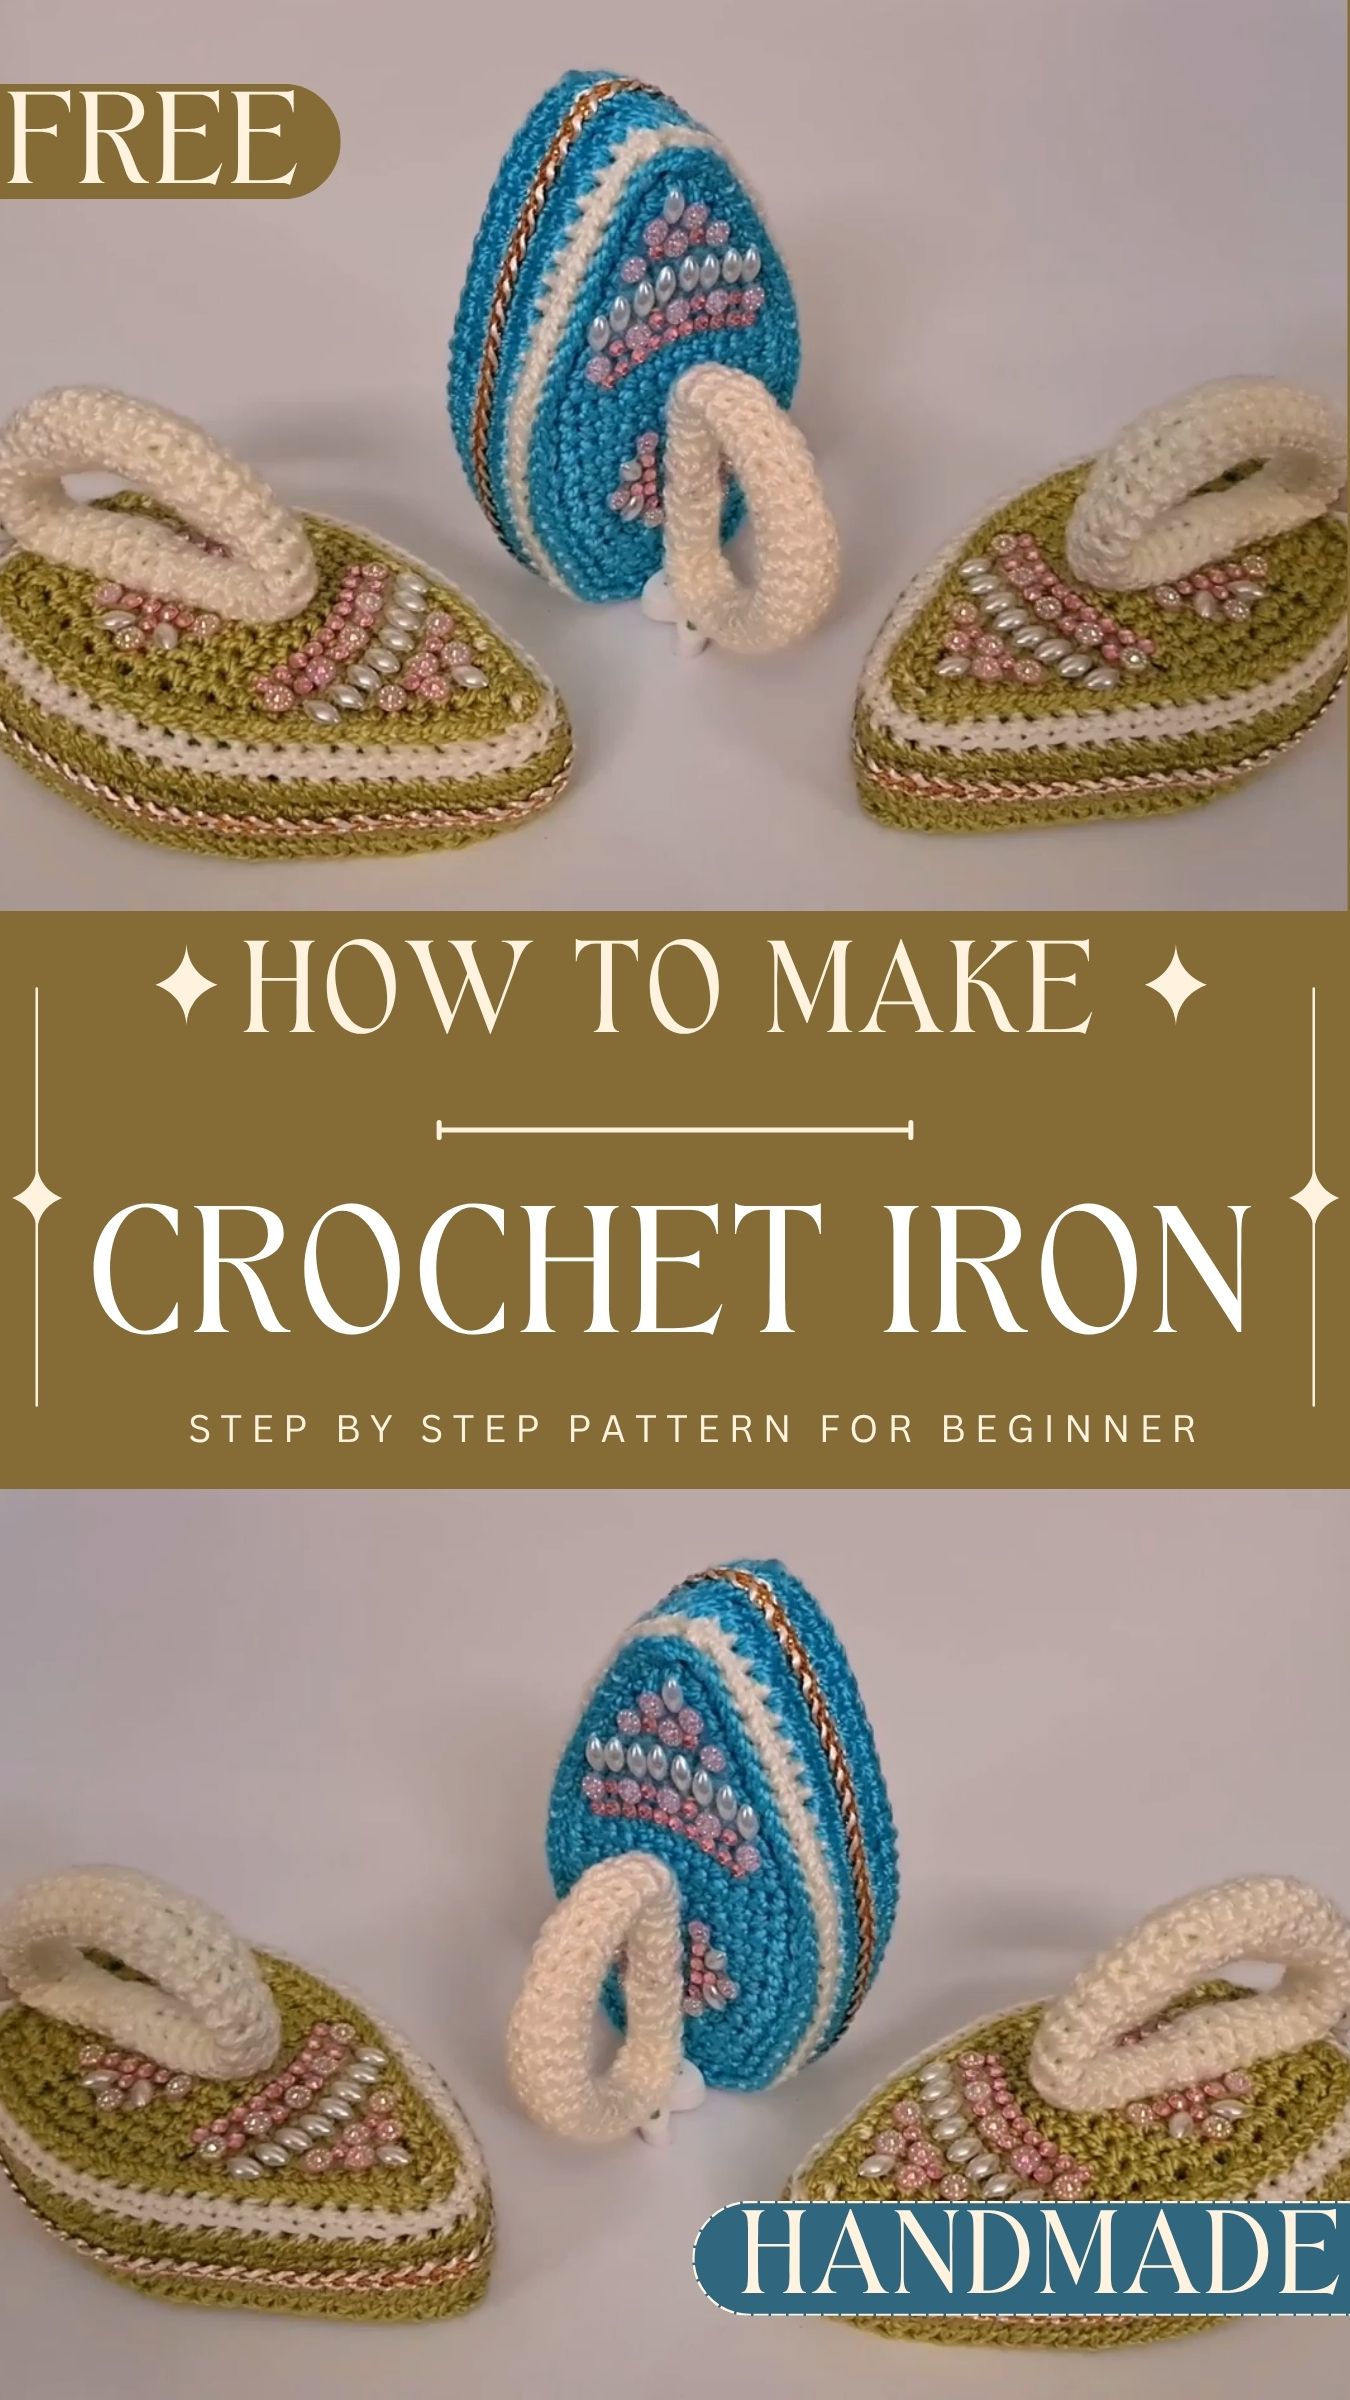
Crochet Iron Pattern With Pearl and Chain Details
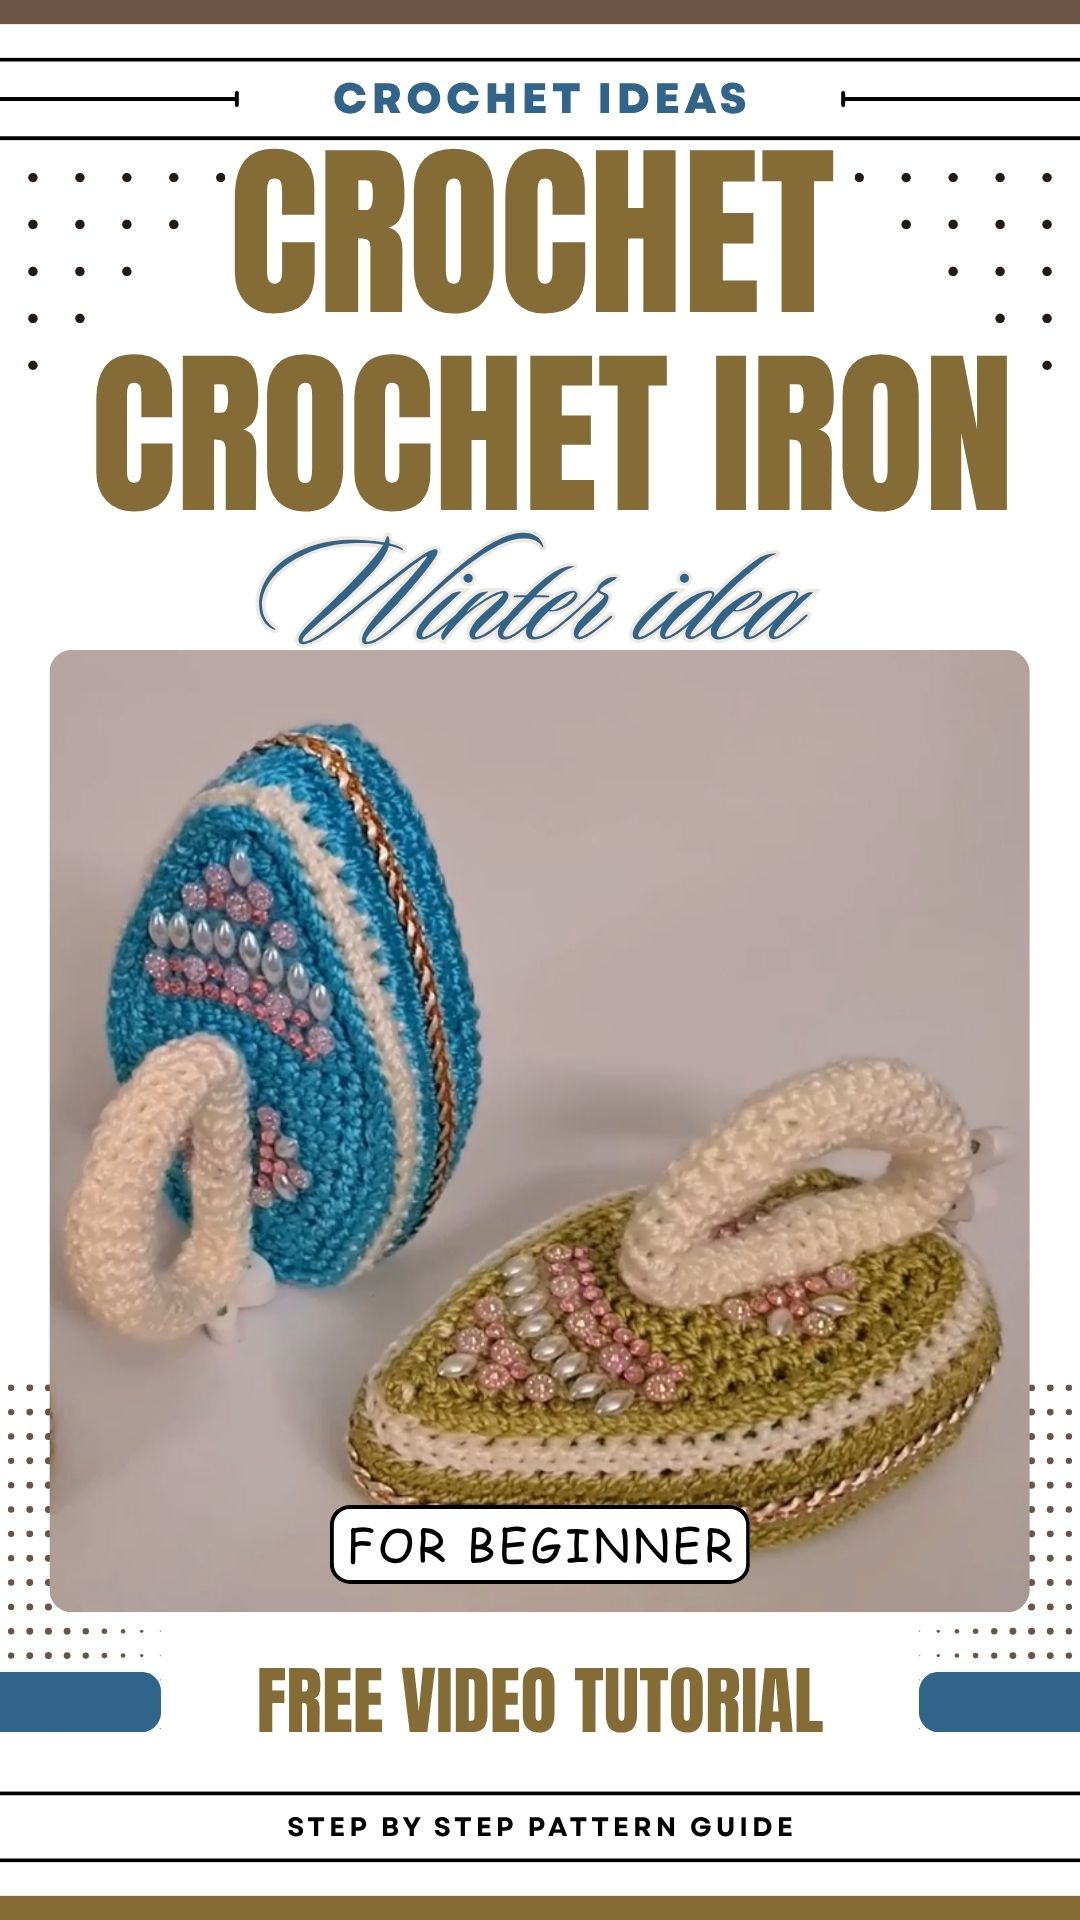
Few tiny projects draw attention like a miniature iron standing upright on a shelf. This crochet iron pattern with pearl and chain details builds a teardrop-shaped body in blue and cream, adds a curved handle, and finishes with pearl-style stickers and optional metallic trim. Although it looks delicate and polished, you make the base entirely with simple single crochet rows.
Below, you will walk through every step in clear order, from the two matching teardrop pieces to the foam-filled walls, the pipe cleaner handle, and the final decoration. In addition, the stitch counts and materials come from the pattern itself, so nothing is left to guesswork. Whether this is your first shaped project or the next addition to a growing collection of decorative pieces, the details make the process smooth and the result worth displaying.
Crochet Iron Pattern Overview and Key Features
This pattern uses flat pieces worked in rows instead of the usual rounds. Two identical teardrop shapes form the top and bottom of the iron. Cream sidewalls add contrast, while foam and sponge inside keep the body firm. The handle is a crocheted tube with a pipe cleaner inside, so it holds its arch.
This crochet iron pattern includes:
- Teardrop body shaped with increases and decreases
- Cream and blue striped walls with a thick, layered texture
- Foam and sponge reinforcement for a solid shape
- Pipe cleaner handle that bends into an arch
- Small wooden rabbit-shaped piece used as a stand
- Pearl, flower, and teardrop stickers with optional metallic trim
Skill Level for This Crochet Iron Pattern
The pattern does not state a skill level. Since it uses only single crochet, back-post stitches, and basic shaping, an advanced beginner to intermediate crocheter should manage this crochet iron pattern well. However, the extra steps of gluing, cutting foam, and joining pieces call for patience more than skill.
Materials and Yarn for the Crochet Iron Pattern
- Yarn: 100% acrylic Perlé-type yarn in blue and cream
- Hook: 2.5 mm aluminum crochet hook
- Foam sheets: EVA foam (foami) for reinforcement
- Sponge: a 2 cm thick block, cut to match the body shape
- Pipe cleaner: 1 piece, folded in half
- Wooden piece: a small rabbit-shaped imitation wood button or bead with a hole, 5 mm thick
- Decorations: flat adhesive gems or beads in flower, teardrop, and round shapes, plus optional metallic ribbon or trim
- Tools: tapestry needle, white paper, scissors, and glue
Perlé-type yarn has a smooth, slightly shiny finish, which suits the pearl look. Since the pattern gives no yardage, keep a spare ball of each color nearby.
Finished Size and Sizing Options
The pattern gives no finished measurements, so none are listed here. The size depends on your yarn and hook, and tight tension gives a smaller iron. Because you trace the paper template and foam pieces from the finished blue base, they always match the crochet, whatever the final size. For a different size, change the yarn weight and hook together, and then recheck every foam and sponge cut.
Stitches and Abbreviations
- ch: chain
- sc: single crochet
- sl st: slip stitch
- st: stitch
- inc: increase (2 sc in the same stitch)
- dec: decrease (pull up a loop in each of the next 2 stitches, then join them)
- BPsc: back-post single crochet, worked around the post from behind
- BLO: back loop only
Gauge Information
No gauge is provided. The pattern relies on the 2.5 mm hook with Perlé-type yarn, so the fabric should come out dense with no visible gaps. First, work a small swatch of sc rows. If foam or sponge shows through, go down a hook size. Consistent tension matters most, because both body pieces must match.
Tips Before Starting Your Crochet Iron Pattern
- First, mark the right side of each piece, since the two body pieces must be identical.
- Also, count stitches at the end of every row in the shaping section.
- Cut the paper template 1–2 mm smaller than the outline so the foam fits inside the crochet.
- Keep glue away from the yarn surface to avoid stiff spots.
- Finally, do not cut the yarn on Piece 2 until you finish the walls.
Step-by-Step Crochet Iron Pattern
Step 1: Make the Base Pieces (2 Identical Blue Pieces)
First, chain 7. Starting in the 2nd chain from the hook, work 6 sc (Row 1: 6 sts).
For Rows 2–6, ch 1 and turn, then work sc across with an increase in the second-to-last stitch of each row. The stitch count grows like this:
- Row 2: 7 sts
- Row 3: 8 sts
- Row 4: 9 sts
- Row 5: 10 sts
- Row 6: 11 sts
Step 2: Work the Straight Rows
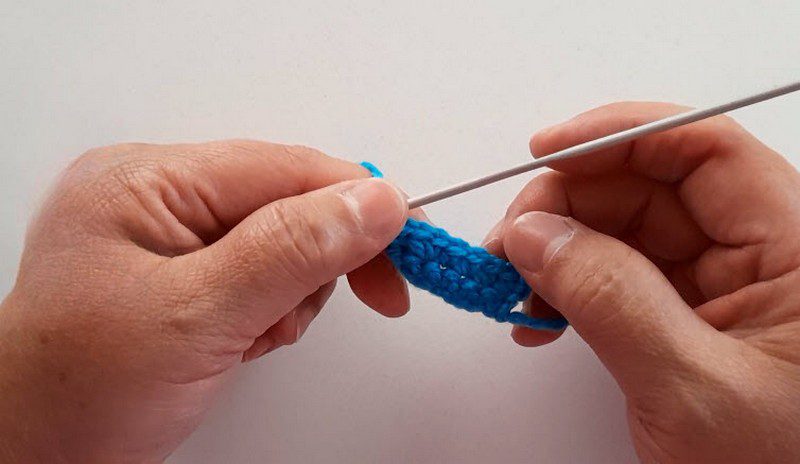
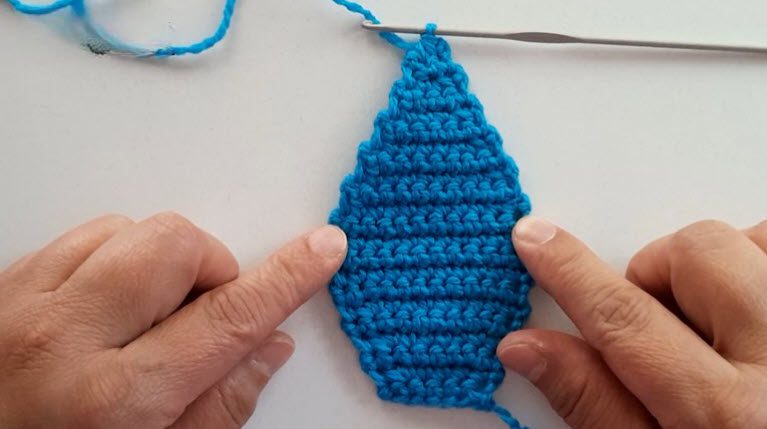
Next, for Rows 7–12, work 1 sc in each stitch across and keep 11 sts per row. The piece looks like a wide trapezoid.
Step 3: Shape the Tip With Decreases
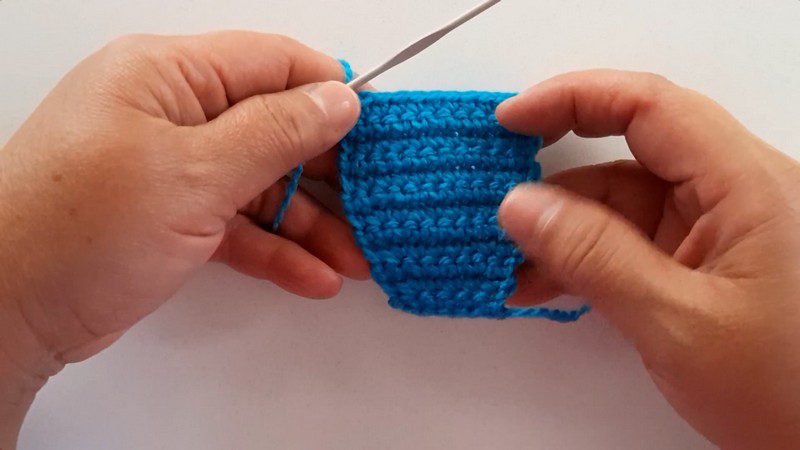
Then, for Rows 13–22, ch 1 and turn. Decrease 1 stitch at the start of each row, and sc across. Repeat until 1 stitch remains at Row 22.
Step 4: Add the Border and Final Row
Ch 1 and sc all around the outer edge: 1 sc per row edge, 6 sc across the flat base, and 1 sc per row edge. Then join with a sl st to the first stitch (50 sts total).
After that, work a final row with increases at 3 points (both sides and the top tip) to reach 53 sc.
Next, make a second identical piece. Cut the yarn on Piece 1 and weave in the end, but leave Piece 2 uncut.
Step 5: Prepare the Template and Inserts
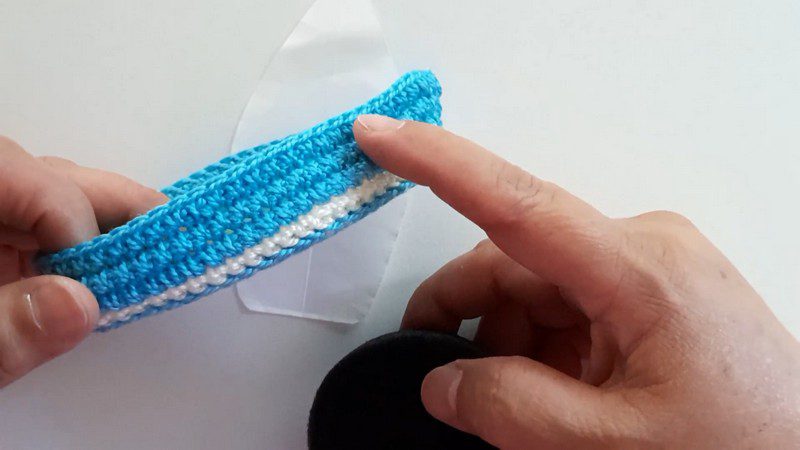
Trace the finished blue base onto white paper and cut the template 1–2 mm smaller than the outline. Then use it to trace and cut 2 foam pieces, and cut a 2 cm thick sponge to the same shape.
Step 6: Build the Cream and Blue Walls
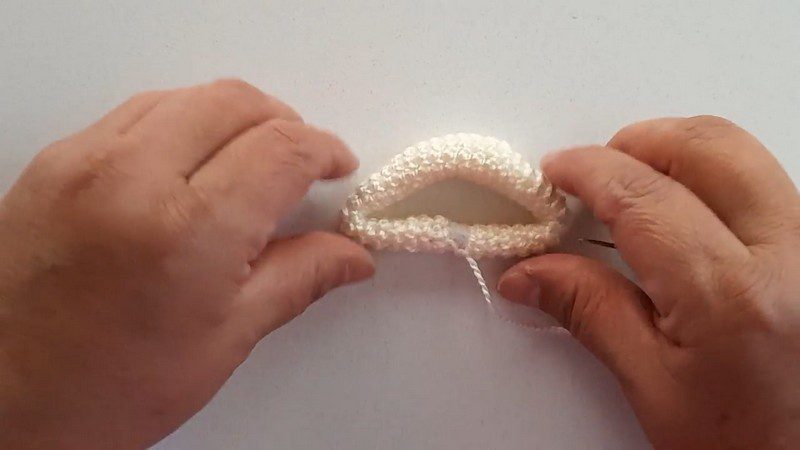
On Piece 2, attach cream yarn and work 53 BPsc all around. In Row 2, work sc in the back loop only of each stitch (53 sts), then sl st to join, cut the yarn, and weave in the ends.
Next, glue one foam piece to the inside blue bottom. Stretch the crochet evenly around it and let it dry.
After that, reattach blue yarn. Row 1: 1 sc in each stitch (53 sts). Row 2: sc inserted from the base level, over the cream row, for a thick, double-layered look. Repeat both rows two more times, for 6 blue rows in total, and then fasten off.
Step 7: Fill and Close the Body
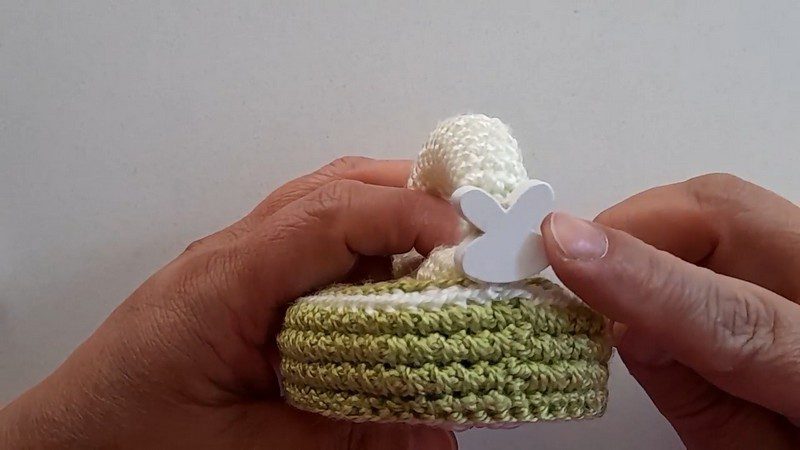
Glue the sponge inside the body, over the base foam. Then glue the second foam piece to the back of Piece 1. Finally, place Piece 1 on top and join both parts around the inside edge with sc.
Step 8: Crochet the Handle
With cream yarn, ch 6 and join with a sl st to form a ring. Work 1 sc in each chain (6 sts), then work 7 more rows of 6 sc, for 8 rows in total.
Next, continue shaping with these sc rows:
- 2 rows of 7
- 2 rows of 8
- 2 rows of 9
- 6 rows of 10
- 2 rows of 9
- 2 rows of 8
- 2 rows of 7
- 8 rows of 6
Step 9: Insert the Pipe Cleaner
Fold the pipe cleaner in half and slide it inside the tube. Then bend the handle into an arch. Finally, sew the two open ends together through the outer loops with a tapestry needle.
Pattern Construction and Assembly
Construction follows a clear order: two flat teardrops first, then the walls on Piece 2, then foam and sponge, then the closing seam, and finally the handle.
Place the arched handle on top of the body and attach it. Next, attach the small wooden piece at one side of the handle base, so the iron can stand upright.
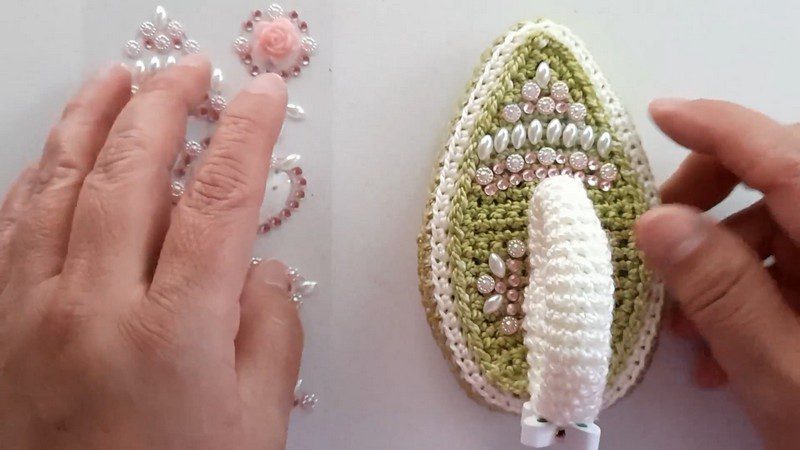
Last comes decoration. Press the flower, round, and teardrop stickers onto the top piece, and then add metallic trim along the sides if you like.
Customization Options for the Crochet Iron Pattern
- Colors: The photos show a green-and-cream version, so any contrasting pair works. Keep the base and wall colors in the same yarn type.
- Decorations: Mix flower, round, and teardrop stickers in an arrangement that suits the shape. Metallic ribbon along the sides adds the chain-like shine.
- Stand: Any small flat piece with a hole can replace the wooden rabbit.
- Handle: A different cream or contrast color gives a new look without changing the counts.
Common Mistakes and Troubleshooting
- The two body pieces look different: Recount the stitches at every row. Rows 2–6 should end with 7, 8, 9, 10, and 11 sts.
- Foam is too big: You probably cut the template at full size. Trim the foam slightly, so the crochet stretches smoothly over it.
- Walls look loose or uneven: Keep tension steady during the BPsc and BLO rows, and use the 2.5 mm hook only.
- Handle will not hold its arch: Make sure the pipe cleaner is folded in half and sits fully inside the tube.
- Stickers peel: Press them onto clean, dry yarn, and add a thin touch of glue on the edges.
Finishing and Care for Your Crochet Iron Pattern
First, weave in all ends with the tapestry needle and trim them close. Then check that the body feels firm and the seam is closed all around. For cleaning, dust the surface with a soft brush instead of washing, because glue, foam, sponge, and stickers do not handle water well. Also, keep the piece away from damp spots and direct sun.
Bonus: Display and Gift Ideas
A finished iron makes a charming shelf piece, a sewing room accent, or a small handmade gift. Standing it next to a basket of yarn gives a cute, themed look. In addition, wrapping it in tissue with a short note turns it into a gift that feels personal and different.
FAQs About the Crochet Iron Pattern
What yarn works best for this crochet iron pattern?
The pattern uses 100% acrylic Perlé-type yarn, since its smooth, slightly shiny finish suits the pearl look.
Does this iron work as a real iron?
No. It is a decorative piece only, shaped like an iron.
Do the two body pieces need to match?
Yes. Make both identically so the top and bottom line up.
How many stitches are in the finished border?
The border has 50 sts, and the final row brings it to 53 sc.
Can I use another yarn?
Yes, but the counts and foam cuts may change, so test a swatch first.
A Shiny Little Keepsake for Your Shelf
This crochet iron pattern turns simple single crochet into a sparkling, structured piece. With the right foam, a sturdy handle, and a few pearl stickers, the final look feels polished and fun. So try it in a favorite color pair, then share the finished iron or save the pattern for your next project.