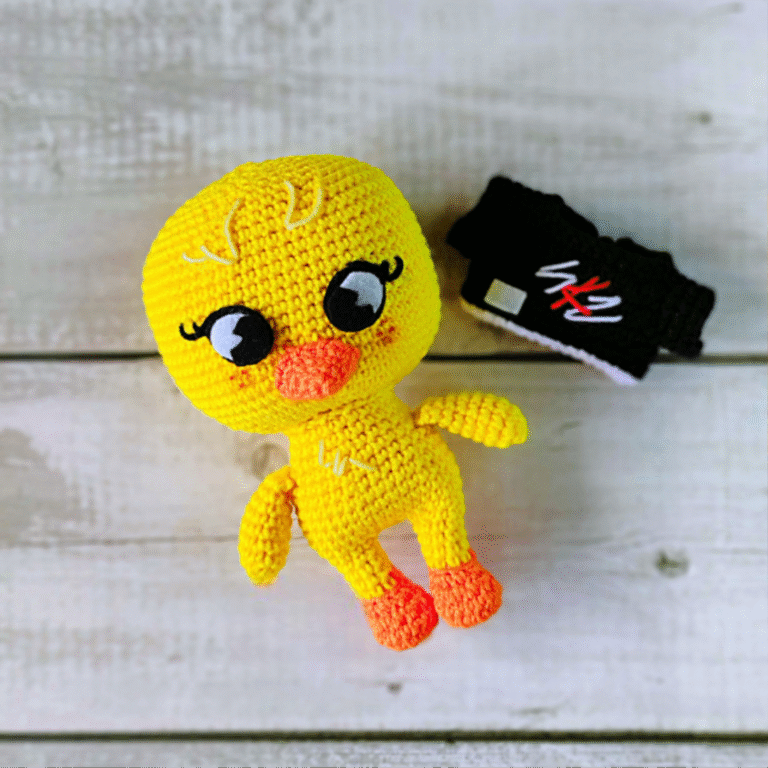
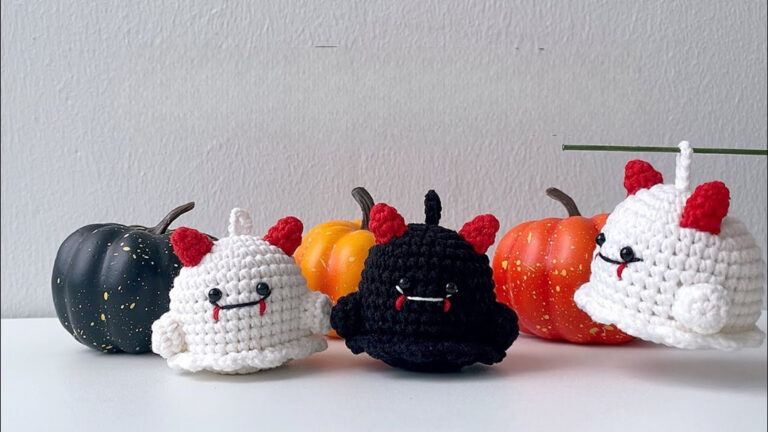
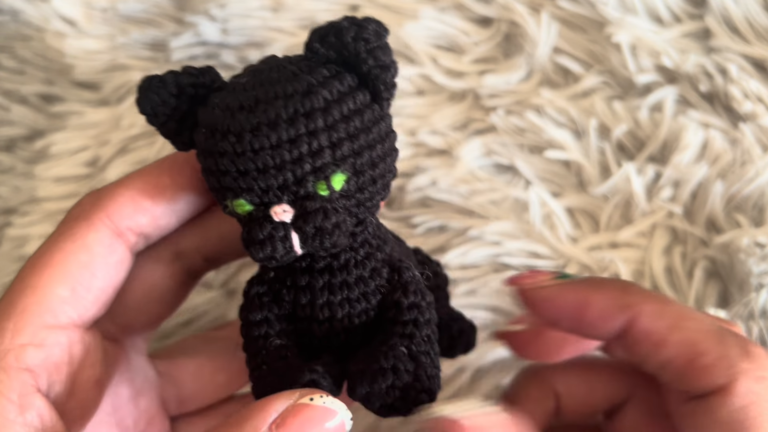
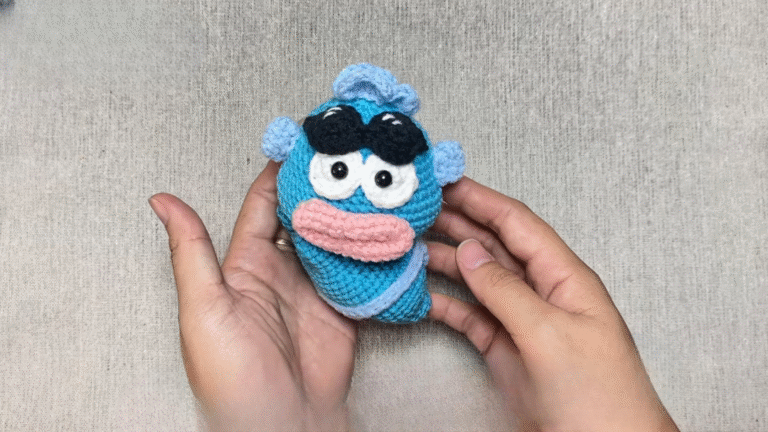
Free Crochet Octopus Keychain Amigurumi Pattern with curled tentacles
Soft red yarn twists between your fingers as tiny curled arms take shape beneath the hook that’s exactly how this Free Crochet Octopus Keychain Amigurumi Pattern begins. Beginners and seasoned makers alike fall for its playful tentacles and pocket-sized charm. Bag charms, gift tags, or little desk companions, octopus keychains never go out of style, and stitching one takes far less time than you’d expect.
Round little octopus faces have a way of grabbing attention the moment they’re finished, and part of the reason lies in how compact the whole design stays. A handful of curled tentacle loops sit at the top of a rounded head, giving the piece a cute amigurumi look without demanding advanced shaping or complicated color work. Pink cheek patches and simple embroidered eyes finish the face, turning a plain red sphere into a character with real personality.
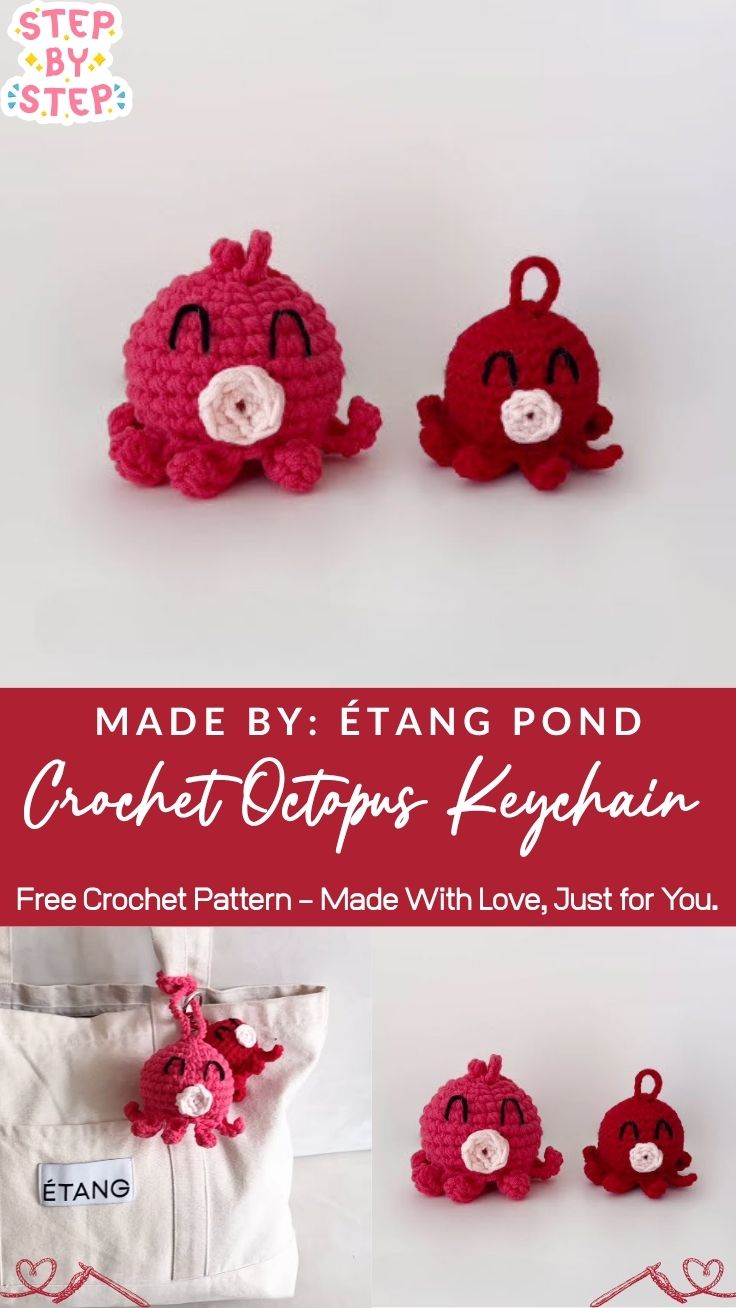
Crocheters searching for a fast, satisfying keychain amigurumi project tend to land here because nothing about the pattern feels intimidating. Stitch counts stay low, color changes stay minimal, and the curled tentacle technique, while it looks fancy in photos, comes together with a basic chain and slip stitch combination. Once the head is stuffed and the tentacles are attached, the whole thing can dangle from a bag, backpack zipper, or set of keys within an afternoon.
Project Details
- Time Box: Prep 5 minutes, Stitching 90 minutes, Finishing 20 minutes
- Finished Size: Approximately 2.5 to 3 inches tall (excluding keychain clasp)
- Estimated Time Required: 2 to 2.5 hours total
- Recommended Yarn Weight: DK weight (light worsted) cotton or acrylic yarn
- Crochet Hook Size: 2.5mm to 3mm hook
Materials Needed
- Red DK weight yarn (main body and tentacles)
- Light pink DK weight yarn (cheek patches)
- Black embroidery thread or thin black yarn (facial features)
- 2.5mm or 3mm crochet hook
- Small amount of fiberfill stuffing
- Tapestry needle
- Stitch marker
- Scissors
- Keychain ring or clasp
Crochet Stitches & Techniques
- Magic Ring (MR)
- Chain Stitch (ch)
- Slip Stitch (sl st)
- Single Crochet (sc)
- Increase (inc)
- Invisible Decrease (inv dec)
- Color Changes
- Fastening Off
- Embroidering Facial Features
- Sewing Pieces Together
Pattern Instructions
Starting the Head with a Magic Ring
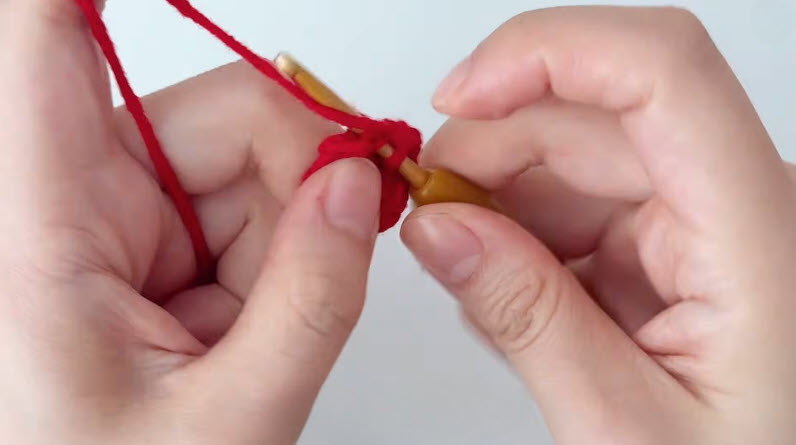
Grab your red yarn and wrap it twice around two fingers, then pull the working strand through with your hook to form the base loop of a magic ring. Six single crochets go into that ring next, pulled snug one at a time so no gap remains at the center. Once all six stitches sit evenly around the loop, pull the tail firmly to close the ring completely, leaving a tight little starting point for the head.
Pro-Tip: Hold the magic ring tail between your thumb and forefinger while working the first round it keeps the loop from twisting and makes the final pull-tight so much cleaner.
Building the Rounds
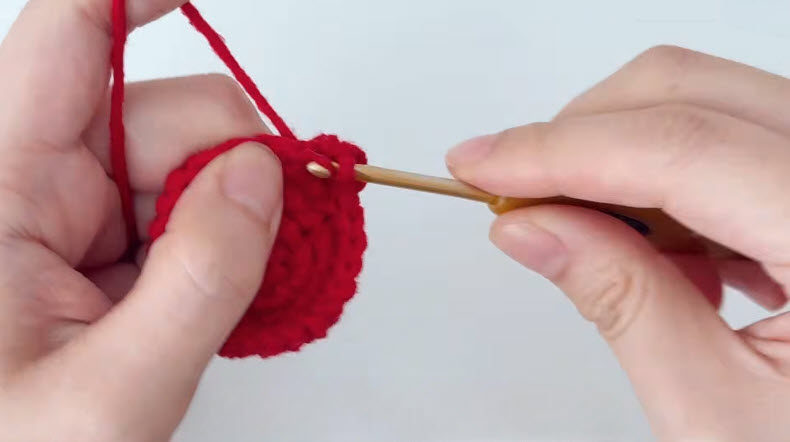
From that closed ring, increasing rounds shape the dome you’ll recognize as the top of the octopus head. Round two doubles the stitch count by increasing in every stitch, and round three alternates a single crochet with an increase to widen the circle gradually. Watching the fabric curve outward at this stage confirms the shaping is working correctly — each row should sit slightly wider and flatter than the one before, forming a gentle bowl shape rather than a flat circle.
- Round 1: 6 sc into magic ring (6 stitches)
- Round 2: Inc in each stitch around (12 stitches)
- Round 3: Sc 1, inc repeat around (18 stitches)
- Round 4: Sc 2, inc repeat around (24 stitches)
- Round 5–8: Sc even around (24 stitches) until head reaches desired height
Stuff the head lightly as the rounds climb rather than waiting until the very end, since packing everything in at once through a small opening becomes far trickier than most beginners expect.
Adding the Pink Cheek Patches
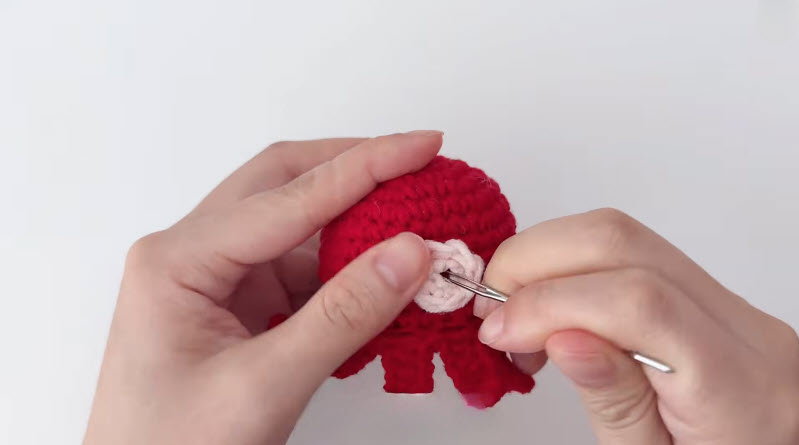
A small pink circle, crocheted separately using a mini magic ring of five or six stitches, gets sewn onto the front of the head once both pieces are ready. Position the patch slightly off-center and low on the face, then use the tapestry needle to whip-stitch around its edge, tucking the working yarn beneath existing stitches so the seam disappears into the red fabric. Two of these patches, placed with a small gap between them, create the classic blushed-cheek look that gives the octopus its friendly expression.
Facial Features
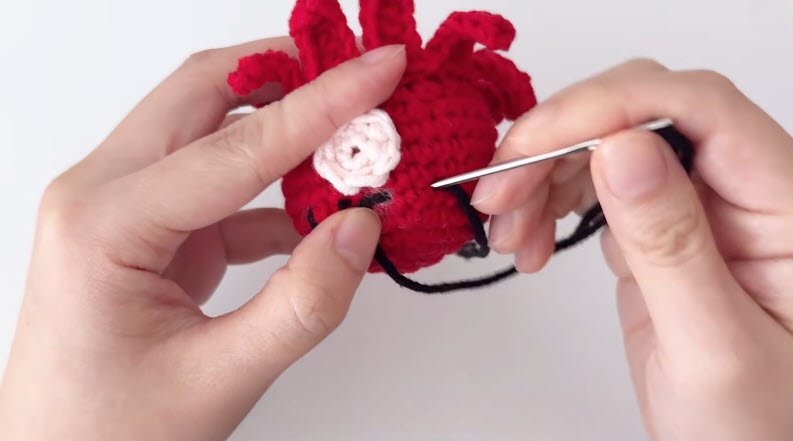
Black embroidery thread threaded through the tapestry needle handles the eyes and mouth next, worked directly through the pink patches and surrounding red stitches. Small straight stitches or tiny French knots form the eyes, while a gentle curved line beneath forms the mouth keep the stitches loose enough that they sit naturally on the curved surface rather than pulling the fabric flat. Take a moment before knotting off to check the placement from a distance, since facial features that look centered up close sometimes appear slightly off once you step back.
Making the Curled Tentacles
Eight tentacles total give the octopus its signature look, and each one starts with a simple chain of eight to ten stitches worked directly from the top rim of the head. Working back down the chain with single crochets creates the basic tentacle shape, and a few slip stitches worked into the same chain on a second pass add the gentle curl that makes these tentacles so recognizable. Repeat the process evenly around the top edge of the head, spacing the tentacles so they fan outward rather than clumping together on one side.
- Attach yarn at the top rim of the head with a slip stitch
- Chain 8–10 stitches
- Sc back down the chain toward the head
- Slip stitch into the same chain again to create the curl
- Fasten off or carry yarn to the next tentacle position
- Repeat until 8 tentacles circle the top of the head
Joining All Pieces
Once every tentacle is attached and the head is fully stuffed, close the remaining opening at the bottom using an invisible decrease pattern, pulling the last few stitches tight before weaving the tail through the fabric and trimming it close. A quick check for firmness helps here: gently squeeze the head to make sure the stuffing sits evenly throughout without any soft or lumpy sections.
Final Assembly
Attach the keychain ring through one of the sturdier stitches near the top of the head, ideally hidden among the base of the tentacles where the extra thread won’t show. Give every yarn tail one last check with the tapestry needle, weaving loose ends deep into the stitches so nothing works its way loose after repeated use on a bag or keyring.
Tips for Success
- Count stitches at the end of every round to catch mistakes early
- Use a stitch marker on round one to track where each round begins
- Stuff a little at a time rather than all at once
- Keep tension consistent so the head stays round, not lopsided
- Weave in ends twice through different stitches for a secure finish
- Steam-block the finished piece lightly if tentacles curl unevenly
Personalization Ideas
Try Different Color Combinations
Swap red for purple, teal, or orange to create an entire rainbow of octopus friends.
Add a Bow or Tiny Hat
A small crocheted bow between two tentacles adds a playful, gift-ready touch.
Change the Facial Expression
Winking eyes, a surprised open mouth, or sleepy closed lids each give the piece a different personality.
Make a Jumbo Version
Switching to worsted weight yarn and a larger hook creates a plush-sized octopus for shelf display instead of a keychain.
Turn It into an Ornament
Skip the keychain ring and attach a loop of thread instead for a festive hanging decoration.
Common Mistakes to Avoid
Uneven tension often shows up first around the increase rounds. Slow down and check the stitch height whenever the fabric starts to look wavy.
Skipping stitch markers can also cause plenty of headaches. Losing track of the round’s starting point makes counting much harder later on.
Overstuffing the head before attaching all the tentacles can distort its shape. This can make it harder to space the tentacles evenly around the rim.
Frequently Asked Questions
How long does the octopus keychain take to finish?
Most crocheters finish the entire project, tentacles included, within two to two and a half hours.
What yarn works best for this pattern?
DK-weight cotton or acrylic yarn holds stitch definition well and keeps the finished piece lightweight for a keychain.
Can beginners crochet this pattern successfully?
Yes, the stitch count stays low throughout, and only basic stitches like single crochet and slip stitch are needed.
How do I keep the tentacles from unraveling?
Fasten off each tentacle securely and weave the tail through a few stitches before moving to the next one.
Is stuffing necessary for the tentacles?
No, the tentacles stay unstuffed and flat, which allows them to curl naturally.
Can I use a different hook size?
A slightly smaller hook creates tighter stitches with less visible gapping, which works well for keychain-sized amigurumi.
How do I attach the keychain ring securely?
Sew the ring through several sturdy stitches near the top of the head, reinforcing the attachment point with a few extra passes of thread.
Final thought
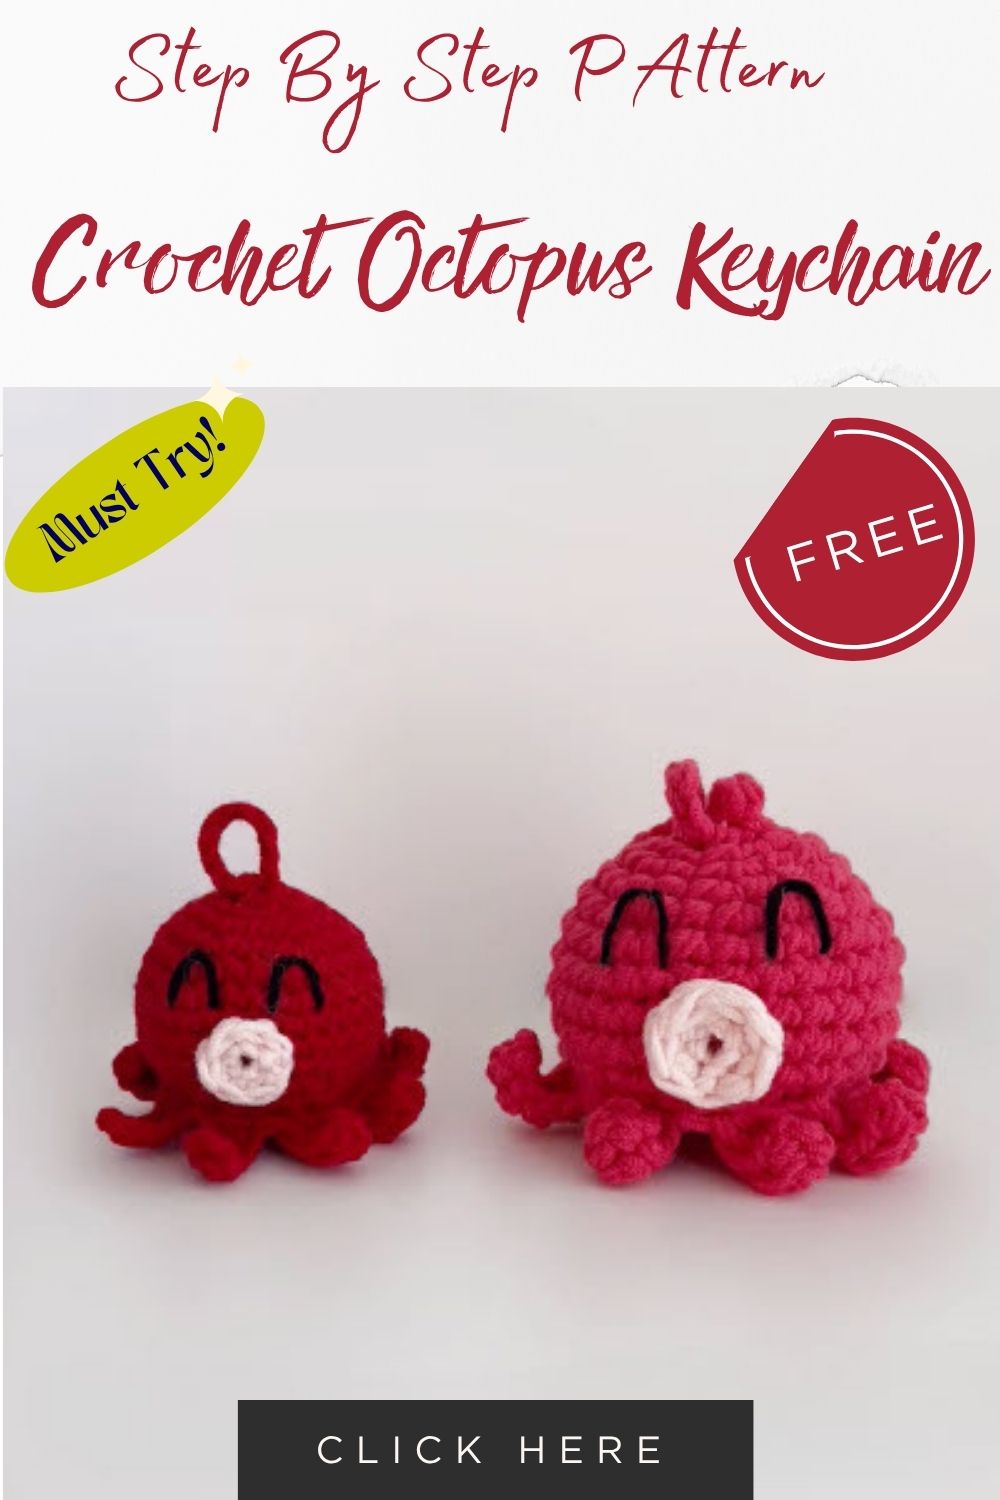
Little red Free Crochet Octopus Keychain projects have a way of becoming instant favorites. There is real satisfaction in watching such a small project come together quickly, especially once the last tentacle curls into place. Give the pattern a try and adjust the colors to match your own style. Share the finished piece with fellow crafters who will appreciate every curled detail.