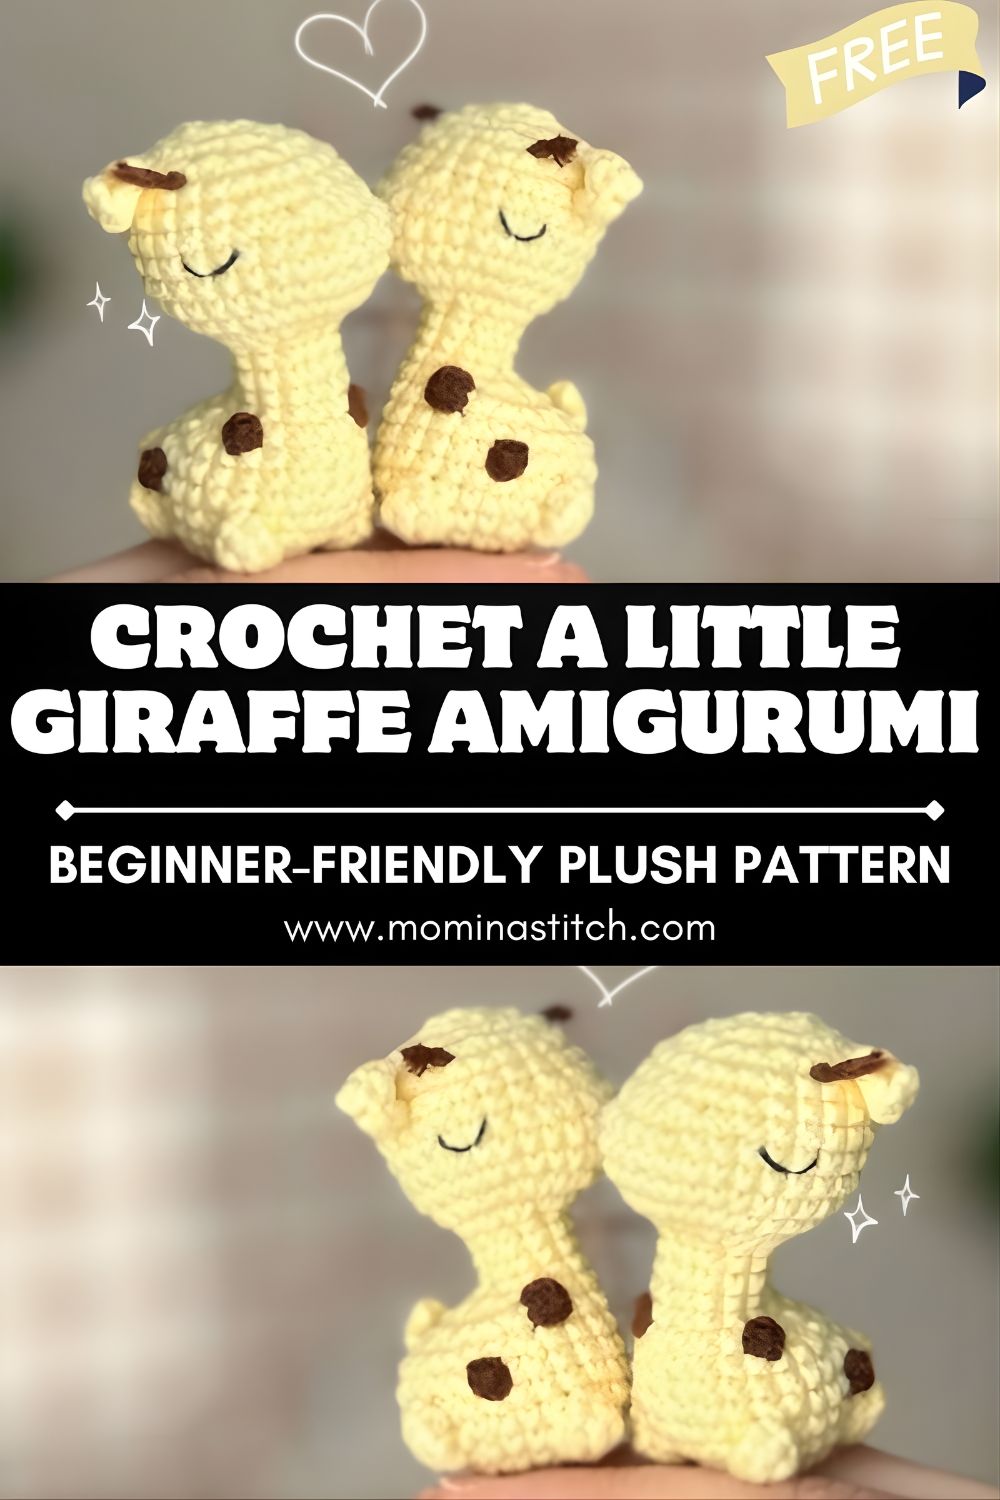
How to Crochet a Little Giraffe Amigurumi – Beginner-Friendly Plush Pattern
This Crochet a Little Giraffe Amigurumi pattern will show you how to make a cute, small giraffe plush step by step using simple stitches. With amigurumi crochet, beginner-friendly crochet pattern guidance, and easy toy assembly tips, you’ll create an adorable handmade animal perfect for gifting.
Amigurumi animal toys are popular handmade crafts because they’re quick, charming, and customizable, plus they make heartfelt gifts and nursery décor.
A crocheted little giraffe made with the amigurumi crochet technique is a fun way to learn how crocheted plush toys are shaped in the round. Amigurumi is the Japanese-inspired style of crocheting small, stuffed figures, often animals, ls by working continuous rounds of single crochet to create smooth, firm fabric. Because amigurumi uses basic stitches like single crochet (sc), increase (inc), and decrease (dec), it’s approachable even if you’ve only made simple projects before.
Small crochet animals like giraffes are especially beginner-friendly: the parts are compact, the shaping is repetitive, and you can practice consistent tension without needing large amounts of yarn. This little giraffe design includes classic features—long neck, rounded head, short legs, tiny horns, ears, a tail, and decorative brown spots—so it looks detailed while still being simple to construct. Whether you want a cute desk buddy, a baby shower present, or a handmade gift, this amigurumi giraffe is a rewarding project that works up quickly and teaches essential toy-making skills.
Materials Needed
- Yellow yarn
- Brown yarn
- Crochet hook (2.0–3.5 mm)
- Safety eyes
- Polyester stuffing
- Yarn needle
- Stitch marker
- Scissors
- Black embroidery thread for facial details
Crochet Abbreviations
- MR – Magic Ring
- sc – single crochet
- inc – increase
- dec – decrease
- sl st – slip stitch
- ch – chain
Skill Level
Beginner to intermediate.
Step-by-Step Crochet Little Giraffe Pattern
Legs (make 4)
Round 1: 6 sc in magic ring (6)
Round 2: inc in each stitch (12)
Round 3–10: sc in each stitch (12)
Fasten off on 3 legs. On the 4th leg, do not fasten off yet—this is often used to start joining to the body (you can also sew legs on later if you prefer).
Body / Neck / Head
Note: The following rounds outline a common shaping path for a small giraffe body that transitions into a long neck and rounded head. Keep stitches tight and stuff gradually for a neat amigurumi finish.
Round 11: 24 sc (24)
Round 12: (3 sc, inc) repeat (30)
Round 13: (4 sc, inc) repeat (36)
Round 14: (5 sc, inc) repeat (42)
Round 15–20: sc around (42)
Round 21: (5 sc, dec) repeat (36)
Continue shaping the neck and head with increases and decreases.
- Work several rounds with fewer stitches to form a slimmer neck (typically using sc around without increases).
- Then aincreasingase rounds to build a rounder head, followed by decreasing rounds to close.
- Insert safety eyes before the head closes completely, and stuff firmly as you go.
(If you’re following the exact YouTube tutorial, match your neck/head round counts to the video at this point, as designs vary by creator.)
Ears (make 2)
Round 1: 6 sc in magic ring (6)
Round 2: (sc, inc) repeat (9)
Round 3–4: sc around (9)
Round 5: shaping round (flatten the ear and sc across to close, or use light decreases to taper—aim for a rounded triangle/oval ear)
Fasten off, leaving a long tail for sewing.
Horns (make 2)
Round 1: 6 sc in magic ring (6)
Round 2: inc in each stitch (12)
Round 3–4: sc around (12)
Lightly stuff if desired. Fasten off, leaving a sewing tail.
Tail
Round 1: 6 sc in magic ring (6)
Round 2: (sc, inc) repeat (9)
Round 3–4: sc around (9)
Optional: add a small tassel at the end using brown yarn. Fasten off, leaving a sewing tail.
Spots
Create 5–6 small brown circles using a magic ring and sew them onto the body.
Simple spot idea:
- MR, 6 sc in ring
- sl st to join, fasten off (leave a tail for sewing)
Make spots in different sizes by adding a second round of increases if you want more variety.
Assembly Instructions
- Attach legs to the body
- Position 4 legs evenly around the base so the giraffe stands stable.
- Sew securely with a yarn needle using the yarn tails (or join during crocheting if your body construction method includes that).
- Add safety eyes to the face.
- Place eyes evenly on the head before closing the final rounds.
- Typical placement is between the “widest” head rounds, with a few stitchesbetween the yes.
- Add stuffing behind the eyes for a cute, rounded face.
- Sew ears and horns to the head
- Stitch horns on top of the head first.
- Add ears slightly to the sides, a bit lower than the horns, for a natural giraffe look.
- Attach the tail to the bac.k
- Sew the tail centered on the back of the body, slightly above the bottom rounds.
- Sew the decorative spots
- Arrange 5–6 spots around the body (and a couple on the neck if you like).
- Sew flat with small, neat stitches so edges don’t curl.
- Embroider facial details
- Use black embroidery thread to add a small nose/mouth line and optional eyebrows or lashes.
Helpful Tips for Beginners
- Use a stitch marker to track rounds so you don’t lose your place in continuous spirals.
- Keep crochet tension tight for amigurumi to prevent stuffing from showing through.
- Stuff the giraffe gradually while crocheting add small amounts often for smoother shaping.
Customization Ideas
- Make a mini giraffe keychain by crocheting with thinner yarn and adding a keyring loop.
- Use pastel yarn colors (cream + peach spots, or mint + tan) for a soft nursery style.
- Add a small crochet scarf or bow to personalize your giraffe and use up scrap yarn.
Conclusion
This crochet little giraffe amigurumi is a sweet, beginner-friendly plush project with just the right amount of shaping and detail. Once you’ve made one giraffe, you can easily adjust the colors, spot placement, and accessories to create a whole handmade herd for gifts or décor.