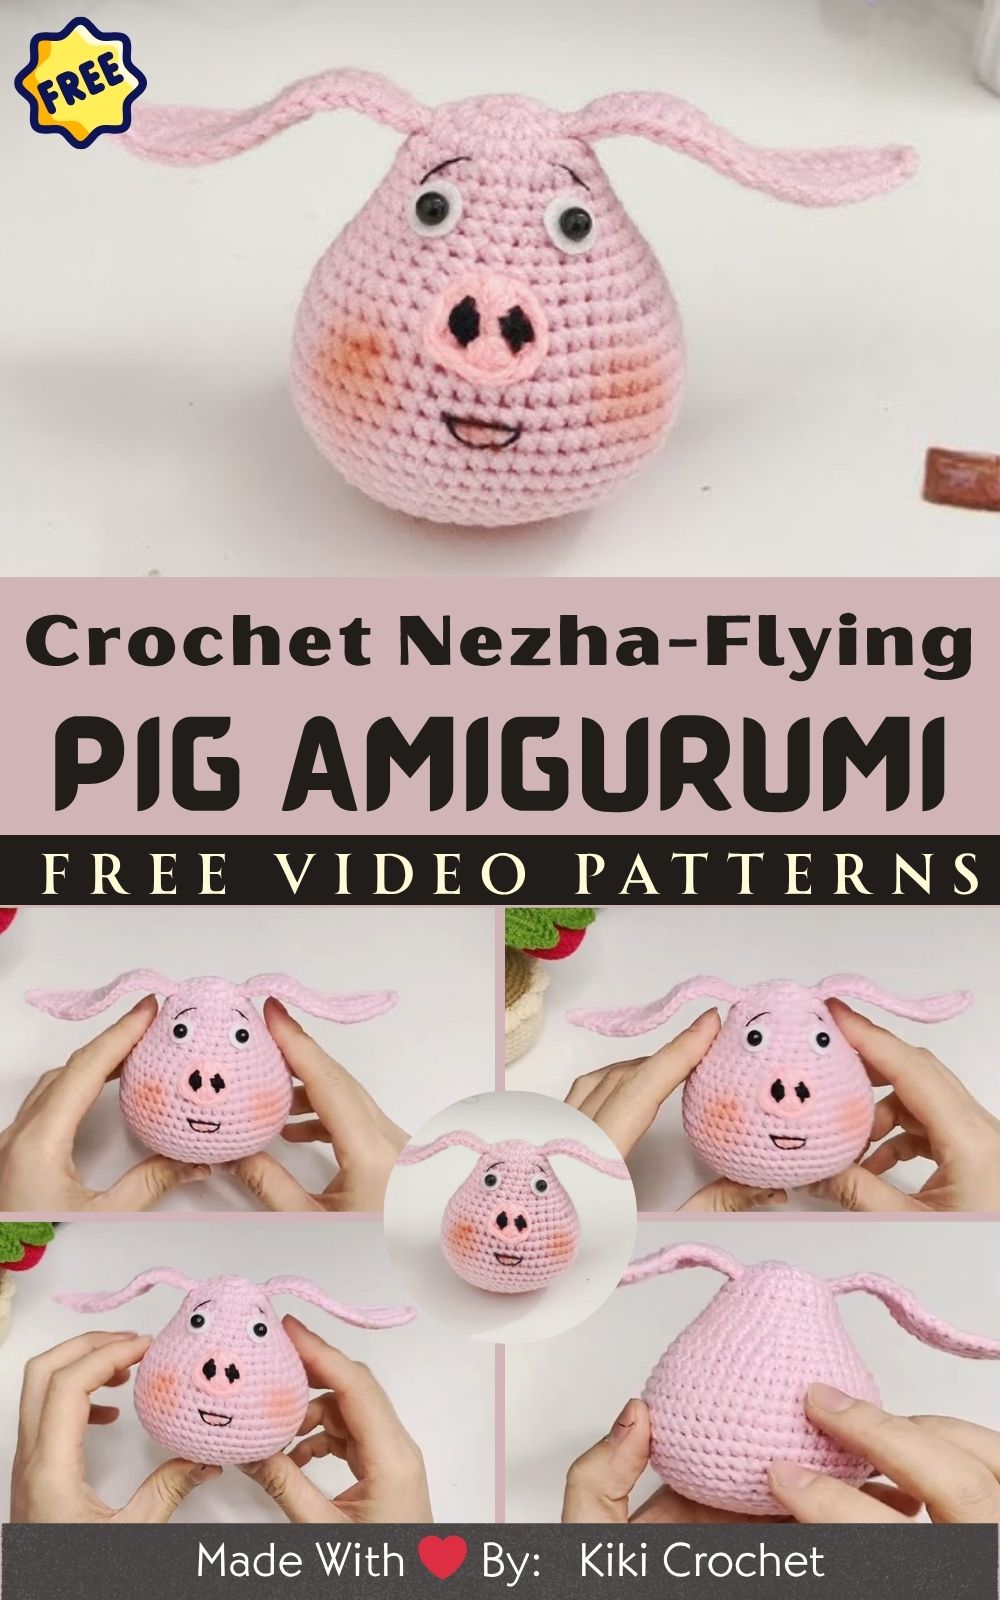
Crochet Nezha-Inspired Flying Pig Amigurumi Toy Pattern
If you’ve ever experienced the magic of turning yarn into a tiny bit of joy, you know how satisfying it is to create something with your own hands. Every stitch you make, every yarn pull, becomes part of something tangible something filled with warmth, imagination, and care. Crochet isn’t just a craft it’s a way to unwind, express creativity, and build adorable treasures from simple materials.
That’s why this project the Crochet Nezha-Inspired Flying Pig Amigurumi Toy Pattern is so special. Inspired by the mythical Chinese character Nezha and infused with whimsical charm, this plush toy combines fantasy, culture, and cuteness into one flying pig with mini wings and bold decorative elements. Its expressive features and divine details make it a standout piece in any collection.
Whether you’re a beginner looking to expand your amigurumi skills or a seasoned crocheter exploring new forms of artistic expression, this pattern offers the perfect blend of challenge and fun. You’ll learn how to shape creative body elements, add dimensional details, and bring a mythical character to life through yarn.
Most importantly, the process itself is calming and rewarding. Crocheting something charming like this flying pig invites you into a slower, mindful space where you get to focus on each loop and stitch. Whether you’re gifting it to a friend or adding it to your own display shelf, this handmade piece will surely bring smiles and admiration.
3. Materials & Tools
To start your Crochet Nezha-Inspired Flying Pig Amigurumi, gather the following items:
Yarn
Main Color: Pale pink or blush (for the pig)
Secondary Colors: Red, yellow, and blue (for Nezha accents and costume designs)
Yarn Weight: DK or worsted weight (size 3 or 4)
Fiber Content: Cotton, acrylic, or a blend (for easy shaping and durability)
Crochet Hook
Size 2.5 mm – 3.5 mm (adjust based on yarn weight and preferred tension)
Filling & Details
Polyester fiberfill stuffing
Pair of 6–8 mm safety eyes
Small beads or embroidery thread (for additional facial details or accessories)
Thin wire (optional, for stiffening the wings)
Small felt pieces (optional, for fine ornament details)
Other Tools
Scissors
Stitch markers
Tapestry needle
Pins (for positioning parts before sewing)
Yarn Tip: Choose a smooth, tightly spun yarn to achieve clean stitch definition. Colors like blush pink, coral, or soft red work beautifully for the pig base. For decorative details, metallic threads or gold accents can add an extra divine touch that reflects Nezha’s celestial style.
4. Step-by-Step Crochet Instructions
Below lies a full, simplified guide to making your crochet Nezha-inspired flying pig. While this isn’t a line-by-line crochet pattern, it will help you understand each component and its assembly.
1. Crochet the Head
Start with a magic ring and work in the round to widen up to 36–42 stitches.
Add safety eyes evenly spaced (approximately between row 6–7).
Shape the snout by either crocheting a separate oval piece and stitching it onto the face, or using soft embroidery.
Stuff the head and close securely using invisible decreases.
2. Form the Neck and Upper Body
Join yarn under the head, continuing in the round to build the neck and upper torso.
Increase slightly to create a chubby body shape.
Stuff as you go to maintain balance and shape consistency.
3. Build the Main Body
Continue crocheting in the round to form an oval body.
Close gradually with decreases, stuffing fully before sealing the bottom.
If the character sits or stands, create a flat base by switching to back loop stitches on the last row.
4. Create Wings, Arms, and Legs
Wings: Crochet small flat oval or triangular pieces and embellish them with surface crochet to mimic feathers or heavenly light beams.
Arms/Legs: Crochet tubular cylinders with slight increases at the ends for hands or hooves.
Firmly stuff these pieces and sew into place symmetrically.
5. Add the Tail
Use a simple chain of 10–12 stitches, slip stitch back to create a curl.
Attach at the back and secure with yarn tail.
6. Nezha-Inspired Clothing and Accessories
Make a mini belt, arm band, or heavenly scarf using red yarn and surface embroidery.
Optional: Add beads or felt cutouts for fine jewel-like ornaments.
You can also create Nezha’s distinct chakra wheels or ribbons using golden yarn or thin metallic thread.
7. Assembly & Final Touches
Use pins to position limbs, wings, and accessories before stitching.
Use invisible threaded joins where possible to give a clean, seamless finish.
Embroider eyebrows, eyelashes, and blush for extra charm.
Pro Tip: When stuffing limbs or smaller parts, use smaller fibers of stuffing and a knitting needle to distribute evenly. Avoid overstuffing to prevent seams from stretching.
5. Customization Ideas
One of the joys of amigurumi is how easily it lets you express your creativity. Here are some fun customization options for your Crochet Nezha-Inspired Flying Pig Amigurumi:
Color Variations
Rainbow pastel pig: Soft rainbow body with white wings and gold accents
Festive red and gold pig: Add shimmer thread for Chinese New Year
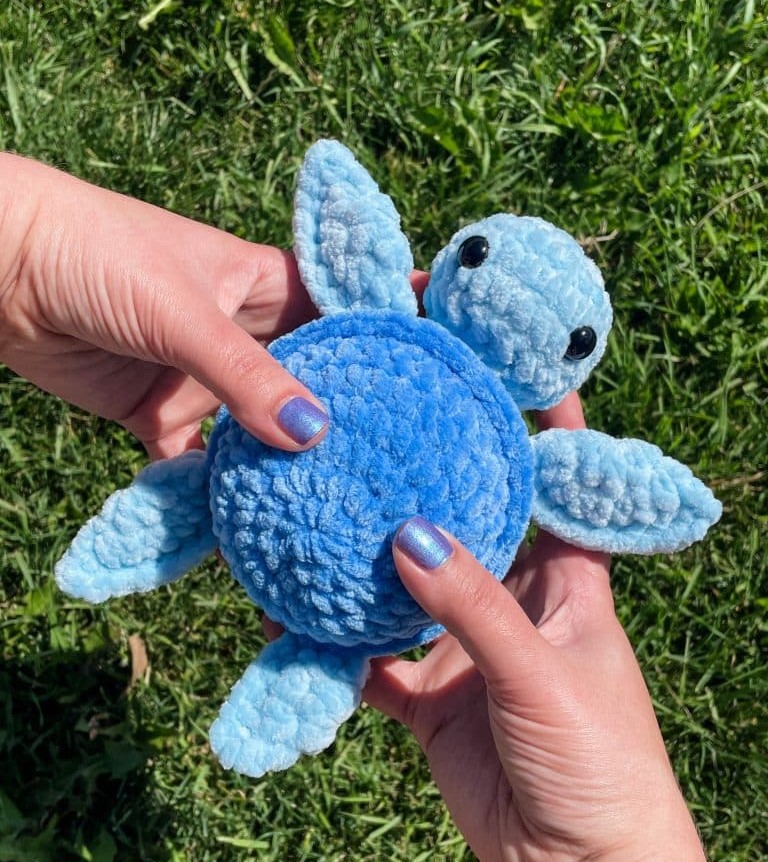
Magical blue pig: Use turquoise body and celestial golden wing motifs
Yarn Types
Use velvet or chenille yarn for a plush, ultra-soft toy
Try cotton yarn for crisp stitches and long-lasting durability
Mix acrylic with metallic yarn for shiny decorative work
Add Props
Small cloud or lotus seat
Mini scarf or cape
DIY staff or flaming wheel as a nod to Nezha’s mythology
6. Advanced Tips & Troubleshooting
Here are 8 expert tips for achieving the best results:
Invisible Decrease: Use the front loops only to make your decreases seamless.
Even Stitch Tension: Keep each stitch loop consistent to avoid misshapen sections.
Tracking Rounds: Use stitch markers for rounds and key increases.
Avoid Twisted Rounds: Check regularly that your work is flat and spiral is correct.
Stuffing Rules: Add filling at intervals while shaping—not all at once.
Smooth Joins: Use back loops or invisible stitch methods for arm/leg attachment.
Secure Eyes: Insert safety eyes before significant neck shaping.
Follow Abbreviations: Get familiar with sc, inc, dec, sl st, ch, BLO, FLO.
7. Care Instructions
To keep your amigurumi pig looking fresh and loved:
Hand wash gently with warm water and mild detergent.
Do not wring—rinse and press between towels.
Air dry flat, away from direct heat and sunlight.
Store safely in a dust-free container or display shelf.
Avoid storing next to rough or sharp objects that may snag the yarn.
8. Display & Gift Ideas
Here’s how you can share and style this beautiful project:
Use it as a collector’s display piece for your amigurumi shelf.
Add it to a nursery room or child’s playroom for a lively pop of personality.
Place it on your office desk as a lucky charm and mood lifter.
Hang mini flying versions as holiday tree ornaments.
Gift it to friends or family to celebrate special occasions or cultural connections.
9. Benefits of Crocheting Amigurumi
Making this Crochet Nezha-Inspired Flying Pig offers more than just a cute result — it’s great for your mind and heart:
Encourages mindfulness and rhythmic focus
Helps reduce stress and anxiety
Builds confidence through creative accomplishment
Promotes sustainable, low-waste gifting
Creates a handmade bond between maker and recipient
10. Photography & Social Media Tips
Want to share your finished piece online? Try this:
Use natural lighting for crisp, soft photos.
Add small props like bamboo baskets or fairy lights.
Use pastel or solid-tone backdrops to make the pig stand out.
Capture close-ups to show stitch texture and design details.
11. Conclusion
Whether you’re looking for a delightful decor piece, a handmade gift, or simply a relaxing crochet challenge, the Crochet Nezha-Inspired Flying Pig Amigurumi Toy Pattern has it all. As you weave each loop and shape each part, you’re not just crafting a toy—you’re creating a touch of magic, stitched with intention and love. Try it out and feel the power of turning yarn into a joyful character that brings endless smiles!