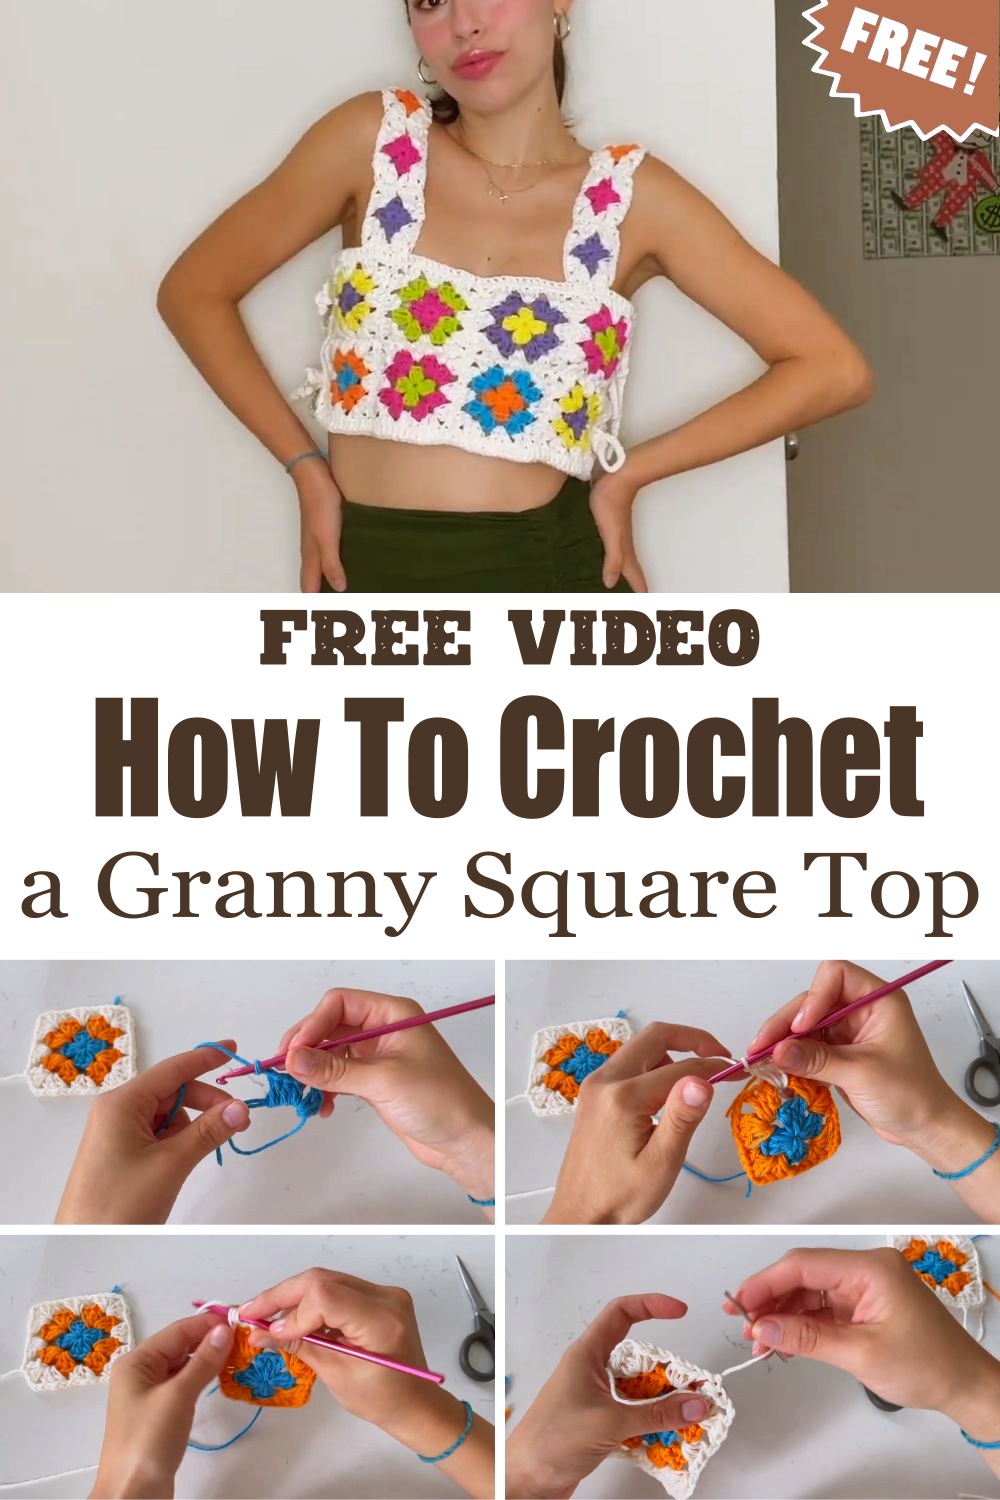
How to Free Crochet a Granny Square Top Patterns
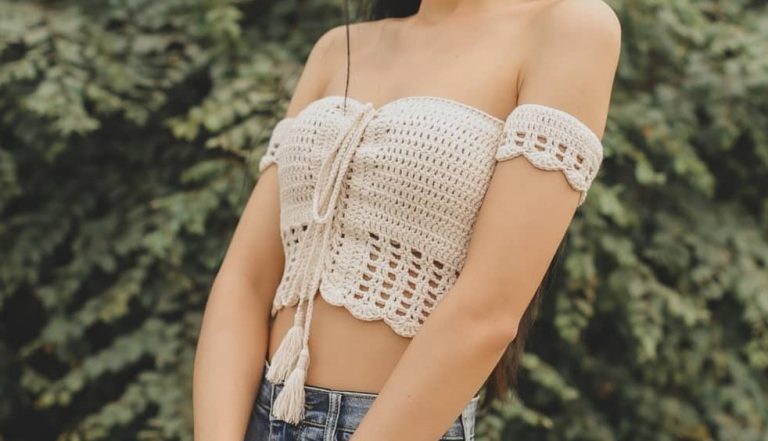
The delightful world of crochet fashion! One of the most charming and versatile pieces you can add to your wardrobe Crochet a granny square top. This timeless fashion staple is making waves in the crochet community for its blend of simplicity, elegance, and the personal touch it offers. With endless design possibilities, a granny square top is perfect for a summer day or as a layering piece in cooler weather. So, let’s dive into the joy of creating your own crochet summer top!
Basic Materials and Tools Needed
Before you start your crochet adventure, gather the following materials and tools. Having everything at hand will make your crafting experience smooth and enjoyable.
Yarn: Choose a lightweight cotton or acrylic yarn for comfort and breathability. Opt for bright, summery colors or pastel shades for a more subtle look.
Crochet Hook: A size H (5mm) hook is commonly used for a granny square top, but you can adjust based on your yarn’s thickness.
Scissors: A good pair of scissors for cutting yarn.
Tapestry Needle: Useful for weaving in ends and sewing squares together.
Stitch Markers (optional): To keep track of your rounds.
Step-by-Step Instructions for Making a Basic Granny Square
Granny squares are the heart of your top. Here’s a simple guide to creating one:
Start with a Slip Knot and Chain: Begin by making a slip knot and chain 4. Join the chain with a slip stitch to form a ring.
Create the First Round: Chain 3 (counts as the first double crochet), then work 2 double crochets into the ring. Chain 3, and work 3 more double crochets into the ring. Repeat this pattern two more times for a total of four clusters. Join with a slip stitch to the top of the initial chain 3.
Add Subsequent Rounds: For the next round, chain 3, and work 2 double crochets into the corner space. Chain 3, then work 3 more double crochets into the same space. In each corner space, repeat the pattern: 3 double crochets, chain 3, 3 double crochets. Continue this pattern around, joining with a slip stitch at the end.
Continue Adding Rounds: Depending on your desired square size, continue adding rounds, following the corner pattern and filling in the sides with 3 double crochets in each chain space.
Connecting Granny Squares to Make a Top
Once you have your desired number of granny squares, it’s time to connect them. Here’s how:
Layout Your Squares: Arrange your squares in the pattern you want for your top. Typically, you’ll need about 8-12 squares for a simple halter or crop top.
Sew or Crochet Them Together: Use a tapestry needle and yarn to sew the squares together using a whip stitch, or crochet them together with a slip stitch or single crochet for a decorative seam.
Form the Top Shape: Connect the squares to form the front and back panels. For a halter top, leave space for the neck and armholes. For a crop top, connect the squares in a rectangle.
Optional Design Variations
Granny square tops are incredibly versatile! Here are some design ideas:
Halter Top: Use fewer squares and add straps that tie behind the neck.
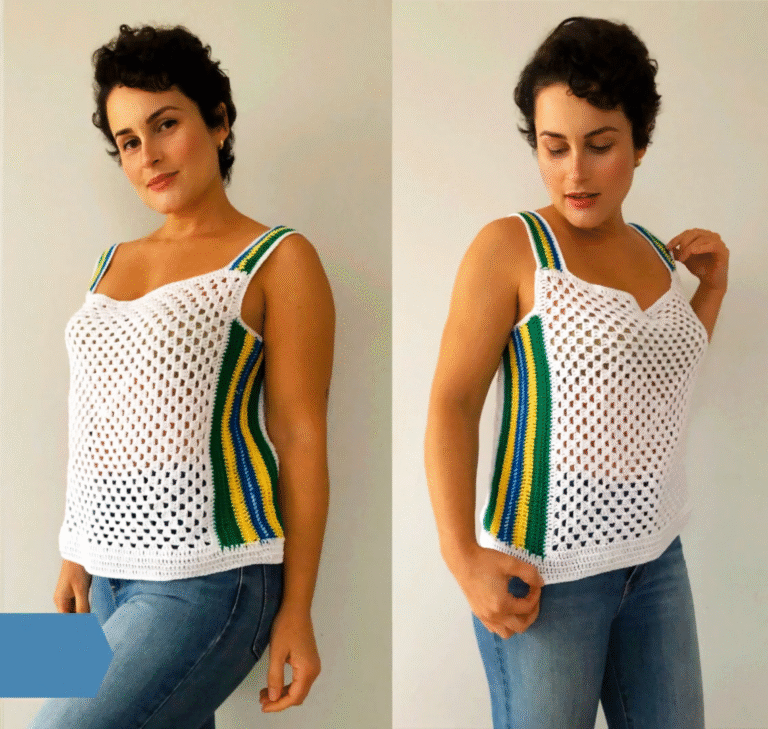
Crop Top: Connect squares in a simple rectangular shape for a breezy summer look.
Long Sleeve: Add sleeves by connecting additional squares down the arms.
Tips for Choosing Colors and Yarn Types
Color Coordination: Use a color wheel to choose complementary colors or stick to one shade for a monochrome look.
Yarn Type: Choose yarn that’s soft and skin-friendly, especially if you’re planning to wear the top in warm weather. Cotton blends are a great choice.
Conclusion
Creating a granny square top is a fun and rewarding project that lets you express your creativity through crochet fashion. Whether you’re a beginner or have some experience, the simplicity and elegance of this DIY crochet top make it a must-try. So grab your hooks, pick your favorite yarn, and start crocheting your unique granny square top today!