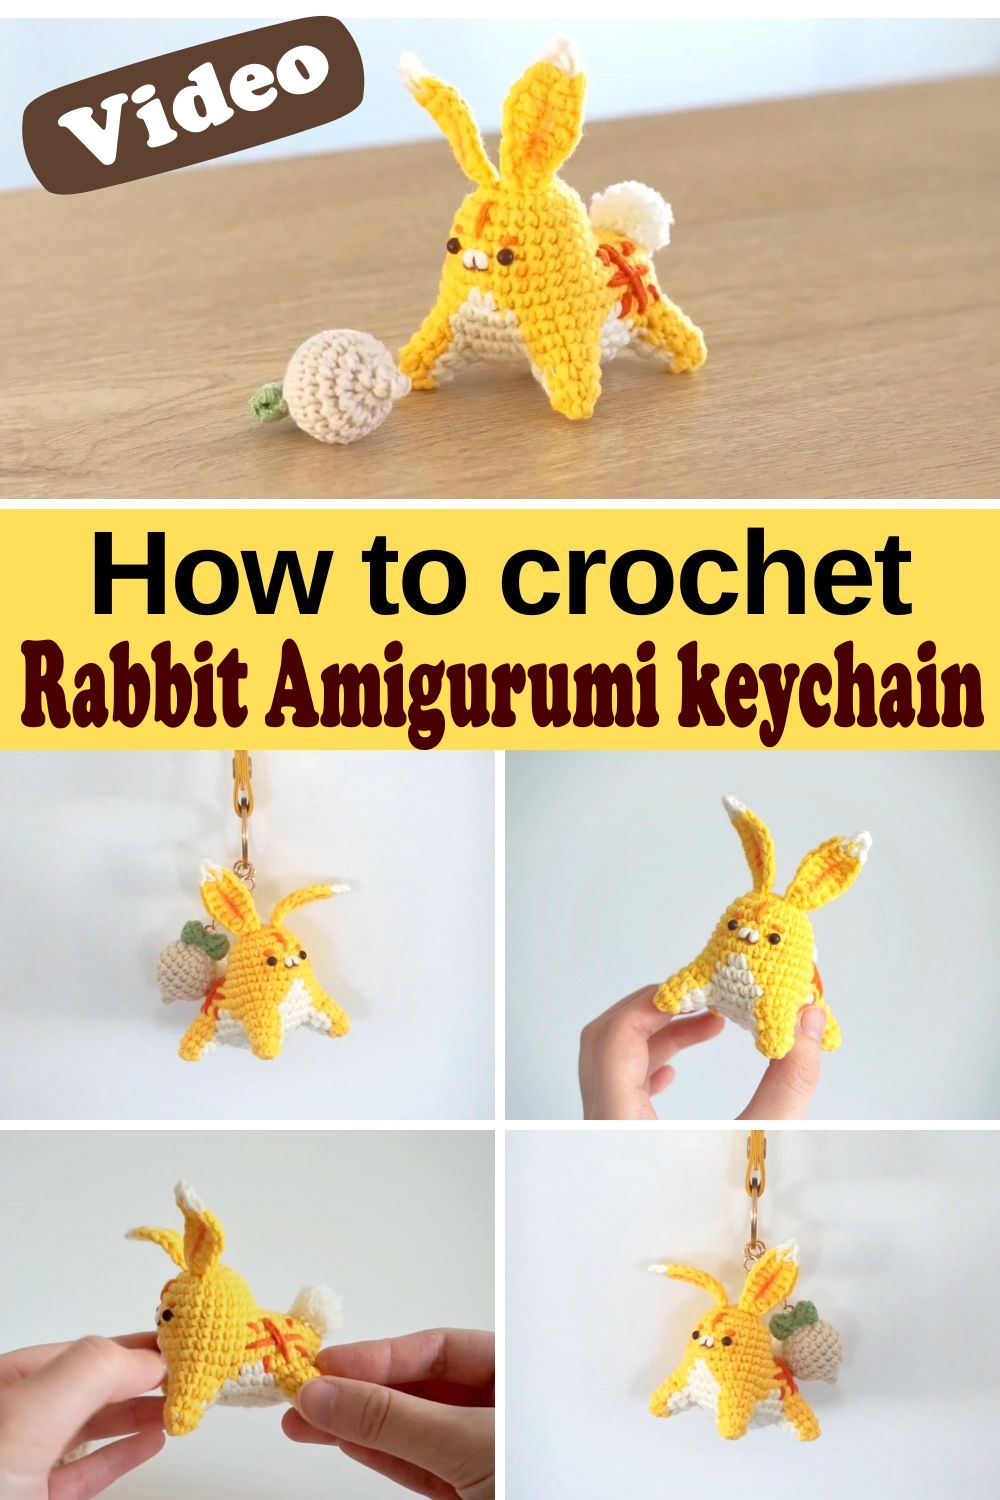
Cute Crochet Rabbit Amigurumi keychain Tutorial
Creating adorable crochet rabbit amigurumi keychains can be a delightful and rewarding endeavor. These charming little accessories are not only perfect for adding a touch of whimsy to keyrings but also make for thoughtful handmade gifts. With their petite size and intricate details, these crochet rabbits are a testament to the beauty of handmade artistry. Whether you’re an experienced crocheter looking for a new project or a beginner eager to try your hand at amigurumi, this tutorial provides comprehensive guidance to help you craft your very own rabbit keychain.
Meta Description
Discover the joy of creating a cute crochet rabbit amigurumi keychain with this detailed tutorial. Perfect for all skill levels, learn step-by-step instructions and tips for crafting adorable handmade keychains.
Materials Needed
To get started on your crochet rabbit amigurumi keychain, gather the following materials:
Yarn: Soft, lightweight yarn in desired colors
Crochet Hook: Appropriate size for the chosen yarn, typically 2.5mm or 3mm
Stuffing: Polyester fiberfill or any other soft stuffing material
Safety Eyes: Small safety eyes, or yarn to embroider eyes
Yarn Needle: For sewing pieces together
Scissors: To cut yarn
Stitch Marker: Useful for marking the beginning of rounds
Making the Crochet Rabbit
Creating the crochet rabbit involves several steps, each bringing you closer to the final, adorable product. The process is both enjoyable and meditative, allowing for creativity and personal touches.
Step 1: Creating the Head and Body
Begin by crafting the head and body as a singular unit. This approach ensures a seamless and sturdy structure. Start with a magic ring, a foundational technique for amigurumi projects. Increase stitches gradually to form a rounded shape, which will serve as the rabbit’s head. Once the desired head size is achieved, continue crocheting without increasing to create the body. Remember to stuff the head with fiberfill to maintain its shape.
Step 2: Crafting the Ears
The ears add character and charm to the rabbit. Crochet two identical pieces, beginning with a small number of stitches and gradually increasing to achieve the classic rabbit ear shape. Attach them to the top of the head, ensuring they are symmetrical and securely fastened.
Step 3: Shaping the Limbs
Create four limbs for the rabbit—two arms and two legs. These are smaller components, requiring precision and care. Begin with a magic ring, then increase stitches to form a tube. Fill each limb with stuffing and attach them to the body, positioning them appropriately for a natural look.
Step 4: Adding Facial Features
Facial features bring the rabbit to life. Attach safety eyes or embroider eyes using yarn. A small embroidered nose and mouth complete the expression. These details are essential for imbuing the rabbit with personality and charm.
Step 5: Assembling and Final Touches
Once all components are ready, assemble the rabbit by sewing the head, body, limbs, and ears together. Ensure all parts are securely attached. Finally, add any additional embellishments, such as a small bow or scarf, to personalize the rabbit further.
Conclusion
Creating a cute crochet rabbit amigurumi keychain is a delightful experience that combines creativity with skill. This detailed guide offers a comprehensive approach to crafting these charming accessories, making it accessible for all skill levels. Embrace the joy of handmade artistry and add a whimsical touch to your keys or gift a loved one with a personalized creation