Crochet Prayer Beads Pattern With Cross Pendant
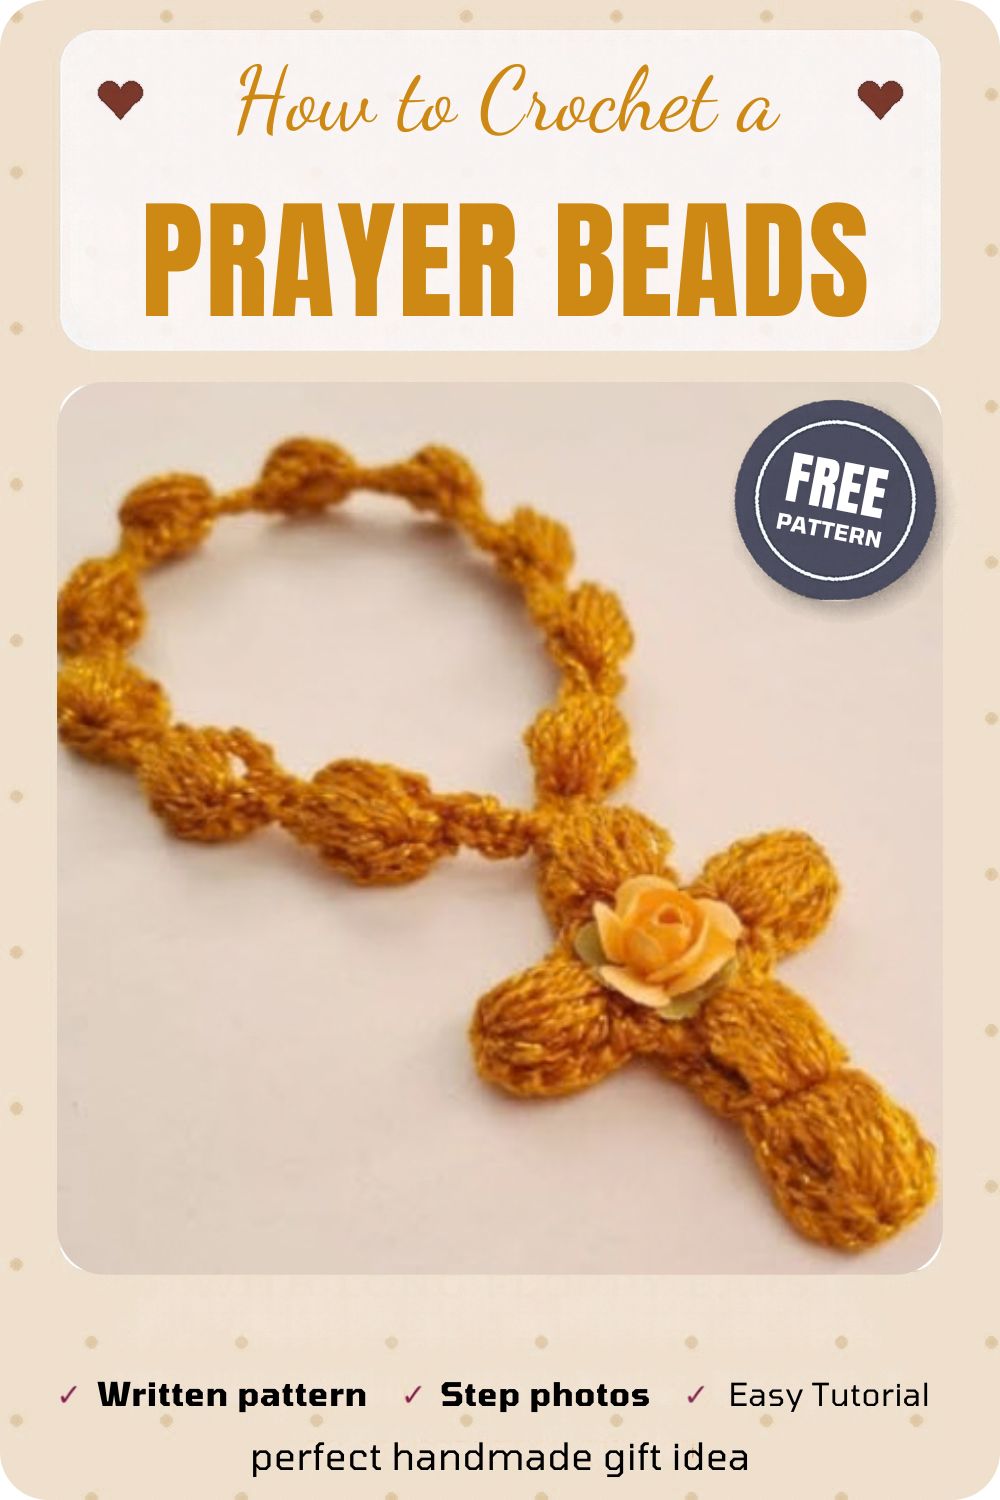
Puffy, textured beads give this Crochet Prayer Beads Pattern With Cross Pendant its soft, rosary-like look. Each bead starts with a tiny ring, and simple chains then link the beads together. Finally, a small cross finishes the loop, so beginners can follow along comfortably.
A crochet rosary bracelet like this one works as a quiet keepsake because it stays small, portable, and pleasant to hold. Metallic gray yarn adds a gentle shimmer, while the rounded puff stitch prayer beads create a tactile rhythm for reflection. The finished loop fits in a pocket, hangs from a mirror, or rests inside a gift box. In addition, the handmade texture gives it lasting sentimental value.
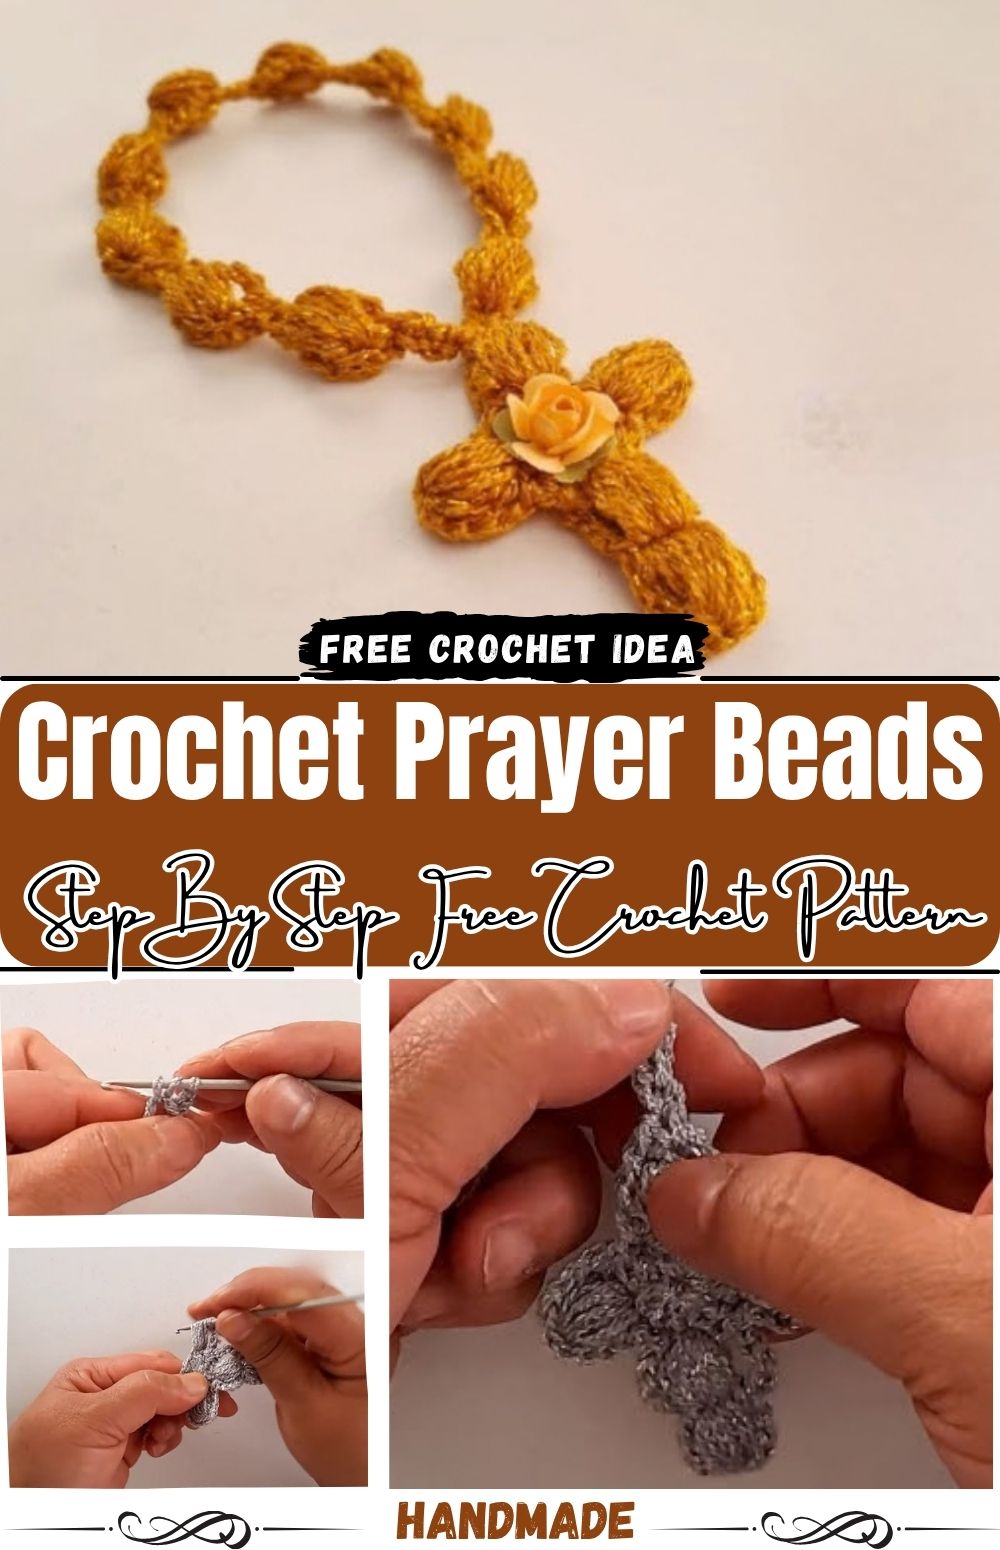
What You’ll Need for the Crochet Prayer Beads Pattern With Cross Pendant
- Fine metallic gray yarn or thin cotton thread, about one small ball
- A slim steel hook, roughly 2 mm, matched to the thickness of the strand
- Sharp scissors for clean trimming
- A tapestry needle for hiding tails
- An optional stitch marker to flag the start of each round
- A flat surface with plain lighting, so tiny stitches stay easy to read
Common Myths About This Crochet Prayer Beads Pattern
Myth: Tiny stitches mean advanced skills are required. Reality: Every bead repeats the same small sequence. Therefore, anyone comfortable with basic stitches and a starting ring can finish this pattern without trouble.
Myth: Thin thread makes the work painfully slow. Reality: Beads are small, so each one finishes quickly. As a result, progress feels steady because the strip grows with every completed bead.
Myth: Prayer beads must follow one religious tradition. Reality: The pattern is a handmade design, so makers can adjust bead counts and colors to suit personal, cultural, or decorative needs.
Myth: Puffy beads always look uneven. Reality: Consistent tension is the real secret. Even pulls produce plump, matching beads along the whole strip.
Material Substitution Ideas
- Swap metallic yarn for mercerized cotton when you prefer a matte finish.
- Choose sport-weight acrylic with a larger hook for chunkier, easier-to-handle beads.
- Try pearl-toned thread for a softer, more delicate look.
- Use wool-blend yarn to give the beads extra squish and warmth.
- Pick a darker shade, such as navy or burgundy, for a bolder statement.
How Long the Project Takes
A first attempt usually takes about two to two and a half hours, while experienced crocheters often finish in roughly an hour. Because the beads are small, the project splits easily into short sessions. For example, you can complete a few beads at a time and return later.
Step-by-Step Crochet Prayer Beads Pattern With Cross Pendant
Follow the stages below in order, since each one builds directly on the previous result. If you’re new to starting a small ring, our magic ring tutorial shows it slowly.
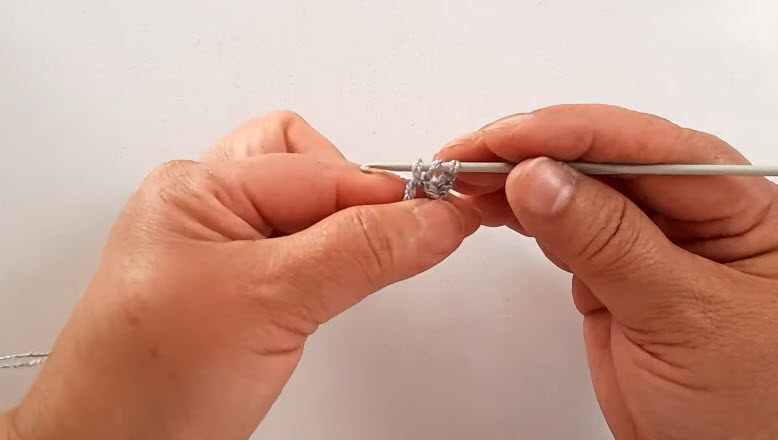
Step 1: Start the base ring. First, form a small loop around the hook and hold it gently between thumb and finger. Then work the first stitches directly into that opening.
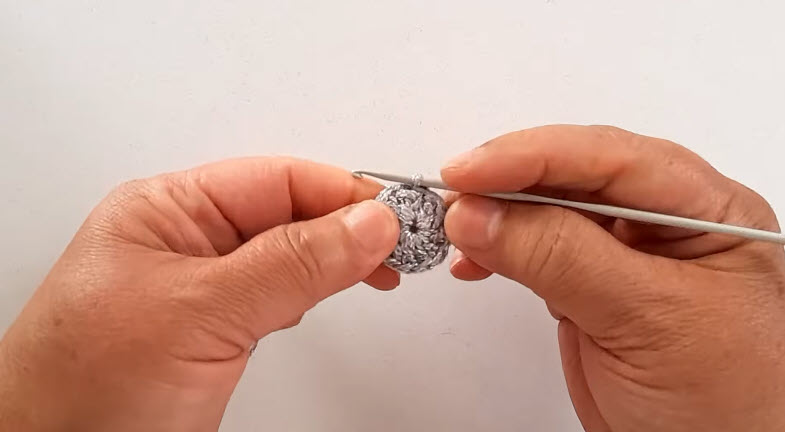
Step 2: Close the round into a disc. Next, pull the stitches snug until a flat, round disc forms with a tiny center hole. After that, join the round neatly.
Stitch check: The disc should lie flat without ruffling. A curled edge signals loose or overcrowded stitches.
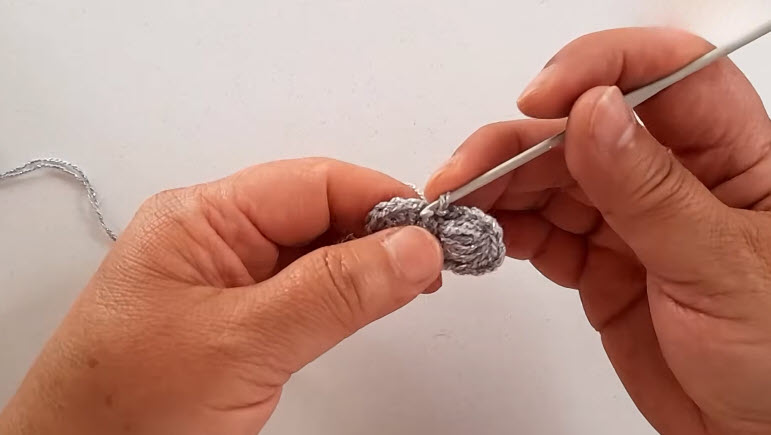
Step 3: Shape the puffy bead. Now fold the disc inward and insert the hook along its rim. Work around the edge so the circle rounds into a plump oval.
Why it matters: Pulling stitches evenly here creates a firm bead that holds its shape after wear.
Step 4: Chain and repeat. Then add a short chain after the bead and begin the next one. Repeat until a long strip of linked puffy beads forms.
Count now: Tally the beads along the strip. Matching totals keep the finished loop balanced and symmetrical.
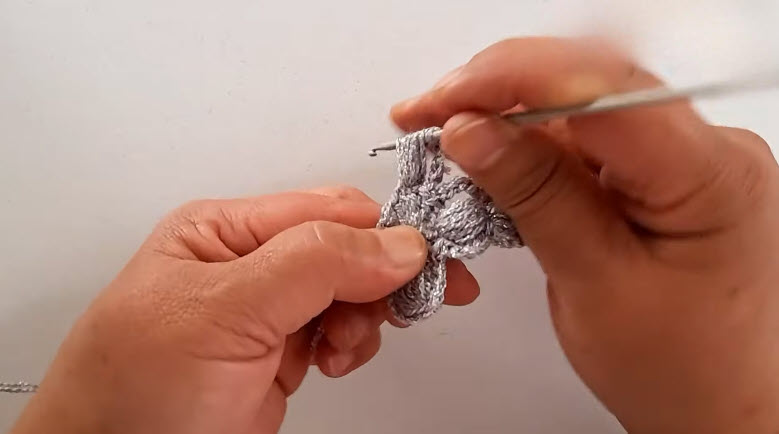
Step 5: Begin the cross. After the strip is ready, place the hook at the end of the chain and start the cross pieces near the strip. Short arms branch outward from a central round.
Why it matters: Keeping the cross arms close in size gives the pendant a tidy, recognizable silhouette.
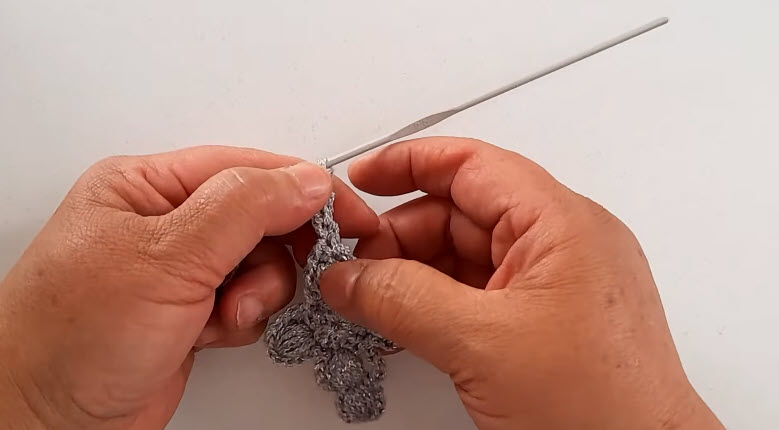
Step 6: Join and finish. Finally, bring the strip into a loop and secure the cross at its base. Leave a tail of yarn for weaving in.
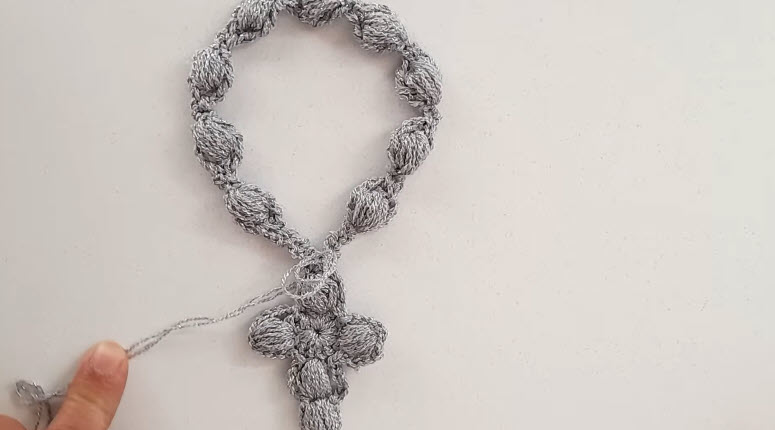
Shape check: The loop should sit round and open, and the cross should hang straight, centered below the beads.
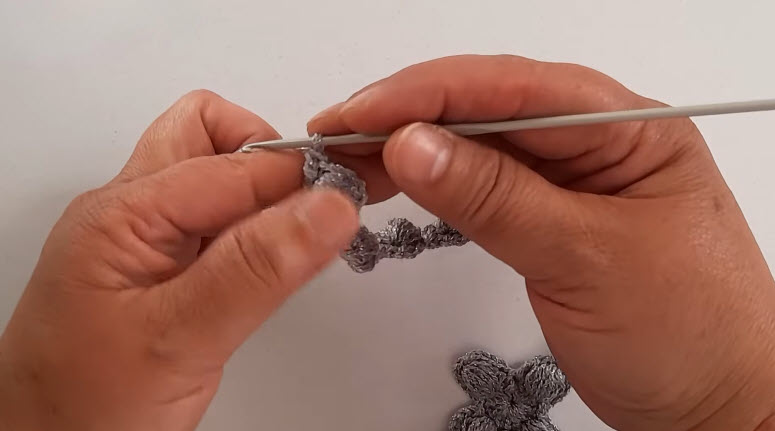
Signs You Followed the Pattern Correctly
- Beads look plump, rounded, and similar in size.
- Chains between beads stay short and tidy.
- The loop lies open instead of twisting.
- The cross arms look even and balanced.
- Stitches feel firm but never stiff.
- Loose tails are short and ready to tuck away.
Common Mistakes With This Crochet Prayer Beads Pattern
Problem: Beads look flat instead of puffy.
Fix: Pull stitches closer together, then fold the disc inward while working the rim.
Problem: Beads vary in size.
Fix: Count stitches on every bead, and use a marker to track the starting point.
Problem: The loop twists after joining.
Fix: Lay the strip flat before closing it, and check that every bead faces the same direction.
Problem: The cross droops sideways.
Fix: Fasten it again at its center point, then tighten the joining stitches.
Troubleshooting Your Crochet Rosary Bracelet
Gaps appear between beads. Shorten the chains slightly next time. For the current piece, whip-stitch the gaps closed with a needle.
Metallic yarn splits while working. Slow down and insert the hook with a lighter touch. If splitting continues, choose a rounder hook head.
The finished loop feels too tight. Add one or two beads to extend the length, or switch to a slightly larger hook.
Loose ends keep slipping out. Tuck each tail through several beads, then trim close to the surface.
Washing and Cleaning Instructions
Hand wash in cool water with a drop of mild soap, and gently press the beads rather than rubbing them. Next, rinse until the water runs clear. Then lay the piece flat on a clean towel and reshape the beads and cross with your fingertips. Allow it to air dry fully, and skip the dryer, since heat can distort puffy stitches and dull metallic fibers.
More Projects to Make With This Prayer Beads Pattern
- Hang a single loop from a car mirror as a small blessing charm.
- Attach shorter strands to bookmarks for a handy reading companion.
- Create a longer necklace by adding extra beads before joining.
- Pair a mini version with a matching crochet keychain for a coordinated set.
- Add a tiny loop to a handmade crochet gift bag as a decorative closure.
For more small makes like these, browse our small crochet gift patterns.
Pairing Ideas for Your Crochet Prayer Beads
Pair the finished loop with a crochet cross bookmark for a thoughtful gift duo. Matching sets also look lovely alongside a small crochet pouch for safe storage. For seasonal gifting, tuck the beads next to a crochet ornament or a simple crochet bracelet in coordinating shades.
Bonus: Keep the Cross Centered While Joining
Before you secure the cross, lay the strip flat and find the middle of the loop. Then hold the cross at that point and compare the bead counts on both sides. If one side looks longer, adjust now rather than after sewing. A quick check at this stage helps the pendant hang straight when you lift the loop.
Bonus: Gift Presentation Tips
Wrap the finished piece in soft tissue paper, then rest it inside a small box lined with fabric. A handwritten note adds warmth, and neutral ribbon keeps the metallic shimmer as the focus. For larger gift sets, nestle several loops together on a pretty card.
Who This Crochet Prayer Beads Pattern Is Great For
- Beginners who want a small, satisfying project
- Gift makers searching for meaningful handmade presents
- Crafters who sell at markets or online shops
- Anyone building a collection of faith-inspired handmade items
- Crocheters who enjoy repeating a simple, rhythmic motif
Why This Small Pattern Is Worth Making
Small handmade keepsakes carry real meaning, and this pattern is quick to finish and uses very little yarn. For these reasons, many makers return to it again and again:
- Compact projects fit into busy schedules.
- Handmade keepsakes feel more personal than store-bought gifts.
- Textured puff beads look lovely in photos.
Crochet Prayer Beads Pattern FAQs
How many beads should the loop have?
The count depends on the length you want. Add or remove beads until the loop sits comfortably, then keep both sides balanced.
Can beginners attempt this crochet prayer beads pattern?
Yes. Repeating one bead motif builds confidence quickly. However, if tiny stitches feel difficult, practice with thicker yarn first.
Which hook size works best?
A slim steel hook, roughly 2 mm, suits fine metallic yarn. Still, adjust the size based on the thickness of your strand.
Can the beads be stuffed?
Light stuffing is optional. Most makers rely on tight stitches alone, since puff stitches already hold a rounded form.
How should the finished piece be stored?
Keep it flat in a small pouch or box. Also, avoid hanging it by the cross for long periods, because the weight can stretch the chain.
The Last Stitch
A few hours, a slim hook, and some shimmering yarn can produce something surprisingly special. This crochet prayer beads pattern rewards patience with a polished, thoughtful keepsake. So start with one bead, check the shape, and let the rhythm build from there. By the time the cross joins the loop, the whole piece will feel like a small, personal accomplishment.