Crochet Mini Hat Amigurumi With Tiny Ears
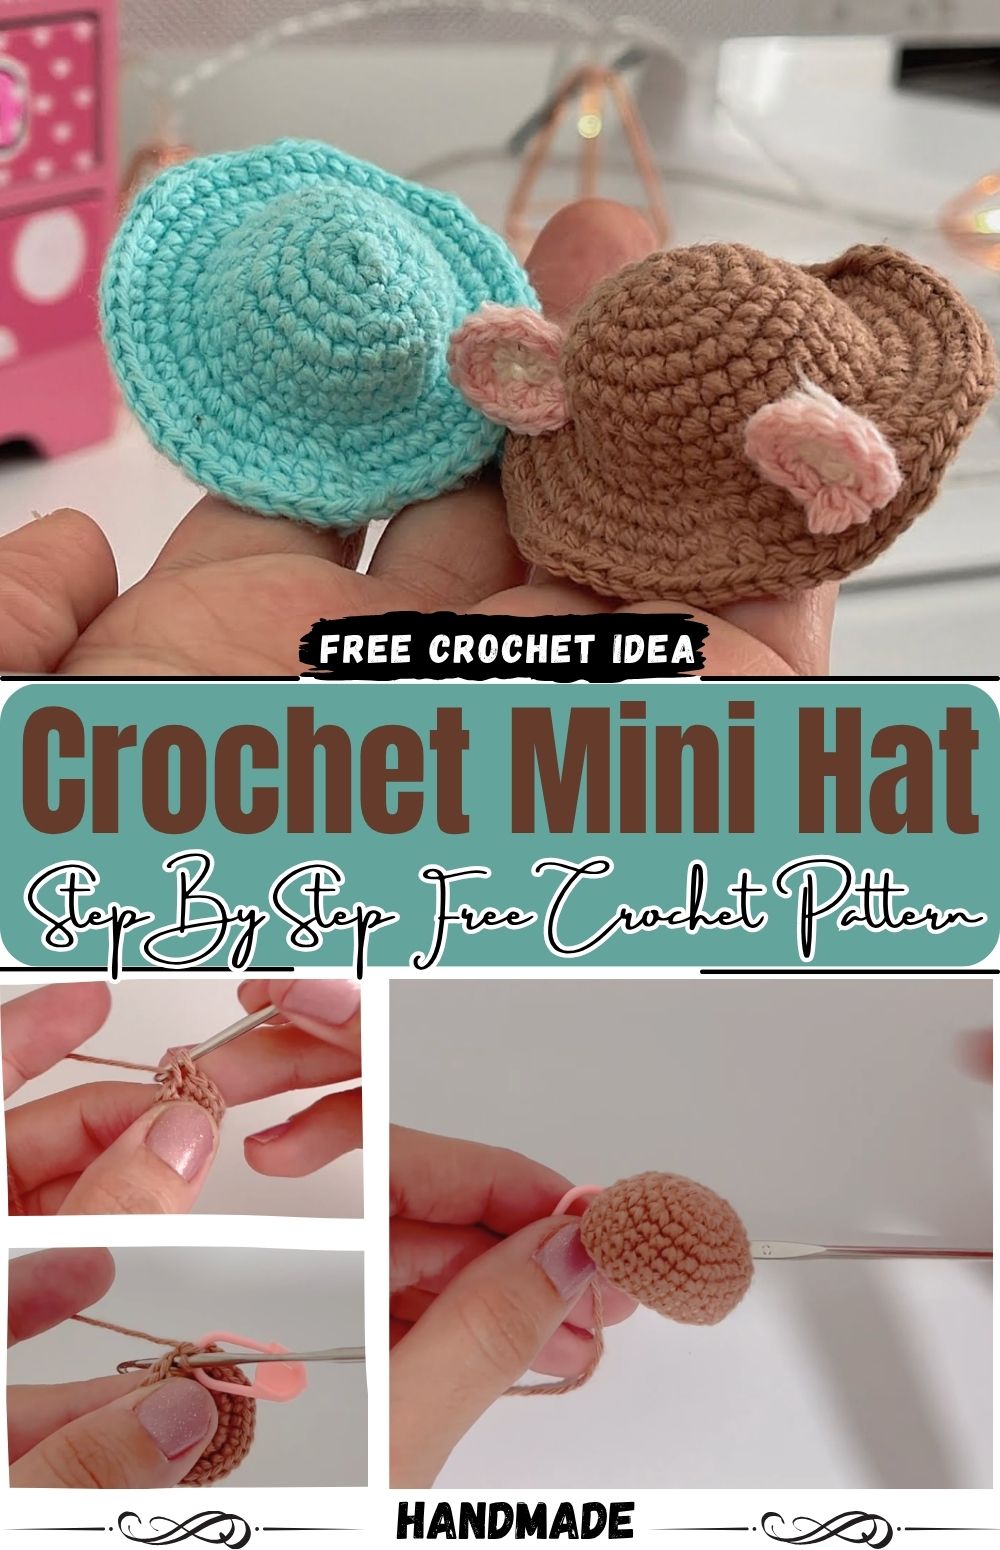
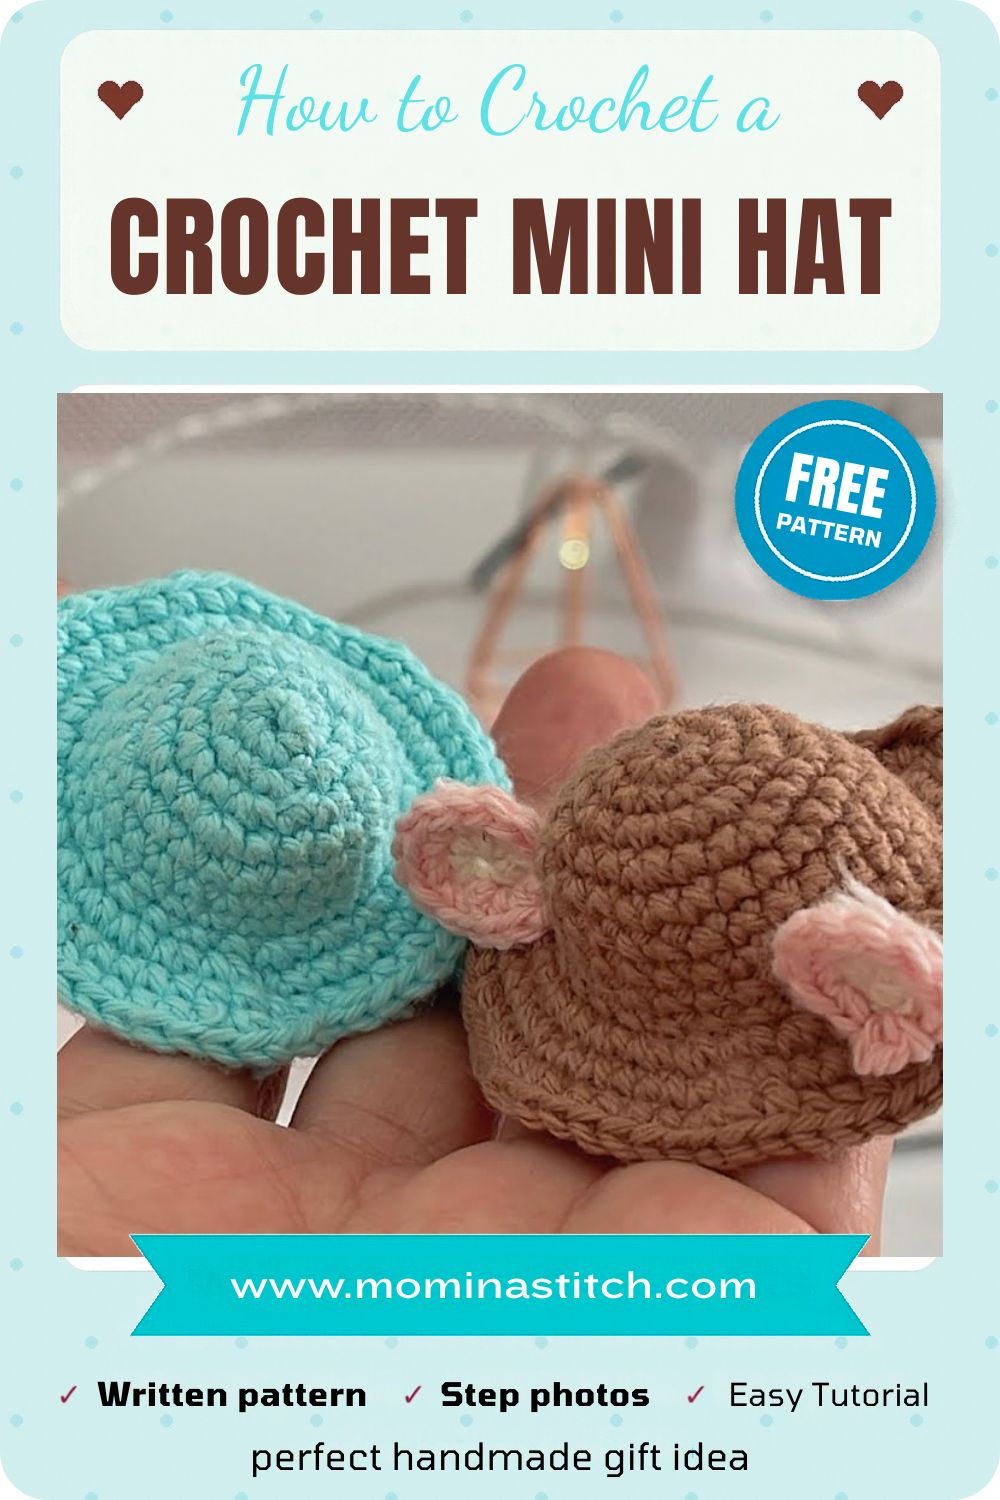
A tiny domed crown, a flat ridged brim, and a pair of small ears make this crochet mini hat amigurumi look like a toy-sized sun hat, built round by round.
Start with a magic ring, mark each round with a stitch marker, and let the tight stitches curve into a rounded crown before the brim flattens outward. The guide below follows the photographed steps in order. It shows where to hold the work, when the ridge appears, and how to finish the hat with the small ears.
Crochet Mini Hat Amigurumi Pattern Overview
This little hat is worked in continuous rounds, so the main body has no seams. You make the crown first, move into the brim, fasten off, and then sew on the small ears. Every stage shows in the shape itself, which makes it a friendly project for anyone who has already made a magic ring.
It is also a short make. Plan for one relaxed sitting for the crown and brim, plus a little extra time for sewing and weaving in ends. Your pace will depend on your yarn and hook size.
Please note that the photos do not show stitch counts or the ears being made, so work those parts from your own pattern notes. If you enjoy small shaped projects like this one, you may also like the Crochet Pink Piggy Bank Amigurumi, which is also worked in continuous rounds.
Materials and Yarn for the Crochet Mini Hat Amigurumi
Materials
- Smooth yarn in a mid-tone shade (tan, rose, or brown all show stitches clearly)
- A slim crochet hook suited to your yarn
- One locking stitch marker
- A tapestry needle
- Scissors
- Optional: a small amount of stuffing if you want a firmer crown
Yarn and Hook
Choose a smooth, tightly twisted yarn. Fuzzy yarn hides the ridge that shows where the crown ends. For amigurumi, the hook is usually one or two sizes smaller than the yarn label suggests, so the fabric stays dense and nothing shows through. A thin cotton or thread-weight yarn generally pairs with a very fine hook, but test your own combination before you start. The Craft Yarn Council standards are a useful reference for yarn weights and hook sizes.
Abbreviations
- MR: magic ring
- sc: single crochet
- sl st: slip stitch
- st(s): stitch(es)
Before You Start
If the magic ring still feels awkward, practice it once on scrap yarn. A loose ring leaves a hole at the very top of the hat, and that is hard to fix later. Keep a spare marker nearby too, because losing your place in a spiral is the most common reason for a lopsided result.
Crochet Mini Hat Amigurumi Instructions
Step 1: Start the Crown
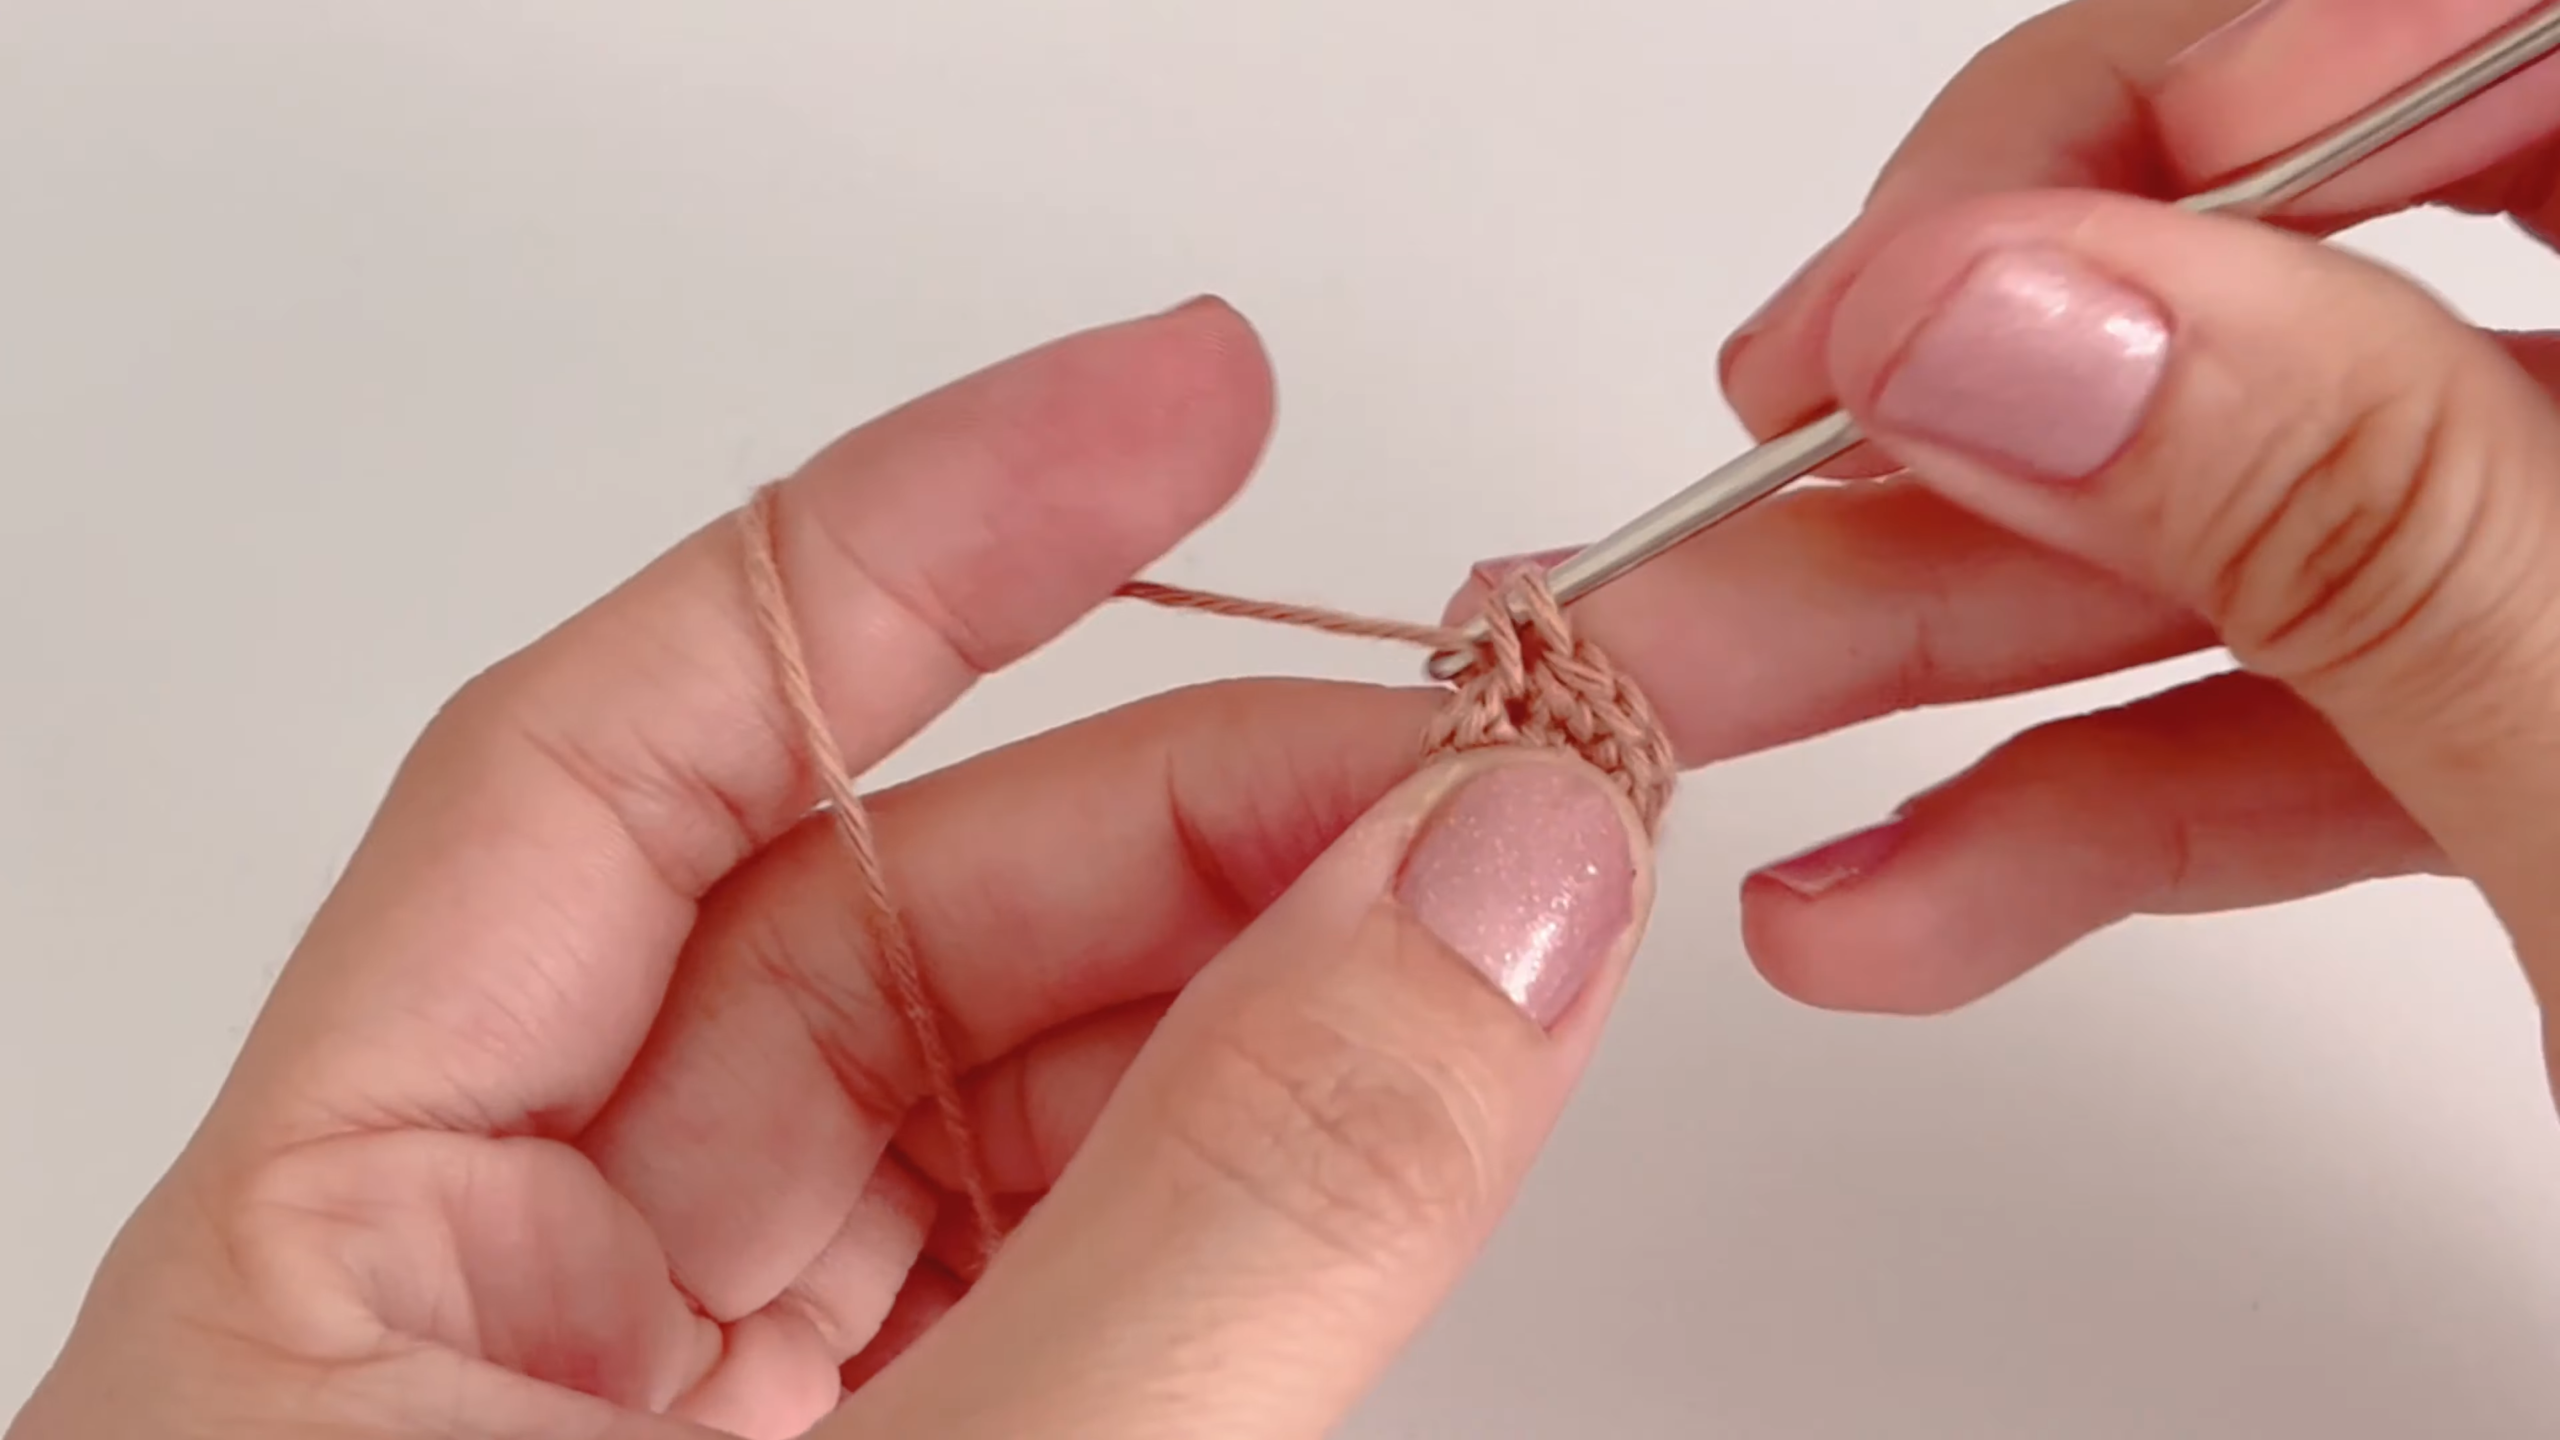
Make a magic ring and work the first round into it. Wrap the yarn around your left index finger so the tension stays even, and keep the stitches snug so the center stays closed.
Step 2: Mark the Round
Clip the marker into the first stitch of the round. Work in a continuous spiral and move the marker up after every round.
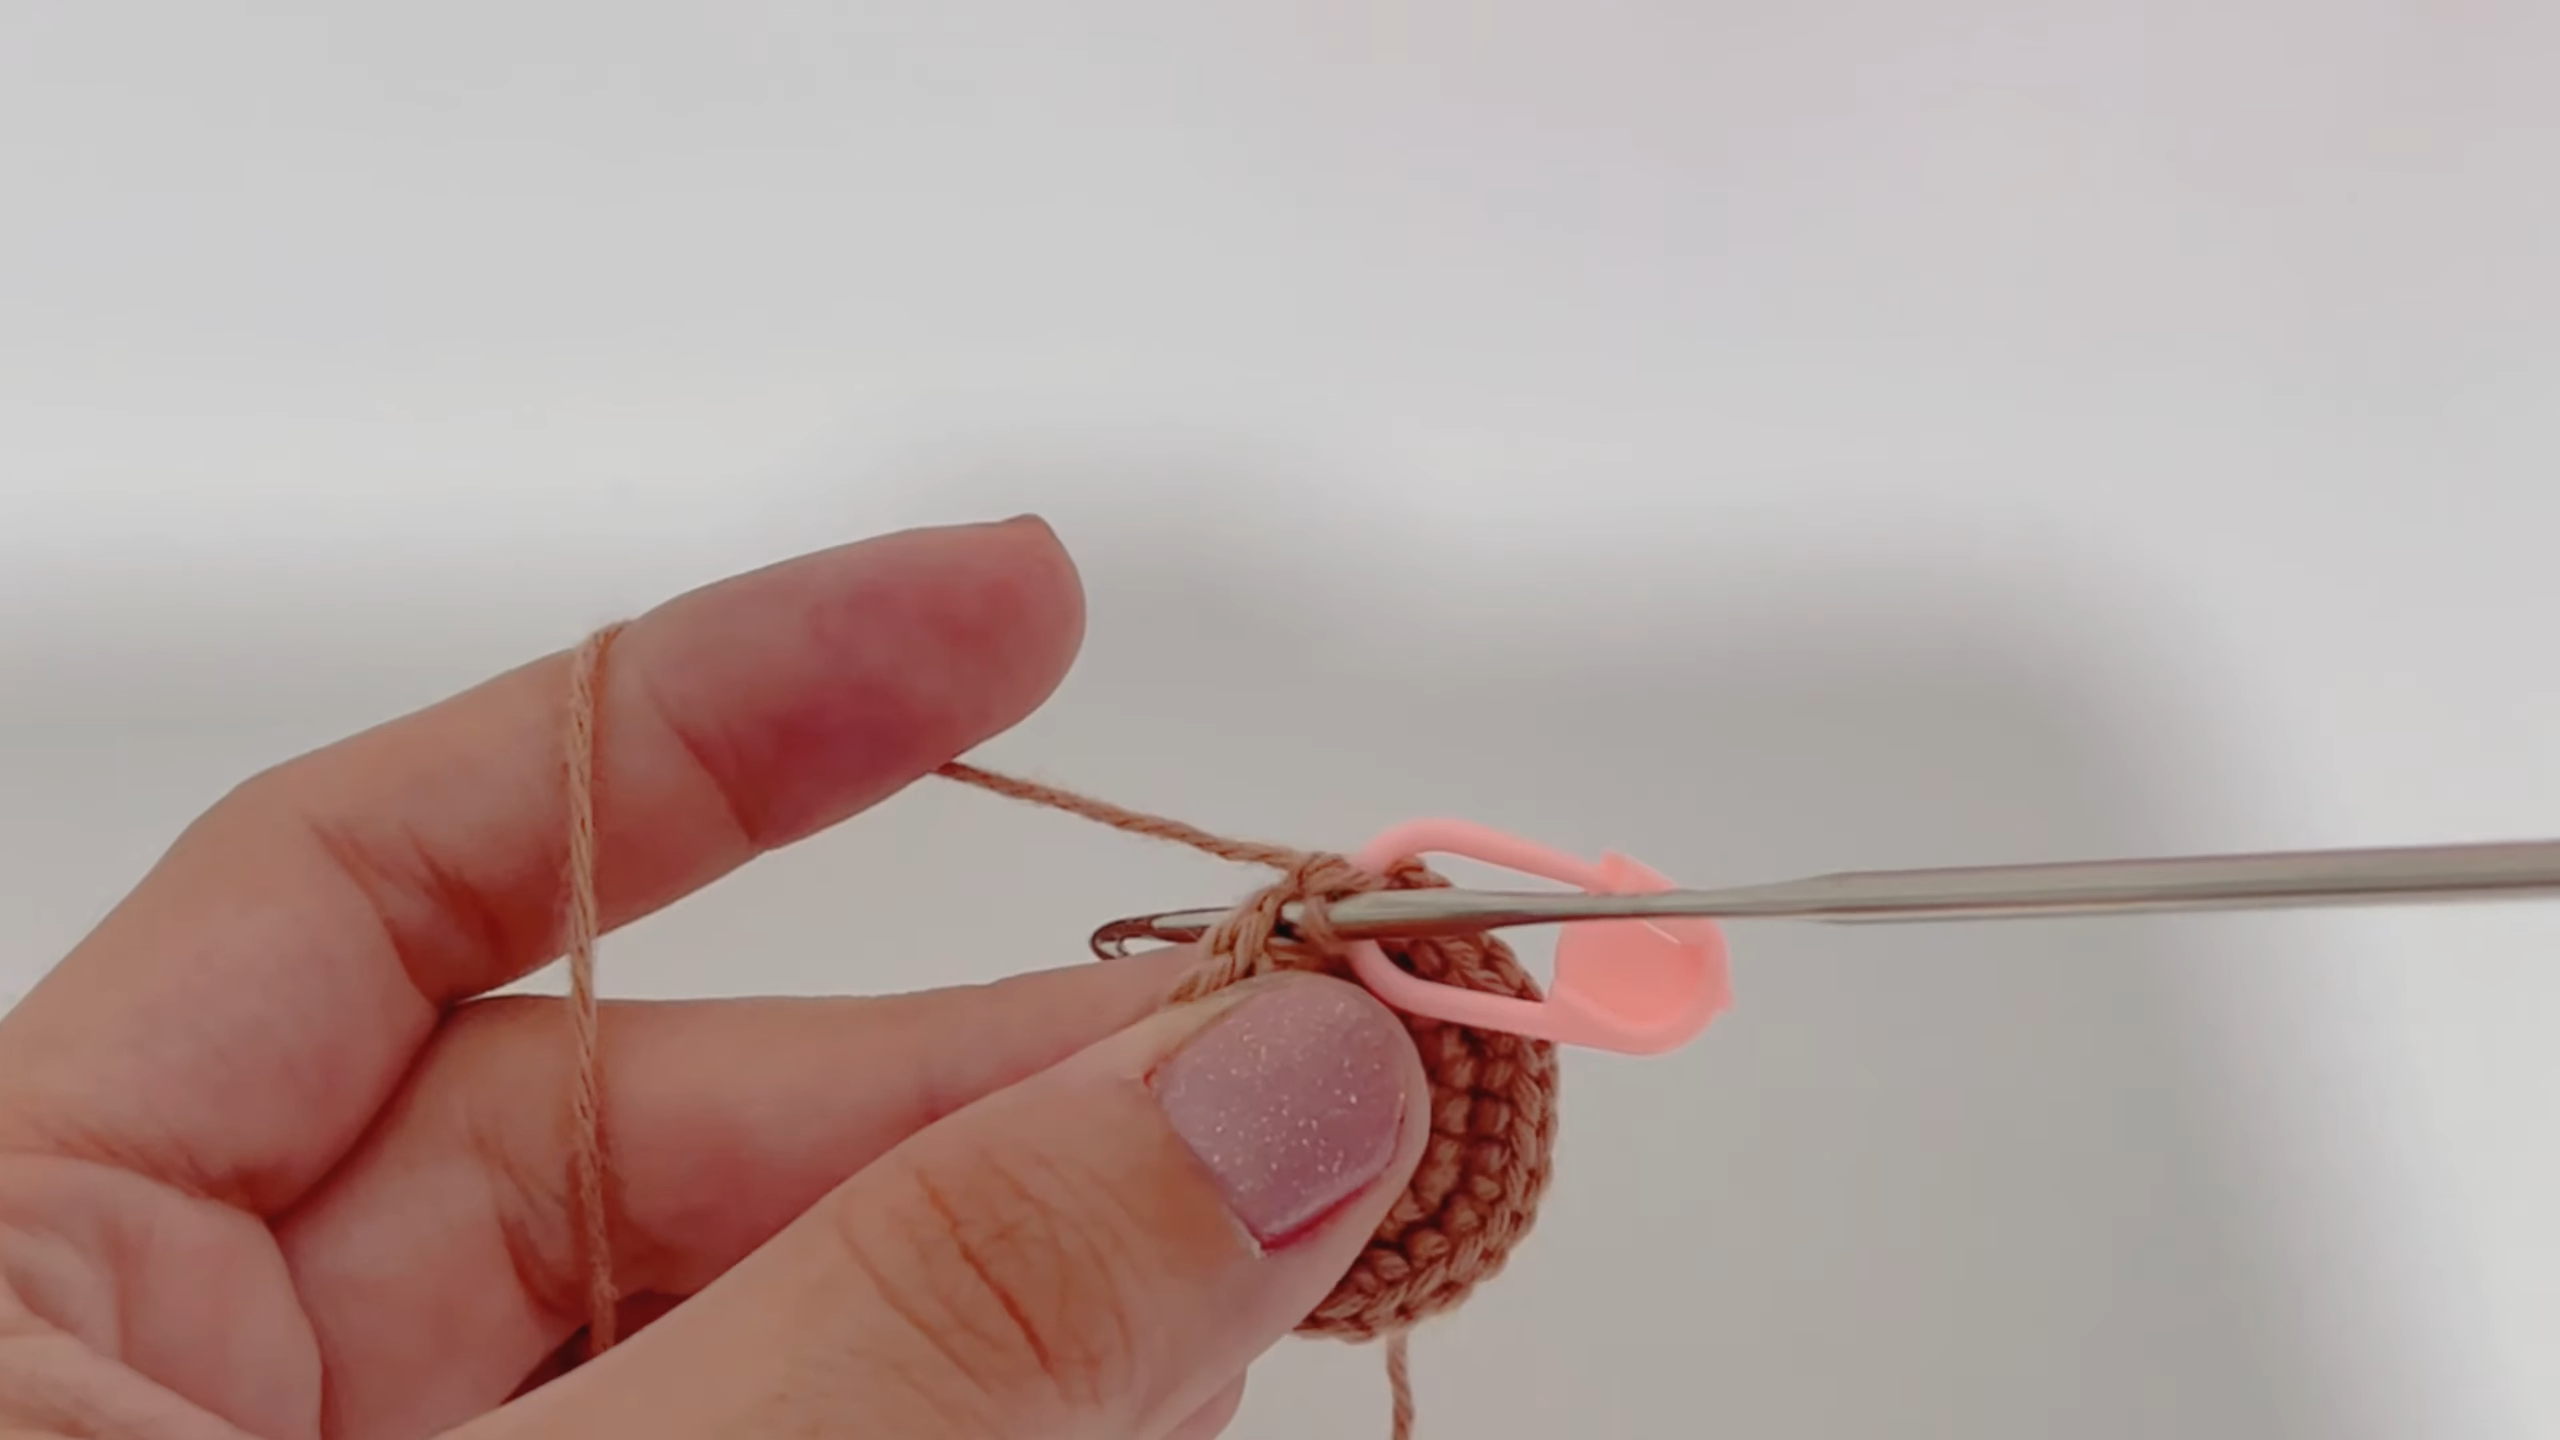
Step 3: Shape the Dome
Keep the stitches tight as the circle grows. Once the increases stop, the flat circle curves upward into a rounded crown.
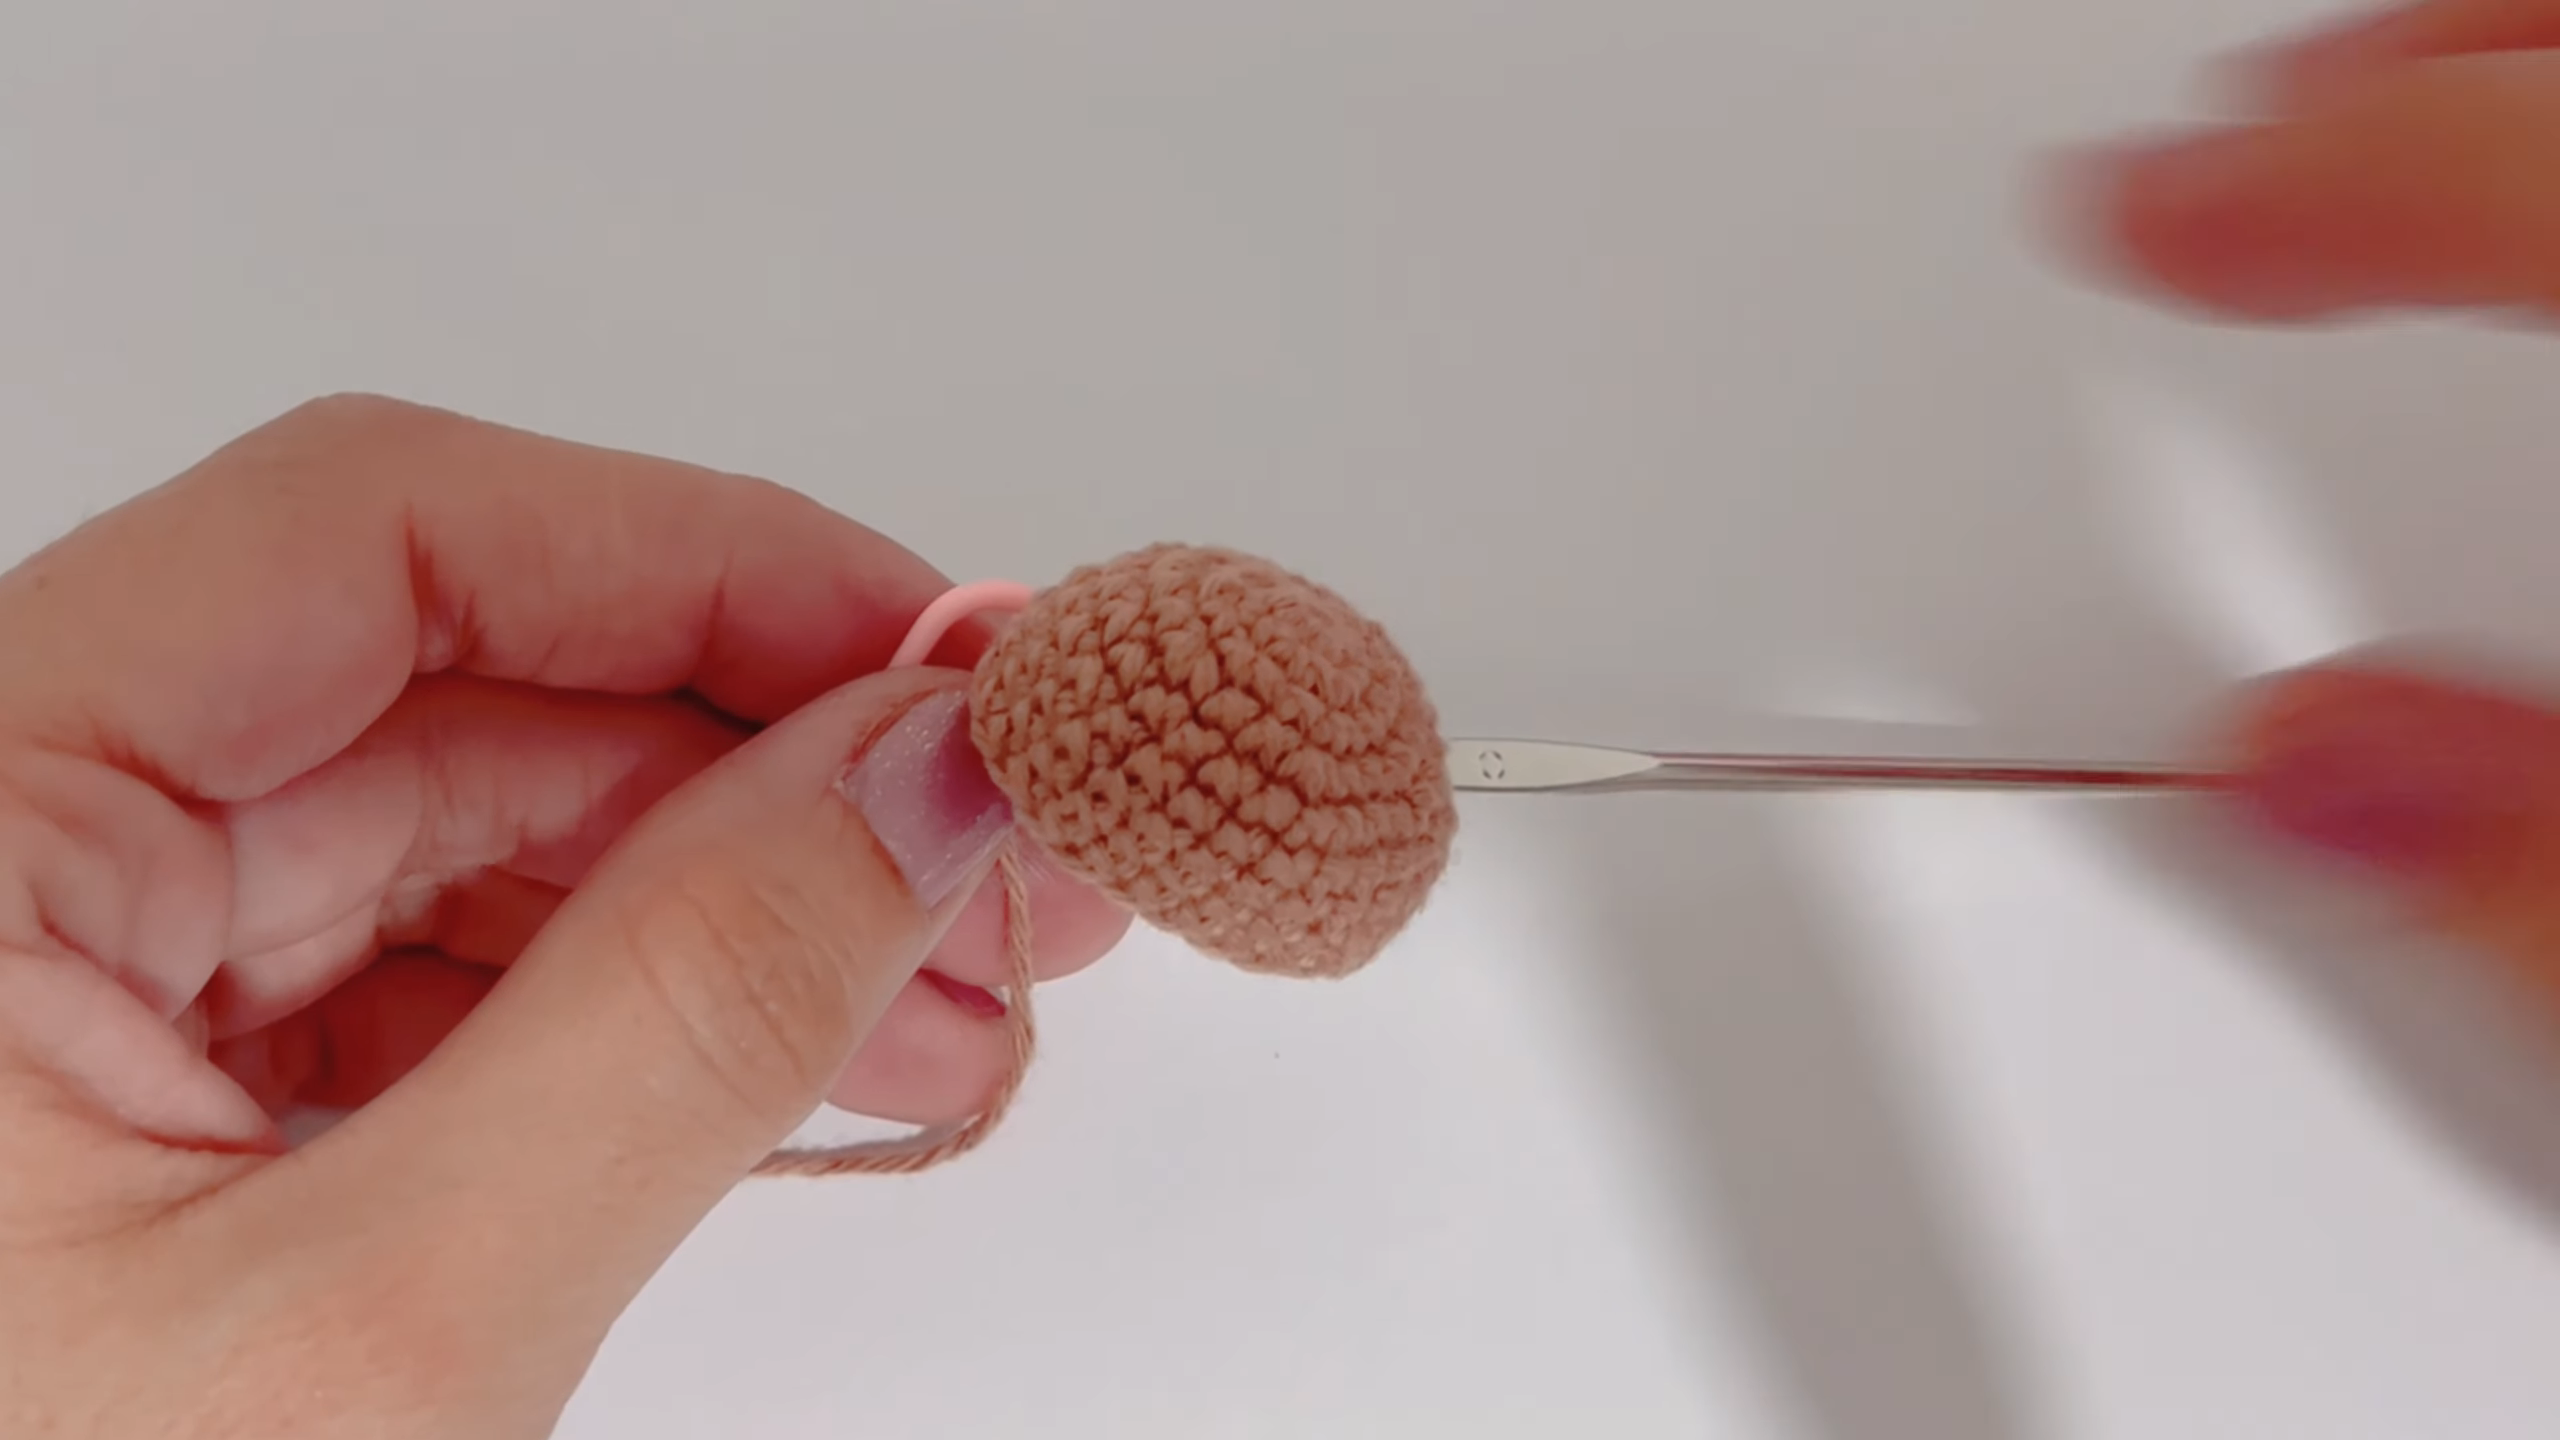
Step 4: Check the Crown From Above
Look down at the top of the piece. The rounds should spiral out evenly from the center, with the marker sitting at the edge. A neat ridge of stitches at the edge shows where the crown ends and the brim begins.
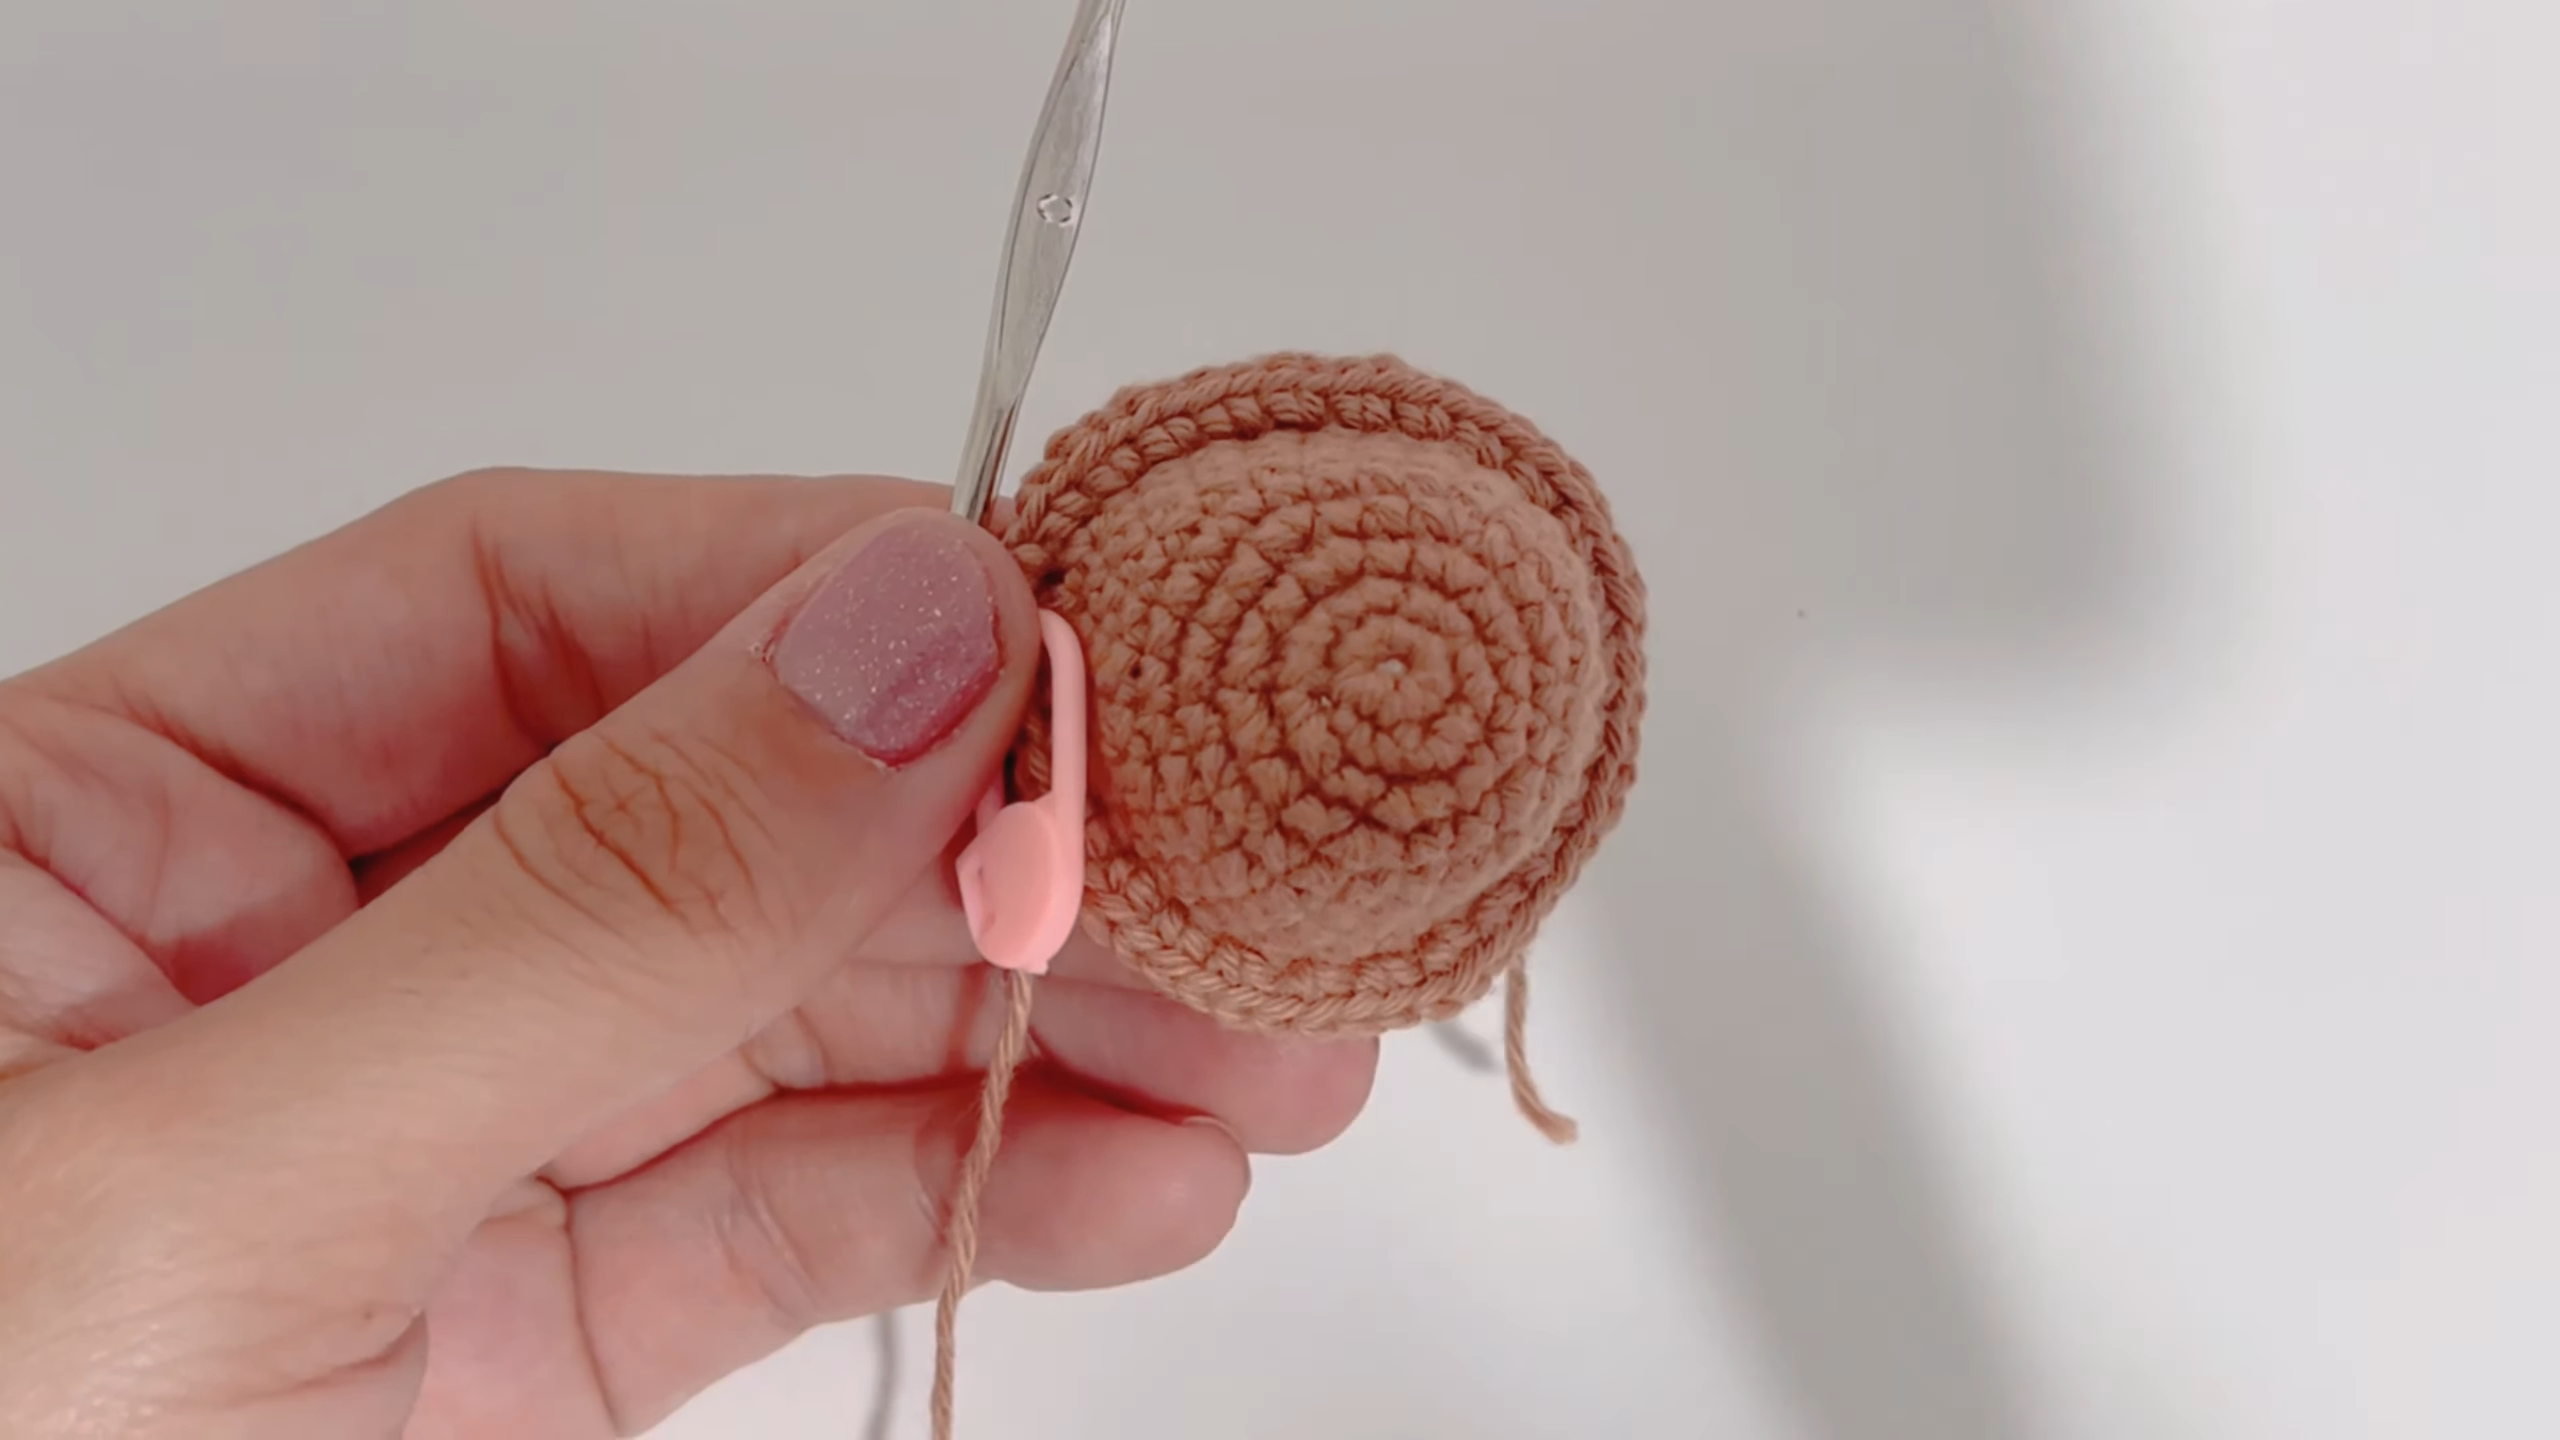
Step 5: Hold the Piece for the Next Round
Pinch the work between your thumb and fingers, with the marker still at the start of the round. Keep your hook hand steady and work the next round into the stitches along the ridge.
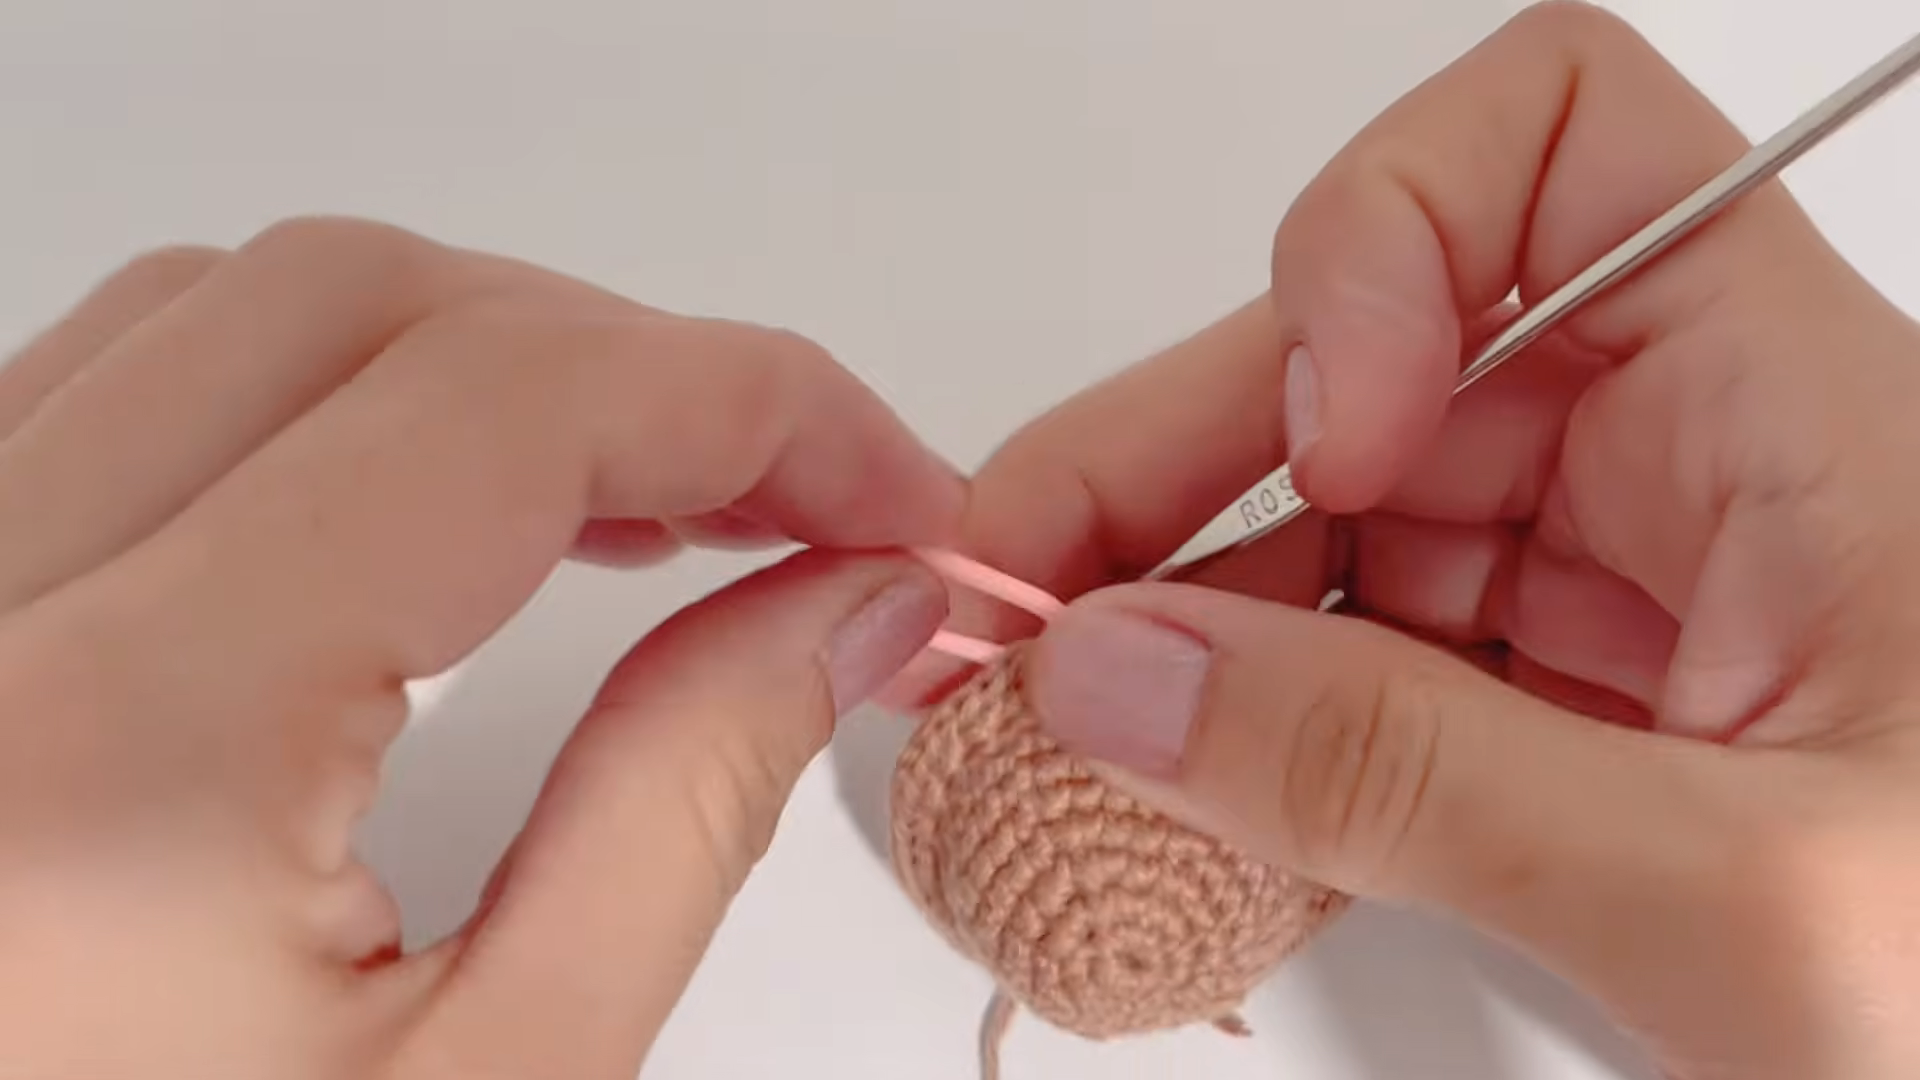
Step 6: Work the Brim
Keep working rounds outward from the ridge. The piece now flattens into a wide, even brim around the dome.
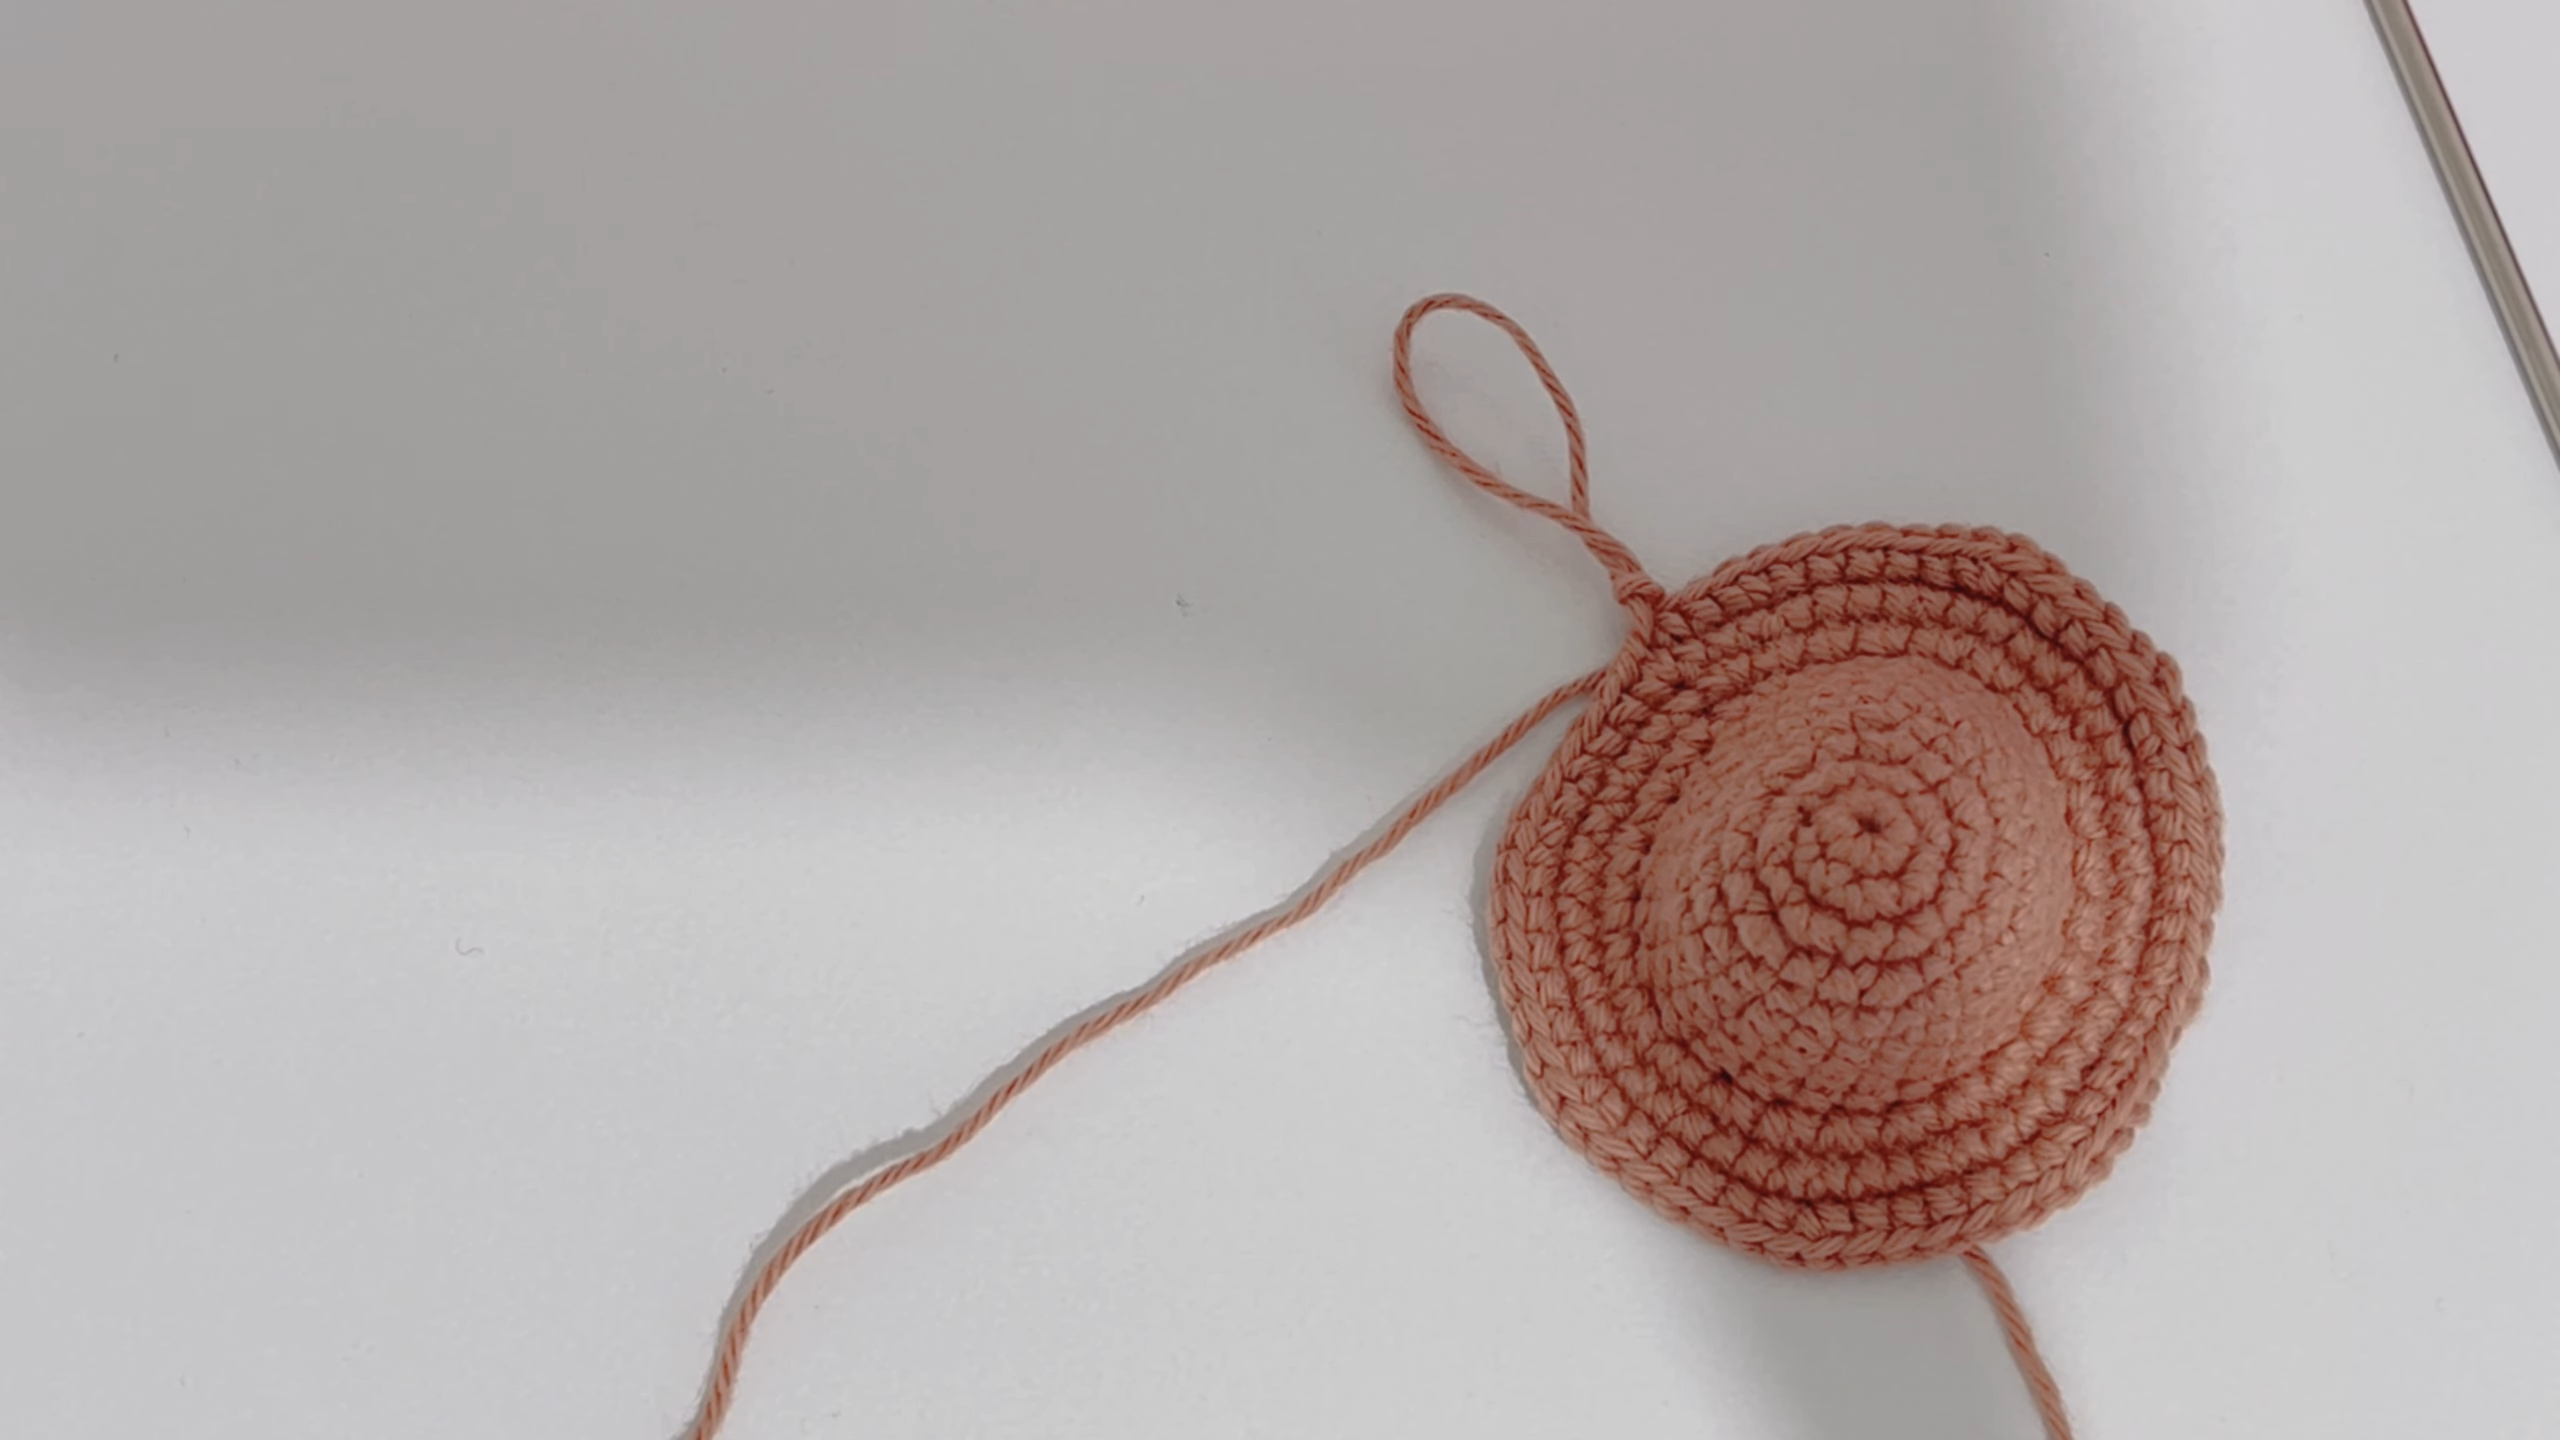
Step 7: Fasten Off
Cut the yarn, leaving a long tail, and pull it through the last loop. Keep the tail for sewing.
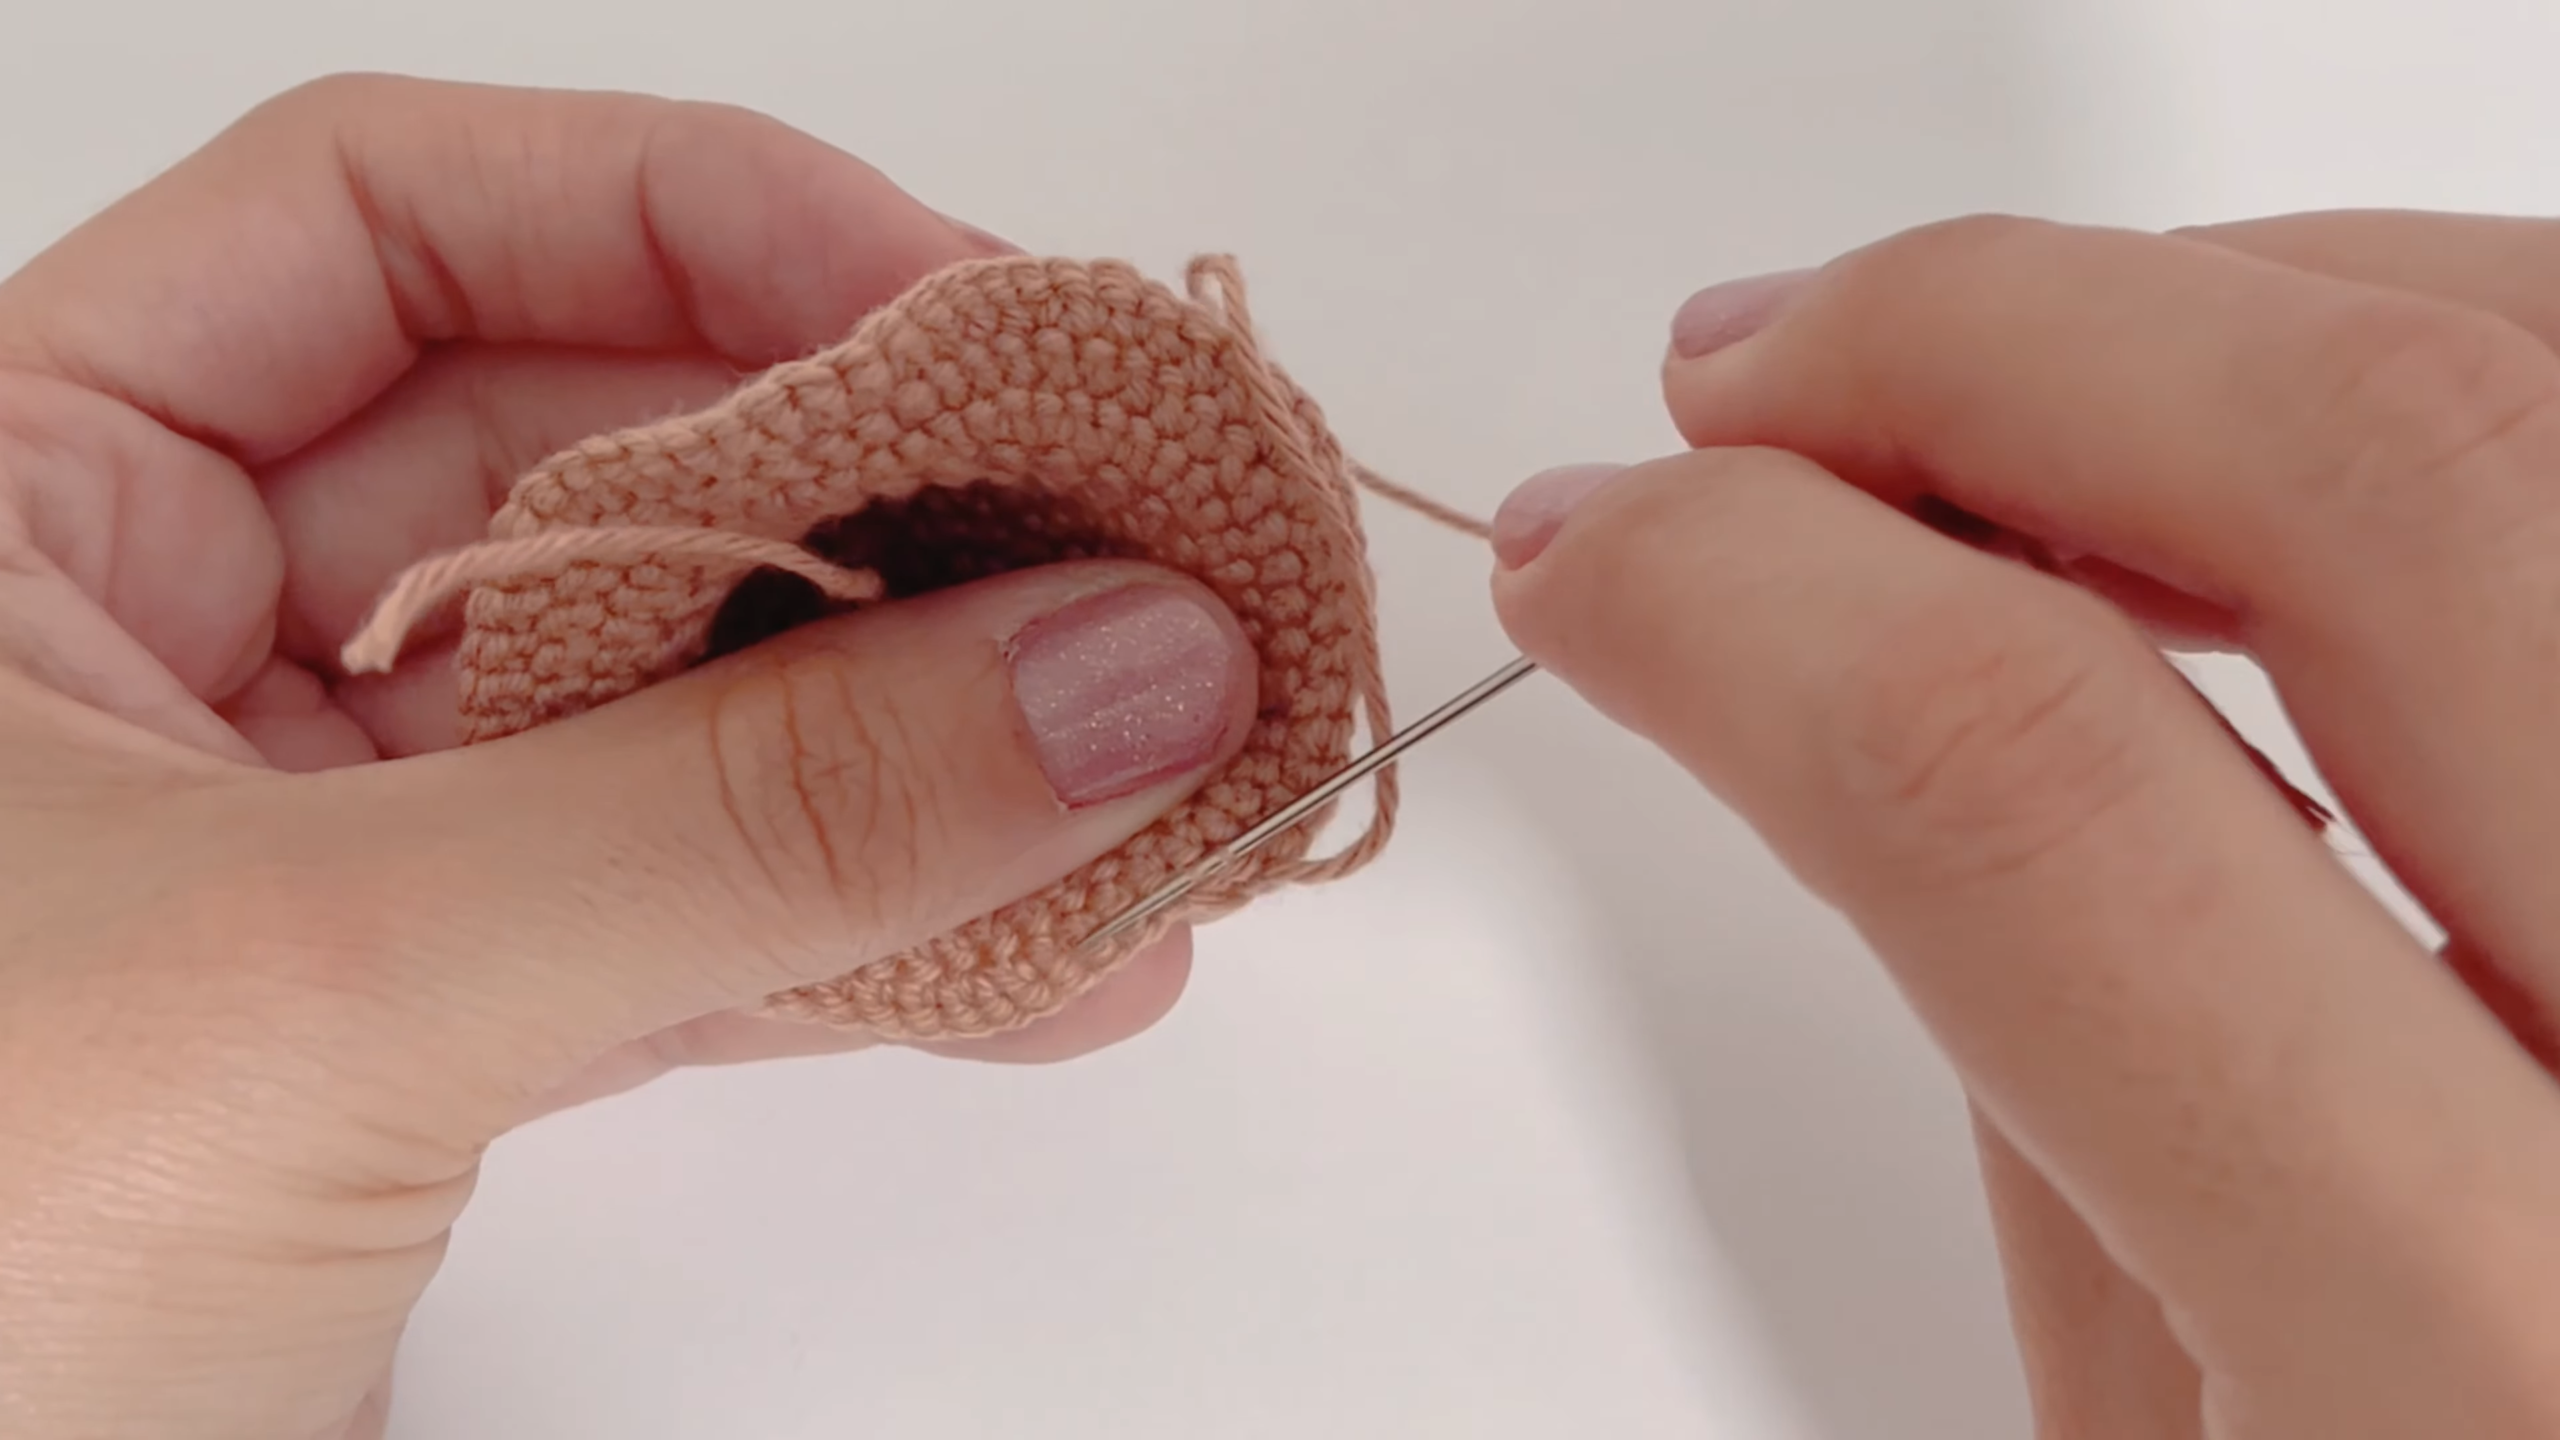
Step 8: Sew and Finish
Thread the tail onto a tapestry needle. Sew the small pieces in place, passing the needle through the stitches along the edge. Pull gently, then weave in the ends.
Pro Tip
Lay the finished hat flat and look straight down at it. If the spiral looks even and the ridge forms a clean circle, your tension is working. If one side bulges, check the last few rounds for a missed or doubled stitch.
Fit, Common Mistakes, and Troubleshooting
Fit and Size Guidance
This is a decorative mini hat, not a wearable one, so fit really means proportion. The brim should look wide enough to read as a brim but not so wide that it flops. If your pattern notes let you adjust, compare the crown height to the brim width before you fasten off.
Common Mistakes
- Losing the marker, which shifts the start of the round.
- Working too loosely, which leaves gaps and a floppy crown.
- Skipping the ridge, which makes the brim blend into the dome.
- Pulling the sewing yarn too hard, which puckers the edge.
Troubleshooting
The center has a hole. Pull the magic ring tail tighter and secure it on the wrong side.
The brim cups upward. The stitches may be too tight, or an increase was missed. Pull back a round or two and recheck.
The brim ruffles. There are too many stitches in a round, or your tension is looser than in the previous rounds.
The hat looks uneven. Re-count the last full round and look for a skipped stitch.
Size Modification
A thicker yarn with a larger hook makes a bigger hat in the same shape. If you change the yarn without changing the hook, the fabric density changes too, so work a small swatch first.
Finishing and Styling Your Crochet Mini Hat Amigurumi
Assembly
Position the small ears before you sew anything. Pin or hold them in place and look at the hat from the front, then from above. Stitch each ear with the same number of passes so both sides look matched.
Finishing
Weave in every tail with the tapestry needle, running it along the inside of the stitches, then trim close once the yarn is secure. Give the brim a gentle press with your fingers to settle the shape.
Color Variations
Try a soft neutral crown with a contrasting brim edge, or one solid shade throughout for a classic look. When you use two colors, stick to smooth yarns so the ridge stays crisp. You can browse more small projects in the crochet amigurumi collection.
Personalization Ideas
Add a thin ribbon band, a tiny bead accent, a different brim edge color, or a hanging loop to turn the hat into an ornament or keychain.
Care Instructions
Spot clean with a damp cloth. Keep the hat away from heat and from soaking, especially if it contains stuffing. If the brim loses its form, reshape it by hand while it is damp.
Bonus: Two Quick Checks Before You Sew
Before you sew on the ears, do a front view and a top view. From the front, make sure the crown sits centered on the brim. From above, check that the spiral is even and the ridge forms a clean circle. Fixing a crooked round now takes minutes, while fixing it after sewing means unpicking.
Crochet Mini Hat Amigurumi FAQs
Is this hat wearable? It is a miniature decorative piece, so it is meant for display, gifts, or toys.
Do I need stuffing? Only if you want a firmer crown. In most smooth yarns, the shape holds without it.
Why does my magic ring have a gap? The tail has not been pulled tight enough. Tighten it and anchor it.
Can I use any yarn? Smooth yarn gives the clearest stitches, but any yarn works if the hook is sized to match.
What if my brim will not lie flat? Check your stitch count in the last brim rounds and loosen your tension slightly.
One Last Look at Your Tiny Hat
This crochet mini hat amigurumi rewards patience more than skill. Keep the crown tight, watch for the ridge, and take your time sewing. Once the last tail is woven in, you will have a tiny hat that looks more complicated than it was to make.