Crochet Spiral Snowman Amigurumi Pattern For Holiday Decor
Soft white yarn spirals into a plump little dome to shape the Crochet Spiral Snowman Amigurumi Pattern For Holiday Decor, finished off with a dab of orange for the nose. The snowman sits neatly on a shelf, garland, or gift tag, ready for seasonal display.
The little decoration stands out because it skips joined rounds entirely. Continuous spiral single crochet replaces that step, so no seam line interrupts the round shape. That method keeps the surface smooth and gives the snowman a polished look. Crafters searching for a crochet amigurumi ornament or a quick holiday crochet decoration often pick this build. Fast stitch counts and low yarn use make it an easy seasonal project.
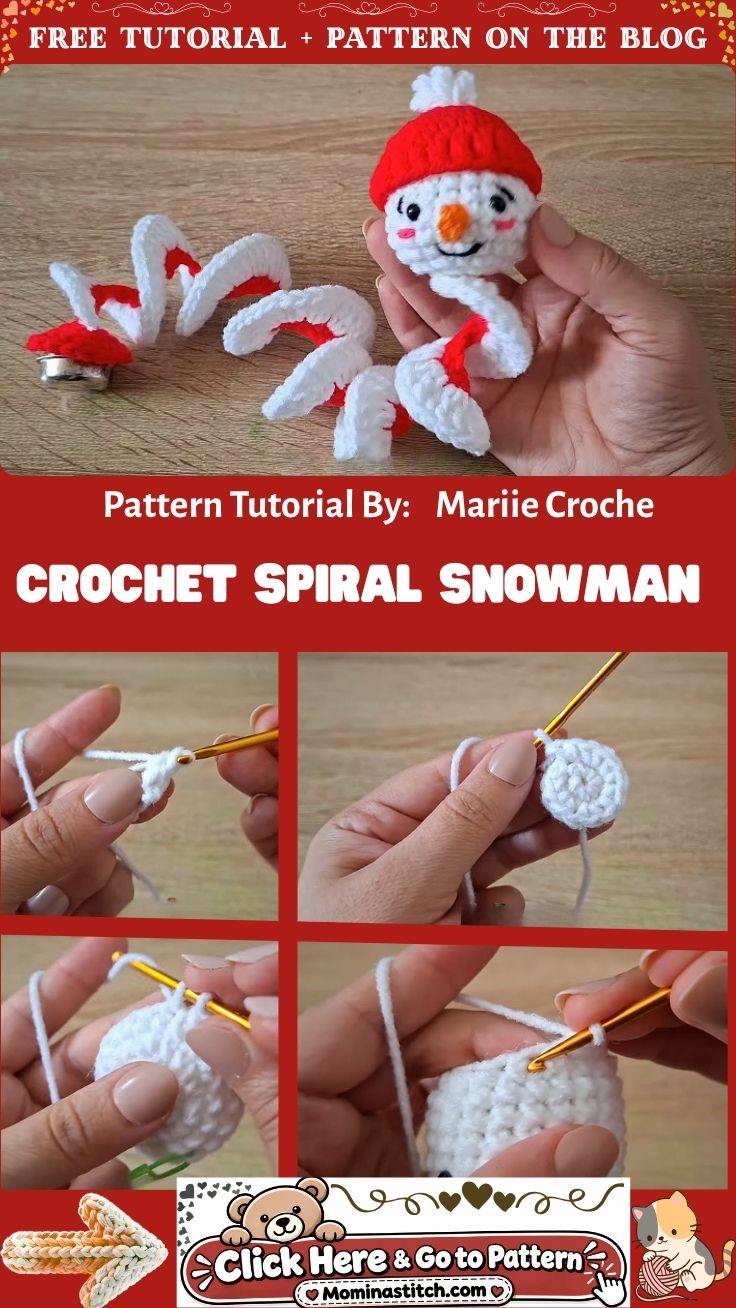
Pattern Overview
- Finished size: roughly 2 to 2.5 inches tall, a compact ornament-sized build
- Yarn: worsted weight cotton or acrylic in white, red, orange, and black
- Hook: 3.0mm to 3.5mm steel or aluminum crochet hook, matched to yarn weight
- Extras: two small safety eyes or black beads, polyester stuffing, yarn needle, stitch markers
- Technique base: continuous spiral single crochet worked without joining rounds
- Skill focus: magic ring starts, standard increases, and basic surface embroidery
Special Techniques
The spiral snowman amigurumi pattern relies on a continuous round rather than joined rows. Crocheters work each round directly into the next stitch. As a result, the piece spirals upward with no visible seam. A locking stitch marker tracks the start of each round, since the spiral never returns to a clear starting point. Once the rounds blend, the surface stays smooth after stuffing, and increases become easier to count.
Pro tip: Move the stitch marker up one stitch at the start of every new round. Skipping that step makes the round count easy to lose.
Time Box
- Prep time: 5 minutes for gathering yarn, hook, and stuffing
- Stitching time: 35 to 45 minutes for the head, body, and hat pieces combined
- Finishing time: 15 to 20 minutes for stuffing, joining, and face embroidery
- Total project time: roughly 1 hour from magic ring to finished snowman
Common Mistakes
- Losing the round marker and stitching an extra round by accident
- Overstuffing the head, which stretches the stitches and distorts the round shape
- Skipping the increase count check, so the circle warps instead of lying flat
- Attaching the red piece off-center, which throws off the finished silhouette
- Pulling the face embroidery too tight, puckering the white background stitches
Uses & Benefits
The finished spiral snowman amigurumi pattern works as more than a shelf decoration. Crafters attach a loop and turn it into a hanging ornament. Others tuck it into a stocking as a small surprise. Because the build stays compact, it also travels well as a package topper or a desk accent. The spiral technique keeps material use low. A single skein easily covers several snowmen for gifting or selling in batches.
Helpful Beginner Tips
- Count stitches after every increase round before moving forward
- Use a contrasting stitch marker color for the very first round
- Keep tension slightly tighter than usual so stuffing does not peek through
- Stuff firmly but gradually, adding small amounts as the round closes
- Practice the magic ring separately before starting the actual project
Assembly
Building the spiral snowman amigurumi pattern happens in six short stages.
Starting the White Body with a Magic Ring
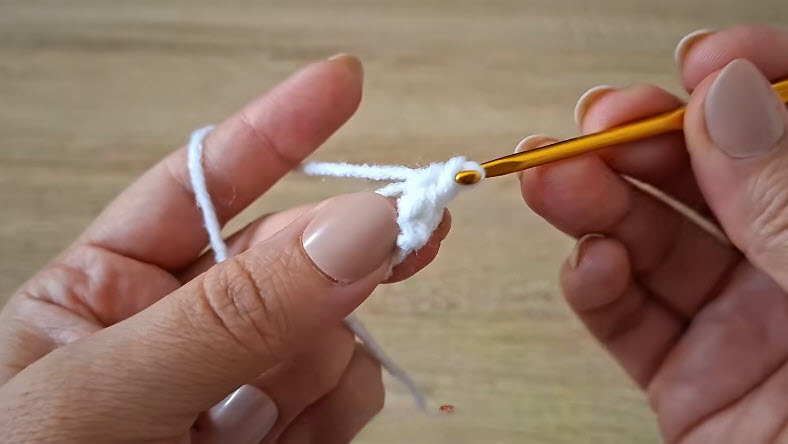
- Wrap the white yarn around two fingers to start a magic ring.
- Pull the working yarn through with the hook, then chain one.
- Work the first round of single crochet stitches directly into the ring.
- Pull the tail to close the ring snugly before continuing.
Building the Spiral Rounds
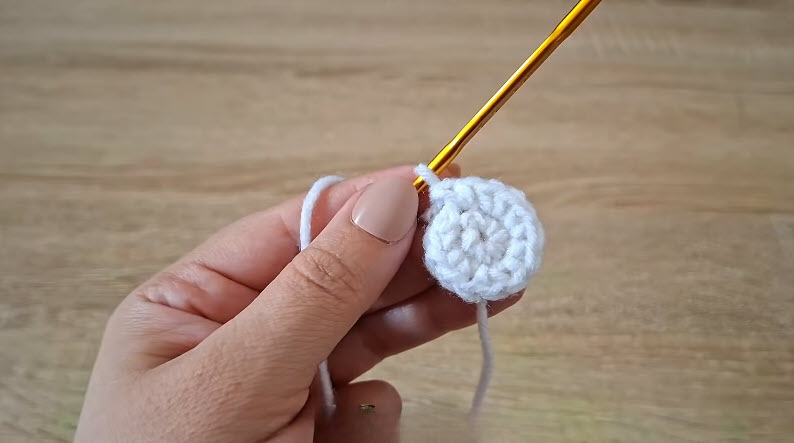
- Continue single crocheting into each stitch, adding increases to widen the flat circle.
- Once the circle reaches the target width, stop increasing and work even rounds instead.
- Keep the spiral moving without joining or chaining, so the sides curve smoothly upward.
Shaping and Marking the Stitches
- Check the stitch count against the pattern after every few rounds.
- Clip a locking stitch marker into the last stitch before starting the next round.
- Once the piece reaches the desired height, begin decrease rounds to taper the top opening.
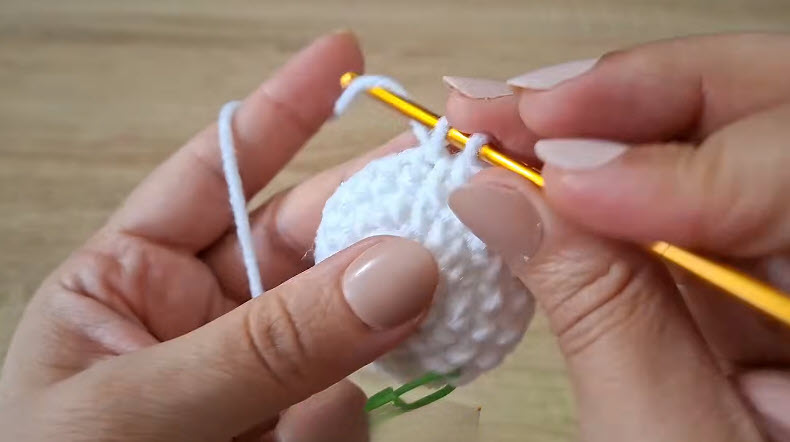
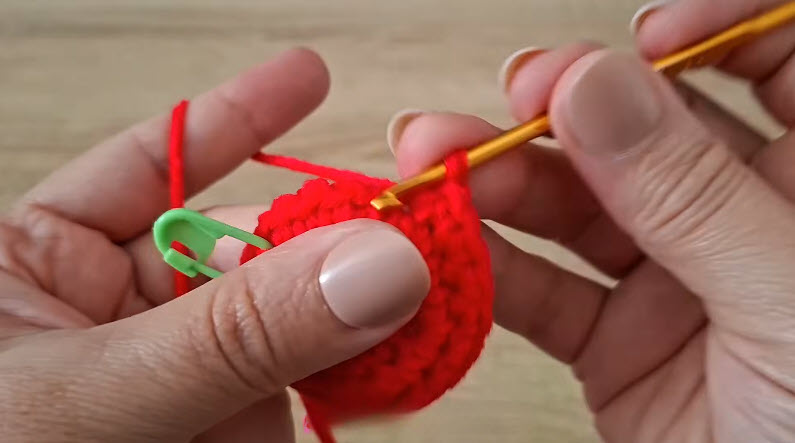
Crocheting the Red Base
- Start a fresh magic ring in red yarn, using the same method as the white piece.
- Single crochet around the ring, then increase steadily to widen the circle.
- Continue increasing until the red piece forms a small rounded base.
- Track the round count with a stitch marker, just as before, so the shape stays consistent.
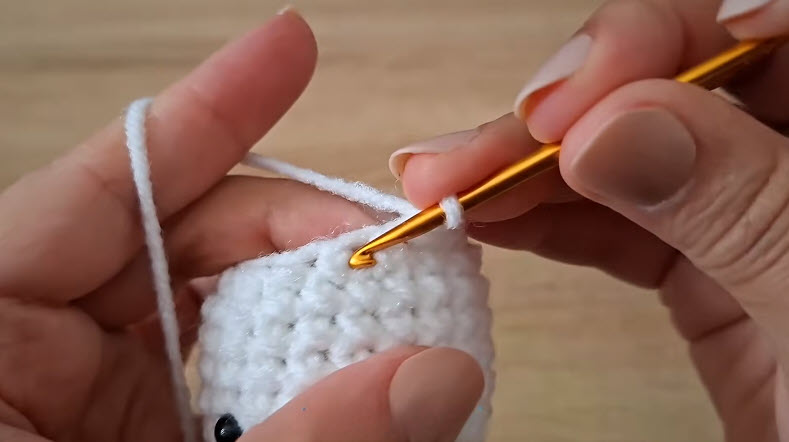
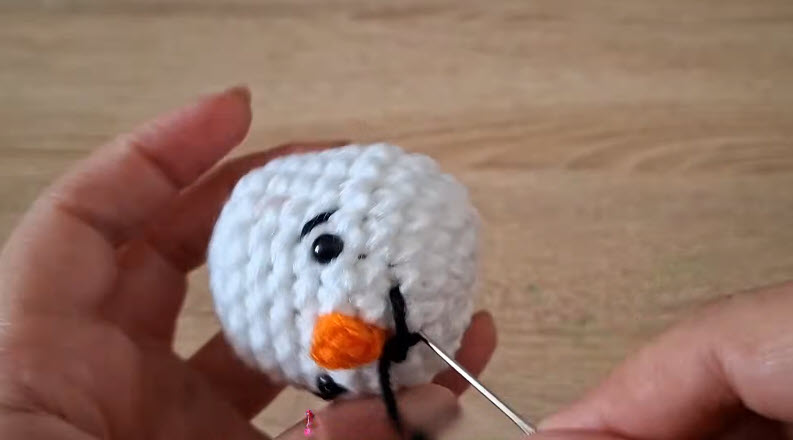
Embroidering the Snowman Face
- Thread a yarn needle with black yarn.
- Stitch two small dot eyes onto the upper half of the white piece.
- Stitch a short orange triangle just below the eyes to form the carrot nose.
- Add a curved black mouth line beneath the nose, using small straight stitches for a simple smile.
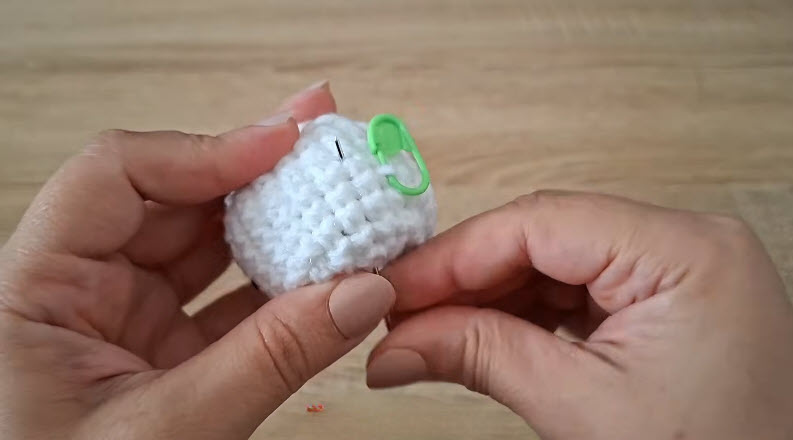
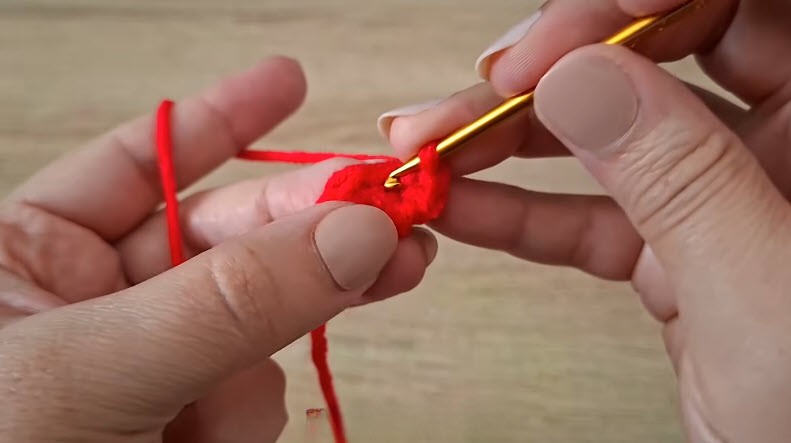
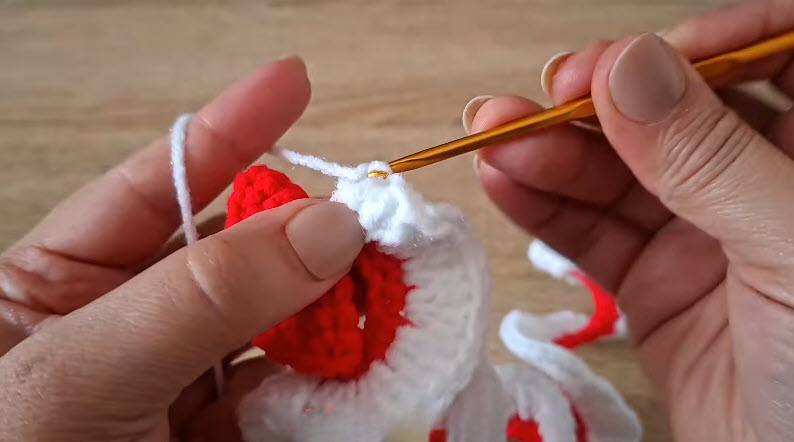
Joining the Pieces Together
- Line up the open edge of the white piece against the top edge of the red piece.
- Single crochet around the join, working through both layers to seam them together.
- Weave in every loose yarn tail on the inside.
- Give the finished snowman a light shape and fluff to finish.
Where Can You Use This?
Crafters hang the finished snowman from a mini tree branch or clip it onto a wrapped gift. Others dangle it from a keychain ring for a pocket-sized holiday accessory, or slip one into a coworker’s stocking. Because the base sits flat, it also stands well on a shelf, mantel, or windowsill display. A small loop turned into the top round even lets it secure onto a garland strand for extra holiday color.
Why Beginners Will Enjoy This Pattern
New crocheters get a low-risk introduction to amigurumi construction without a long project timeline. Since the spiral technique skips joining and turning, fewer steps interrupt the rhythm of stitching. Mistakes stay easy to spot early, because the round shape reveals unevenness before too much yarn goes to waste. As a result, the small scale keeps frustration low while still teaching increases, decreases, and basic embroidery.
Tips and Tricks for Success
- Work stitches snugly so stuffing never shows through the fabric
- Switch colors at the start of a round for a cleaner transition line
- Use safety eyes before stuffing, since they lock in place from the inside
- Steam-block the finished piece lightly if the rounds look uneven
- Store extra stitch markers nearby for quick round tracking
Why This Pattern Is Trending
Holiday amigurumi keeps gaining traction because small, fast projects fit busy schedules. The spiral snowman amigurumi pattern fits that trend closely. Seasonal makers want quick wins between larger projects. As a result, compact designs like the snowman see a steady search spike each year.
- Short stitching time fits easily into a single evening
- Minimal yarn requirement keeps the project budget-friendly
- Spiral construction photographs well for social sharing, since no seam line breaks the surface
Gift & Occasion Ideas
A finished snowman works well as a stocking stuffer, secret Santa gift, or teacher’s holiday token. Crafters also attach a jump ring and turn several into ornament sets for gift-giving. For office parties, a handful of these make an easy craft-fair or bake-sale add-on. Because the build finishes quickly, batches come together well before any holiday deadline.
FAQ
How long does the spiral snowman take to finish?
Most crocheters finish the full project, including embroidery, in about an hour of active stitching time.
Can the pattern work with a different yarn weight?
Yes, though switching to a bulkier yarn changes the finished size and may require adjusting the hook accordingly.
Why use spiral single crochet instead of joined rounds?
Spiral stitching removes the visible seam line, so the round shape stays smooth and consistent throughout.
What stuffing works best for the snowman?
Polyester fiberfill works well, since it holds shape without adding excess weight to the small piece.
Can beginners really finish the project without prior amigurumi experience?
Yes, the pattern only uses magic rings, single crochet, basic increases, and simple embroidery stitches throughout.
A Final Look
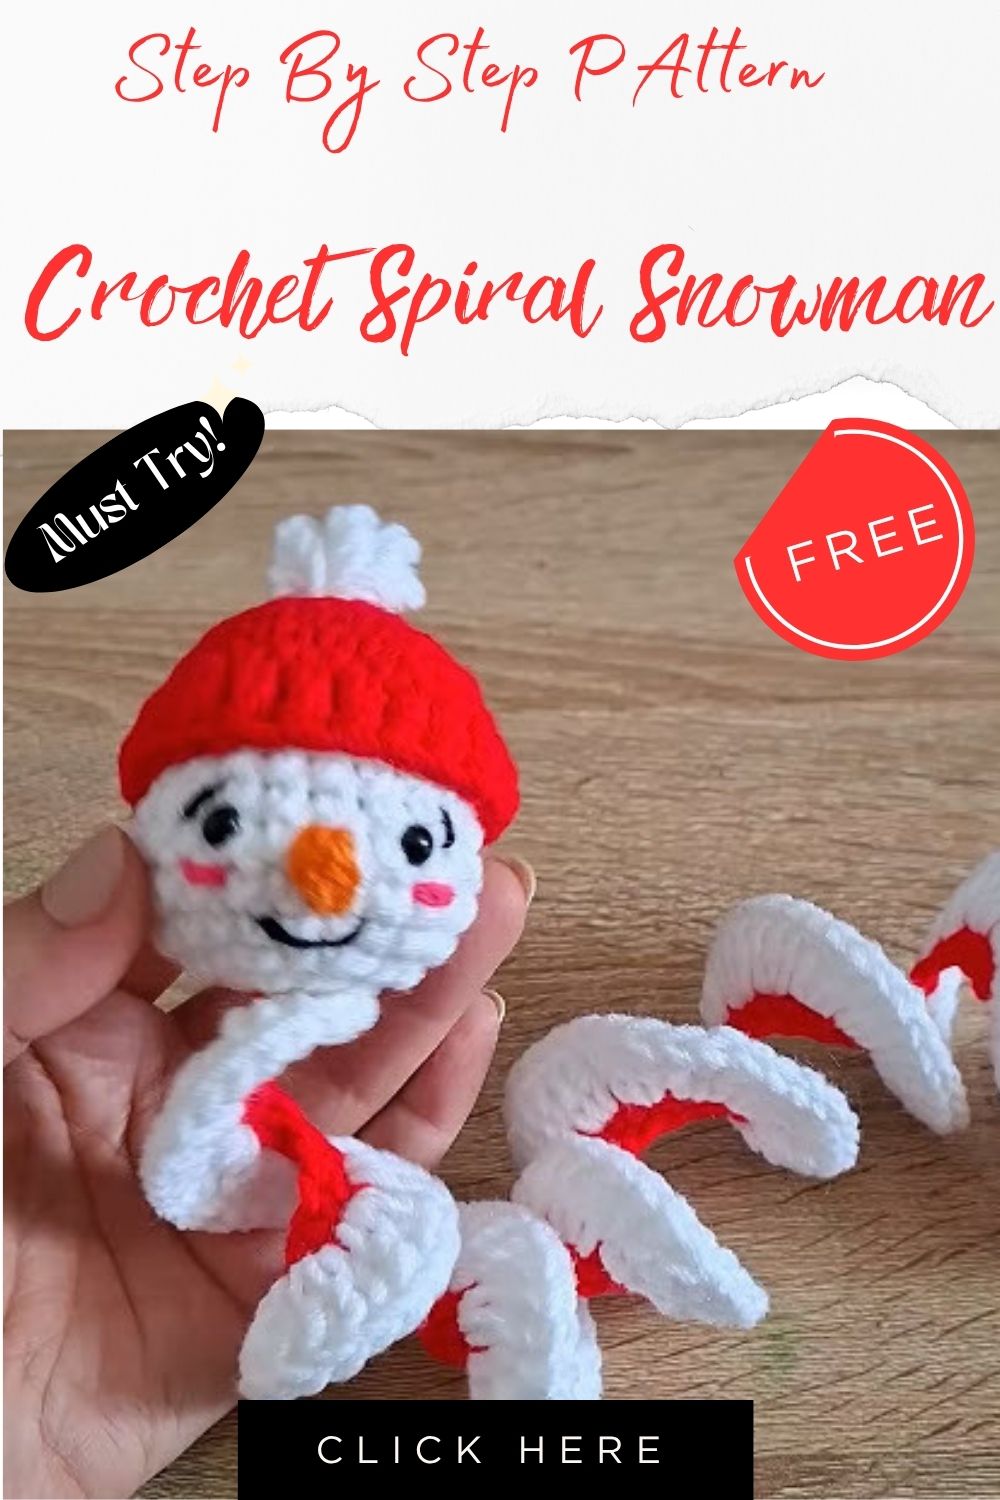
A handful of yarn and about an hour of stitching turn into a cheerful holiday keepsake. Once the basic spiral technique clicks, repeating it for a second or third snowman goes even faster. The spiral snowman amigurumi pattern offers a simple technique with festive payoff. It makes a solid addition to any holiday crochet lineup.