Crochet Hook Case Pattern With Roll-Up Storage
If your hooks are scattered across project bags and drawers, a roll-up case solves the problem quickly. This crochet hook case pattern starts as one flat rectangle of lavender cotton. You fold the bottom edge up to form a pocket layer, then stitch vertical lines through it to create individual slots. A small chain loop at the corner and a long chain tie keep everything closed once rolled.
The pattern uses only chains and single crochet, so it suits confident beginners. Instead of fixed stitch counts, you size the case to your own hooks, so it fits whatever set you own. Below, you will find the materials, sizing advice, step-by-step instructions, and tips for a neat finish.
What You Will Make
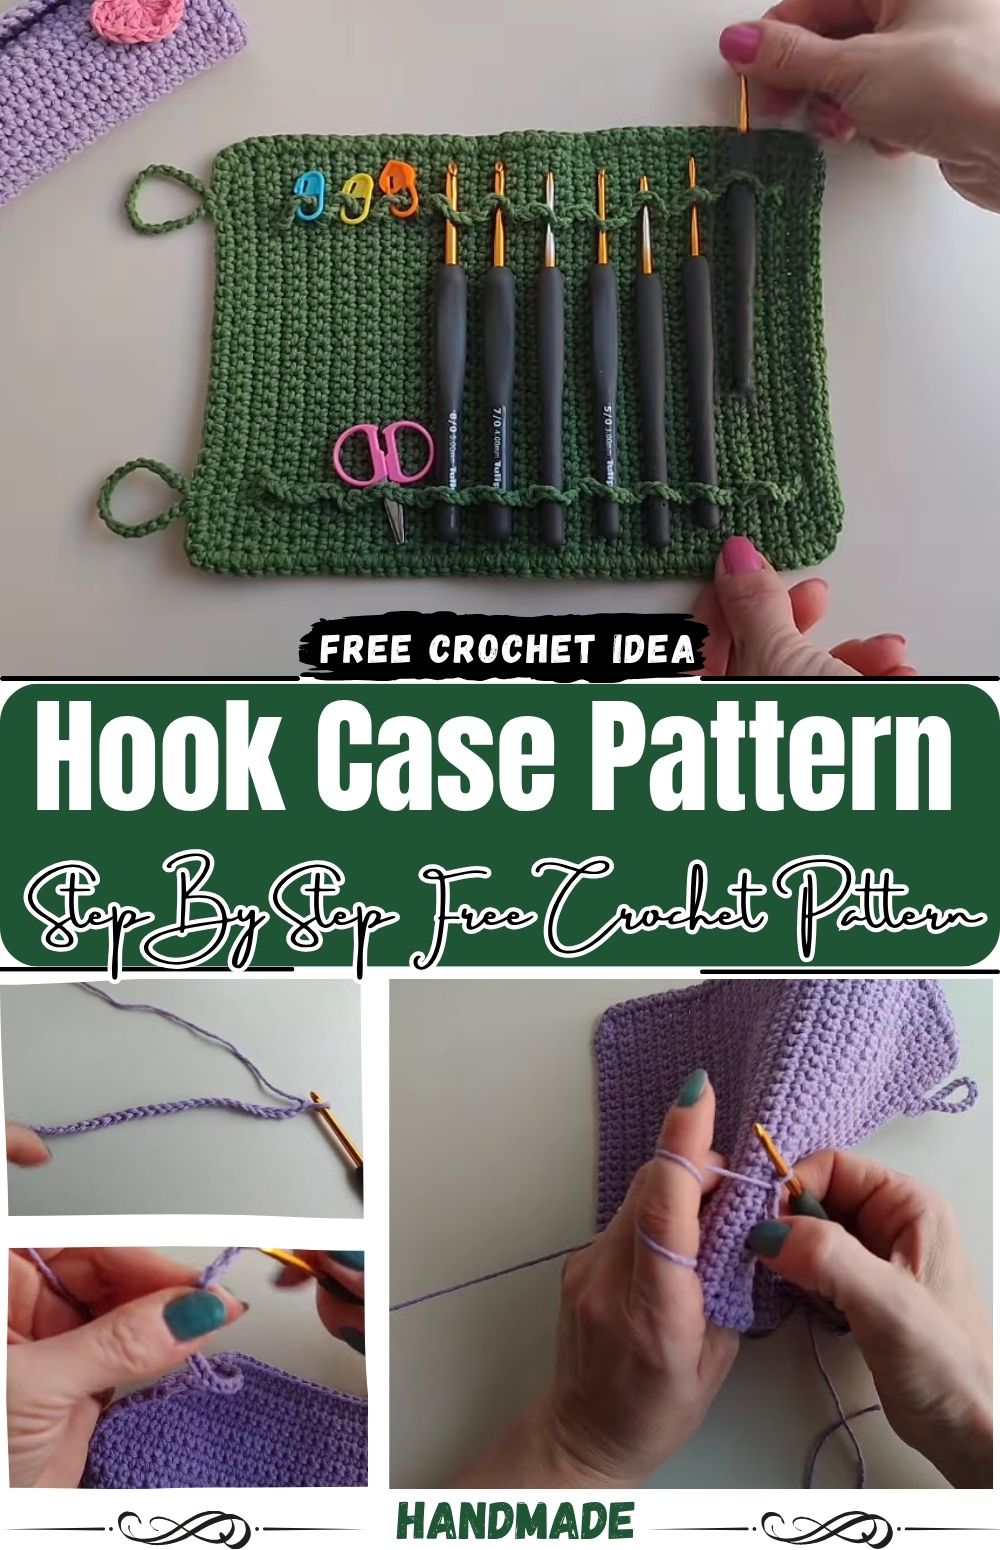
The finished case is a flat rectangle with a folded pocket section along the bottom. Vertical lines of stitching run through the pocket layers to create slots for individual hooks. Once you roll it up from one end and tie it shut, it fits easily in a bag or a craft basket.
This crochet hook case pattern gives no fixed stitch count, because the best size depends on your hooks. Instead, it shows you how to measure, so the case fits your own set. The sizing section below explains how.
Materials for the Crochet Hook Case Pattern
- Cotton yarn in a light weight, in the color you like (the sample uses lavender)
- 3.5 mm crochet hook (US E-4)
- Yarn needle for weaving in ends
- Scissors
- Your crochet hooks, for measuring as you go
Cotton works well here because it is firm and holds its shape, so the pockets do not sag. A softer acrylic will also work, although the case will be floppier. If you are unsure what counts as light weight, the Craft Yarn Council yarn weight chart explains the categories.
Abbreviations (US Terms)
- ch: chain
- sc: single crochet
- sl st: slip stitch
- st(s): stitch(es)
Sizing Your Crochet Hook Case Before You Start
Start by laying your longest hook on a table and deciding how tall you want the case. The pocket section should come up high enough to hold the hooks securely, usually about a third of the full height. The rest of the fabric folds over the hook heads as a flap.
Next, think about width. Count the hooks you own and decide how much room each slot needs, since chunkier handles need wider slots. Your foundation chain sets the width of the case.
If you are unsure, make a short test swatch of sc rows. The fabric should feel dense enough to protect your hooks without being stiff.
Complete Crochet Hook Case Pattern
Step 1: Foundation Chain
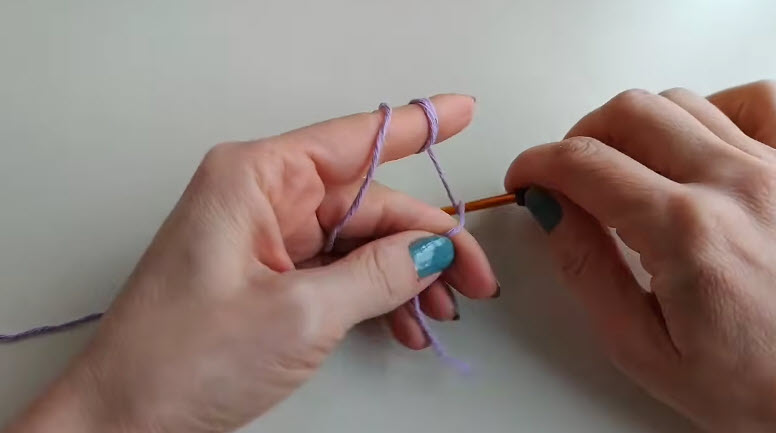
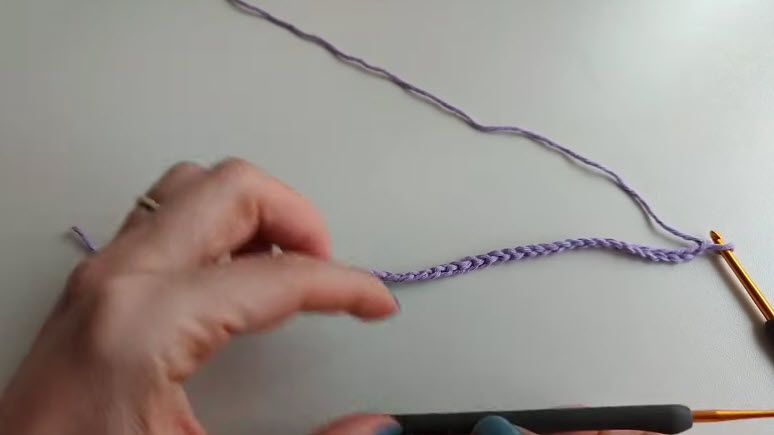
Make a slip knot and chain enough stitches to reach your desired width, plus one extra chain for the turning chain. Keep the chains even, because tight chains pull the bottom edge in.
Step 2: First Row
Work 1 sc into the second chain from the hook and into each chain across, then turn. From here on, check that your stitch count stays the same. The edges should run straight, with no flaring or narrowing.
Step 3: Body of the Case
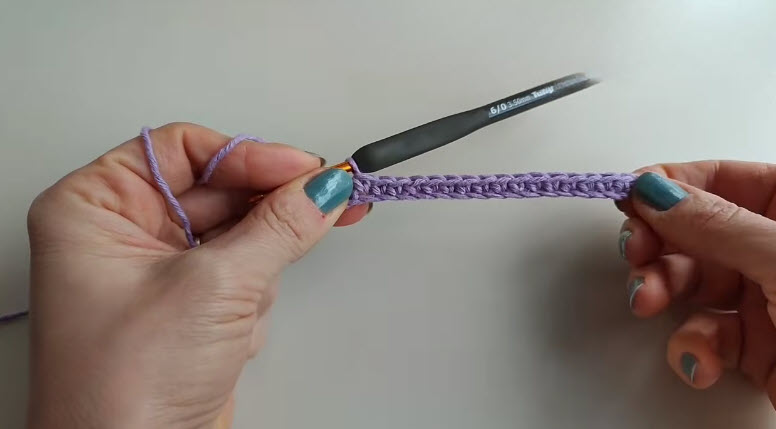
Ch 1, turn, and work 1 sc into every stitch across. Repeat this row until the piece becomes a long rectangle, tall enough to cover the pocket fold and the flap with a bit of overlap.
While you work, lay a hook against the fabric from time to time. When the piece is roughly twice the length of your longest hook, stop and compare. The extra length becomes the pocket fold plus the flap that covers the hook heads.
Steady tension matters more than speed. If one row looks tighter than the others, pull it out and redo it, because a flat piece like this shows uneven rows more than a shaped project would.
Step 4: Add the Closure Loop
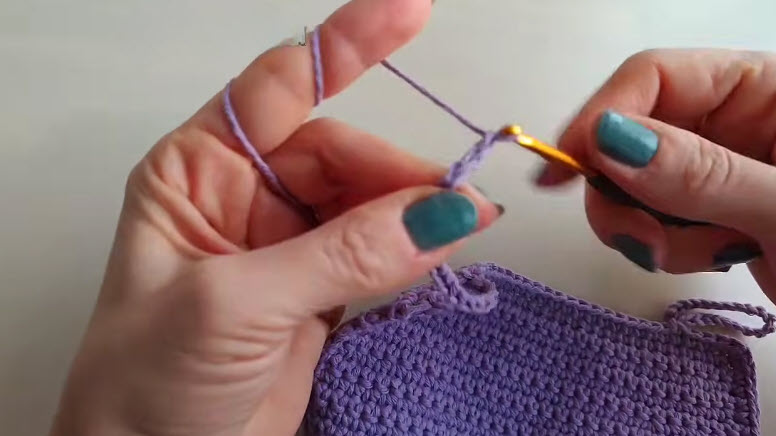
At the top corner of the case, work a short chain and attach it back to the edge with a slip stitch. This creates a small loop that catches the tie when you roll the case closed.
Fasten off once the loop is secure. Alternatively, add the loop while you work the border in Step 6 if you would rather keep your yarn attached.
Step 5: Fold the Pocket Section
Place the case flat with the right side facing you, then fold the bottom edge up toward the center. The folded part forms the front of the pockets, and the unfolded part behind it forms the back.
Next, smooth the folded layer so the side edges line up with the fabric underneath. If they do not match, adjust the fold by a few rows until they do.
Step 6: Join the Sides
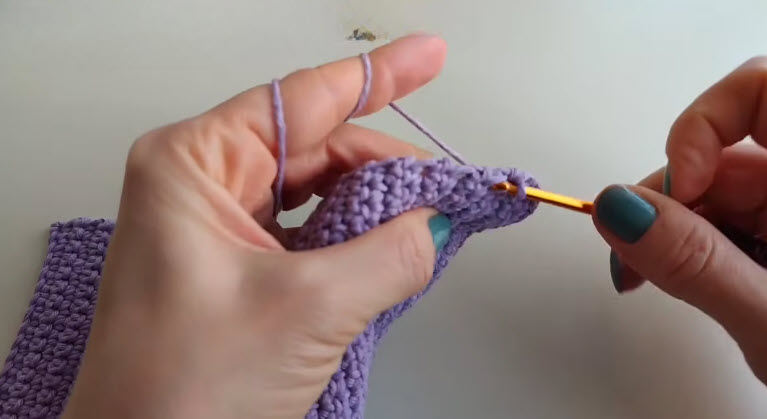
Join your yarn at the bottom corner. Work sc evenly up one side, inserting your hook through both layers so the fold is stitched shut. Take it slowly, because you are working through two thicknesses and an uneven join will show on the finished edge.
Repeat on the other side. When you reach the top corner of the folded section, you can continue with sc along the outer edge for a neat border all the way around. A border also helps the case lie flat.
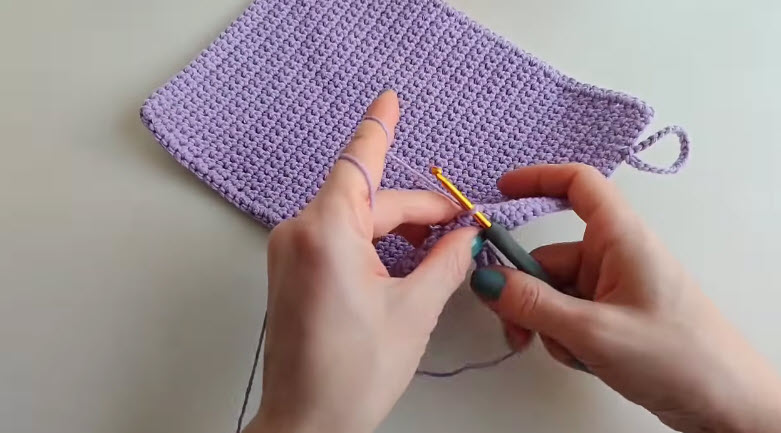
Step 7: Create the Hook Slots
This step turns the folded pocket into separate slots. Mark your slot positions with stitch markers or small pieces of yarn, and space them to suit your hooks. Larger hooks need wider slots, while slim steel hooks fit in narrower ones.
Then join your yarn at the bottom edge of the pocket and work a vertical line of sl st or sc straight up through both layers to the fold line. Fasten off, weave in the ends, and repeat for each divider.
Keep each line as straight as you can. If a line drifts, the slot will taper and a hook may get stuck.
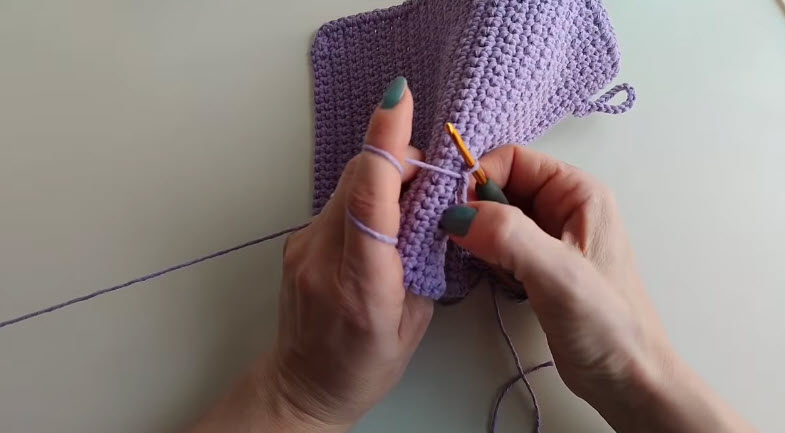
Step 8: Make the Tie
Attach yarn at the side edge of the case, near the middle, and chain a long length. It should be long enough to wrap around the rolled case at least once and tie in a bow. For a sturdier tie, chain a length and work sl st back along it, or make a second chain and braid the two together.
Fasten off and weave in the end.
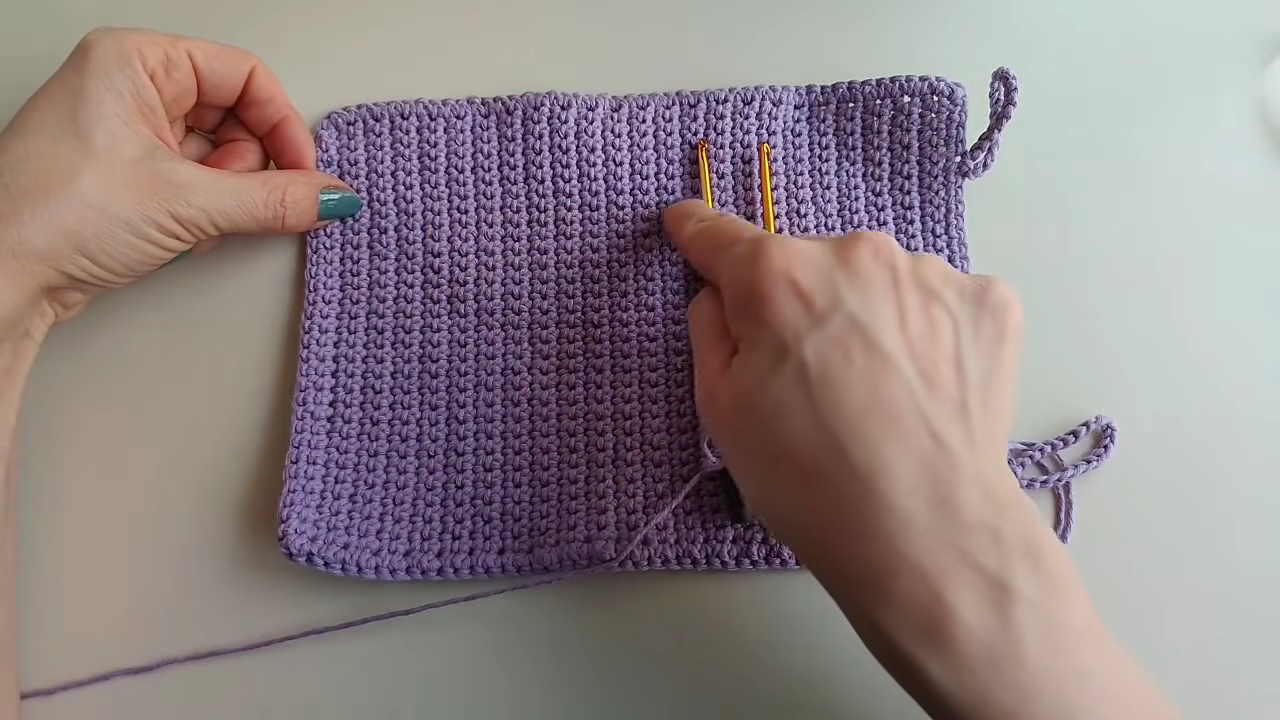
Step 9: Finishing
Weave in all loose ends with your yarn needle, hiding them along stitch lines. Then slide a hook into each slot to test the fit. If the slots feel tight, press the hooks in and out a few times to ease them. Finally, roll the case and tie it closed.
For a visual walkthrough, play the video below.
Crochet Hook Case Pattern Tips
- Keep your edges straight. Count your stitches at the end of a few rows. A flat rectangle is much easier to fold and join when both sides match.
- Use stitch markers for the dividers. Marking the slot positions before you stitch prevents uneven spacing.
- Work through both layers. When joining the sides and making the dividers, make sure the hook goes through the front and back fabric every time.
- Do not overfill the slots. If a handle is very thick, give it a wider slot instead of forcing it in.
Troubleshooting Your Hook Case
The sides are wavy. You may have added or skipped stitches. Count your rows and compare both edges, then pull back to where the difference started.
The pockets sag. Your fabric may be too loose, so try a smaller hook size or a firmer cotton yarn.
The case will not roll neatly. The fabric may be too stiff or too thick. Roll it more loosely, or use a thinner yarn next time.
Hooks fall out. The folded pocket may be too shallow. On your next case, fold the bottom edge higher or make the flap longer.
Ways to Customize the Case
- Color changes. Switch colors every few rows for a striped look, or use one color for the pockets and another for the flap.
- Size adjustments. Add more foundation chains for a wider case that holds more hooks, or work extra rows for a longer one.
- Closure options. Replace the tie with a button and a chain loop if you prefer a closure that stays put.
- Interior stash. Leave the flap section extra deep and use it to hold small notions like stitch markers and tapestry needles.
Bonus: Organize Your Hooks by Size
Once the case is finished, arrange your hooks from smallest to largest so you can find the right size at a glance. Keep the hooks you reach for most often in the slots nearest the outer edge, and give any thick-handled hooks the widest slots. If a slot ends up empty, it makes a handy spot for a tapestry needle.
Bonus: Turn It Into a Gift Set
A hook case makes a thoughtful handmade gift, especially when you fill it with a few new hooks and a small project bag. You could also make two cases in coordinating colors, one for hooks and one for knitting needles or notions. Add a simple tag with the recipient’s name, and the set is ready to give.
Crochet Hook Case Pattern FAQs
How many hooks will this case hold?
That depends on your width. Divide the finished width by the slot size you need, and you have your count.
Can I make it for knitting needles instead?
Yes. Make the case taller to fit the needle length, and widen the slots for thicker needles.
What yarn works best?
Cotton gives the firmest result and keeps its shape. Any lightweight yarn will work, as long as the fabric stays dense.
Do I need to block the case?
Usually not. A light steam press can help the fabric lie flat if the edges curl, but be careful with heat on synthetic yarn.
Is this crochet hook case pattern suitable for beginners?
Yes. The pattern uses only chains and single crochet, plus a little seaming. Just take your time with the joining step.
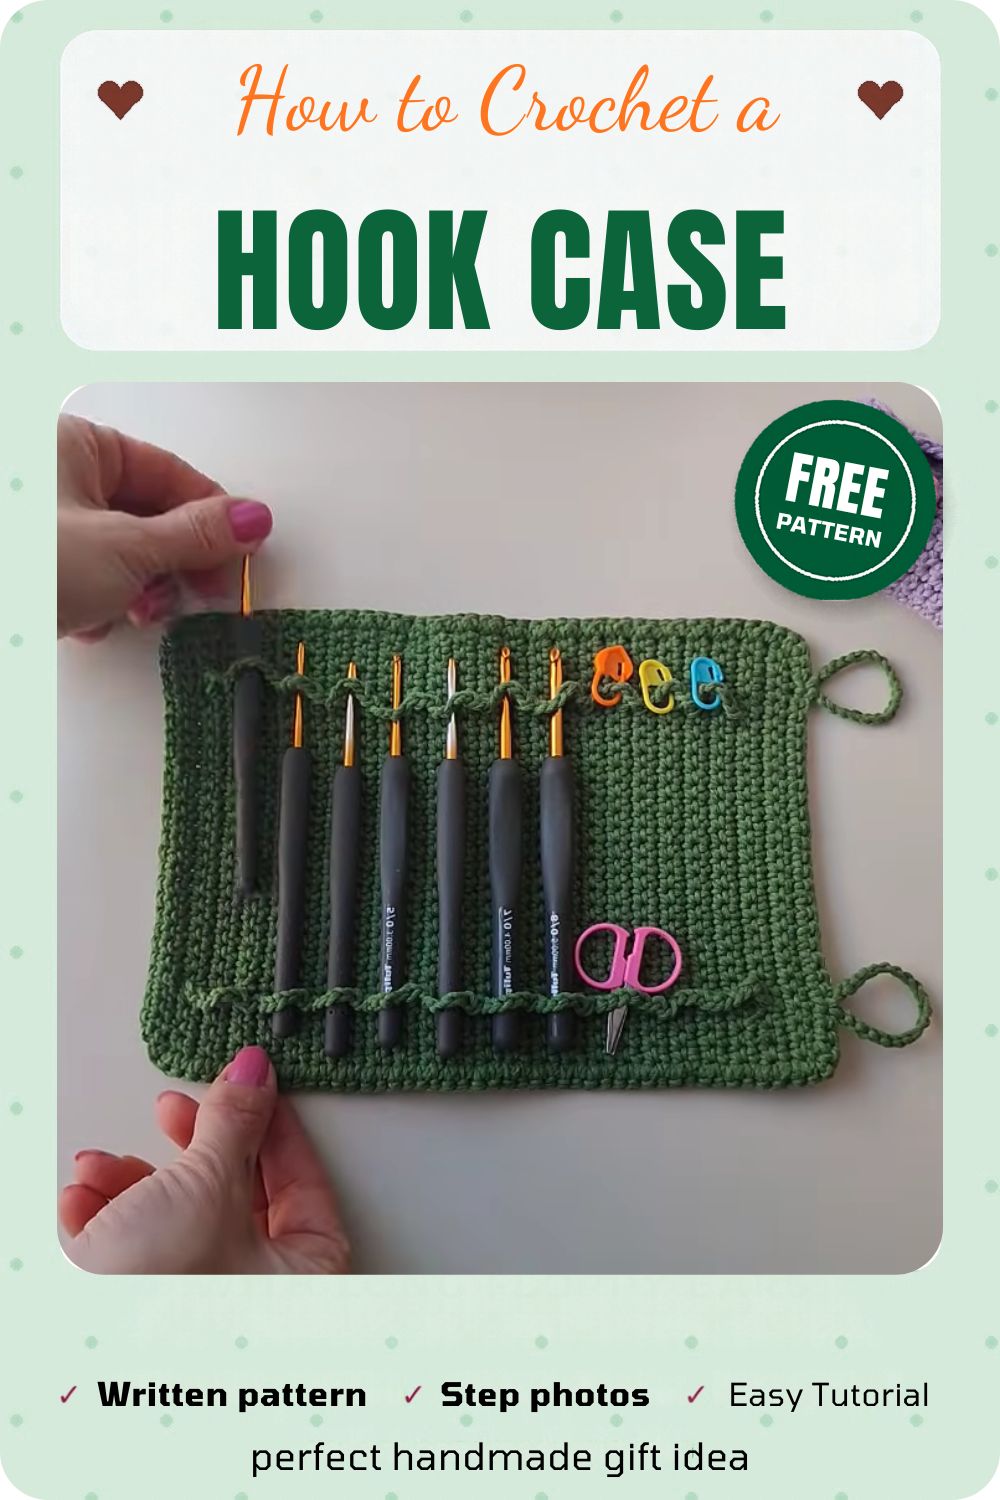
Roll It Up and Keep Stitching
Once you have made one case, the process goes quickly, and you can resize it for any set of hooks. Roll it up, tie it closed, and keep it in your project bag so your hooks are always within reach.