Crochet Snake Amigurumi Pattern with Curved Body Design
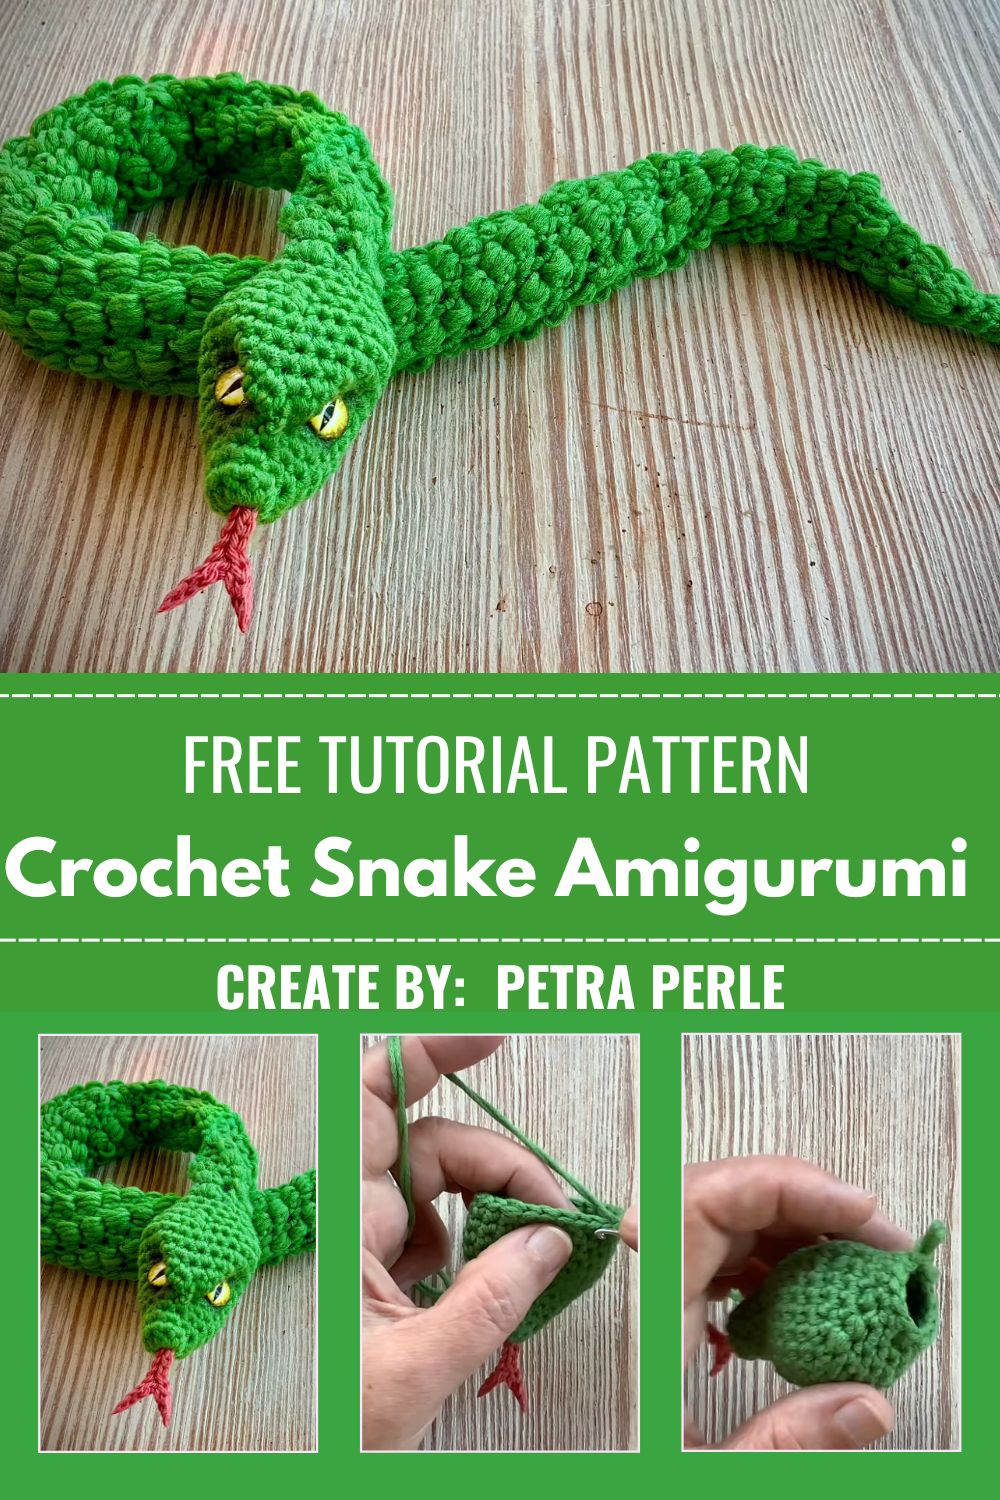
This Crochet Snake Amigurumi Pattern with Curved Body Design builds a long, playful crochet snake amigurumi using simple rounds and a gentle curving shape.
Bright green yarn forms the winding body of this snake, while a tiny forked tongue in contrasting red adds a fun, realistic touch that kids and collectors both love. This amigurumi snake pattern works up through a continuous tube shape rather than separate pieces, making it a satisfying project for anyone who enjoys watching a curved crochet toy grow longer with every single round.
About This Crochet Pattern
A single continuous tube of single crochet stitches forms the entire length of this snake, curving naturally as it grows thanks to gentle increases and decreases worked at just the right points. The rounded head tapers gently from the body, while two tiny bumps and a stitched-on tongue give the face just enough personality without overcomplicating the shape.
Difficulty stays approachable for most skill levels, since the whole project relies on one repeated technique worked over and over in a long spiral. Patience matters more than technical skill here, as the tube shape simply needs enough rounds to reach a satisfying finished length.
Project Details
- Skill Level: Beginner
- Finished Size: Approximately 20 to 24 inches long (adjustable by adding or removing rounds)
- Estimated Time Required: 3 to 4 hours
- Recommended Yarn Weight: DK or Worsted weight
- Crochet Hook Size: 3.0mm to 3.5mm
Materials Needed
- Green yarn (main body color)
- Small amount of red yarn (tongue detail)
- Crochet hook (3.0mm–3.5mm)
- Fiberfill stuffing
- Tapestry needle
- Stitch markers
- Scissors
- Optional wire insert (for a fully posable, bendable body)
Crochet Stitches & Techniques
- Magic Ring (MR): Starts the tight point at the tip of the tail.
- Single Crochet (sc): Builds the entire length of the body in a continuous tube.
- Increase (inc): Widens the head section slightly for a rounded shape.
- Invisible Decrease (inv dec): Tapers both the tail tip and the nose smoothly.
- Fastening Off: Secures the yarn once the final round is complete.
- Sewing Pieces Together: Attaches the small forked tongue to the finished head.
Only these core techniques appear throughout the pattern, which keeps this project accessible even for someone working their first amigurumi tube shape.
Pattern Instructions
Starting the Tail Tip
Form a magic ring with green yarn and work a small group of single crochets into it, pulling the loop closed to create the narrow starting point of the tail. Mark the first stitch of the round right away, since this project spirals continuously without any joining rounds.
Building the Body Tube
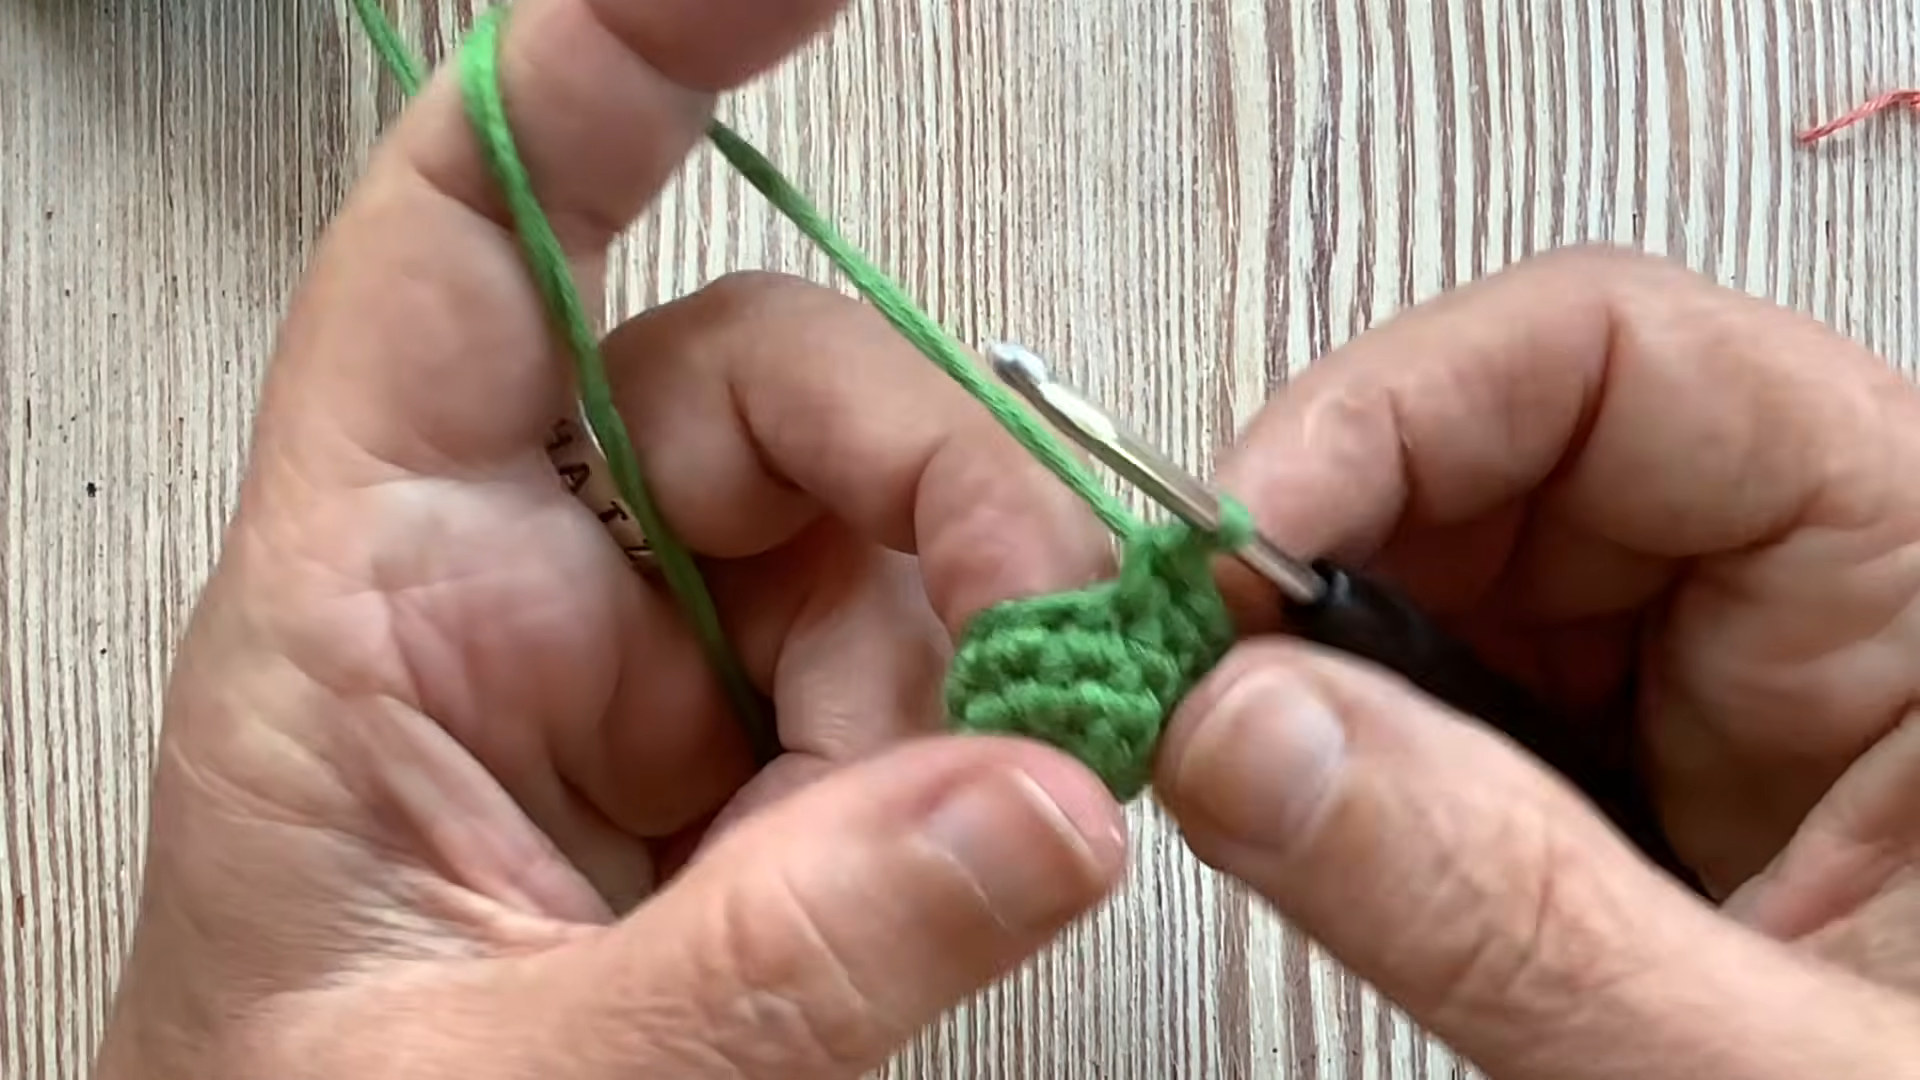
Continue working single crochet in a spiral, keeping the stitch count steady across most of the body to form a smooth, even tube. Stuff the tail section lightly as you go, adding just enough fill to give the body a soft, flexible feel rather than a stiff, overstuffed one.
Curving the Body Naturally
Let the tube curve gently as it grows longer rather than forcing it into a straight line, since amigurumi tubes naturally bend once stuffed and handled. Continue adding rounds until the body reaches roughly the length you want before the head shaping begins.
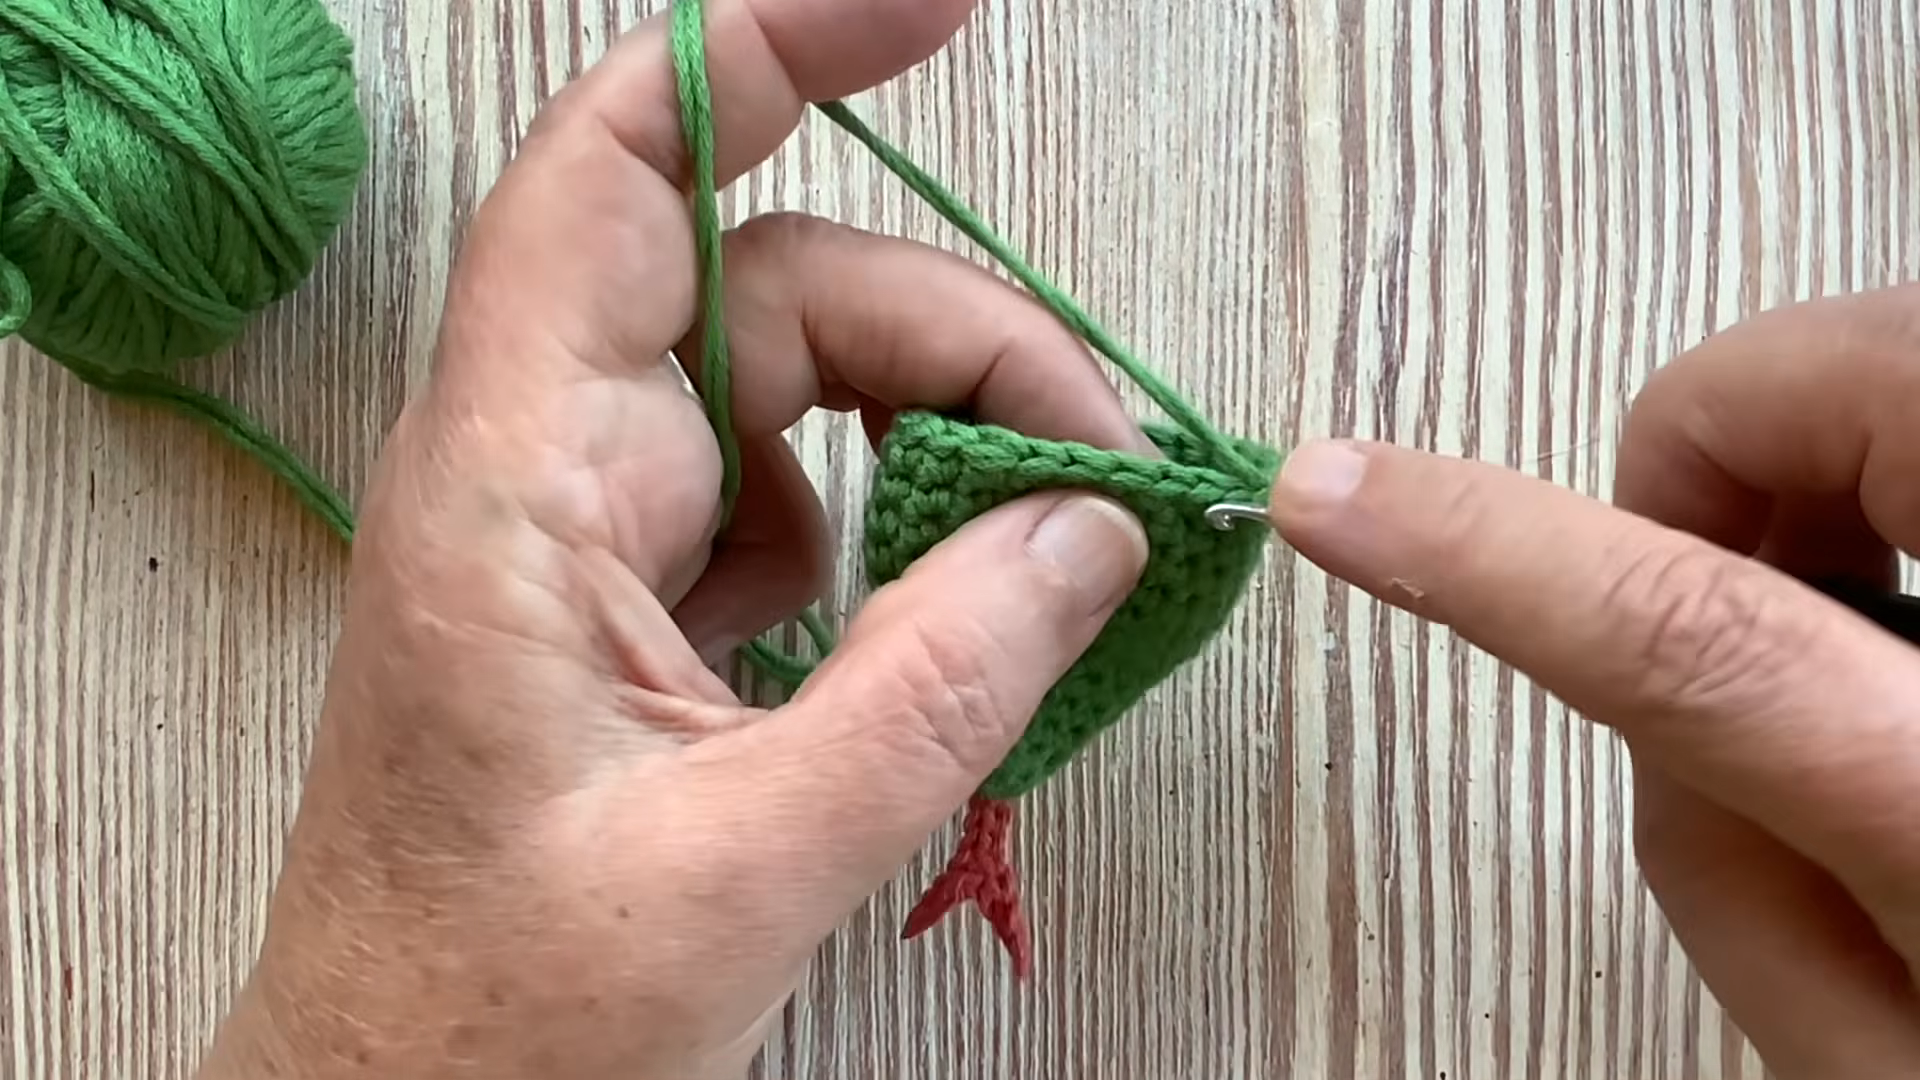
Shaping the Head
Increase gradually over a few rounds to widen the body slightly into a rounded head shape, then work a round or two even before beginning to decrease again toward the nose. This gentle shaping gives the snake its recognizable head silhouette without needing separate head and body pieces.
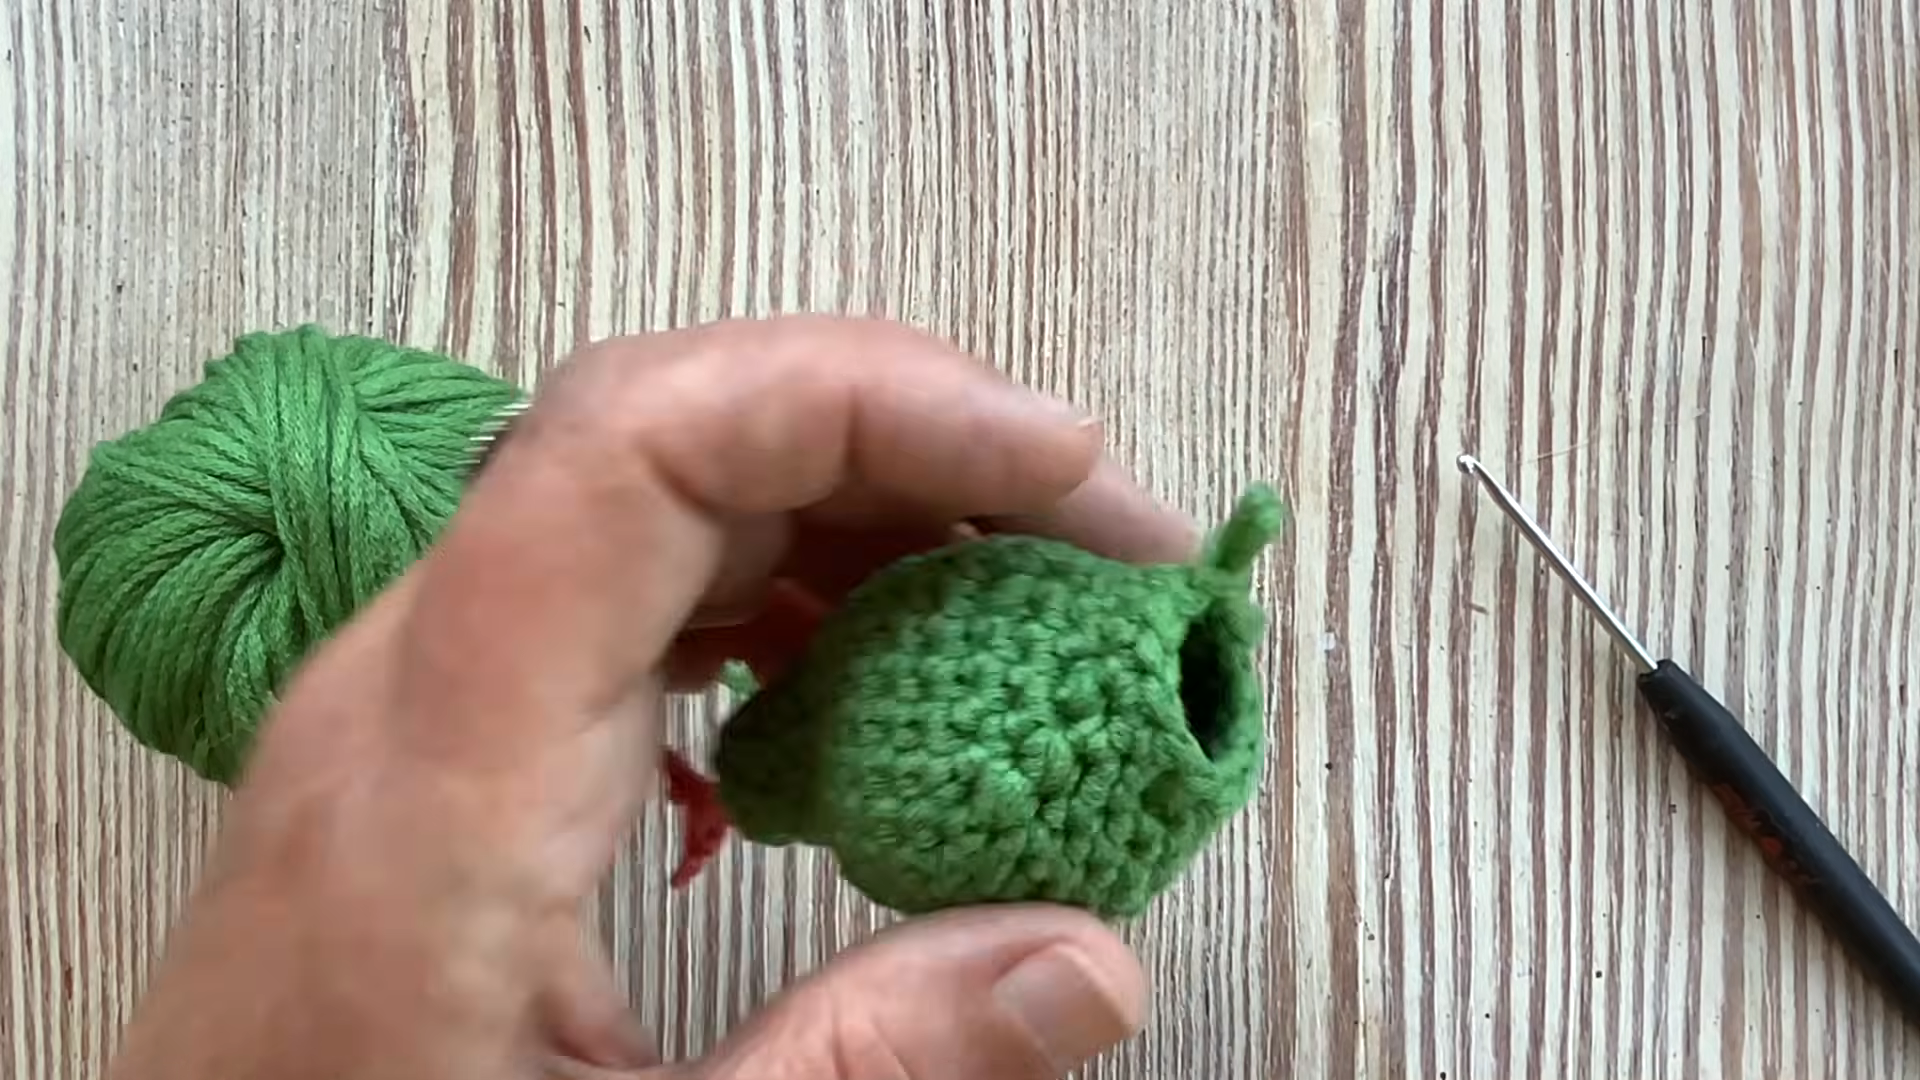
Adding the Tongue
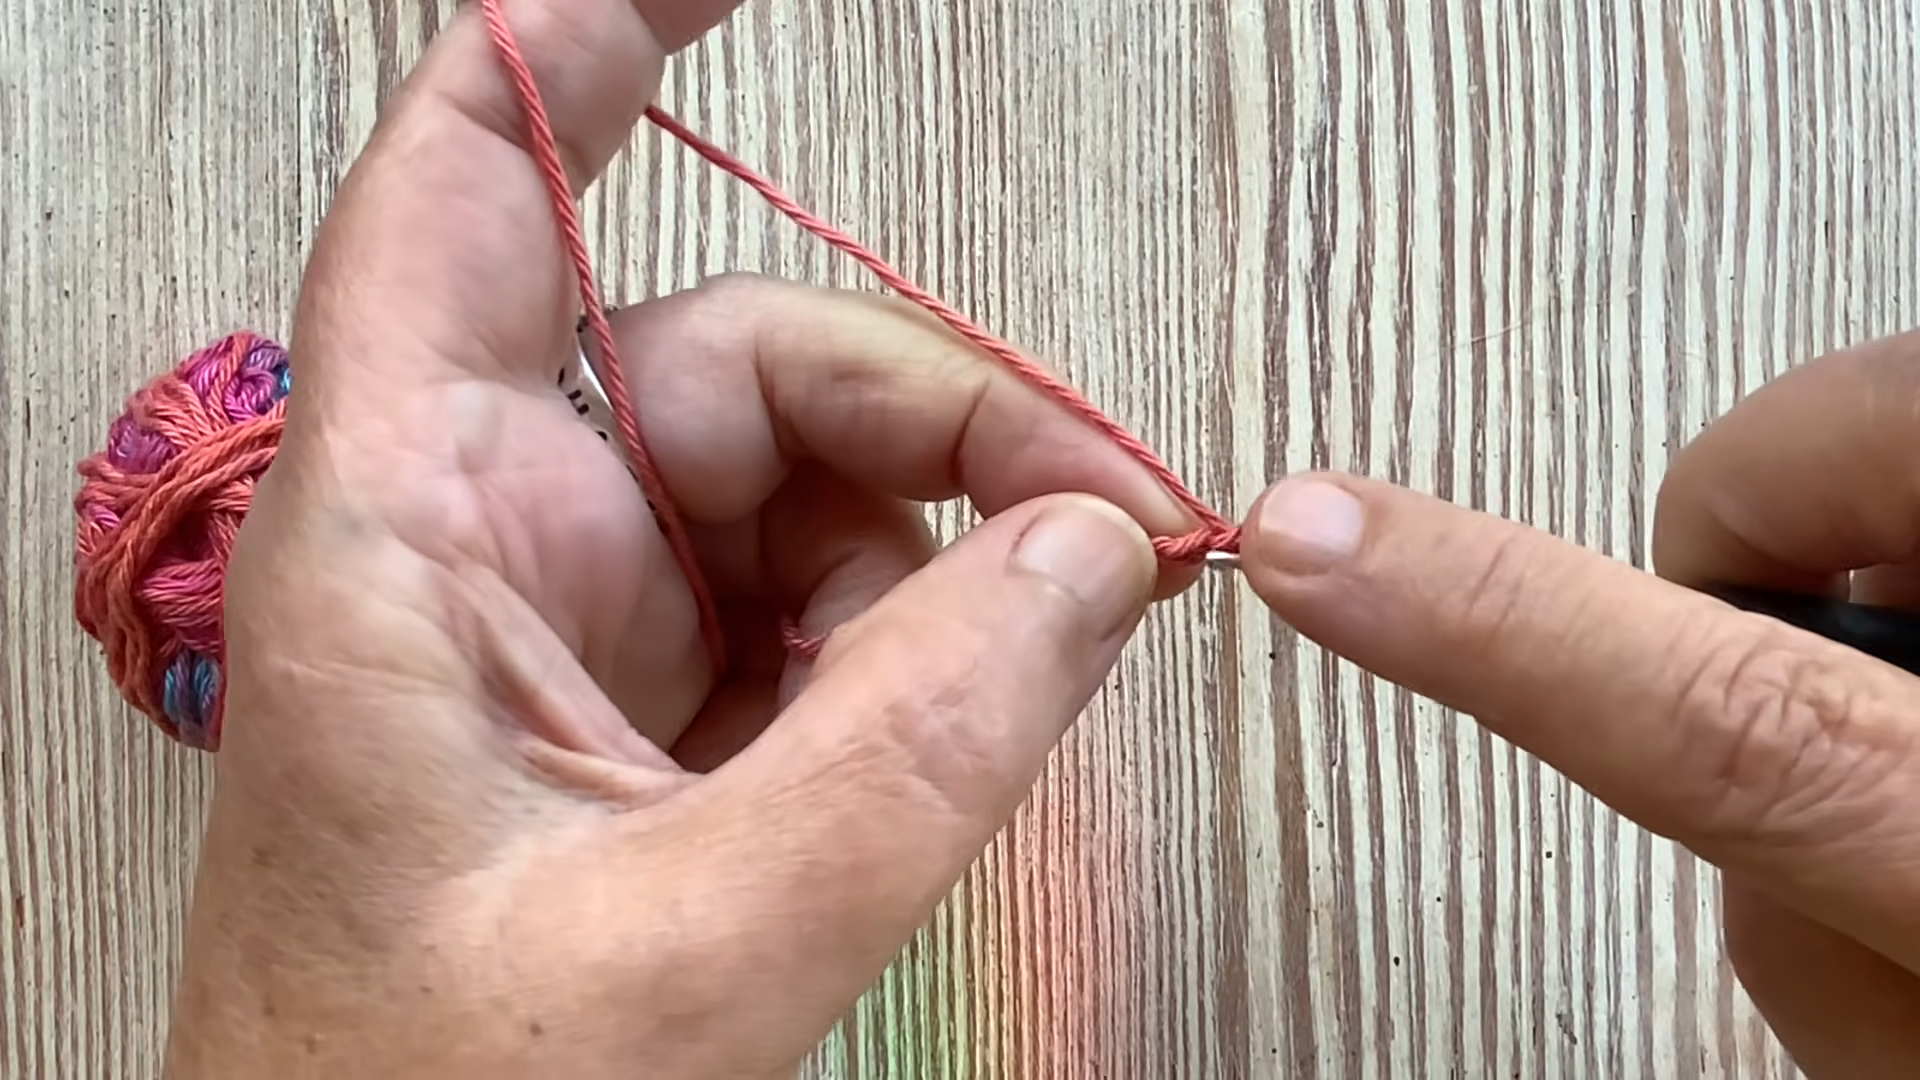
Chain a short length using red yarn, then work a small V-shaped fork at the tip to mimic a snake’s forked tongue. Leave a tail for sewing, then attach the tongue securely at the very front of the head once the body shaping is complete.
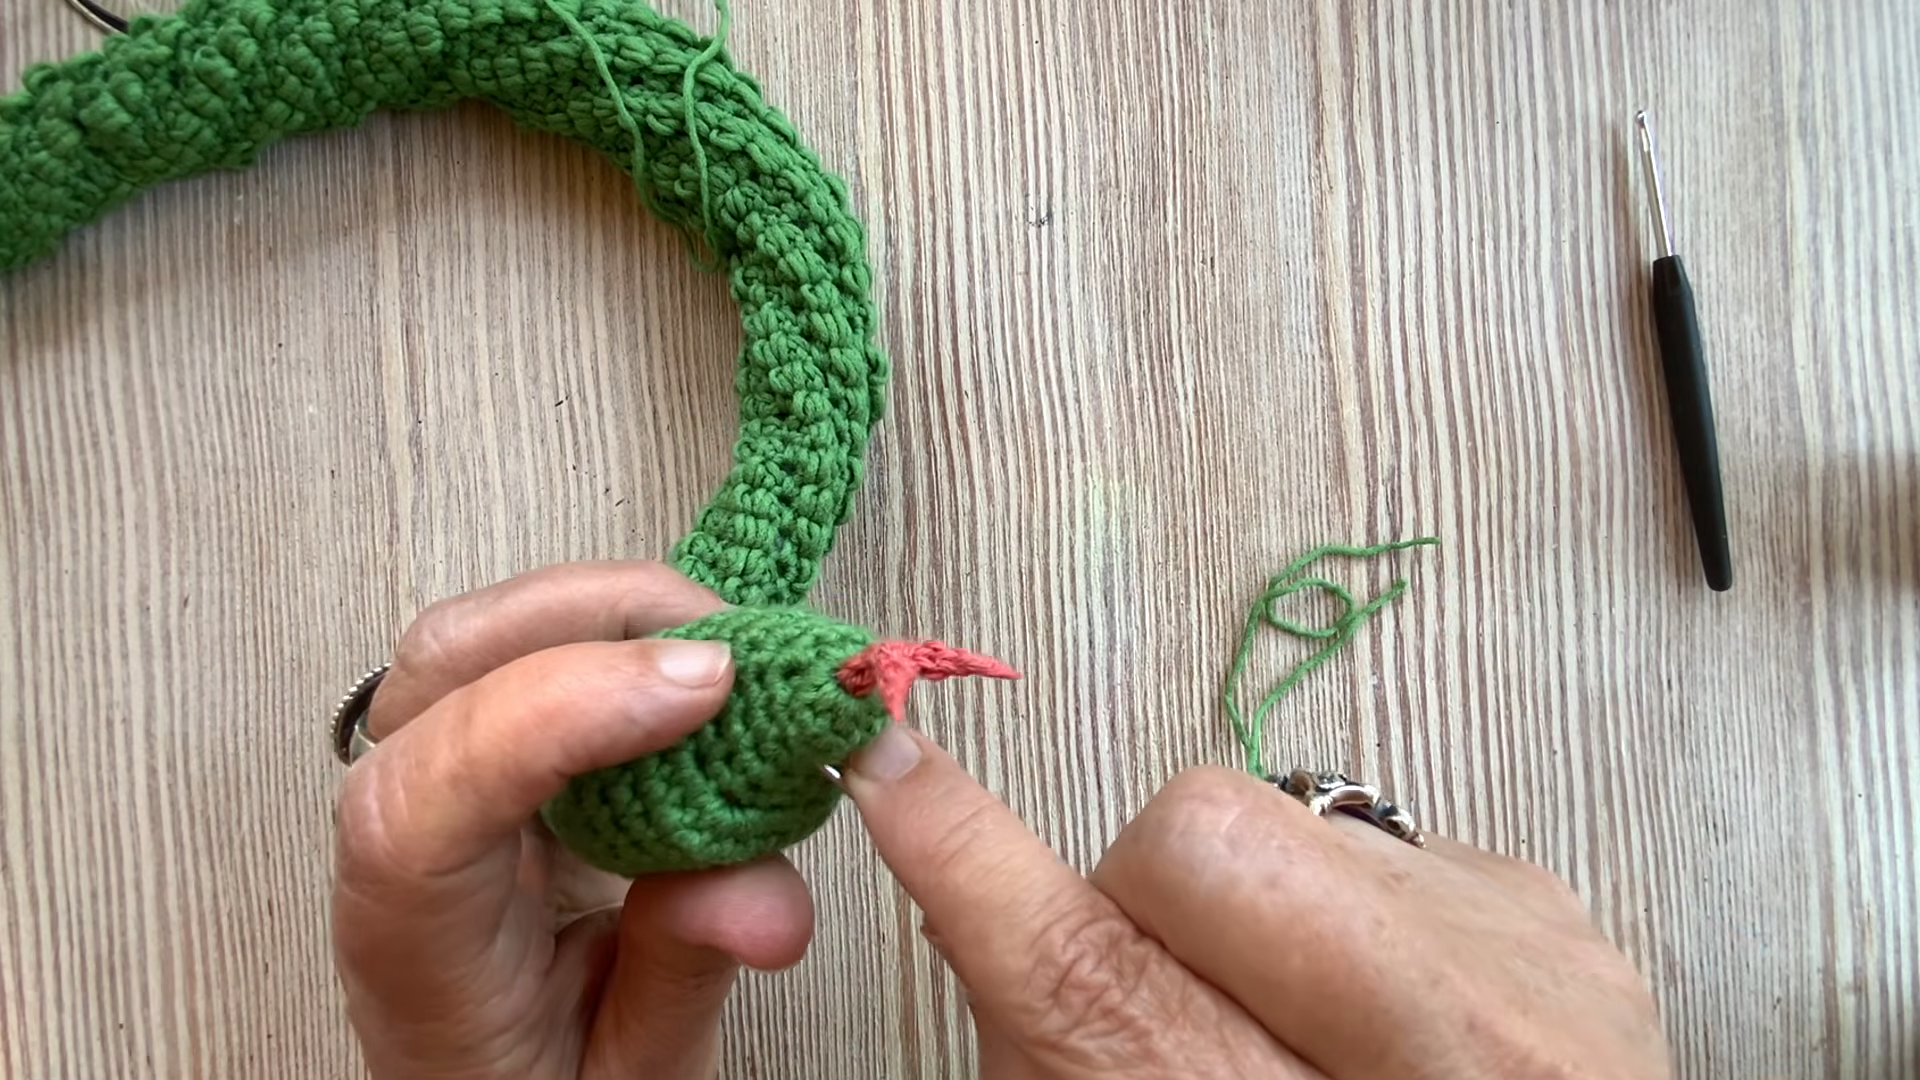
Finishing the Nose
Decrease steadily over the final few rounds to close the nose end smoothly, adding the last bit of stuffing right before closing the opening completely. Fasten off and weave the tail end back through the final round to hide it neatly.
Final Assembly
Weave in every remaining loose end using a tapestry needle, checking the tongue attachment point closely since that small piece can work loose without a secure stitch. Give the finished snake a gentle curve by hand, shaping the body into a relaxed coil or wave for display.
Tips for Success
- Keep the magic ring tight at the tail tip to avoid a visible gap.
- Stuff gradually and evenly so the body stays flexible rather than stiff.
- Mark the start of each round consistently, since spiral amigurumi has no natural stopping point.
- Insert a bendable wire before finishing if you want a fully posable snake.
- Secure the tongue with several small stitches to prevent it from pulling loose.
Personalization Ideas
Color Variations
Patterned or self-striping yarn creates a naturally scaled look without any extra color-change work.
Size Adjustments
Adding extra rounds partway through the body easily stretches this pattern into a longer, more dramatic snake.
Facial Details
Embroidered eyes or small safety eyes near the head give the snake a more expressive, characterful face.
Posability Upgrade
Threading a flexible wire through the body before closing the final round lets the finished snake hold curled or coiled poses.
Common Mistakes to Avoid
Losing track of the round marker often causes the spiral to shift, so checking stitch placement periodically helps prevent visible seams from forming along the body. Overstuffing early sections can make the tube feel stiff and unnatural once curved, so adding fill gradually throughout the project produces a softer, more flexible result. Rushing the head shaping sometimes leaves the nose looking pointed or uneven, so working the increase and decrease rounds slowly helps the head taper smoothly.
Frequently Asked Questions
How long should the finished snake be?
Most versions land between 20 and 24 inches, though adding or removing rounds easily adjusts the final length to personal preference.
Can I make this Crochet Snake Amigurumi pattern without a magic ring?
Yes, a chain-and-join starting method works as an alternative, though the magic ring typically closes more neatly at the tail tip.
Do I need to add a wire for posing?
Not necessarily. The snake holds a gentle curve on its own once stuffed, though a wire insert allows for more dramatic, adjustable poses.
What yarn works best for this project?
Worsted weight cotton or acrylic yarn holds its shape nicely across the long continuous tube, making stitch definition easy to see while working.
Can I skip the tongue detail?
Certainly. The snake looks charming without it, so the tongue remains a purely optional finishing touch.
How much yarn do I need for the whole body?
Amount varies with finished length, but most versions use a moderate skein or two of worsted weight yarn for the full body.
Is this pattern suitable for a first amigurumi project?
Yes, the single continuous stitch pattern makes it one of the more forgiving amigurumi shapes for someone just starting.
Conclusion
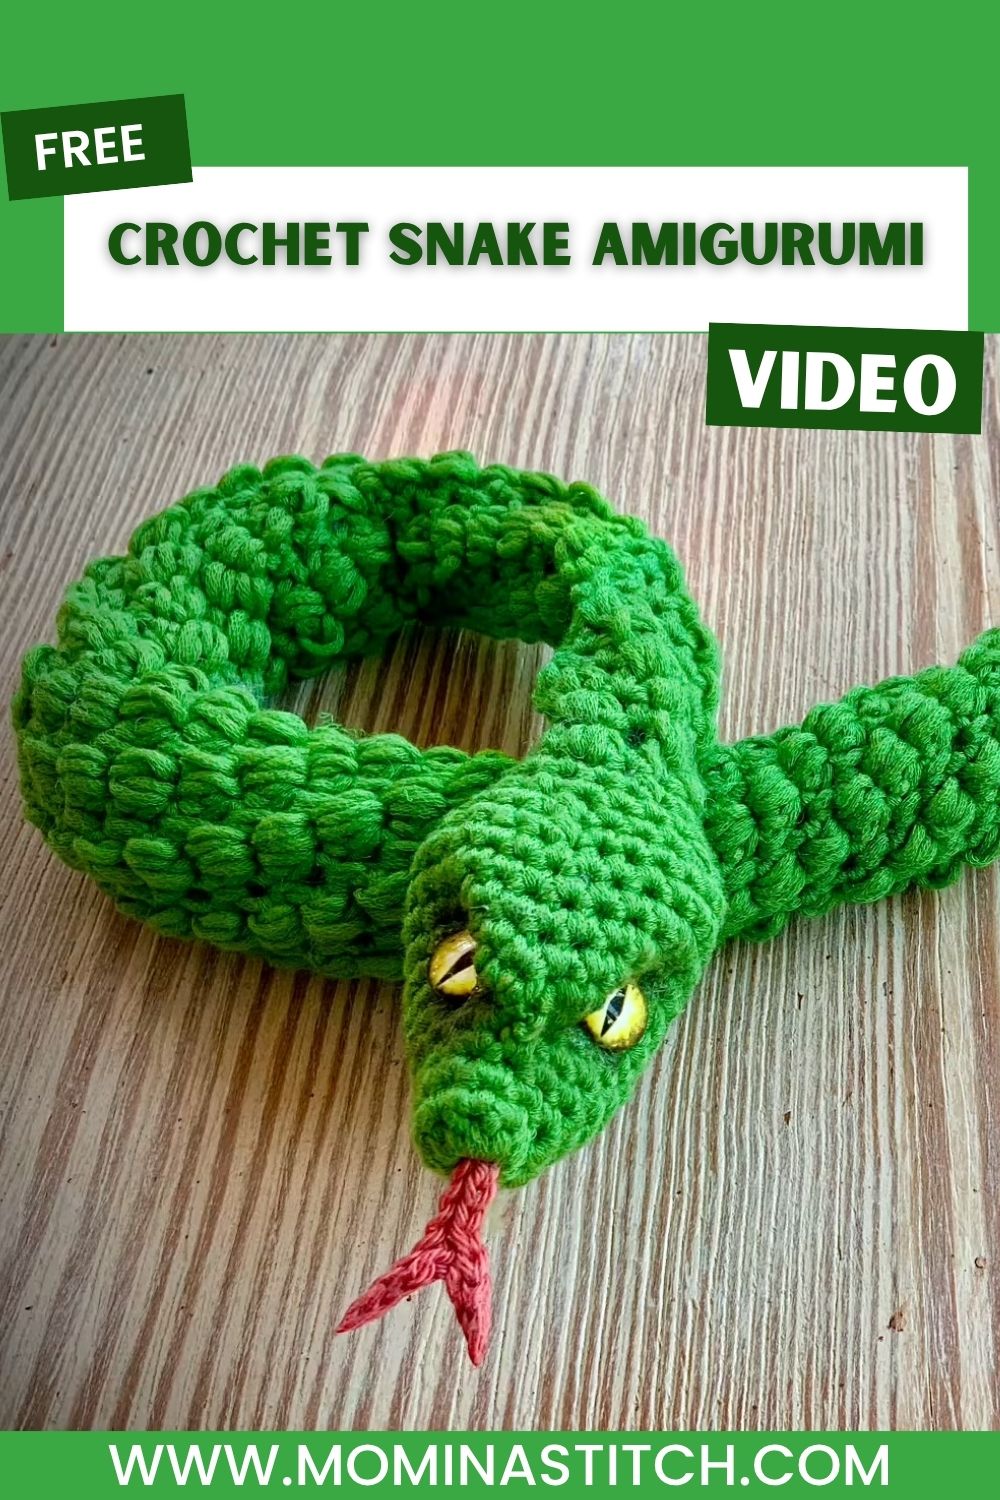
Few amigurumi shapes feel as satisfying to grow round by round as this winding little snake. Whether it becomes a nursery decoration, a playful toy, or a shelf display piece, the curved body always draws a smile. Give this Crochet Snake Amigurumi pattern a try, experiment with different colors or lengths, and share your finished snake with fellow crocheters who enjoy a relaxing, rhythmic project.