Cutest Crochet Santa Ornament Pattern Holiday Craft
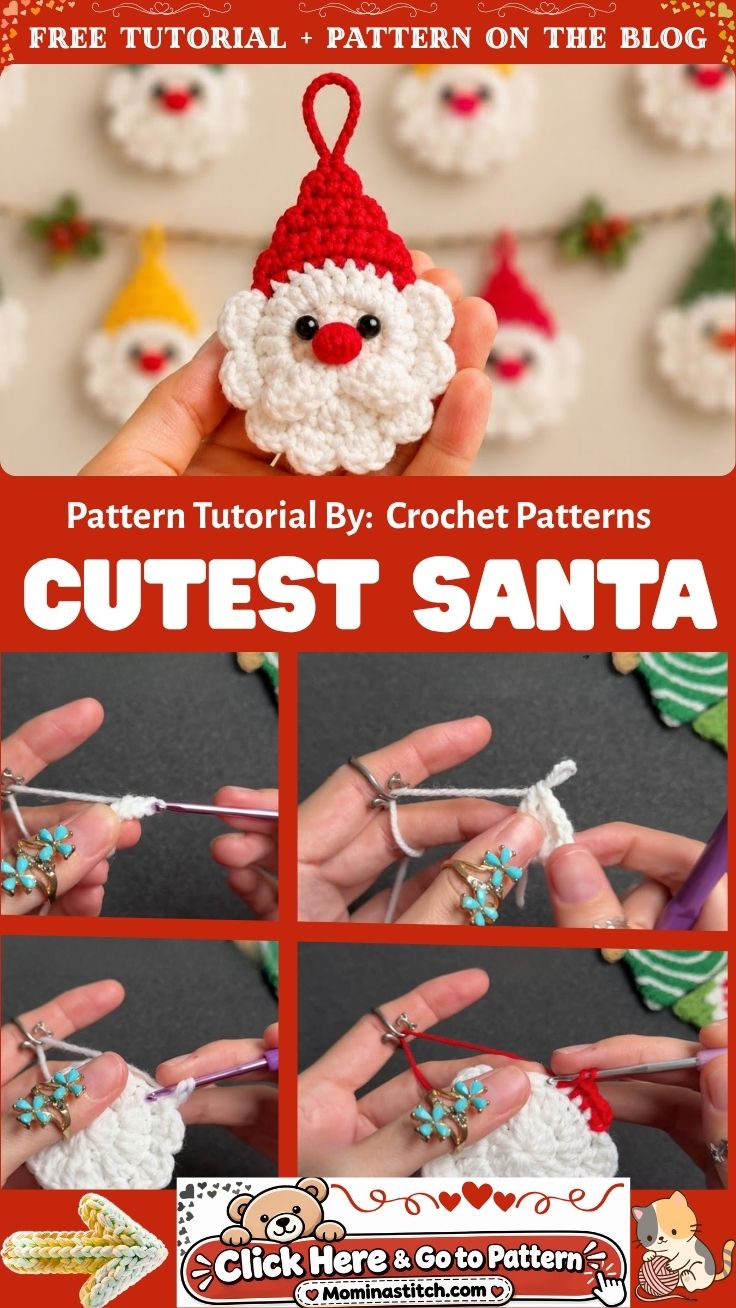
Two rounds of puffy white stitches and a jaunty red point later, the Cutest Crochet Santa Ornament Pattern Holiday Craft turns a handful of yarn scraps into a cheeky crochet Christmas ornament that hangs flat, holds its shape, and never needs stuffing to look plump.
Most Santa ornament tutorials build a full stuffed head with a separate hat sewn on afterward; the version here skips that seam entirely. The hat’s first row works directly into the fur circle’s stitches, locking the two pieces together as you go. A zigzag picot edge doubles as texture and a built-in hanging loop, so the finished ornament needs zero extra assembly hardware.
Pattern Overview
- Two-piece build: a puff-stitch fur circle plus a hat worked straight onto it, with no separate seam to sew.
- Finished size: roughly 3.5–4 inches (9–10cm) wide, 5–6 inches (13–15cm) tall including the hat point
- Flat ornament construction, no fiberfill required (a pinch behind the hat is optional)
- Beginner-friendly once magic ring and basic increases feel comfortable; the puff stitch takes a few tries to get even
- Makes a tree ornament, gift tag, garland piece, or bag charm depending on how you finish the loop
Materials
Yarn: DK weight (light worsted, #3) in white for the fur circle and red for the hat; about 35 yards of white and 25 yards of red per ornament. A small scrap of red or pink covers the nose.
Hook: 3.5mm (US E/4), or whatever gives you a snug puff stitch with no gaps at gauge.
Stuffing: optional. A pinch of fiberfill tucked behind the hat point adds a little loft; skip it entirely for a flatter, more traditional ornament.
Safety Eyes or Embroidery Options: two 8mm plastic safety eyes for a polished, doll-like face, or two small French knots in black yarn if the ornament will hang anywhere near a toddler or pet. Glued-on googly eyes look charming in photos but aren’t secure enough for anything that gets handled; sew or glue with fabric-safe adhesive and reinforce from the back.
Also needed: yarn/tapestry needle, two stitch markers, scissors, a length of ribbon or embroidery floss for hanging (or use the built-in crocheted loop).
Abbreviations
MR = magic ring · ch = chain · sc = single crochet · sl st = slip stitch · puff st = puff stitch (see below) · sc2tog = single crochet 2 together (decrease) · picot = ch 2, sl st into 2nd ch from hook · st(s) = stitch(es)
Important Stitches
Puff stitch (puff st): yarn over, insert hook into stitch, yarn over and pull up a loop; repeat that two more times into the same stitch (seven loops now on the hook), yarn over and draw through all seven loops, then chain 1 to close and secure the top. That chain-1 is what keeps the puff from unraveling, so don’t skip it even though it isn’t a “real” stitch.
Picot edge: worked along the hat’s raw side edges, chain 2, slip stitch into the second chain from the hook, then slip stitch into the next base stitch before repeating. Uneven spacing here is the single most common reason a finished hat brim looks messy instead of deliberately jagged.
Before You Start
- Swatch a few puff stitches first; you’re checking that the loops sit close enough together that no base fabric shows through, not checking exact gauge.e
- Place a stitch marker in the very first stitch of Round 1 and move it up each round;nd it marks “center front,ont” and every symmetry measurement counts outward from that single point
- Read the eye-placement step before starting Round 4; safety eyes need to go in while you can still reach the wrong side of the fur circle.
- One full skein of each color makes 3–4 ornaments, so plan yardage before starting a batch.h
Time Box
Prep (gathering materials, swatching): 10 minutes;es Stitching (fur circle + hat): 45–60 minutes; Finishing (face, loop, weaving ends): 15–20 minutes.tes Total: about 75–90 minutes per ornament
Santa Face Construction
1. Foundation Ring
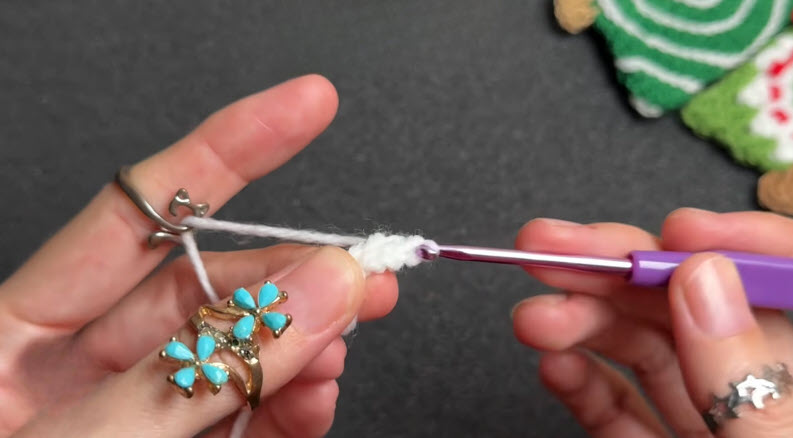
Make a magic ring with white yarn and work 6 puff sts into it. Join with a slip stitch to the top of the first puff, leaving the ring loose enough to tighten after not so the center shows a hole. (6 puffs)
2. Building the Fur Circle
Continue in joined rounds, chaining 1 at the start of each round (it doesn’t count as a stitch):
- Round 2: 2 puff sts in each stitch around (12)
- Round 3: puff st, 2 puff sts in next st around (18)
- Round 4: puff st in next 2 sts, 2 puff sts in next st around (24). Pause here and insert both safety eyes, spaced symmetrically around the center-front marker (see Facial Features below), before finishing the round
- Round 5: puff st in next 3 sts, 2 puff sts in next st around (30)
- Round 6: puff st in next 4 sts, 2 puff sts in next st around, join, do not fasten off (36)
Pro-Tip: Puff stitches loosen with handling, so tighten each one before moving to the next. Tug the working yarn gently right after the chain-1 closes it. A row of loose puffs looks fine mid-round and then sags visibly once the whole circle is finished, and by then it’s a full rip-back instead of a five-second fix.
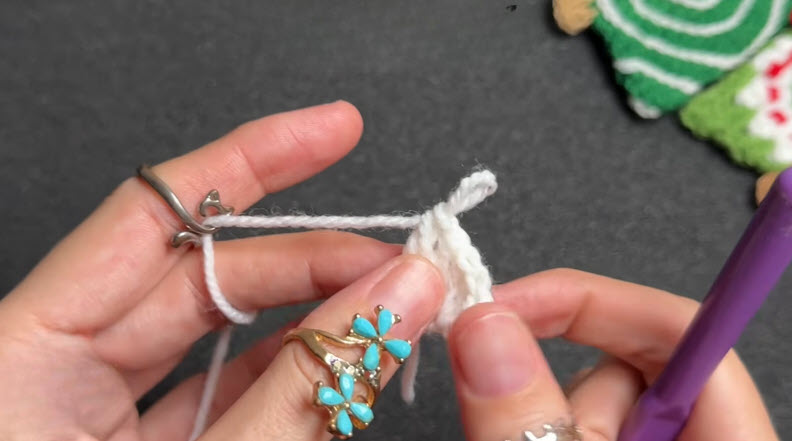
3. Marking the Hat Zone
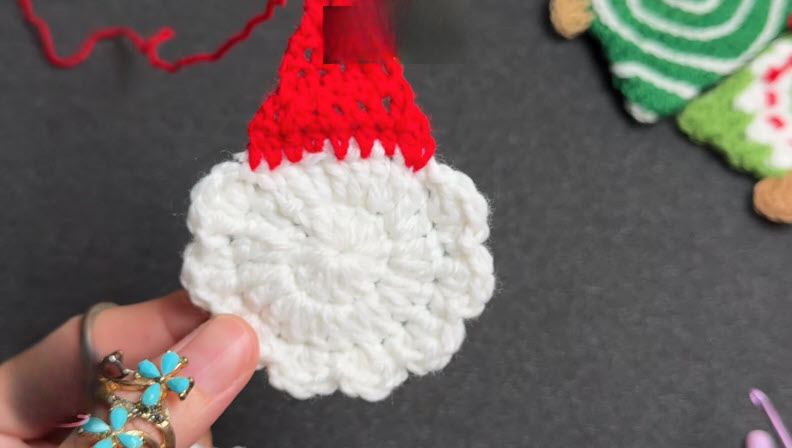
Count 14 consecutive stitches centered on the marked center-front point of Round 6 – 7 to each side. Place a second marker at each end of that span. Everything outside those markers stays as exposed white fur around the face; everything inside becomes the hat’s foundation row.
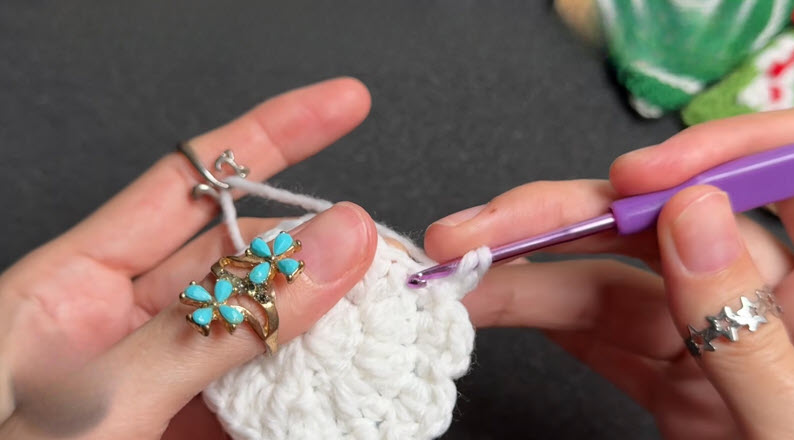
4. Working the Hat Rows
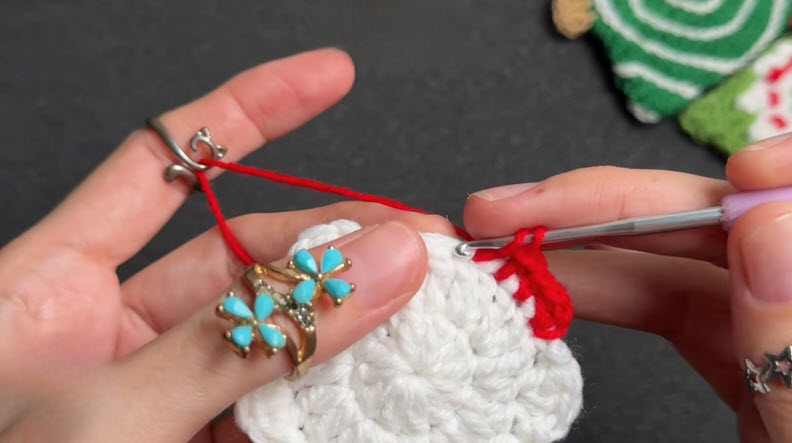
Join red yarn in the first marked stitch.
- Row 1 (RS): ch 1, sc in same st and in each st across to the second marker (14 sc), turn
- Row 2: ch 1, sc2tog, sc to last 2 sts, sc2tog (12)
- Row 3: ch 1, sc evenly across (12)
- Row 4: ch 1, sc2tog, sc to last 2, sc2tog (10)
- Row 5: sc evenly across (10)
- Row 6: sc2tog, sc to last 2, sc2tog (8)
- Row 7: sc evenly across (8)
- Row 8: sc2tog, sc to last 2, sc2tog (6)
- Row 9: sc2tog, sc to last 2, sc2tog (4)
- Row 10: sc2tog twice (2)
5. Shaping the Point
Fasten off row 10 leaving a 6-inch tail. Before weaving it in, fold the tip flat and check that it points straight up from the center of the hat’s base. Off-center points are almost always caused by uneven decreases in rows 2, 4, and 6, so recount those rows if the tip leans.
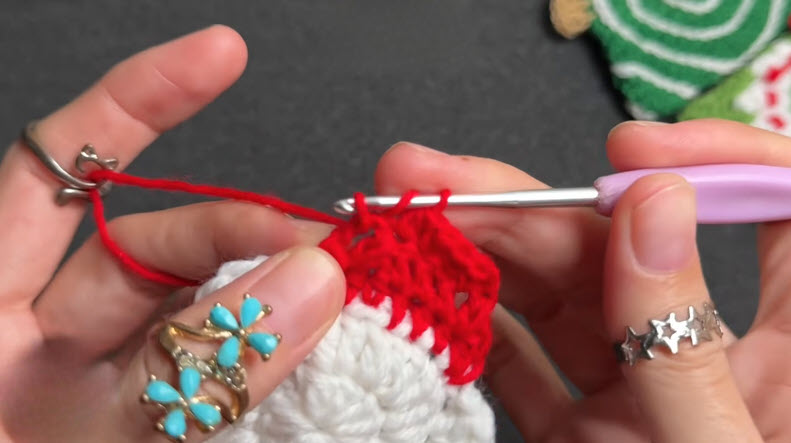
6. Picot Edge & Hanging Loop
Rejoin red yarn at the base corner of one diagonal hat edge. Work the picot edge (ch 2, sl st in 2nd ch from hook, sl st in next base st) evenly up the slope to the point. At the tip, chain 8–10, slip stitch back into the tip to form the hanging loop, then continue the picot edge back down the opposite diagonal edge to the far base corner. Fasten off and weave in all ends.
7. Nose
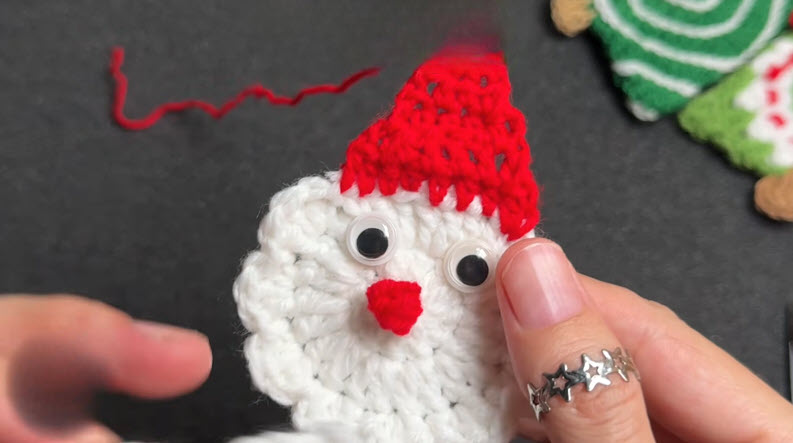
With the red scrap yarn, work a single puff stitch (or three tightly stacked straight stitches) centered between the eyes, sitting just below the marked center line. Secure on the wrong side and trim.
Assembly
Weave in every tail through several stitches on the wrong side rather than knotting knots work loose under the puff stitch’s natural stretch. If adding a pinch of stuffing behind the hat point for loft, tuck it in before the final few stitches of Row 10 close the gap, not after there’s no opening left to stuff through once that row is fastened off.
Facial Features
Work symmetry from the center-front marker, not by eye. On Round 4 (24 stitches), the marker sits at stitch 1; count 5 stitches to either side and place the eyes there, so each sits exactly 5 stitches from center and 10 stitches apart from each other. The nose lands directly on the marker itself, one round below the eyes. Because every measurement references the same fixed point, a crooked face almost always traces back to counting from the wrong stitch rather than from the marker.
Stuffing Tips
Skip stuffing altogether for a traditional flat ornament it hangs straighter and photographs cleaner against a tree. If loft is the goal, use a pinch small enough to push flush with two fingers; overstuffing behind the hat stretches the puff stitches on Round 6 apart and leaves visible white gaps around the hat’s base.
Stitch Count Checkpoints
- After Round 4: 24 puff stitches, both eyes seated
- After Round 6: 36 puff stitches, circle lies flat with no cupping or ruffling
- After hat Row 1: exactly 14 sc, matching the marked span
- After hat Row 10: 2 stitches remaining before fasten-off
Common Mistakes
Losing track of puff-stitch increases is the top culprit behind a rippled or cone-shaped circle recount before starting the next round rather than after. A second frequent slip is joining safety eyes after Round 6 closes, which makes the washer backs impossible to reach; always place them by Round 4. Uneven picot spacing along the hat edges is cosmetic but the most visible mistake in finished photos, so space picots by counting base stitches, not by guessing distance.
Troubleshooting
If the fur circle cups like a bowl instead of lying flat, the increases are behind schedule add one extra 2-puff repeat on the next round to catch up. If the hat leans instead of standing centered, the decreases in rows 2–8 weren’t placed symmetrically; unravel back only to the first uneven row rather than the whole hat. A gap between the fur circle and the hat’s base usually means Row 1 skipped a stitch when joining red yarn — check that all 14 marked stitches got a single crochet.
Size Modification
For a mini ornament (about 2.5 inches), switch to a 2.5mm hook with fingering-weight yarn and keep the same round-by-round counts. For an oversized tree-topper version, move up to worsted weight with a 4.5–5mm hook, and add one extra increase round to both the fur circle and the hat before starting the decreases.
Color Variations
Swap red for forest green or navy with a gold hat trim for a “woodland Santa” look, or work the fur circle in cream with a burgundy hat for a vintage palette. A pastel version in blush and sage reads more nursery decoration than holiday ornament, which makes it a good year-round gift tag.
Finishing
Steam the fur circle lightly from the back to help the puff stitches settle flat and even out any that still stand proud after blocking. Trim tails close but not flush, since puff stitches shift slightly with wear and a too-short tail can work its way visible.
Care Instructions
Hand wash only if needed, using cool water and laying flat to dry — the puff texture loses definition in a dryer. Ornaments finished with glued eyes should never be washed; wipe them with a barely damp cloth instead. Store flat in a box rather than hanging on a hook between seasons, so the hat point doesn’t develop a permanent bend.
Personalization Ideas
Name Tag Loop
Add a small crocheted tag or write a name on a fabric strip and loop it through the hanging chain for gift-tag duty.
Mini Pom Trim
Sew a tiny white pom-pom to the hat’s tip instead of leaving it plain for extra dimension.
Beard Fringe
Cut short lengths of white yarn and knot them along the bottom two rounds of the fur circle for a shaggier, more textured beard.
Metallic Accent Round
Work Round 6 in a strand of white held together with fine metallic thread for a subtle sparkle under tree lights.
FAQs
Do I need safety eyes, or can I embroider the face instead?
Either works. Embroidered French knots are the safer choice for ornaments that small children or pets can reach, since safety eyes and glued googly eyes both carry a choking risk if they come loose.
Why does my hat curl instead of lying flat against the fur circle?
Curling usually means the decrease rows were worked too tightly. Loosen tension slightly on rows 2 through 8, or block the finished hat flat with a light steam before attaching the picot edge.
Can the fur circle start without a magic ring?
Yes chain 2 and work 6 puff sts into the second chain from the hook instead. Expect a very small hole at the center, which the first few rounds of puff stitches mostly hide.
How many Crochet Santa Ornament Pattern does one skein make?
A standard 100g skein of DK-weight yarn yields roughly 3–4 white fur circles or 4–5 red hats, depending on brand and put-up.
Can I felt or add glitter without changing the stitch count?
Yes. Both are surface treatments applied after finishing and don’t affect any round or row above.
Quick Batch-Making Tips
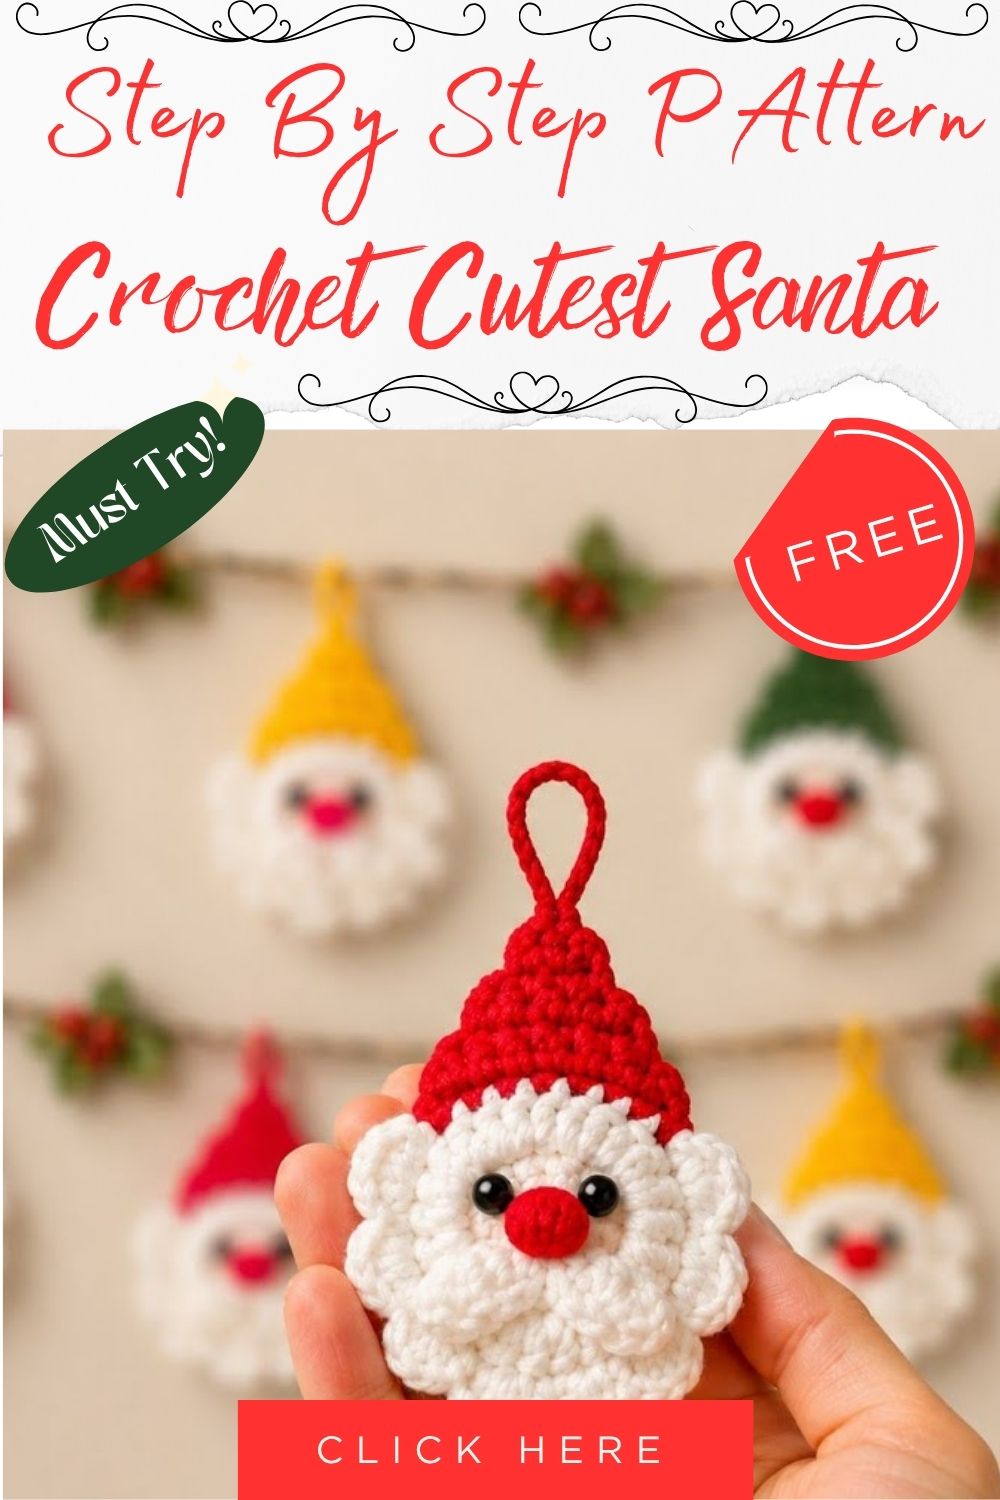
Anyone making a set for a garland or a craft fair benefits from prepping all the white fur circles first, in one sitting, before switching colors; puff stitch tension stays more consistent when the hands don’t keep resetting between yarn weights. Pre-cut hanging loops to identical lengths ahead of time too, so the finished set hangs level without eyeballing each one separately.