Make Crochet Christmas Tree Tote Bag Patetrn for Market Days
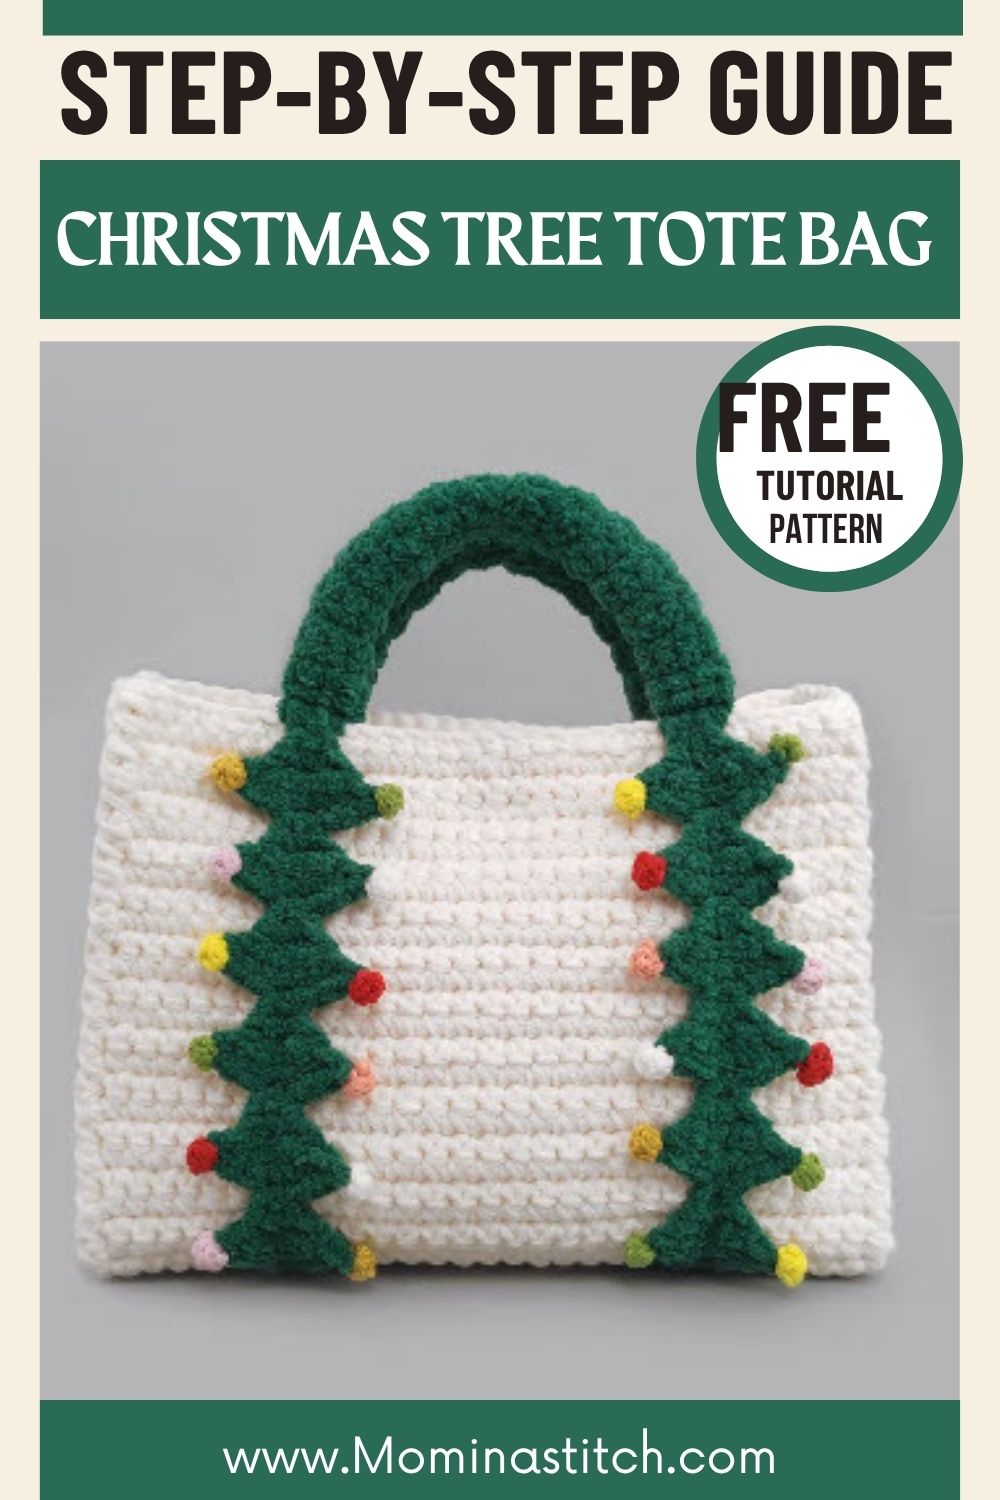
Learning to Make Crochet Christmas Tree Tote Bag Pattern for Market Days starts with a simple question: how do handmade totes turn a plain market stall into something memorable? This project answers that with festive shape, sturdy stitching, and a design shoppers actually stop for.
Few holiday accessories carry as much charm as a festive crochet tote, and this pattern proves why. Sellers preparing for winter markets often need pieces that photograph well, sell quickly, and don’t demand advanced skills to produce in batches. This design delivers exactly that combination. Meanwhile, the tree-shaped silhouette gives every finished bag a seasonal statement-piece quality that stands out among plain totes. Consequently, it works equally well as a personal project or a repeatable product line.
Purpose: This pattern exists to give crocheters a quick, sellable holiday tote that doubles as festive decor and a functional carry-all.
What Is This Pattern?
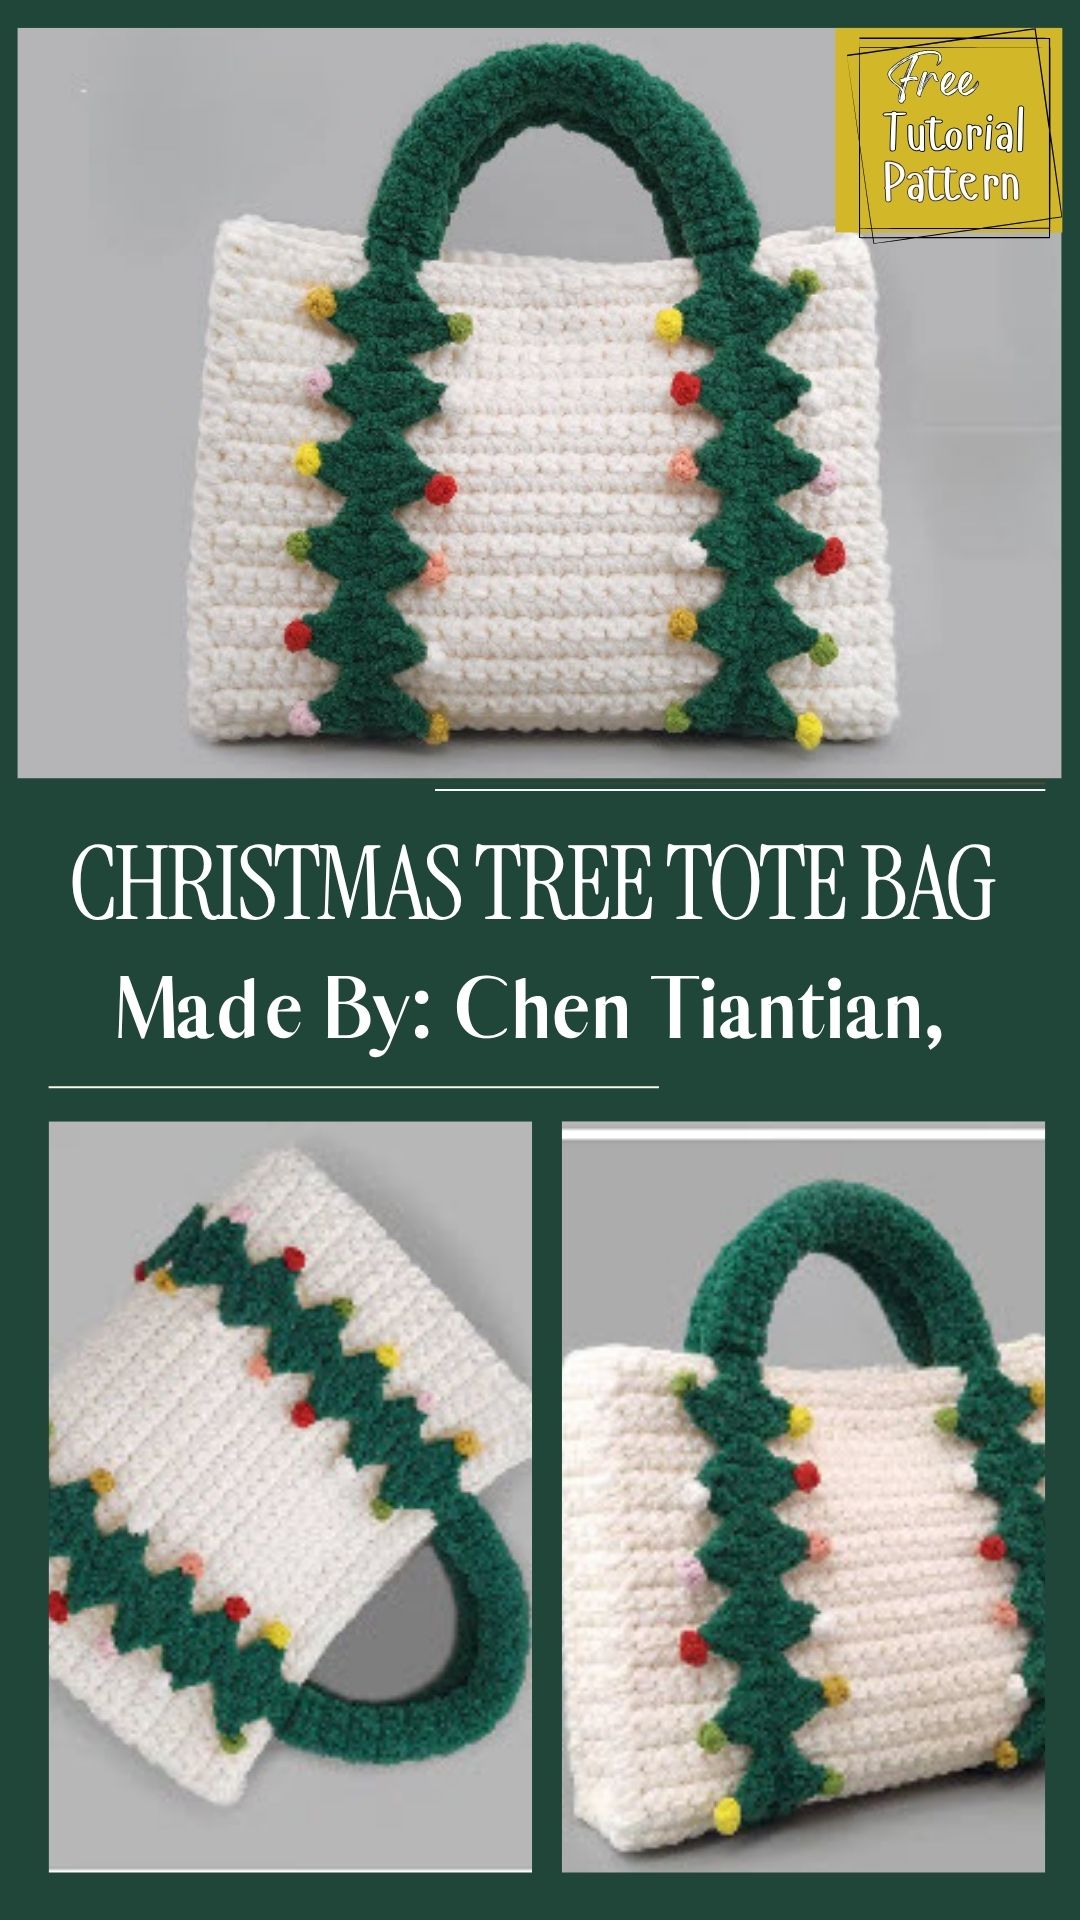
The Christmas Tree Tote Bag is a shaped crochet accessory built around a tree silhouette, worked mostly in single crochet with strategic increases to form the tapered body. Unlike a standard rectangular tote, this design uses shaping rows to mimic branches, then finishes with handles positioned at the top like a trunk cap. As a result, the finished piece reads instantly as “Christmas” without needing extra appliqués. Because the shaping happens through stitch count rather than embroidery, the technique stays approachable even for newer crocheters.
What Do You Need to Make It?
- Worsted weight yarn (green as the primary color, plus an accent for trim)
- A 5mm or 5.5mm crochet hook, depending on gauge preference
- Stitch markers to track rounds
- A yarn needle for weaving in ends
- Optional: a button, bell, or star embellishment for the tree tip
Additionally, a fabric lining can be added afterward for sellers who want a more polished, boutique-ready finish.
What Will You Learn From This Pattern?
- Shaping techniques using single crochet increases and decreases to form a tapered tree silhouette
- Working in continuous rounds without visible seams
- Attaching sturdy handles that hold weight without stretching the top edge
What Skills Does It Require?
This project suits crocheters comfortable with single crochet, basic increases, and reading a simple round count. Therefore, it sits just above true beginner level, though patient first-timers can still manage it with practice swatches beforehand. No complex stitch combinations or color-change techniques are required, which keeps the learning curve gentle.
How Long Does It Take?
Most crocheters finish the Christmas Tree Tote Bag in four to six hours, spread across two or three sessions. Experienced makers working with worsted yarn and a larger hook often complete it faster, sometimes in a single evening. Meanwhile, beginners should expect closer to eight hours total, since shaping rounds require more careful counting.
Christmas Tree Tote Bag Construction
Bag Body (Base)
Worked flat in cream/white yarn, back and forth in rows.
- Ch 31, sc in 2nd ch from hook and across (30)
- Sc in each st across (30)
- Repeat row 2 until piece measures roughly 10 inches — this forms the front panel
Fasten off, leaving a long tail. Repeat the same row count for the back panel, then join both panels along the sides and bottom using a whip stitch or single crochet seam, leaving the top open.
Pro Tip: Keep tension consistent across every row. Since the tree garland gets sewn directly onto this base later, an uneven edge here will make the garland strip sit crooked once attached.
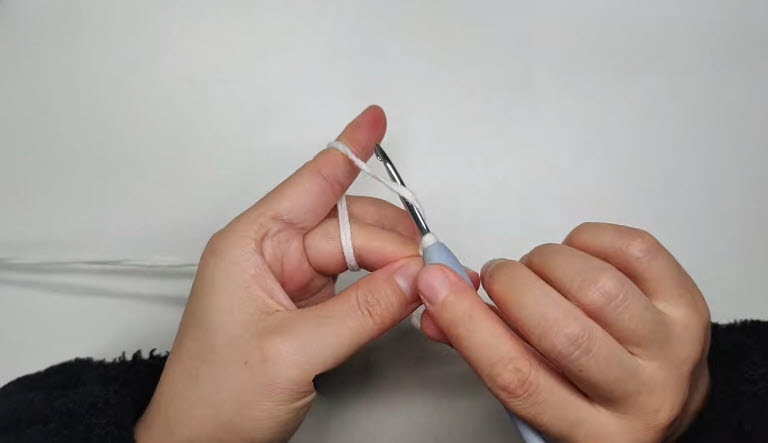
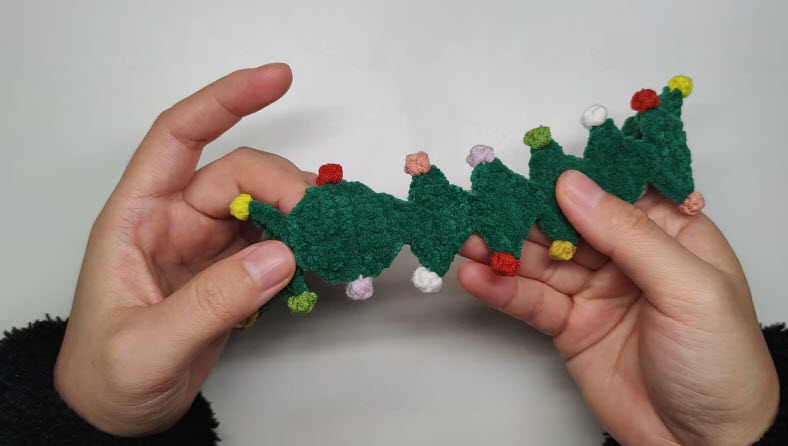
Tree Garland Strip (Zigzag Points)
Worked flat in green yarn, building one small triangle “tree” at a time along a single row.
- Ch 4, sc in 2nd ch from hook and across (3)
- Sc 2, inc in last st — begin building the peak (4)
- Sc across, dec at the point to close the tip (2–3)
- Sl st down to the base, ch 2, and repeat from step 1 to start the next tree point
Repeat this peak-and-dip sequence 6–8 times, depending on the bag’s width, until the strip reaches from one side seam to the other.
Fasten off, leaving a long tail for sewing. Each finished point should measure roughly 1.25 inches tall, spaced evenly with a small dip of 2–3 stitches between peaks.
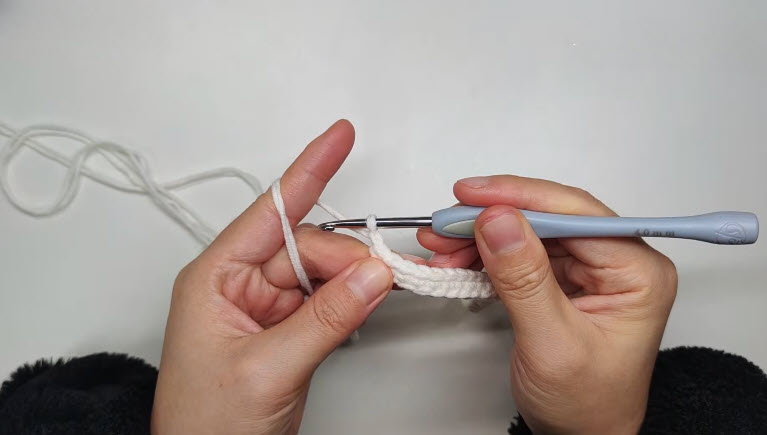
Ornament Pom-Poms
Worked in small amounts of contrast yarn (red, yellow, pink, white), one tiny round bobble per ornament.
- MR, 5 sc into ring (5)
Fasten off after the single round, leaving a short tail. Make 8–10 pom-poms total, rotating colors so no two identical shades sit side by side.
Pro Tip: Stuff each pom-pom lightly with a scrap of yarn before closing it off — this gives the ornament a raised, rounded look instead of lying flat against the garland.
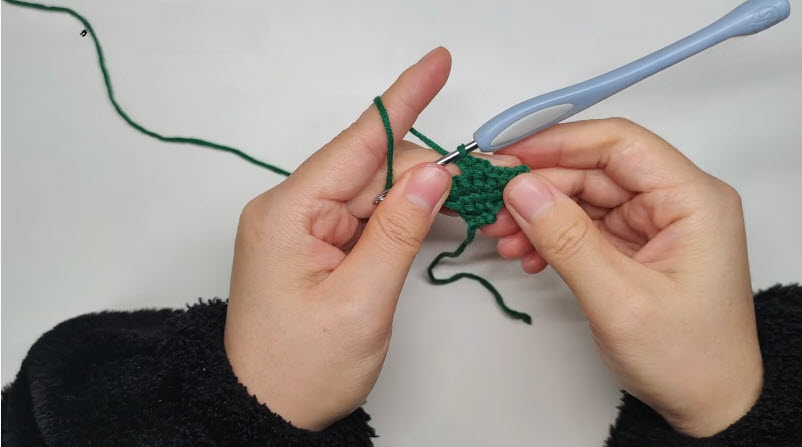
Attaching the Garland to the Bag
Position the finished green garland strip along the top front edge of the cream bag body, aligning the base of each tree point just below the opening seam. Pin before sewing to keep spacing even, then stitch the garland in place using a yarn needle and matching thread, tucking all loose ends between the layers.
Once secured, sew one pom-pom to the tip of each tree point, and scatter 3–4 extra pom-poms along the dips between peaks for a fuller, more decorated look.
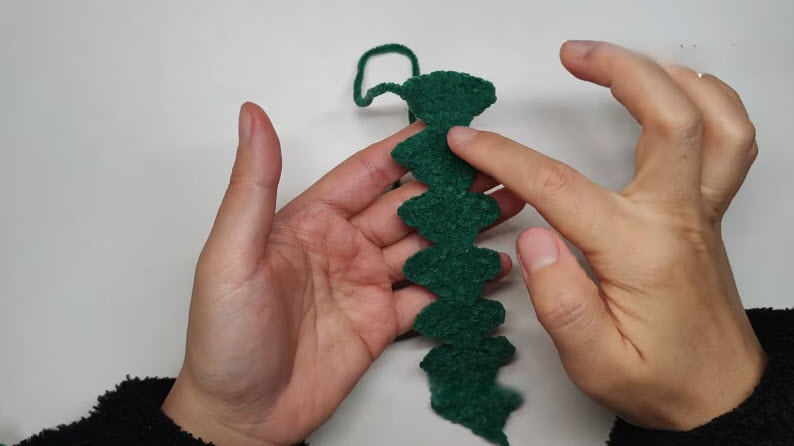
Handles
Worked in green yarn, two matching strips.
- Ch 4, sc in 2nd ch from hook and across (3)
- Sc in each st across, repeating until the strap measures roughly 14–16 inches long
Fasten off, leaving a long tail at each end. Fold the strap lengthwise and whip stitch the open edge closed for a rounded, cord-like finish.
Sew each handle securely to the inside top edge of the bag, positioning them a few inches in from the side seams so the tote hangs evenly when carried.
Pro Tip: Reinforce each handle attachment point with a second pass of stitching handles carry the most stress of any part of the bag and are the first spot to fail if left single-stitched.
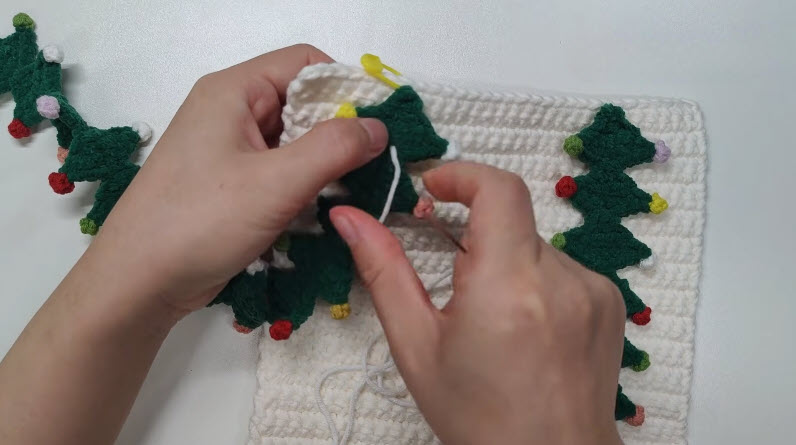
Sewing the Garland Panels Together
- Align the two garland-topped panels edge to edge, positioning the tree points so they line up evenly across the seam.
- Thread a yarn needle with matching white yarn, then whip stitch along the top folded edge, catching both layers with each pass.
- Keep stitches close together and pull snug after every few passes, checking that no gap opens up between the tree points at the seam line.
- Continue stitching across the full width of the panel, tucking the working yarn tail between the layers once the seam is complete.
Pro Tip: Sew with the panels held slightly folded, matching the natural curve of the bag opening sewing them flat first often causes puckering once the bag is turned right-side out.
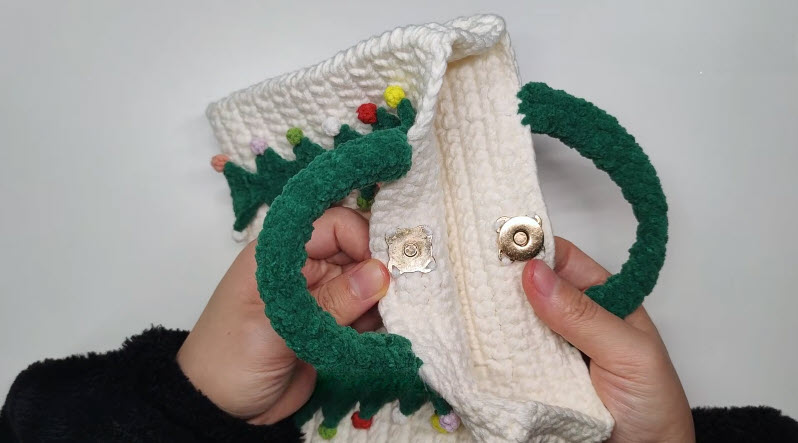
Attaching the Magnetic Snap
- Open the bag flat and mark the center point on both the front and back inside panels where the snap should sit.
- Slide the prong side of one snap half through the fabric from the outside, pressing it flush against the marked spot.
- Fit the washer plate over the prongs on the inside, then bend each prong flat against the plate to lock the snap in place.
- Repeat the same steps on the opposite panel with the matching snap half, checking alignment by folding the bag closed before securing fully.
Pro Tip: Test the fold and snap alignment before bending the prongs flat repositioning after it’s locked in place can leave visible holes in the fabric
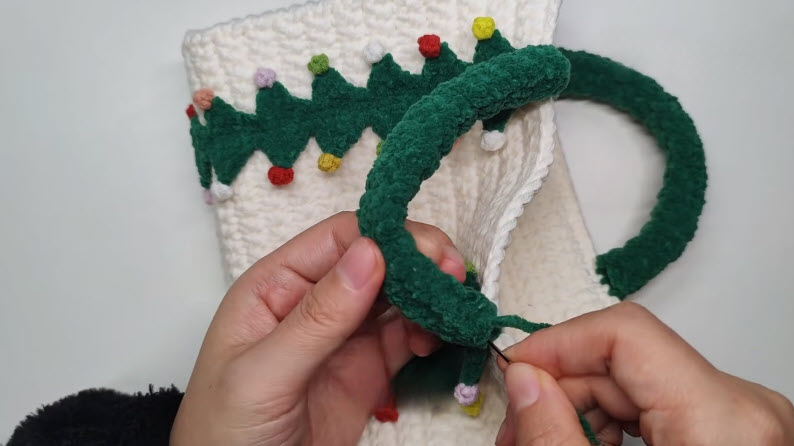
Sewing the Handle in Place
- Bring the finished handle strap up to the top edge of the bag, positioning the end a few inches in from the side seam.
- Thread a yarn needle with matching green yarn and begin stitching through the handle end and the bag’s top edge together.
- Work small, tight stitches back and forth across the attachment point, layering several passes for reinforcement.
- Knot off securely on the inside of the bag, then repeat the same process for the opposite end of the handle and the second strap.
Pro Tip: Stitch through the thickest part of the bag’s folded edge rather than a single layer; this spreads the carrying weight and keeps the handle from tearing loose over time.
What Usually Goes Wrong?
Uneven tension is the most common issue, often causing one side of the tote to bulge while the other stays flat. Skipped stitch markers also lead makers to lose track of rounds, resulting in a lopsided taper. Additionally, handles attached too loosely tend to stretch or detach once the bag carries weight.
How Can Mistakes Be Avoided?
- Use a stitch marker at the start of every round without exception
- Count stitches after each increase or decrease round before continuing
- Reinforce handle attachment points with two full passes of stitching
Furthermore, working a small test swatch first helps confirm gauge before committing to the full body.
What Else Can You Make With This Pattern?
The shaping technique behind this tote transfers easily to other festive projects. Use the same increase-and-decrease method to craft matching drawstring gift pouches or ornament covers. Similarly, the handle-construction approach works well on everyday market totes outside the holiday season. Crocheters running multiple product lines can also scale the pattern down into mini versions, perfect as keychains or gift-card holders that pair naturally with the full-size bag.
What Can This Piece Be Used For?
Beyond market selling, this tote works well as a reusable gift wrap, a stocking-stuffer carrier, or an everyday grocery bag once the season passes. Its sturdy single crochet construction also makes it practical for holding yarn stashes or craft supplies year-round.
Is It a Good Project for Beginners?
Yes, with a few adjustments. Newer crocheters should stick to a larger hook and thicker yarn, since this combination makes stitch counting easier and speeds up the shaping rounds. However, first-time makers unfamiliar with increases may want to practice a small swatch before starting the full tote.
What Makes It Worth Trying?
This pattern combines quick construction with a distinctly festive silhouette, which few basic tote patterns offer. Moreover, the finished product photographs beautifully for online shops or in-person market displays, giving sellers a visual edge. Because the shaping technique is reusable across other projects, the skills gained here extend well past a single finished bag.
Why Are People Making This Right Now?
Holiday market season drives steady demand for handmade, festive accessories that stand out from mass-produced options. Sellers and gift-givers alike are gravitating toward this design for several reasons:
- It offers instant seasonal recognition without requiring painted or embroidered details
- It scales easily for batch production ahead of craft fairs
- It uses affordable, widely available yarn weights
FAQ
Can this tote be made in different colors?
Yes, though traditional green with red or gold trim gives the strongest holiday impression for market sales.
How much yarn does one tote typically require?
Most versions use around 150 to 200 grams of worsted weight yarn, depending on finished size.
Can the bag be lined with fabric?
Absolutely, and doing so adds structure while covering interior seams for a more finished, sellable look.
Conclusion
Altogether, this project delivers a festive, functional accessory that suits sellers, gift-givers, and hobbyists alike. The shaping technique stays simple enough for confident beginners, yet the finished silhouette looks intentional and polished. Whether crafted for a market table or a personal collection, the Crochet Christmas Tree Tote Bag earns its place among seasonal go-to patterns.