Crochet Red Hobo Bag Pattern for Festive Occasions
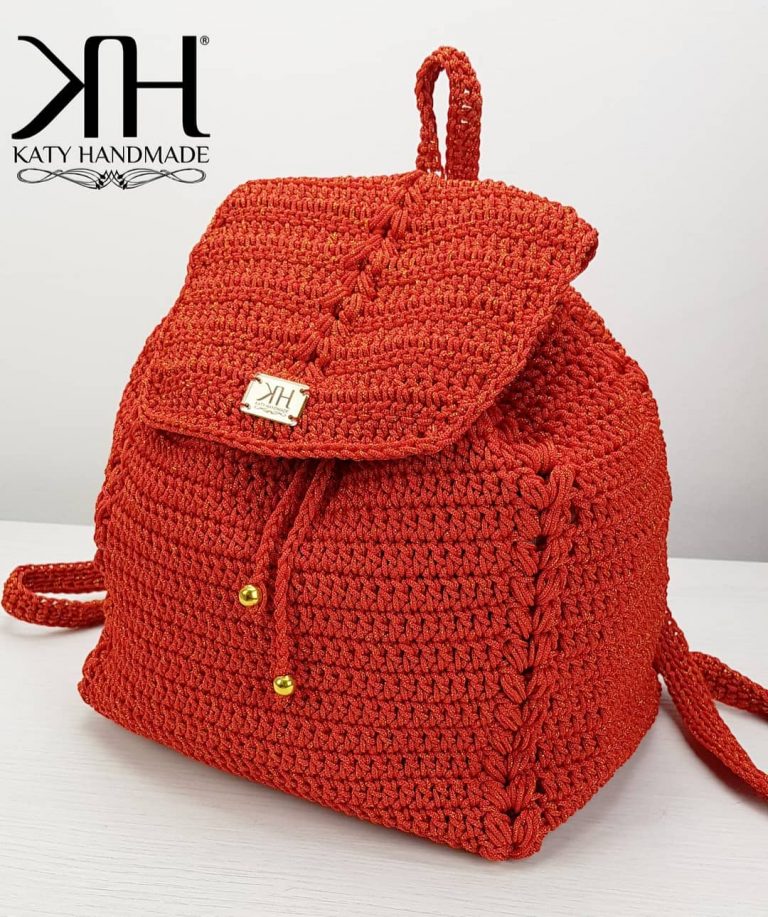
A bright loop of red yarn twists around the fingers, catching the light just before the hook pulls it into place. This is where the Crochet Red Hobo Bag Pattern for Special Occasions begins. The finished piece is a soft, slouchy carryall with a rounded silhouette and a ribbed texture. It works up quickly and pairs easily with festive or formal looks.
This particular design stands out because of its raised ribbed body, which gives structure without stiff, bulky stitches. It suits crafters searching for a special occasion bag that still feels handmade and warm. Unlike flat tote shapes, this one curves gently at the sides, so it holds its form once stuffed with essentials. Because the stitch pattern is simple to memorize, it also works well as a crochet purse pattern for a first accessory project.
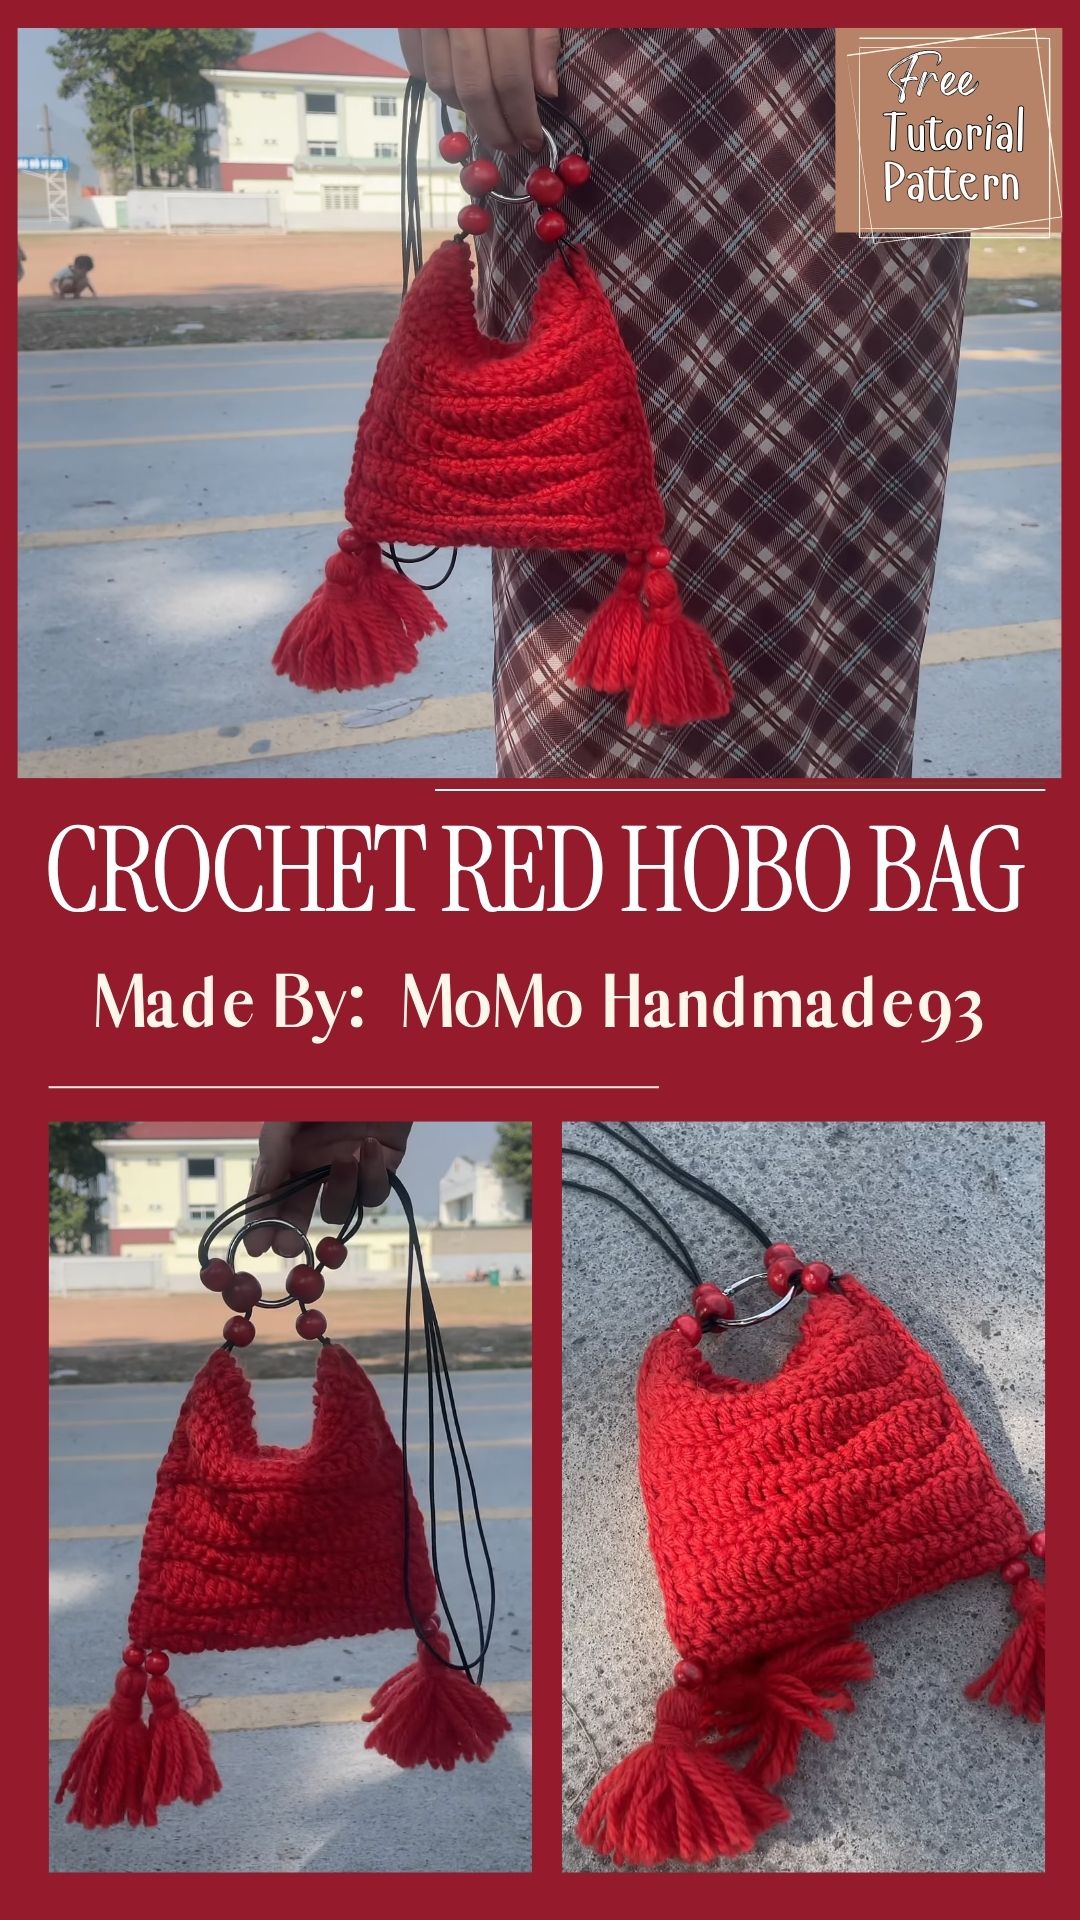
Pattern Overview
- Worked in red worsted or medium-weight yarn
- Uses a 7/0 (4.0mm) crochet hook
- Starts from a magic ring foundation
- Front and back panels built in ribbed rows
- Finished with a folded strap and edge single crochet
- Finished size fits an everyday phone, wallet, and keys
Special Techniques
The Red Hobo Bag relies on a magic ring start rather than a chain foundation. This keeps the base tight and avoids a visible hole at the center. Once the ring closes, stitches build outward in a small round before the panel shifts into straight rows. The ribbed texture comes from working into the back loop only on return rows, which creates raised vertical lines across the fabric. This technique also adds stretch, so the bag flexes slightly when filled. Beginners who have never tried back-loop-only ribbing can practice on a swatch first, since the difference in texture is easy to feel with fingertips once a few rows are complete.
Time Box
- Prep time: 10 minutes (yarn winding, hook selection, gauge swatch)
- Stitching time: 3 to 4 hours (panels and ribbed rows)
- Finishing time: 30 to 40 minutes (seaming, strap attachment, weaving ends)
- Total project time: roughly 4 to 5 hours
Common Mistakes
- Skipping the back-loop-only step, which flattens the ribbing
- Pulling stitches too tight around the magic ring, causing puckering
- Losing count of rows, which leaves panels uneven in height
- Forgetting to leave a long tail for seaming the sides
- Using a hook size smaller than 7/0, which stiffens the fabric
Uses & Benefits
This bag suits evening events, holiday gatherings, and casual outings alike. Its rounded shape holds essentials without adding visible bulk, so it complements fitted or flowing outfits equally well. Because the yarn is machine washable, upkeep stays simple after regular wear. The ribbed texture also hides minor tension inconsistencies, which makes it forgiving for newer crocheters. As a result, the finished piece looks polished even on a first attempt, and it doubles as a thoughtful handmade gift.
Helpful Beginner Tips
- Count stitches after every round during the base setup
- Mark the first stitch of each row with a small stitch marker
- Keep tension even by resting the yarn over the index finger
- Test the strap length against a shoulder before final attachment
- Weave in ends as each panel finishes, not all at the end
Assembly
Starting the Base
Work begins with a magic ring, looped twice around the fingers before the hook catches the working yarn. This forms the adjustable center that later tightens once stitches are placed inside it. A small round of single crochet stitches fills the ring, and the tail pulls snug to close any gap. This starting point becomes the anchor for the entire base panel.
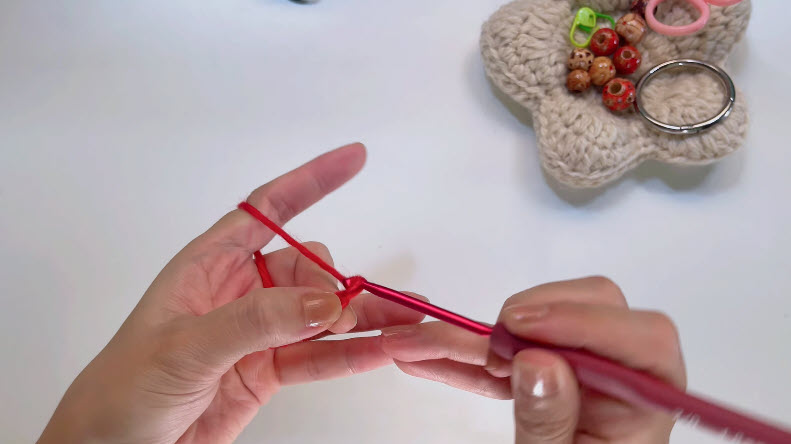
Building the Foundation Round
From the closed ring, stitches continue around in a tight circle, gradually widening the opening. This early round stays compact and dense, since it will support the weight of the bag once finished. Once the round measures a small circle, the hook shifts direction to begin the flat panel rows.
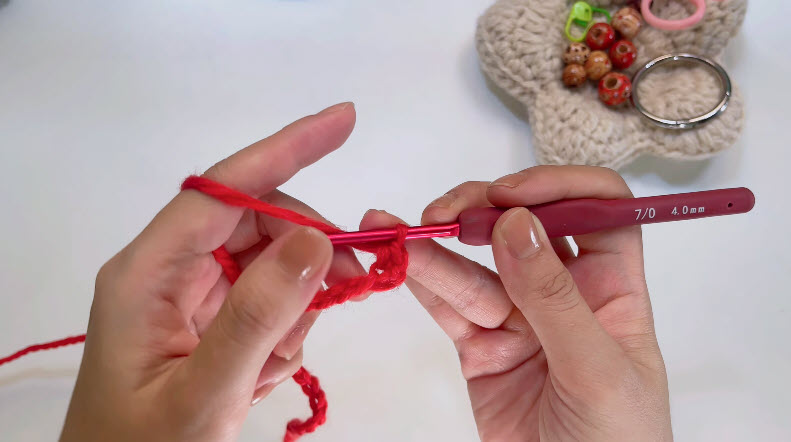
Working the Ribbed Body Panel
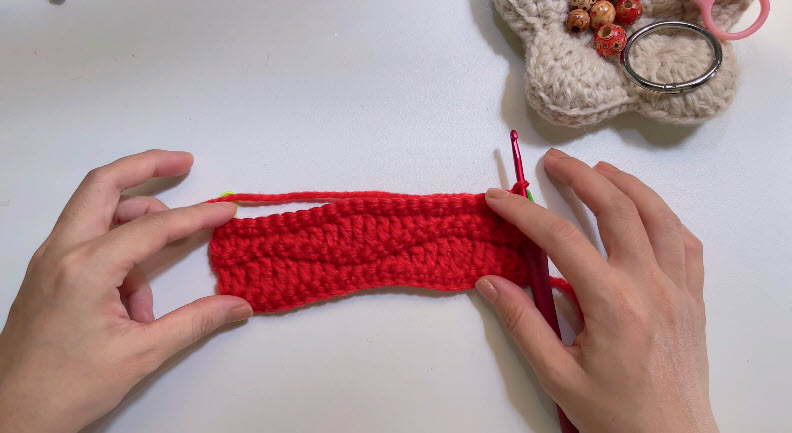
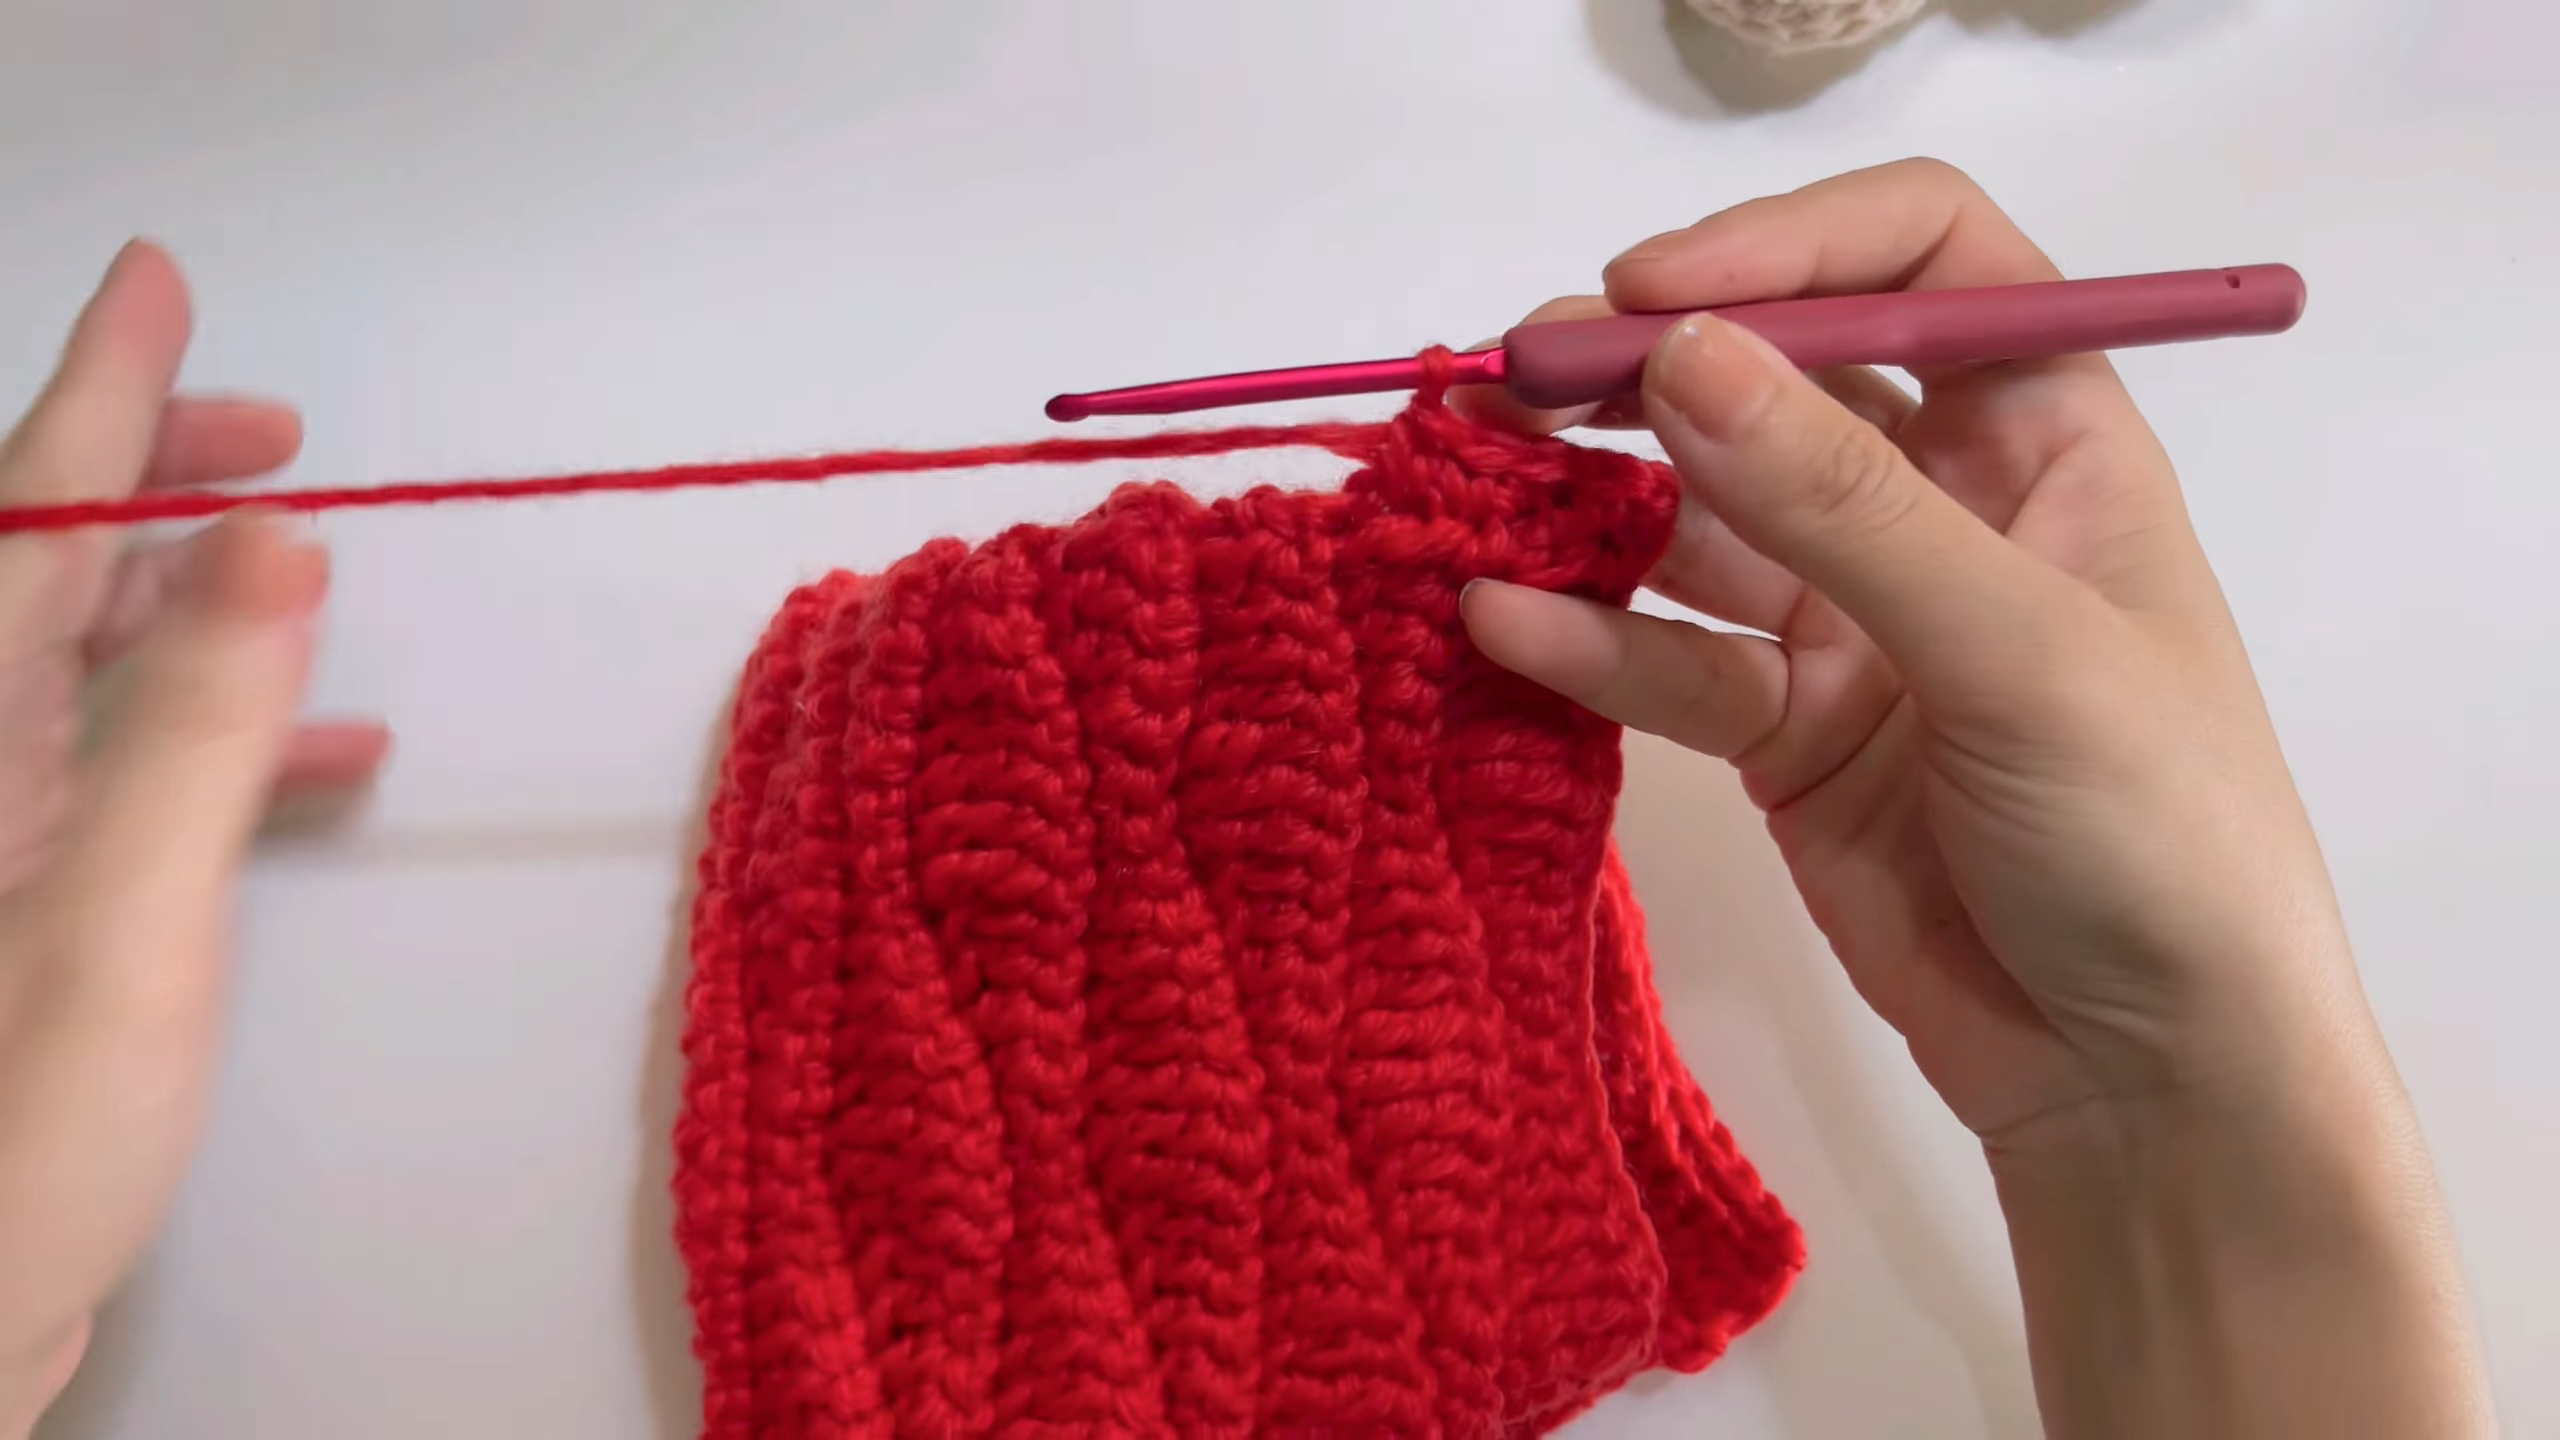
Rows now stack upward, each one worked into the back loop only to create the signature ridged texture. The fabric grows into a wide rectangle, with visible vertical lines running the length of the panel. This section takes the longest stretch of stitching time, so it helps to work it in sittings of 20 to 30 rows. The panel eventually reaches the length needed to wrap around both the front and back of the bag body.
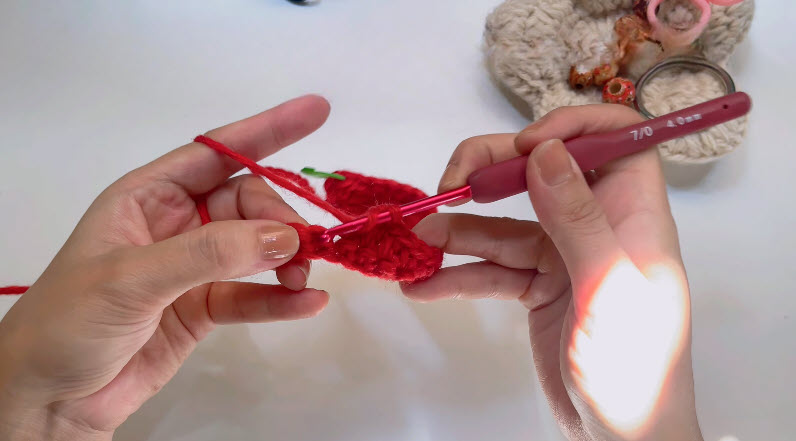
Finishing the Edge and Strap
Near the final rows, the hook works along the top edge, securing the last stitches while the yarn tail trails off to the side. This edge later becomes the seam line where the panel folds and joins to form the bag’s rounded shape. A folded strap, worked in the same ribbed technique, attaches at two points along the top edge, then tucks and secures with a few whip stitches for extra hold.
Where Can You Use This?
The finished piece suits weddings, dinner parties, and seasonal celebrations. It also works for everyday errands when a smaller, lighter bag feels more practical. Some crafters dangle a small keychain or charm from the strap for extra flair. Others hang it crossbody, since the strap length allows for hands-free wear during long events.
Why Beginners Will Enjoy This Pattern
The stitch count stays low throughout, so counting rows never becomes overwhelming. Because the shape builds from simple rectangles, no complicated shaping or decreases interrupt the flow. The back-loop ribbing technique also teaches a new skill without demanding advanced stitch combinations. Once the rhythm of the ribbing sets in, rows move quickly, and confidence builds fast.
Tips and Tricks for Success
- Switch to a stitch marker system before starting the ribbed rows
- Keep a consistent yarn weight throughout to avoid uneven panels
- Block the finished panel lightly to relax curling edges
- Attach the strap at matching points on both sides for balance
Why This Pattern Is Trending
Interest in textured, minimal-shape bags has grown steadily among home crafters. The Crochet Red Hobo Bag fits current preferences for pieces that feel elevated but still handmade. Three reasons explain its rising popularity:
- The ribbed texture photographs well for social sharing
- Red yarn suits multiple seasons, not just winter holidays
- The shape adapts easily to different strap lengths and closures
Color & Yarn Variations
While red gives this design a bold, festive look, the same pattern adapts to other palettes. Deep burgundy or wine tones create a more muted, formal finish. Meanwhile, cream or blush shades soften the silhouette for daytime wear. Cotton-blend yarns add structure, while acrylic keeps the project budget-friendly and washable. Some crafters even alternate two shades every few rows for a subtle striped variation on the same crochet purse pattern.
FAQ
What yarn weight works best for this pattern?
Medium worsted weight yarn gives the ribbed texture enough definition to stand out. Lighter yarns can work too, though the finished bag will feel less structured.
Can this pattern be made without a magic ring?
Yes, a chain-and-slip-stitch ring substitutes easily for crafters unfamiliar with the magic ring method. The finished base may show a small center hole instead.
How much yarn does the full bag require?
Most versions use about 200-250 grams of worsted-weight yarn. Strap length and panel size can slightly affect this estimate.
Is this pattern suitable for a first bag project?
Yes, the Crochet Red Hobo Bag uses only basic stitches and one repeated texture technique. Beginners comfortable with single crochet can complete it with practice.
In conclusion
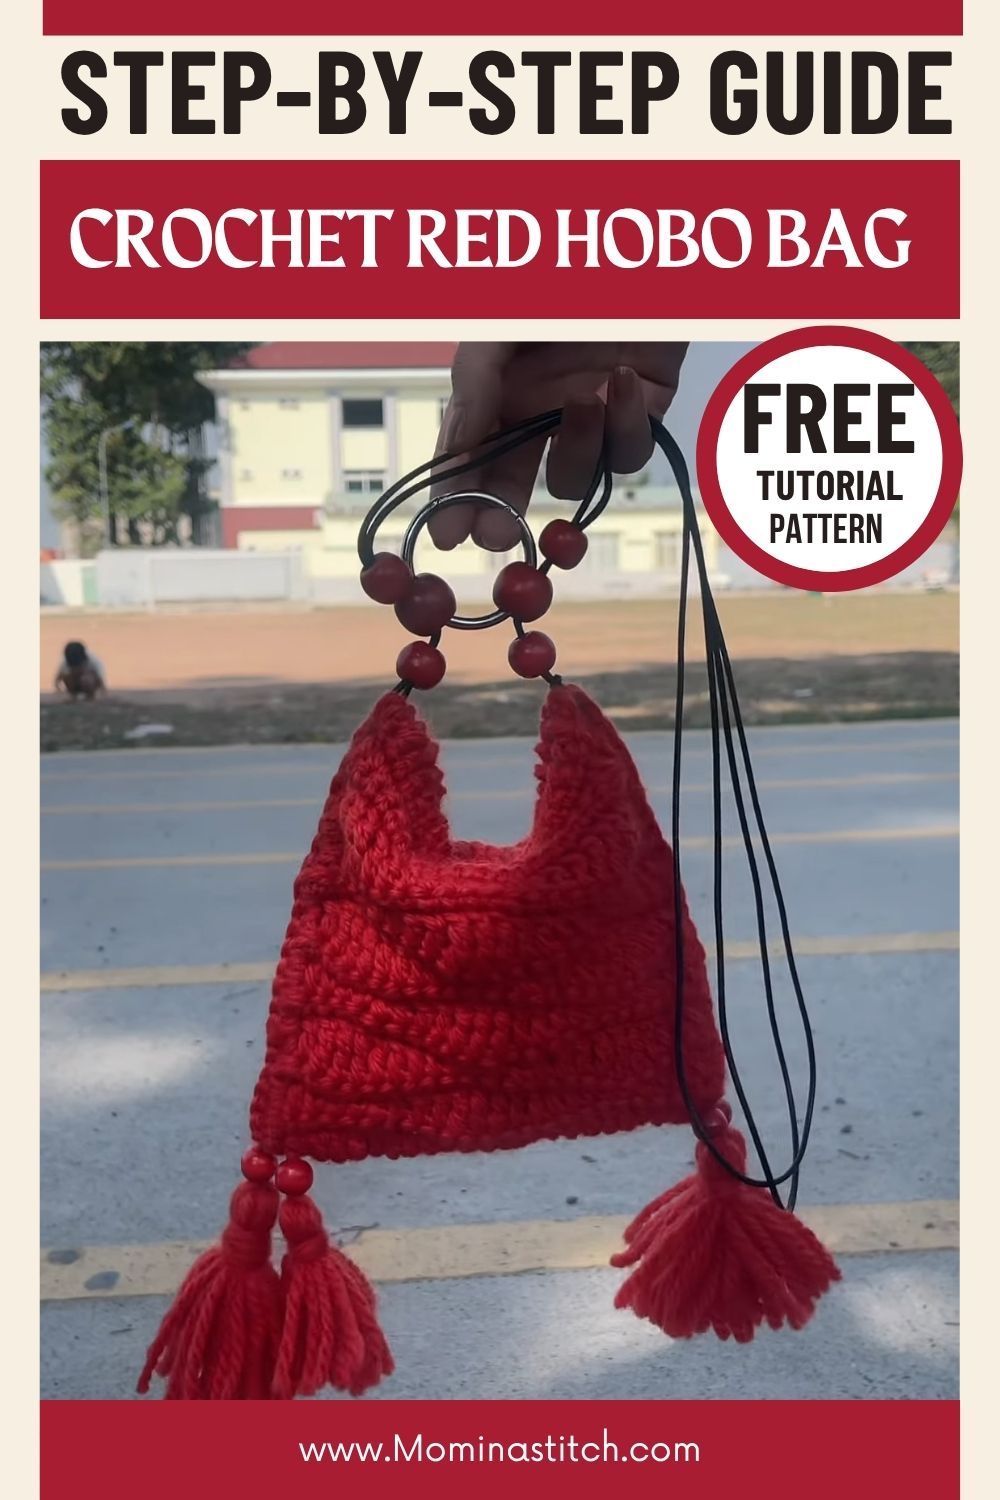
The Crochet Red Hobo Bag Pattern for Special Outfits offers a satisfying blend of texture, shape, and practicality. Once the ribbed rows and magic ring base feel familiar, the whole project comes together in a single weekend. Because the technique stays consistent throughout, repeat versions in new colors go even faster. This Red Hobo Bag remains a solid choice for anyone building a handmade accessory collection.