Fun Crochet Frog Fly Agaric Mushroom Amigurumi Pattern
Tucked beneath a speckled toadstool, a tiny green friend waits to be discovered. This Fun Crochet Frog Fly Agaric Mushroom Amigurumi Pattern blends woodland charm with cozy handmade appeal, creating a whimsical keepsake that’s simple, sweet, and perfect for beginners exploring nature-inspired crochet.
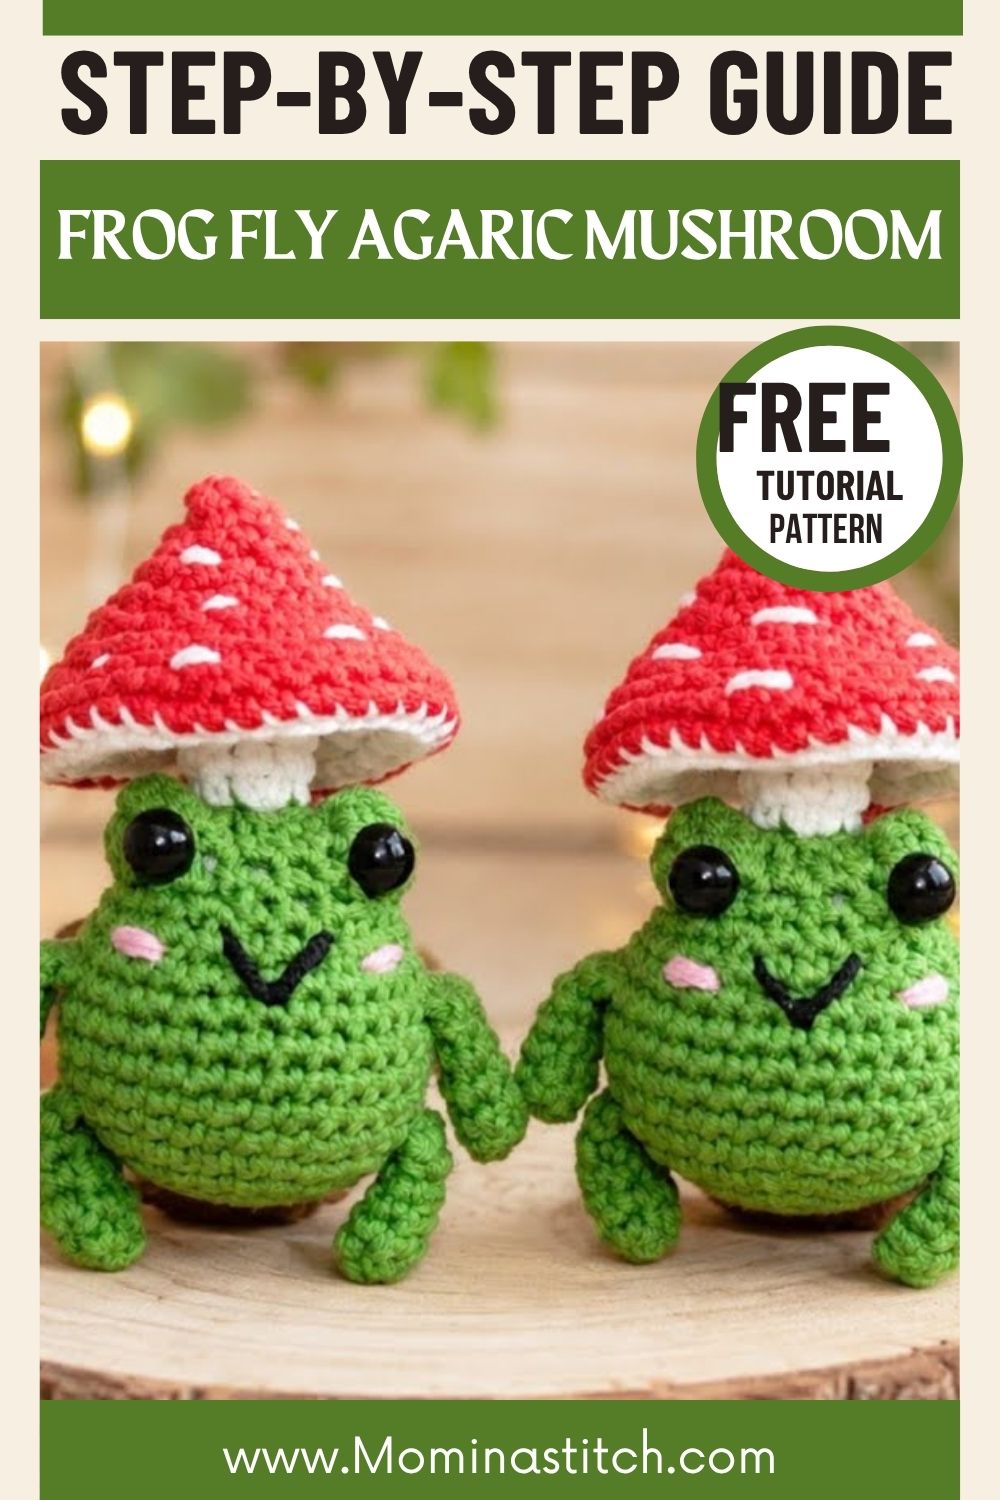
Picture a plump little frog tucked cozily beneath a classic fly agaric cap, its round eyes peeking out with quiet curiosity. That’s exactly the charm this pattern delivers: a compact, huggable design that captures the storybook feel of a forest floor without demanding advanced techniques. The mushroom’s dotted crown sits perfectly balanced above the frog’s rounded body, creating a silhouette that looks equally at home on a keychain, a shelf, or tucked into a gift bag.
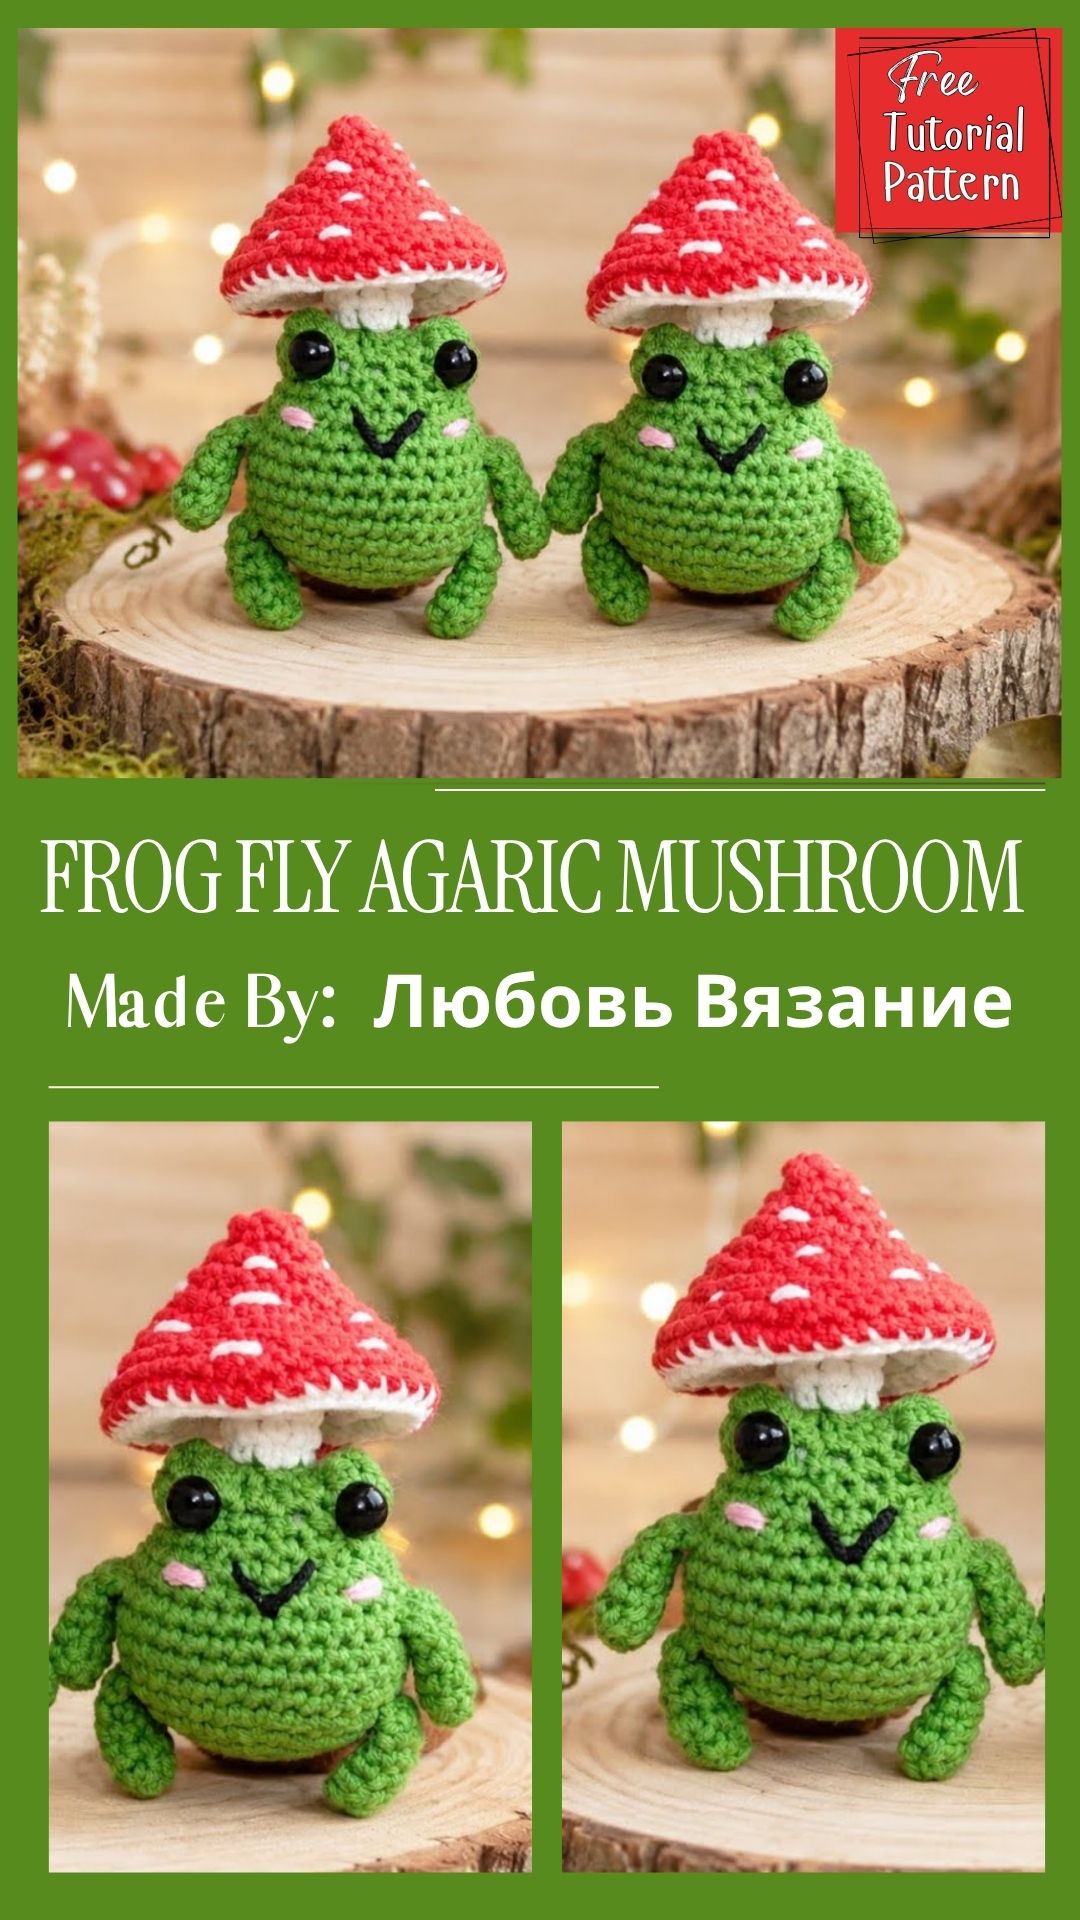
Crocheters drawn to nature-inspired amigurumi will appreciate how this design blends two textures and color palettes into a single cohesive character. Green worked in simple rounds forms the frog’s soft, huggable shape, while the mushroom cap introduces a satisfying bit of color-change practice with its scattered white spots. Nothing about the construction feels overly technical, yet the finished piece reads as detailed and intentional the kind of project that photographs beautifully and makes a memorable handmade gift.
Project Details
- Skill Level: Beginner to Intermediate
- Finished Size: Approximately 3 to 3.5 inches tall (excluding hanging cord)
- Estimated Time Required: 4 to 6 hours
- Recommended Yarn Weight: DK weight (light worsted, #3)
- Crochet Hook Size: 2.5mm to 3mm (adjust to match yarn weight and desired tension)
Materials Needed
- DK weight yarn in green (frog body and legs)
- DK weight yarn in red (mushroom cap)
- DK weight yarn in white (mushroom spots and stem)
- Small amount of black yarn or embroidery thread (mouth and nose detailing)
- Pair of 6mm safety eyes
- Polyester fiberfill stuffing
- Crochet hook (2.5mm–3mm)
- Tapestry needle
- Stitch markers
- Scissors
- Optional: cord or chain for hanging as a keychain or ornament
Crochet Stitches & Techniques
- Magic Ring (MR): Forms a tight, adjustable starting loop for the head, body, and mushroom cap
- Chain Stitch (ch): Used sparingly for starting the legs or securing thread ends
- Slip Stitch (sl st): Joins rounds and closes off small pieces neatly
- Single Crochet (sc): The primary stitch throughout the body, legs, and mushroom
- Increase (inc): Widens rounds evenly to shape the rounded frog body and mushroom cap
- Invisible Decrease (inv dec): Shrinks rounds smoothly while closing the top of each piece
- Color Changes: Needed for the red-and-white mushroom cap and white spots
- Fastening Off: Secures the working yarn once each section is complete
- Sewing Pieces Together: Joins the legs, mushroom, and facial details onto the main body
Pattern Instructions
Creating the Legs
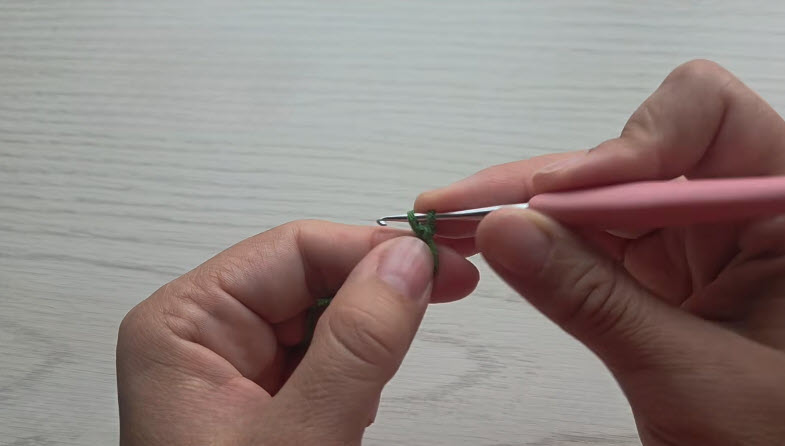
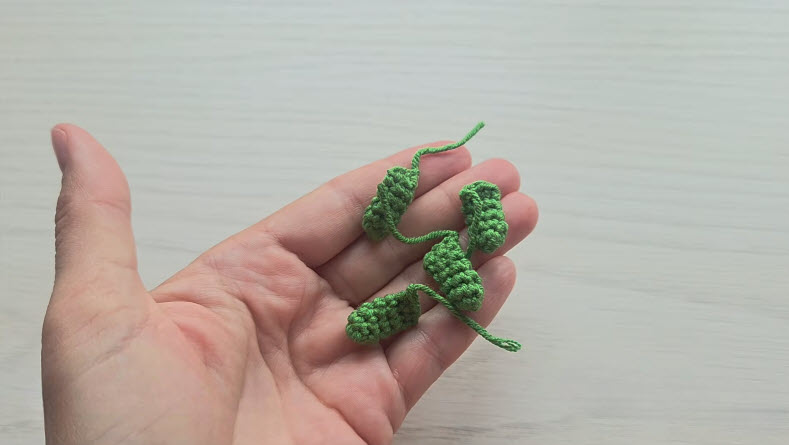
Begin each leg with a magic ring, working 6 single crochet stitches into the loop and pulling it snug. From there, work several rounds without increasing, keeping stitch count steady to form a small tube shape. Referencing the first image, notice how the hook grips the working loop tightly at the starting point; this tension keeps the tiny magic ring from loosening as you build up the rounds. Repeat this process four times total, producing four short, slightly curved green tubes that will later become the frog’s arms and legs. Leave a long tail on each piece for sewing.
Shaping the Body
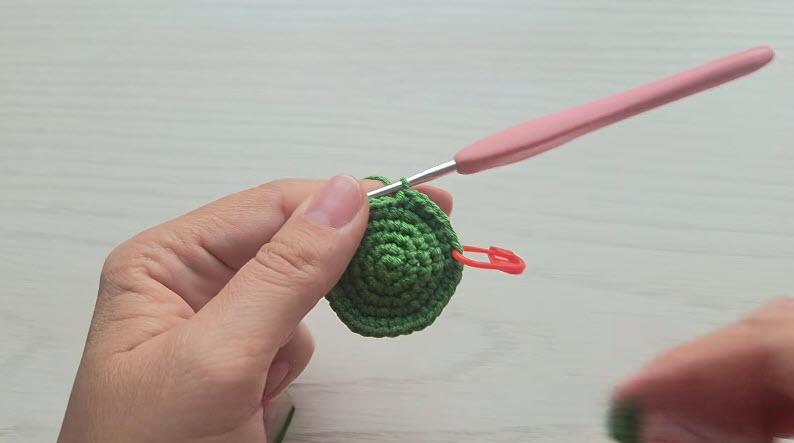
Start the body with a magic ring and 6 single crochet stitches, then begin increasing evenly every round until reaching the desired width typically between 18 and 24 stitches, depending on how plump you’d like the frog. Looking at the third image, the piece is being worked in continuous spiral rounds, with a stitch marker clipped in place to track the beginning of each round. This small tool prevents confusion since amigurumi rounds don’t use a visible seam. Once the widest point is reached, work several rounds even (no increasing or decreasing) to form the frog’s rounded belly.
Attaching the Legs
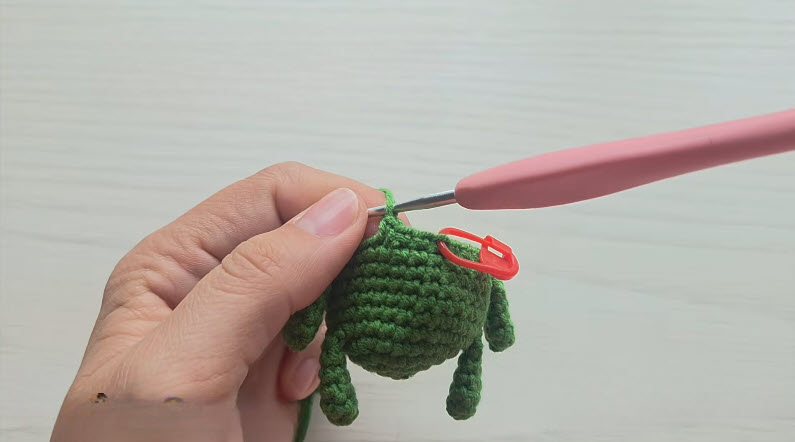
Before closing the body, pause partway through to attach the four leg pieces. Position two legs toward the lower front of the body and two arms slightly higher along the sides, matching the placement seen in the fourth image, where the stitch marker and hook are actively working through both the body stitch and the leg opening simultaneously. Crochet directly through both layers to join them securely, then continue working the remaining body stitches in the round. This method avoids extra sewing later and creates a sturdier attachment point.
Closing and Stuffing
Begin decreasing gradually once the body rounds are complete, spacing invisible decreases evenly to avoid puckering or an unevenly shaped top. Add fiberfill stuffing in small amounts as the opening narrows, pressing gently into the legs and lower body first before filling the upper rounds. Continue decreasing until only a small opening remains, then fasten off and weave the tail through the remaining stitches to close it invisibly.
Crocheting the Mushroom Cap
Work the cap starting with red yarn in a magic ring, increasing steadily to form a wide, gently domed shape rather than a flat circle. Switch to white yarn for a few rounds to create the pale underside edge, then introduce scattered white spots into the red sections using small individual color changes rather than carrying yarn across large gaps. Each spot should be worked as a tiny cluster of 3 to 5 stitches in white before switching back to red, keeping the transition points neat on the wrong side.
Making the Stem
Crochet a short white cylinder using single crochet worked in continuous rounds without much shaping, similar in construction to the legs but slightly wider. Stuff it lightly so it holds its shape without becoming stiff, then set it aside for final assembly. The stem sits between the frog’s head and the mushroom cap, giving the whole piece its recognizable toadstool silhouette.
Facial Features
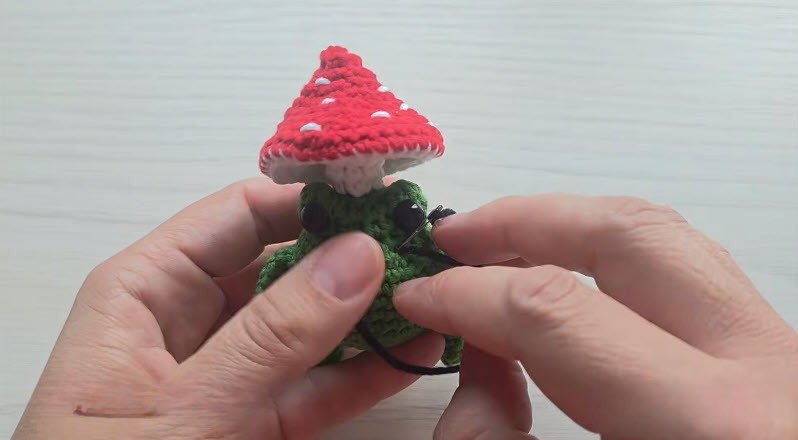
- Position the safety eyes a few rounds down from the top of the head. Space them evenly for a friendly, wide-eyed expression. Secure the backs firmly before adding more stuffing near the face.
- Reference the fifth image for placement guidance. Notice how the eyes sit close together near the mushroom stem. This gives the frog its signature curious look.
- Embroider a small nose and gentle curved mouth using black yarn or embroidery thread. Keep the stitches short and evenly tensioned for a clean, expressive finish.
Joining All Pieces
Center the stem on top of the frog’s head and stitch it firmly in place, making sure it sits straight rather than leaning to one side. Attach the mushroom cap directly above the stem, sewing around the entire base to prevent wobbling. Check that the cap sits at a pleasing angle before securing the final stitches, since this placement affects the overall balance of the finished piece.
Final Assembly
- Weave in any remaining yarn tails using a tapestry needle. Tuck them deep into the stuffing so nothing peeks through the stitches.
- Give the frog’s body a gentle shape check. Adjust the stuffing through the leg openings if needed.
- If turning the project into a keychain or ornament, attach a small loop of cord to the top of the mushroom cap.
Tips for Success
- Keep tension consistent across all pieces so the legs match in size and shape
- Count stitches at the end of each round, especially during increase rows
- Use stitch markers religiously — spiral rounds are easy to lose track of otherwise
- Stuff firmly but evenly, avoiding lumps near the neck or leg joints
- Hide yarn ends by weaving them through several stitches in different directions
- Steam-block the mushroom cap lightly if it looks slightly uneven after stuffing
Personalization Ideas
Try Different Mushroom Varieties
Swap red and white for brown and tan to create a completely different toadstool style, or use orange and yellow for a chanterelle-inspired look.
Experiment with Frog Colors
Pastel greens, teals, or even a speckled yarn can give the frog a completely fresh personality without changing the pattern itself.
Add Seasonal Touches
A tiny crocheted acorn or autumn leaf nearby makes this piece feel right at home in a fall-themed display.
Change the Facial Expression
Angling the eyebrows or curving the mouth differently can shift the frog from curious to sleepy to mischievous in just a few stitches.
Turn It Into a Gift
Attach a keychain clasp, ornament hook, or bag charm hardware to transform this pattern into a practical, giftable accessory.
Common Mistakes to Avoid
- Losing track of the round count is one of the most frequent slip-ups. This can happen especially after the increases finish and the rounds become repetitive. A stitch marker can solve this problem instantly.
- Overstuffing the mushroom cap can distort its domed shape. Add the fiberfill gradually and check the silhouette as you go.
- Rushing the color changes on the cap can leave visible gaps or loose floats inside. Carry the yarn loosely and secure each color change individually. This helps keep the surface smooth.
- Skipping the safety eye placement check before fully stuffing the head can also cause problems. Crooked eyes can be difficult to fix later, so check their position before adding the final stuffing.
Frequently Asked Questions
Can I make this pattern without safety eyes?
Yes, embroidered eyes using black yarn work well as an alternative and are a safer choice for gifts intended for small children.
What yarn weight works best for beginners?
DK weight yarn paired with a 3mm hook offers the easiest stitch visibility while still producing a nicely detailed finished size.
How much yarn do I need for this project?
A small amount of each color goes a long way — roughly 15 to 20 grams of green, 10 grams of red, and a few grams of white typically covers the entire project.
Can this pattern be made larger?
Switching to a bulkier yarn weight and a larger hook size scales the entire design up proportionally without altering the stitch pattern.
Is this pattern suitable for complete beginners?
Anyone comfortable with magic rings, basic increases, and simple color changes should manage this project without much difficulty.
How do I keep the mushroom spots looking neat?
Working each spot as a small isolated block rather than carrying yarn long distances keeps the inside tidy and prevents puckering on the outside.
Can I turn this into a hanging ornament?
Absolutely sewing a small cord loop into the top of the mushroom cap before final assembly makes it ready to hang.
Final Overview
Few amigurumi projects capture whimsy quite like a little frog perched beneath its own toadstool umbrella. Working through the legs, body, mushroom cap, and tiny facial details offers a satisfying mix of familiar amigurumi techniques. The design also adds just enough novelty to keep things interesting. Give this pattern a try and adjust the colors to match your own style. Share the finished character when it’s complete. It’s the kind of project that tends to bring a smile to everyone who sees it.