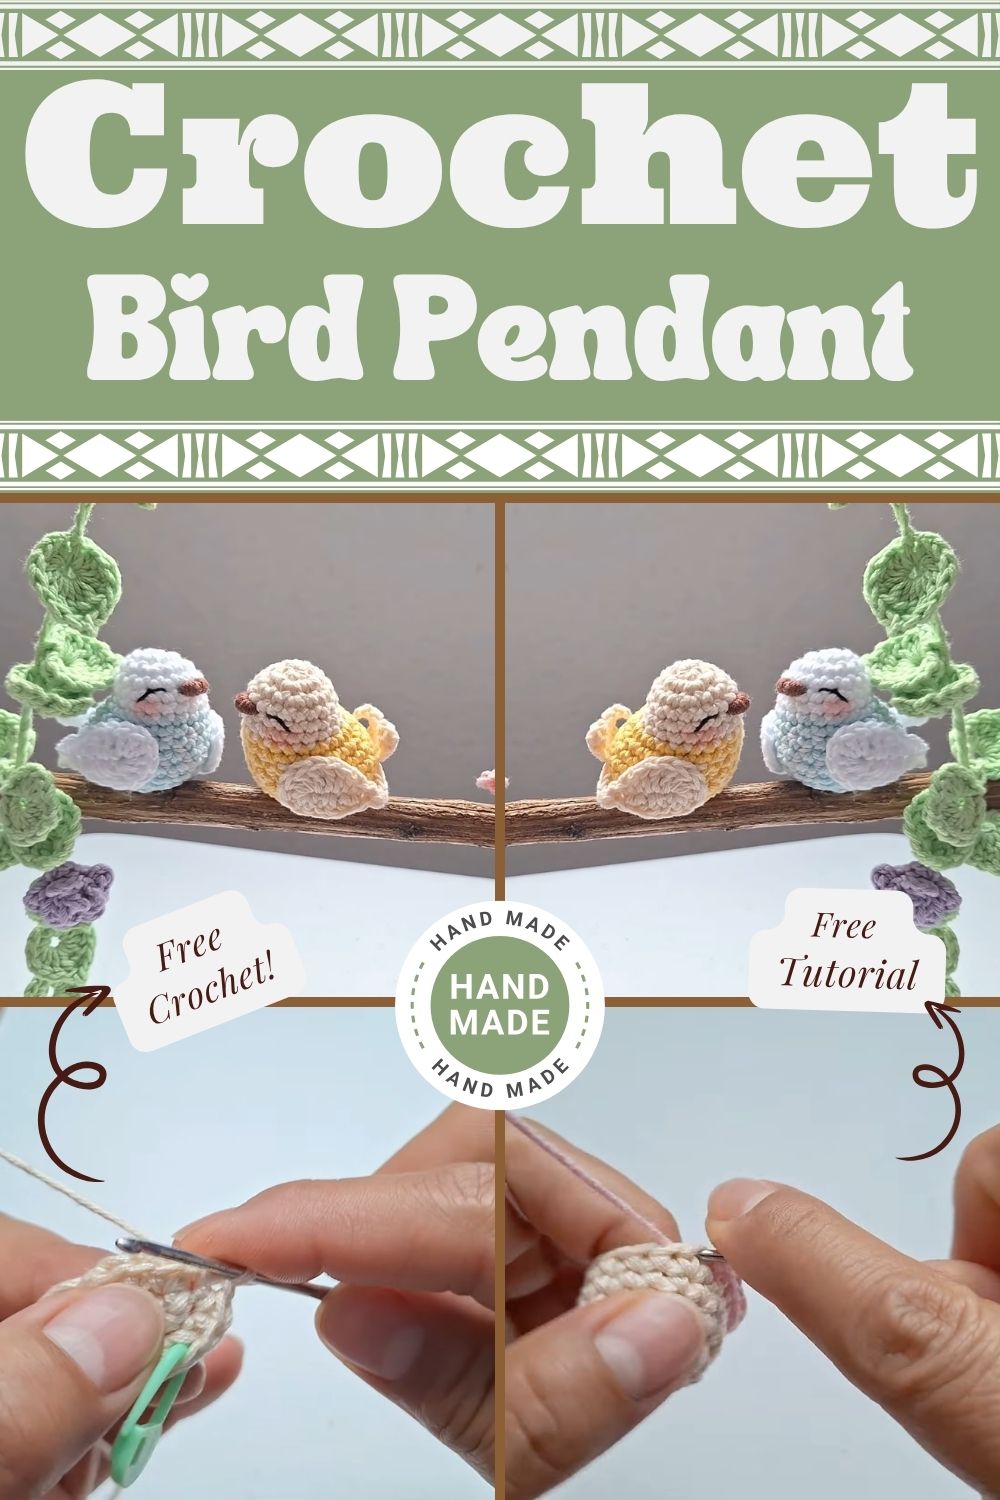
Serene Crochet Bird Pendant Amigurumi Pattern to Wow Your Friends
This charming Sirin crochet bird pendant amigurumi is the perfect project to bring peace and cuteness into your day. Inspired by nature and a peaceful aesthetic, this small adorable bird features a round body, delicate colorful details, fine feathers, and a sweet little tail. Its bright eyes give it a lively expression, making it look ready to perch on a branch or be worn as a beautiful pendant.
Crochet lovers adore this amigurumi because it works up quickly, is easy to customize according to your taste, and ends up looking beautifully professional. You can use it as jewelry, a bag charm, a keychain, or a wall decoration. Whether you gift it to a friend or keep it in your own room, this little bird spreads both beauty and tranquility.
Best of all? It’s beginner-friendly! With simple stitches, spiral rounds, and clear shaping, even new crocheters can succeed. No complex colorwork or advanced techniques required—just patience and a love for yarn.
Pattern Overview
- Finished Size: Approximately 4 cm in diameter by 4.5 cm in height (perfectly pocket-sized for pendants or keychains).
- Difficulty Level: Beginner to Easy.
- Time Required: 1–2 hours per bird, depending on your pace.
- Project Type: Amigurumi plushie/toy, designed as a pendant or decorative charm. It works wonderfully alone or as part of a larger hanging display with branches, leaves, and flowers.
This compact crochet bird pattern uses spiral crocheting (no joining rounds), making it seamless and smooth.
Materials Needed
Gather these simple supplies for the best results:
- Yarn: 100% cotton yarn (2mm thickness or sport/DK weight). Main body color (e.g., bone/off-white), contrasting belly (e.g., pastel pink), wings/tail (same as body or accent), beak (medium brown), eyes (black), plus optional green for leaves or lilac for flowers if making a full pendant.
- Crochet Hook: 2 mm metal hook.
- Stuffing: Synthetic fiberfill (pillow stuffing).
- Yarn Needle: For sewing parts and weaving ends.
- Stitch Markers: To track rounds.
- Scissors.
- Safety Eyes: Small (optional; embroidery works great for beginners).
- Additional (for pendant version): Natural branch, hot glue or silicone for attaching, chain or cord for hanging.
Crochet Abbreviations
Here are the common terms used (US terminology):
- sc – Single crochet
- inc – Increase (2 sc in the same stitch)
- dec – Decrease (sc 2 stitches together)
- ch – Chain
- sl st – Slip stitch
- FO – Finish off / fasten off
- MR – Magic ring
- BLO – Back loop only (if needed, but this pattern is mostly standard)
Stitch counts appear at the end of each round in parentheses.
Step-by-Step Crochet Pattern
Work in continuous spiral rounds. Use a stitch marker at the start of each round.
Body/Head (Main Piece)
Start with the main body color (bone).
- Round 1: 6 sc in MR (6)
- Round 2: Inc in each stitch (12)
- Round 3: (1 sc, inc) repeat around (18)
- Rounds 4–6: 1 sc in each stitch (18) — three plain rounds.
- Round 7: Color change to belly color here. Do 4 inc at the start of the round (for the belly shaping), then 10 sc, then 4 inc at the end (26). Hide the old color yarn.
- Round 8: 1 sc in each (26)
- Round 9: 2 inc at the beginning, 22 sc, 2 inc at the end (30)
- Rounds 10–12: 1 sc in each (30) — stuff the head lightly as you go.
- Round 13: (3 sc, dec) repeat around (24)
- Round 14: (2 sc, dec) repeat around (18)
- Round 15: (1 sc, dec) repeat around (12) — stuff the body firmly.
- Round 16: Dec around until about 6–7 stitches remain. FO with a long tail, weave through the front loops to close tightly, and secure.
Wings (Make 2)
Use the main body color.
- Ch 6.
- In 2nd ch from hook: sl st, sc, hdc (half double if desired, or adjust to sc), dc.
- In last ch: 6 dc together (or multiple tall stitches for a feather look).
- Continue on the other side of the chain with matching stitches to shape the wing.
- Sl st to close, leave tail for sewing.
Tail
Similar to wings but simpler fan shape:
- Ch 6, work sl st and sc across, then add chain loops or additional rows for feather details.
- Create 2–3 “feathers” by chaining and returning with sc.
Beak
With brown yarn: Small triangle or cone shape—ch 3–4, work a few sc rows, sew in place.
Eyes
- Attach safety eyes between rounds 9–11, about 4–5 stitches apart.
- Or embroider small dots with black yarn for a softer look.
Assembly Instructions
- Attach Wings: Position wings on the sides of the body (around the color change line). Sew securely with a yarn needle.
- Add Tail: Sew at the back lower part for balance.
- Beak and Eyes: Center the beak below the eyes. Embroider eyebrows or blush if desired for extra personality.
- Finishing: Weave in all ends neatly. For the pendant version, attach a loop or cord at the top. If making a full display, glue or tie birds to a prepared branch with added crochet leaves/flowers.
Your serene little bird is ready to wow!
Beginner Tips
- Stitch Markers Are Your Best Friend: Mark the first stitch of every round to avoid losing your place.
- Keep Tension Consistent: Aim for tight stitches so stuffing doesn’t show through.
- Stuff evenly: Add small amounts gradually and shape as you go. Overstuffing can distort the round shape.
- Common Mistakes to Avoid: Forgetting to count stitches after increases/decreases, or pulling the magic ring too tight too soon. Practice the color change on a scrap first.
- Work in good lighting and take breaks. Amigurumi is relaxing!
Customization Ideas
Make this crochet bird pattern uniquely yours:
- Color Variations: Try soft blues, yellows, or rainbow combos for different bird species.
- Keychain Version: Add a metal ring and chain for a bag charm.
- Mini Plushie: Scale up slightly with thicker yarn for a bigger toy.
- Gift Ideas: Personalize with initials or bundle several birds as a mobile for nurseries.
- Home Decor: Create a flock on a driftwood branch for wall art or shelf display.
Care Instructions FOR ( Crochet Bird Pendant Amigurumi )
- Hand Wash: Use mild soap in lukewarm water. Gently squeeze (don’t wring).
- Drying: Air dry flat on a towel, reshaping while damp.
- Storage: Keep in a cool, dry place away from direct sunlight to prevent fading. For long-term storage, store in a breathable bag.
FAQ Section
Which yarn is best?
Soft cotton yarn in 2mm thickness gives the cleanest, most defined shape. Acrylic works too but may fuzz over time.
Can beginners make this?
Absolutely! The pattern uses basic stitches and has forgiving shaping.
How long does it take
Most makers finish one bird in 1–2 hours.
Can I sell finished products?
Yes, for small-scale handmade sales. (Credit the pattern inspiration if sharing online.)
Conclusion
There you have it—your complete guide to crocheting the Serene Crochet Bird Pendant Amigurumi. This delightful project proves that even simple patterns can create something truly special. Grab your hook, pick cheerful yarns, and let your creativity soar.
Share your finished birds in the comments or tag us on social media. We’d love to see your colorful flock! Happy crocheting, and may your days be filled with yarn and joy.