Crochet Mochi Peach Cat Amigurumi Pattern for Cat Lovers
Whether you’re making it for your own collection, gifting it to someone special as a handmade present, or simply adding another piece to your lineup of beautiful Crochet Cat Amigurumi designs, this pattern offers a great mix of simplicity and charm. Easy to complete with basic stitches, this design makes for an enjoyable project for any crocheter who loves creating unique and beautiful amigurumi pieces.
Why This Peach Cat Amigurumi Stole Our Hearts
Peach-shaped plushies have been popping up across Pinterest and TikTok for months, and honestly, it’s easy to see why. Round, blushed cheeks and a tiny cat face give this project a warmth that plain amigurumi shapes just don’t have. Trust me, once you finish one, you’ll want a whole basket of them.
Project Overview
This crochet pattern walks you through building a rounded peach-shaped body, a soft round head, tiny ears, and a cute stitched-on cat face, all worked in continuous rounds with basic amigurumi stitches. You’ll finish with a light blush on the cheeks and a small tail or keychain loop for extra charm.
Real talk, nothing here is complicated. It’s mostly single crochet, some shaping rounds, and simple assembly at the end.
Skill Level
This pattern sits at a beginner-friendly level, though a little comfort with amigurumi basics like magic rings and invisible decreases will help things move faster. First-timers can absolutely follow along with patience.
Materials and Supplies List
Gathering the right supplies before you start saves a lot of mid-project scrambling. Here’s everything you’ll need:
Yarn
- Soft pink or peach-toned yarn (main body color)
- Light cream or ivory yarn (belly/face patch, optional)
- Small amount of black or dark brown yarn (facial details)
- Pink yarn or thread (cheek blush, optional embroidery)
Tools and Notions
- Crochet hook, size 2.5mm–3mm (matched to your yarn weight)
- Pair of 8mm–9mm safety eyes (or black embroidery thread for a no-safety-eye version)
- Polyester fiberfill stuffing
- Yarn needle for sewing pieces together
- Sharp fabric scissors
- Stitch markers (locking ones work great)
- Optional: keychain ring, clasp, or bag charm hardware for finishing
Crochet Techniques Used
No joke, this Crochet Mochi Peach Cat pattern leans on just a handful of core amigurumi techniques, so it’s a great practice project if you’re building your skills:
- Magic ring — for a tight, hole-free start to every round piece
- Single crochet (sc) — the main stitch used throughout
- Increase (inc) — two single crochets in one stitch, for rounding out shapes
- Invisible decrease (dec) — for smooth, seamless shaping
- Sewing and assembly — whip stitching pieces together neatly with a yarn needle
Step-by-Step Crochet Pattern Instructions
Building the Base with Single Crochet
Continue single crocheting in mustard yarn to build up the rounded base. Once you reach the point where the white section begins, switch to white yarn on your last yarn-over to keep the color change clean and seamless.
Starting with a Magic Ring
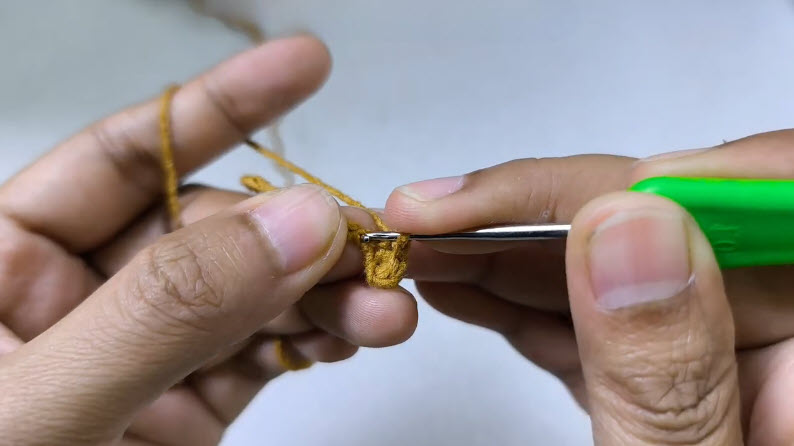
Start with a magic ring using your mustard yarn. Work your first round of single crochets into the ring, then pull the tail tight to close the center hole completely.
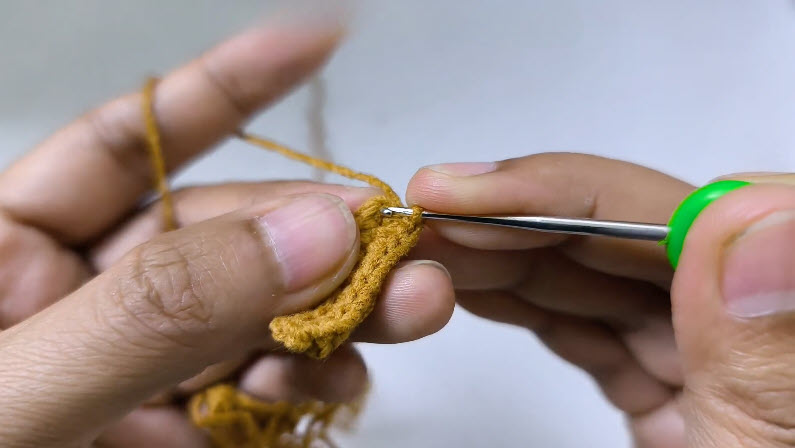
Shaping the Rounded Body
Keep working single crochet in continuous rounds, holding your tension even and snug. This builds the smooth, rounded oval shape that forms the base of your amigurumi piece.
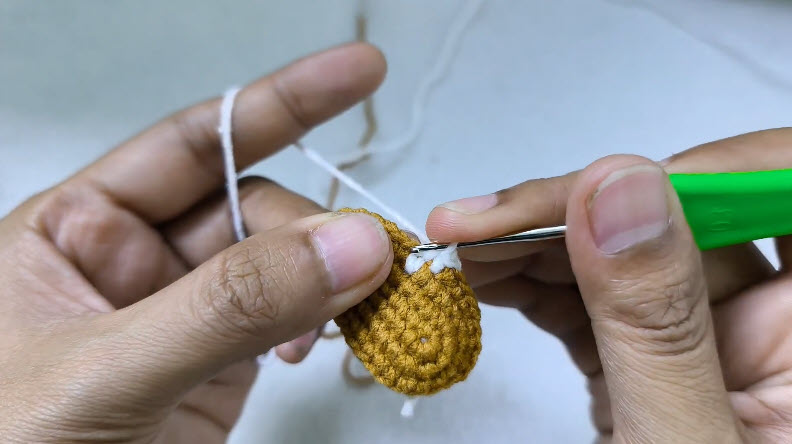
Adding the White Color Block
Introduce the white yarn to shape a triangular color-block section along one side of the piece. Work your single crochets carefully along the color boundary, keeping the edge neat and slightly angled to mimic the white marking shape.
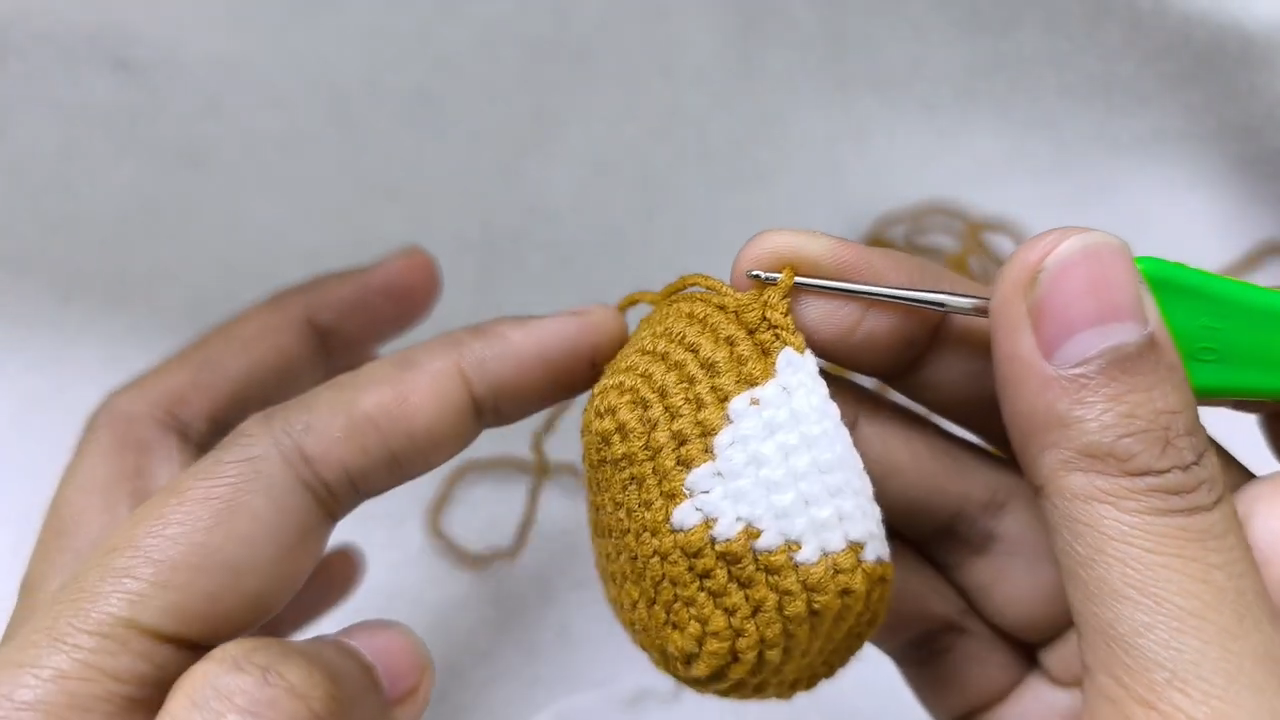
Embroidering the Cat Face Details
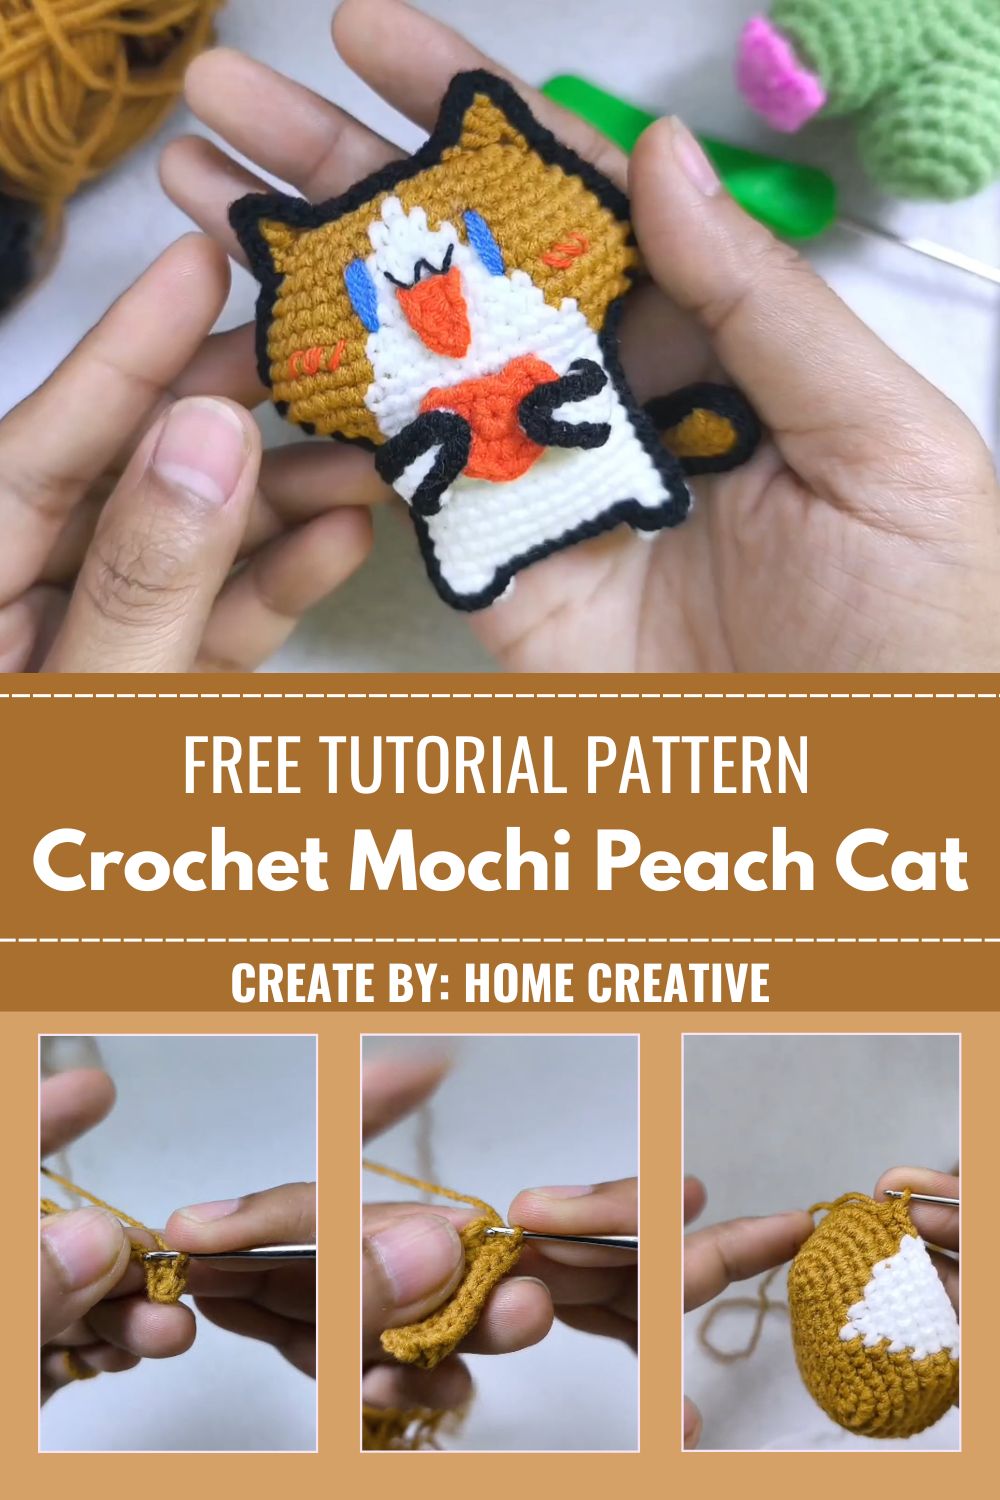
Once your color-blocked piece is complete, embroider the facial details on top: add an orange nose and cheek blush, blue whisker strokes above the eyes, and black outline stitches around the ears, paws, and body edge to make the cat face pop against the mustard and white base.
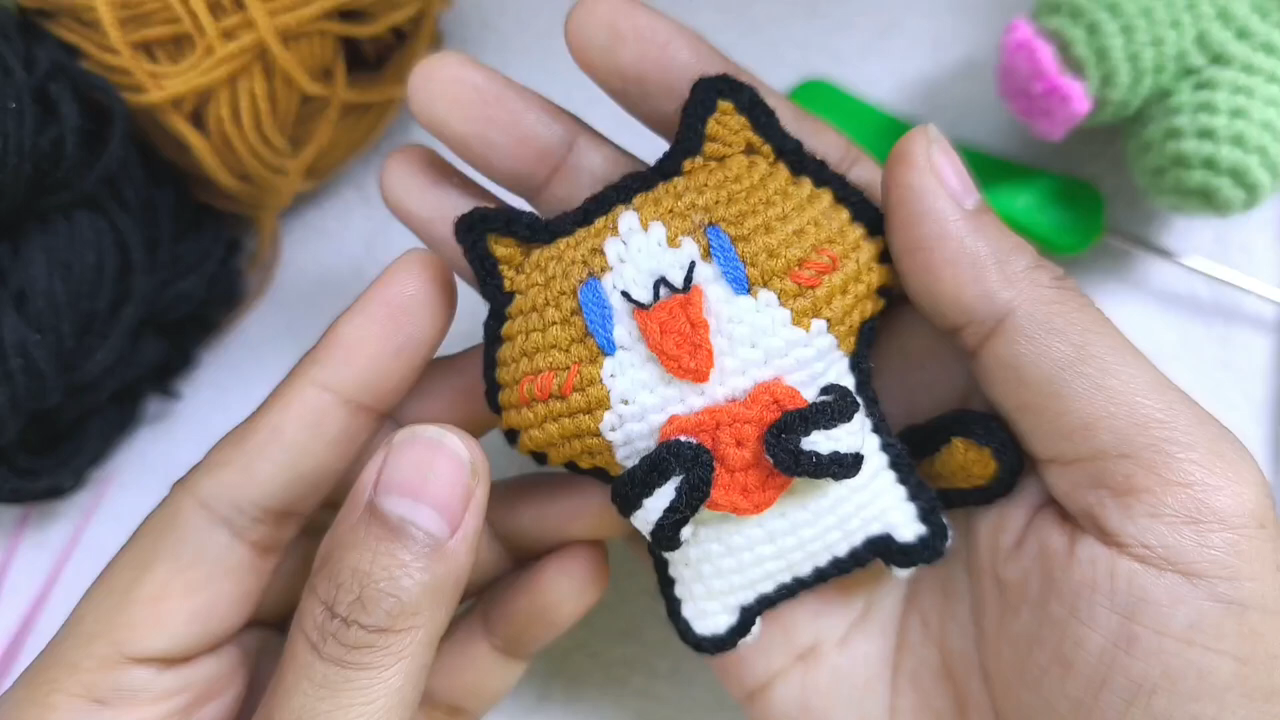
Assembly Process
Sew the head onto the top of the body using a whip stitch, tucking the seam neatly along the natural curve. Attach the ears just above the face, angled slightly outward. Sew on the tail or attach your keychain hardware at the back or top, depending on the style you’re going for.
Finishing Touches
Trim any loose yarn ends and weave them in securely. Fluff the stitches gently with your fingers to even out the texture. Give your peach cat a final shape check a light squeeze here and there helps settle the stuffing evenly.
Helpful Beginner Tips
- Keep your stitches tight. Loose stitches let stuffing peek through, so amigurumi generally uses a smaller hook than the yarn label suggests.
- Use stitch markers religiously. Working in continuous rounds gets confusing fast without one marking your round start.
- Stuff a little at a time. Adding small amounts of stuffing gradually, rather than one big handful, keeps the shape smooth and avoids lumps.
- Count your stitches often. A quick count after each round catches mistakes before they snowball.
Design Customization Ideas
- Play with color. Swap the peach tone for lavender, mint, or soft yellow for a whole fruit-cat family.
- Add accessories. A tiny bow, scarf, or flower crown instantly changes the personality of your plush.
- Go mini. Using a smaller hook and thinner yarn creates an adorable keychain-sized version, perfect for gifting or bag charms.
- Mix patterns. Try an ombre effect on the body for a more realistic peach blush.
FAQ Section
What is the best yarn for amigurumi?
Worsted weight cotton or acrylic yarn works best for amigurumi. Cotton gives crisp, defined stitches, while acrylic is soft and budget-friendly. Both hold their shape nicely for small toys like this one.
How do I make my crochet plush firm and not floppy?
Use a hook one or two sizes smaller than recommended for your yarn, and stuff generously in small amounts as you work. Tight stitches plus firm, even stuffing are the real secret to a plush that holds its shape.
How long does this project take to finish?
Most beginners finish a peach cat amigurumi in about 3–5 hours, spread across a couple of sittings. With more amigurumi experience, this can shrink to under 2 hours.
Final Thoughts
Making your own Crochet Mochi Peach Cat is such a satisfying little project, and it’s the kind of pattern you’ll want to make again and again in new colors. Grab your hook, pick your favorite peachy shade, and start stitching up a whole basket of these sweet little cats. Share your finished peach cat with fellow crochet lovers, and don’t forget to tag your creations; this pattern deserves to be seen.