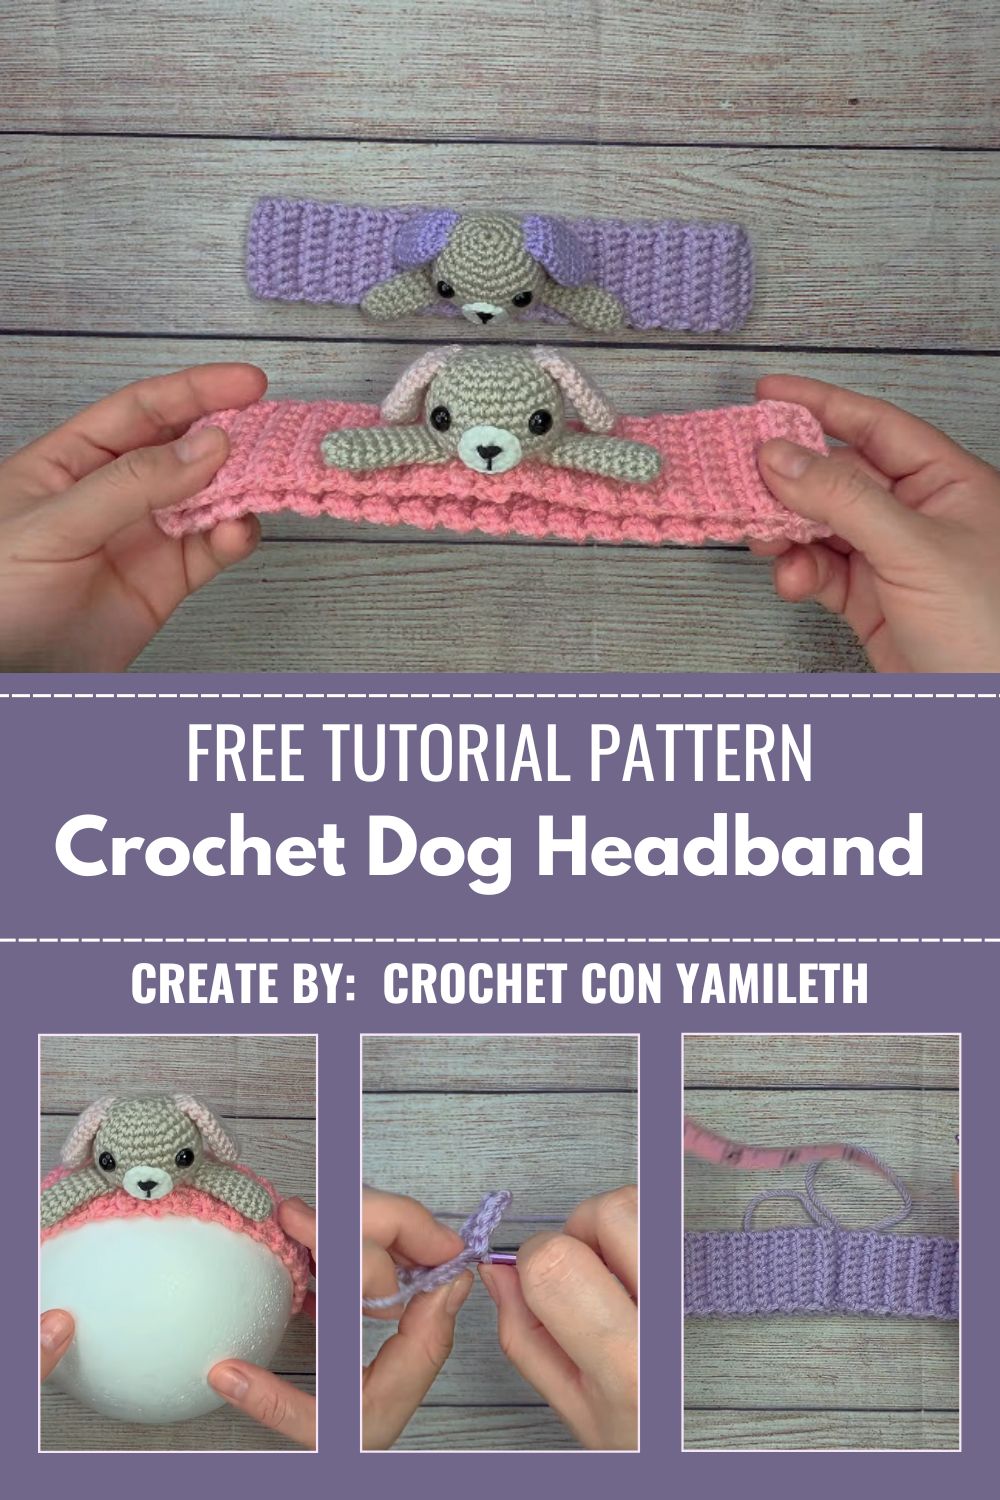
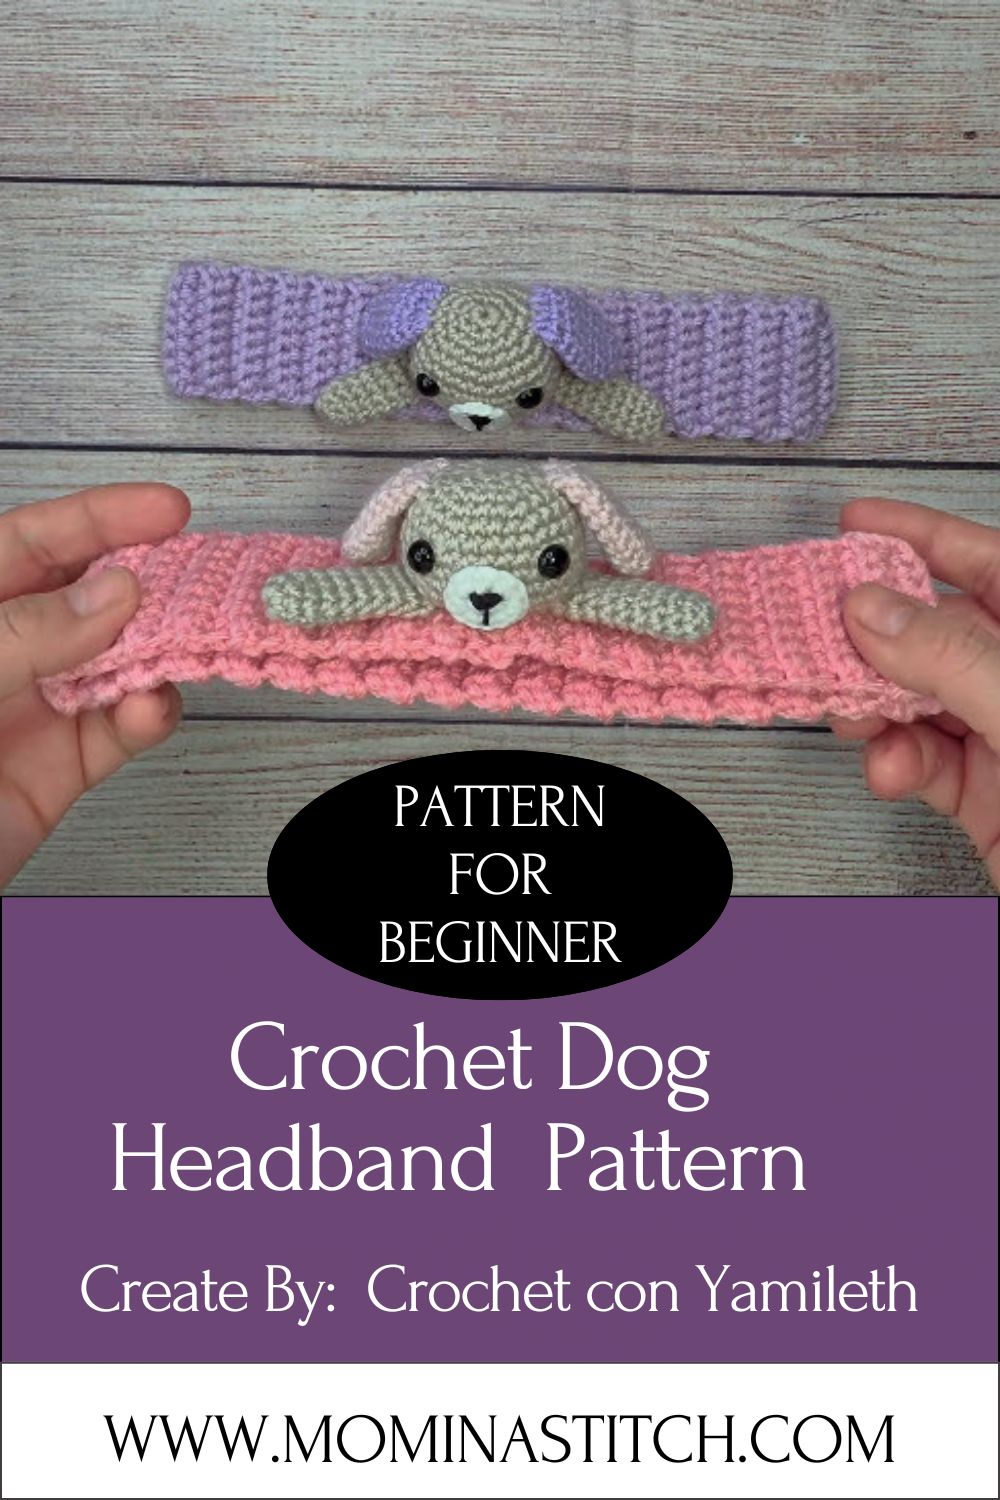
Free Crochet Dog Headband Pattern for a Playful Puppy Look
Cold mornings call for a headband that keeps you cozy while turning every head your way. This beautiful Free Crochet Dog Headband delivers a unique and charming style thanks to its soft, floppy dog ears. Comfortable, stylish, and handmade, this design is adored by kids and adults alike. Making it is just as enjoyable as wearing it, and with every stitch, this lovely project grows even more beautiful.
What makes this one worth your time? It works up fast, costs barely any yarn, and doubles as the easiest handmade gift you will ever stitch. The band stretches to fit almost any head, so sizing stress disappears completely. You only need basic stitches, which means total beginners can finish it in an afternoon.
What Is This Crochet Project?
A crochet dog headband is a stretchy ear warmer with floppy puppy ears sewn on top. The band wraps around your head and covers your ears, while the dangling ears add all the playful charm.
It is worked as one long ribbed strip, then seamed into a loop. The puppy ears are made separately and attached afterward. Because the whole thing is small and simple, it makes a fantastic quick crochet project for fairs, gifts, or last-minute winter accessories.
Skill Level
This pattern is firmly beginner-friendly. You only need to chain, work a single repeated stitch, and sew a few seams. No complex shaping, no counting marathons. If you can make a straight row, you can make this headband. Confident beginners might finish their first one in under an hour.
Required Materials and Supplies
Pull together everything before you start so nothing breaks your flow halfway through.
Yarn Type
- Worsted weight (medium/size 4) yarn in your main band color, like brown, tan, grey, or cream
- A small amount of a second shade for the inner ears (optional but cute)
- Acrylic works great and stays soft; a wool blend adds extra warmth
Hook Size
- A 5.0 mm to 5.5 mm crochet hook
- A slightly larger hook keeps the ribbing stretchy and comfortable around the head
Extra Tools
- Yarn needle for seaming and attaching ears
- Scissors
- A measuring tape
- Stitch marker to track your rows
- A scrap of yarn for cinching the center, if you want a bow effect
Crochet Stitches and Abbreviations Used
Only a couple of stitches do all the work here. Keep this little list handy:
- ch – chain
- hdc – half double crochet
- BLO – back loops only
- sc – single crochet
- dec – decrease (work two stitches together)
- st / sts – stitch/stitches
- sl st – slip stitch
The band uses back-loop half double crochet for that stretchy ribbed texture. The ears use plain single crochet. Nothing scary, ngl.
Step-by-Step Crochet Instructions
Grab your hook and let us build this headband from the band up. Work calmly and check your width on the very first row.
Making the Headband Band
The band is one long ribbed strip worked sideways.
- Foundation: ch 20 (this sets the width, around 9 cm)
- Row 1: hdc in the 3rd ch from hook and each ch across (18 hdc), ch 2, turn
- Row 2: working in BLO, hdc in each st across (18), ch 2, turn
- Repeat Row 2 until the strip comfortably wraps your head with a gentle stretch, roughly 45 cm or 18 inches
Working in back loops only gives you those neat vertical ribs. They stretch sideways, which is exactly what hugs your head.
Once you reach the right length, fasten off and leave a long tail for seaming.
Seaming the Band
Now turn that strip into a loop.
- Fold the band so the two short ends meet
- Line up the stitches edge to edge
- Whipstitch across with your yarn needle
- Weave the tail back through to hide it
Test the fit over your head before moving on. It should feel snug but never tight.
Adding the Center Cinch (Optional)
This little step gives the headband a cute gathered bow.
- Pinch the band together at the front or side
- Wrap a scrap of yarn around the pinch six to eight times
- Knot it tightly at the back and weave in the tail
Real talk, this one detail makes the whole piece look store-bought.
Making the Puppy Ears (Make 2)
Floppy ears are the star of the show. Make two identical pieces.
- Foundation: ch 9
- Row 1: sc in the 2nd ch from hook and each ch across (8 sc), ch 1, turn
- Rows 2 to 6: sc in each st across (8), ch 1, turn
- Row 7: dec, sc 4, dec (6), ch 1, turn
- Row 8: dec, sc 2, dec (4), ch 1, turn
- Row 9: dec, dec (2)
Fasten off and leave a long tail. You now have a tapered, floppy ear shape. Do not stuff them; flat ears flop perfectly.
Attaching the Ears
Last step, and then you are done.
- Decide where the top of the headband sits when worn
- Pin the wide flat end of each ear about 6 to 8 cm apart
- Stitch the flat edge down firmly so the rest of the ear flops forward
- Sew over the same spot twice for strength, then hide the tails inside the band
Give the ears a wiggle. If they flop and bounce, your puppy headband is officially finished.
Helpful Beginner Tips
A few small habits make your first headband look clean and pro.
- Check your foundation width before committing to rows
- Always work in back loops only for the stretch to work
- Keep the tension even so the ribs stay tidy
- Try the band on as you go to nail the fit
- Leave long tails; short tails make seaming a pain
The biggest tip? Do not pull your seam too tight. A relaxed seam keeps the band stretchy where it matters.
Common Mistakes and Solutions
Even an easy pattern hides a couple of traps. Here is how to avoid them.
- Band feels too tight – Add a few more rows before seaming
- Band feels too loose – Remove rows or seam with a slight overlap
- Ribs look flat, not raised – Double-check you worked into back loops only
- Ears stick straight up – Sew only the flat top edge, leave the rest loose
- Seam shows a bumpy line – Use a flatter whipstitch and match stitch to stitch
No joke, almost every problem traces back to the back-loop step or the seam tension. Fix those two and you are golden.
Pattern Customization Ideas
Once the basic headband clicks, you can remix it endlessly:
- Add a contrasting inner ear color for a layered look
- Stitch on a small embroidered nose or felt patch
- Make pointy ears instead of floppy ones for a fox or wolf version
- Add a tiny crochet bow next to one ear
- Work the band in stripes for a sporty vibe
You can also size the same pattern down for a baby or up for an adult with extra padding. The structure stays exactly the same.
Size and Color Suggestions
Sizing comes down to band length, so adjust the rows to fit.
- Toddler – band around 38 cm before seaming
- Child – band around 42 cm
- Teen / Adult – band around 46 to 50 cm
For color, classic dog shades read most “puppy”: brown, tan, caramel, grey, and cream. Want something fun? Try pink with white inner ears, or grey with a soft blue band. A speckled or marled yarn gives an adorable spotted-pup effect without any extra work.
Frequently Asked Questions
How long does this Free Crochet Dog Headband take to make?
Most makers finish in about one to two hours, including the ears.
Will it fit different head sizes? Yes, the ribbed band stretches well; just adjust the length to suit.
What yarn is best for a dog headband?
Soft worsted acrylic feels comfy and holds the ribbed shape nicely.
Can I make this for babies?
Absolutely, just shorten the band and keep all stitching extra secure.
My ears keep standing up instead of flopping. Free Crochet Dog Headband. Why?
You likely sewed too much of the ear down. Anchor only the top edge.
Conclusion
A Free Crochet Dog Headband is proof that quick projects can pack the most personality. You warm your ears, use up leftover yarn, and walk away with a playful accessory that gets compliments everywhere. Beginners get a confidence-boosting win, and busy crocheters get a gift they can whip up in an evening.
So choose your favorite puppy shade, grab that hook, and stitch one up. Once those floppy ears come to life, you will want to make a whole litter.