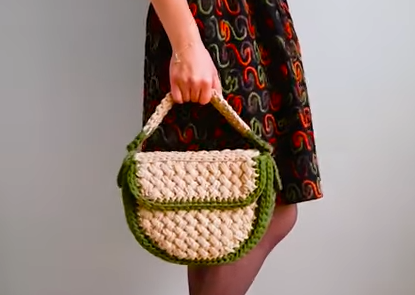
Beautiful Olive Crochet Backpack Pattern for Everyday Use
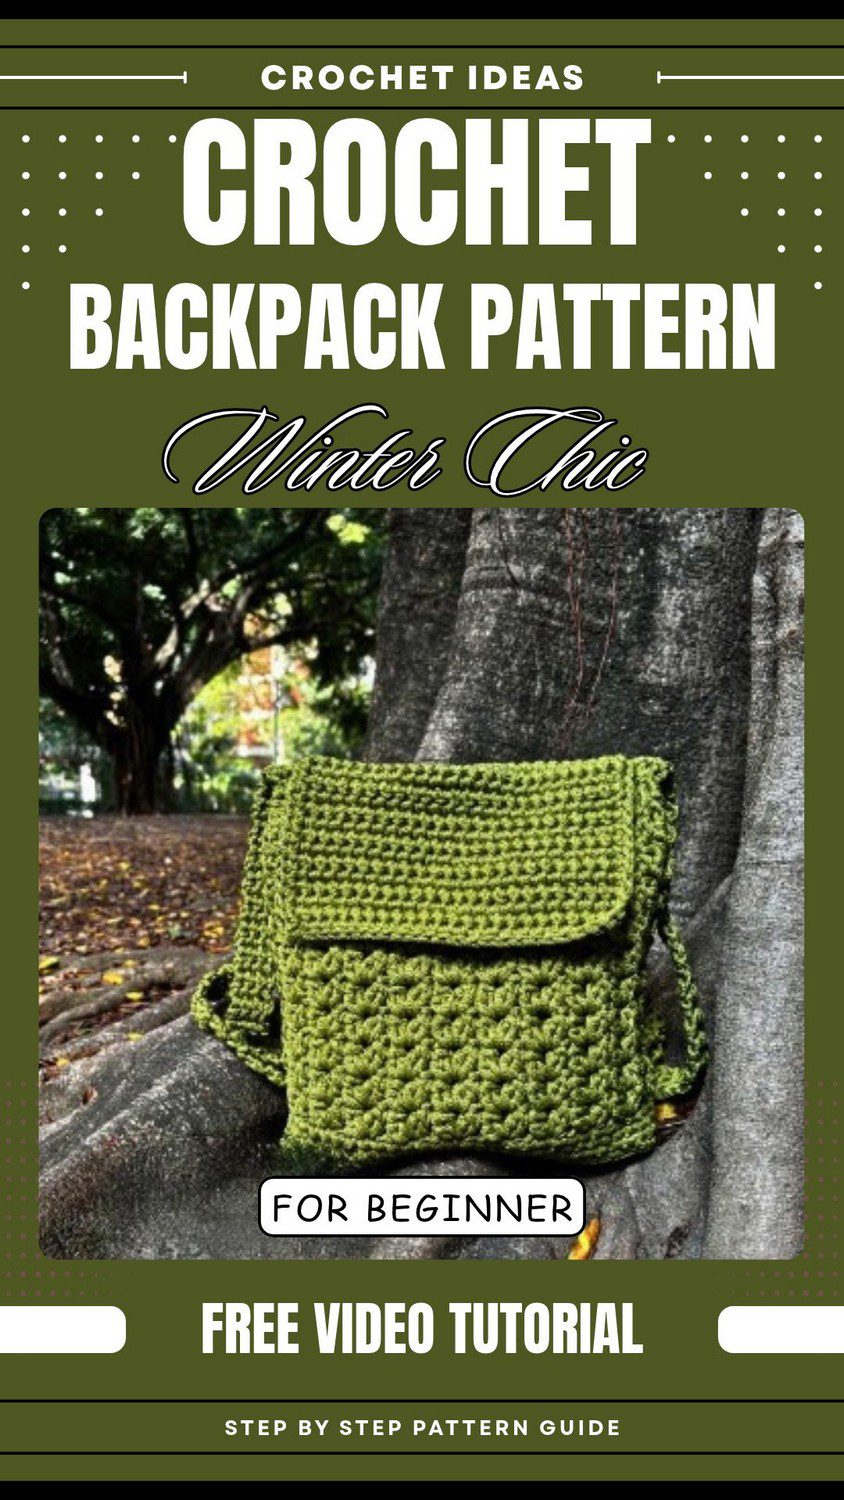
Make this olive crochet backpack pattern in a simple, free version. It has a firm base and a flap that closes with magnets. Also, easy steps help beginners finish a handmade crochet bag that looks very neat and holds its shape.
Looking for a free crochet backpack pattern that stands up on its own? Then try this olive crochet backpack pattern. The bag has a flat base and textured walls, while a front flap closes with magnetic snaps. Two thick straps make it comfy to wear. Because it is an easy crochet backpack for beginners, it also makes a lovely handmade gift. Finally,
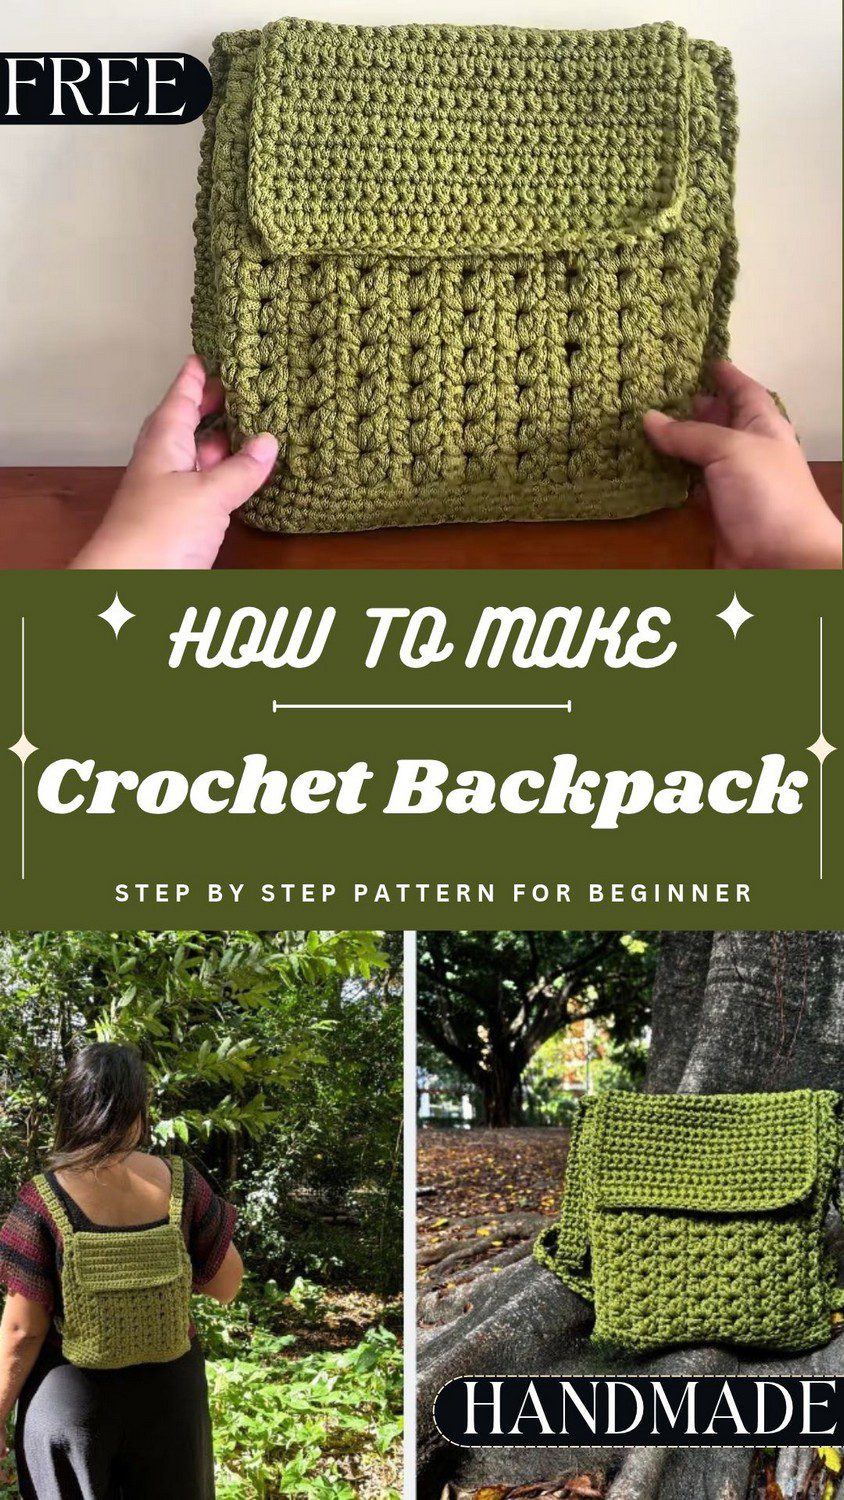
Olive Crochet Backpack Pattern Overview
Skill level: Intermediate beginner to intermediate. You should feel comfortable with foundation chains, working in rows and rounds, invisible joins and basic sewing.
Finished size: Base length is about 25 cm. Above the border, the cluster body adds about 22 cm of height. Flap length is about 20 cm. Each strap is 60 to 65 cm long and 3 cm wide.
Terminology: US terms.
Materials for the Olive Crochet Backpack Pattern
- Atlântico Poly yarn, 100% polyester cord, 185 m per ball, in olive green
- Crochet hook, 5.5 mm (go up a size if your tension is tight, down a size if it is loose)
- A pair of articulated rings (traditional rings also work)
- A pair of magnetic snap closures with sew-through tabs
- Sewing needle and matching sewing thread (gray works well because it stays hidden on the metal)
- Permanent fabric glue such as Pega 1000
- Scissors
- A lighter, for sealing yarn ends
Abbreviations
ch: chain
sl st: slip stitch
sc: single crochet
dc: double crochet
dc2tog (cluster): 2 double crochets closed together
FLO: front loop only
BLO: back loop only
Special Techniques
Single Crochet (sc)
Insert the hook into the stitch, yarn over, and pull up a loop (2 loops on hook). Then pull through both loops.
Double Crochet (dc)
Begin by wrapping the yarn over the hook, then insert the hook into the stitch. Next, yarn over and pull up a loop (3 loops on hook). After that, pull through 2 loops, and then through the last 2.
2-DC Cluster
Begin with a yarn over and insert the hook into the stated stitch or space. Next, yarn over and pull up a loop. Then pull through 2 loops, leaving the stitch unfinished. After that, make another yarn over, insert the hook into the same stitch or space, and pull up a loop. Next, wrap the yarn again and pull through 2 loops (3 loops on hook). Finally, close the cluster by pulling through all 3 loops.
Back Loop Only Ridges
Insert the hook under the back loop. For extra firmness, also catch the lower strand beneath it. As a result, the ridge makes crisp corners and helps the walls stand straight.
Invisible Join
Cut the yarn and pull the tail through the last loop. Then thread it onto a needle and pass it under the top loops of the first stitch of the round. Finally, take it back down through the center of the last stitch.
Turning and Keeping Your Count
Turn the work at the end of each flat row and chain 1 before the next row. Also, count stitches at the end of every flat row. Base rows always read 6, flap rows 22 and strap rows 3. Furthermore, work into the marked loops and do not add or drop stitches at the edges.
Olive Crochet Backpack Pattern Instructions
Step 1: Make the Backpack Base
- First, make a slip knot and chain 7 (6 working chains plus 1 extra chain).
- Row 1: Skip the first chain from the hook. Then work 1 sc in each of the next 6 chains, which gives 6 sts.
- Row 2: Ch 1, turn. Next, work 1 sc in each of the 6 stitches, going under both loops, so the count stays at 6 sts.
- Repeat Row 2 until the base measures about 25 cm. That is usually around 27 rows.
Pro-Tip: Count to 6 at the end of every row, because a base drifting to 7 or 5 stitches makes the border uneven.
- Base border round: At the end of the last row, place 1 extra sc in the final corner. Then work sc evenly around the outer edge of the rectangle, with 1 sc in every row-end space. Place 2 sc in each of the 4 corners so the turns stay smooth. Finally, finish with an invisible join.
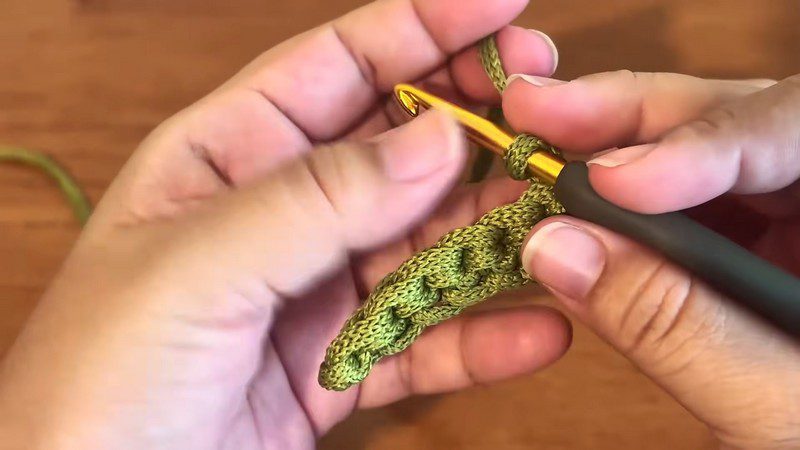
Step 2: Build the Body Walls
- Round 1 (transition): Attach yarn and ch 1. Then work 1 sc in the back loop only in every stitch around, without any increases. Catch the extra lower bar if you want more firmness. As a result, the edge flips upward and forms the bottom corner of the bag. Finally, join with an invisible join.
- Rounds 2 to 4: Start with ch 1. Next, work 1 sc in both loops of every stitch around. Join with an invisible join after each round.
- Round 5 (cluster setup):
- Begin with ch 2 and work a 2-dc cluster in the same space.
- Then ch 1 and work another cluster in the same space. That makes the first group: cluster, ch 1, cluster.
- Next, skip 2 stitches of the round below. Work (cluster, ch 1, cluster) in the 3rd stitch.
- Repeat around. Then join with a sl st, and slip stitch into the center ch-1 space.
- Rounds 6 to 11: Start with ch 2. Then work (cluster, ch 1, cluster) inside the ch-1 space of each group from the round before. Repeat around and join with a sl st. Also, slip stitch into the center space at the start of each new round. After 11 pattern rounds in total, the cluster section stands about 22 cm tall.
Pro-Tip: Put every group into the ch-1 space of the group below it. Otherwise, if you drift into a stitch instead, the columns begin to lean.
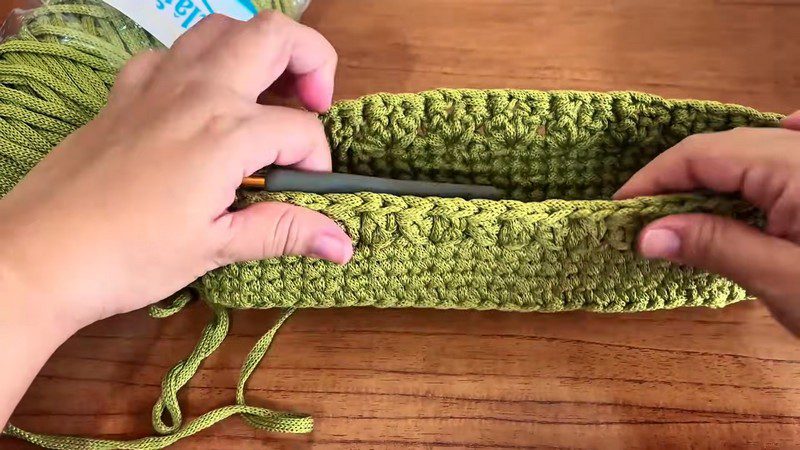
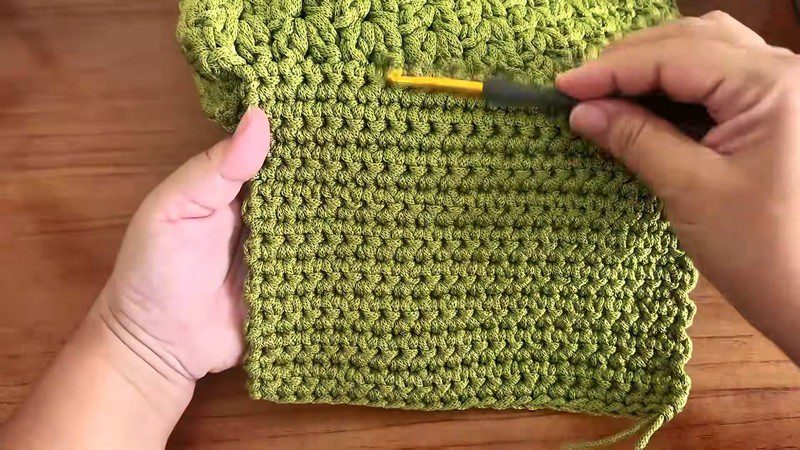
Step 3: Work the Flap
- Marker placement: On the front face of the bag, count 9 cluster groups across. Then place markers at the start and end of that span. Line them up with the zones where the straps will sit.
- Row 1: Attach yarn at the start marker. Next, ch 1 and work 22 sc evenly across the 9-group span, which gives 22 sts.
- Rows 2 to 18: Ch 1, turn. Then work 1 sc in each of the 22 stitches across, so the count stays at 22 sts.
- The flap should measure about 20 cm. Fasten off and leave a tail. After that, add a tiny drop of glue to the cut end and melt the tip lightly with a lighter. Finally, weave the tail into the inside stitches.
Step 4: Make the Straps (Make 2)
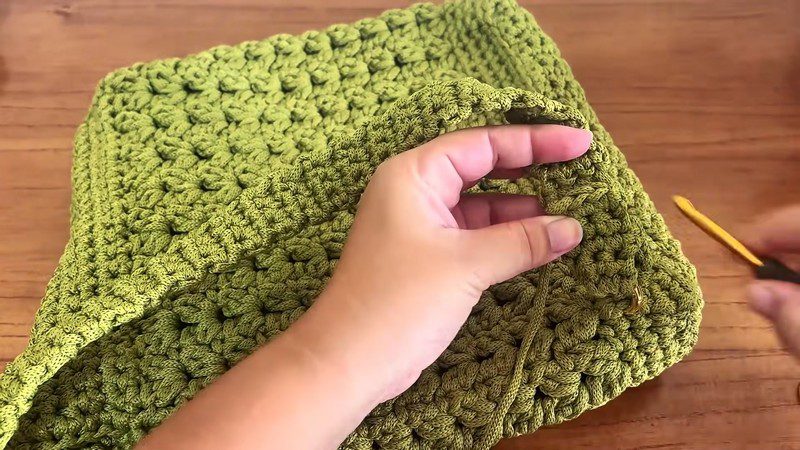
- Find the attachment point on the back of the bag, a 3-stitch-wide section. Then join yarn and ch 1.
- Work 3 sc across, which gives 3 sts.
- Next, ch 1, turn, and work 3 sc across again, keeping 3 sts.
- Repeat the 3-stitch row until the strap reaches 60 to 65 cm. Then fasten off.
Step 5: Sew the Magnetic Snaps
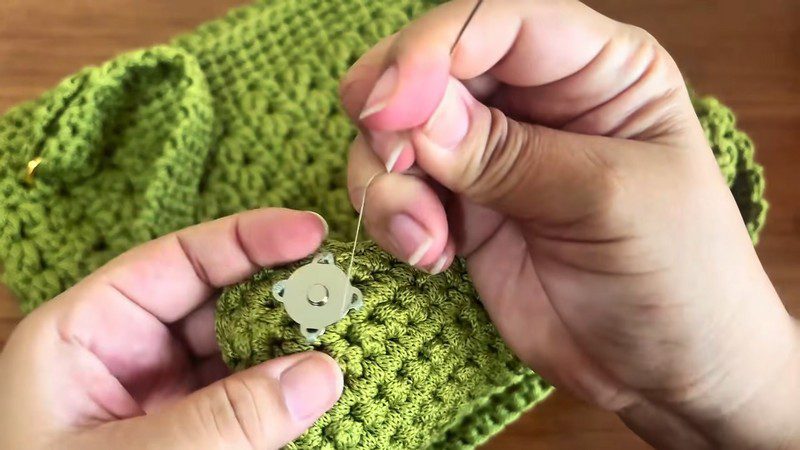
- Close the flap flat against the body and mark both snap positions with pins.
- Next, thread the needle with doubled sewing thread.
- Then sew one snap half to the underside tip of the front flap. Pass through each tab hole 6 to 10 times with tight whip stitches. Do not push the needle through to the outside.
- After that, sew the matching half onto the front wall of the body at the marked spot.
Pro-Tip: Pin first and test the closure before sewing, because a snap off by a few millimetres makes the flap sit crooked.
Finish and Shape
- First, cut all remaining tails. Add a small drop of glue to each one, then singe the tip lightly with the lighter.
- Next, needle-weave each tail through the inside stitches.
- If you want a cleaner border, work a neat sc edge around the flap and the body opening.
- Finally, steam or shape the piece by hand to square out the base corners.
Common Mistakes with the Olive Crochet Backpack Pattern
- Raw polyester ends. The cord unravels easily, so glue the tip, melt it lightly and weave it in.
- Twisted straps. Lay both straps flat and pin them before sewing or locking the rings.
- Misaligned snaps. Pin the spots while the flap is closed, then sew.
- Wrong tension. Drop the hook size if loose, but go up if stiff.
Uses and Benefits of the Olive Crochet Backpack Pattern
This olive crochet backpack pattern makes a compact structured crochet bag that suits short days out, errands, travel or everyday carry. Because the base is firm, it stays upright on a table, and double-thick straps spread weight across your shoulders. Also, the magnetic flap closes in one move, with no buttons or zips. Furthermore, it makes a thoughtful gift for anyone who loves clean olive.
Beginner Tips for the Olive Crochet Backpack Pattern
- Keep 6 stitches in every base row, so the rectangle stays straight.
- Also, place a stitch marker in the first stitch of each round, so joins are easy to find.
- Do not rush the snap sewing, because strong, tight passes hold the flap.
- Finally, try the strap length against your shoulder before you fasten off.
Personalization Ideas for the Olive Crochet Backpack Pattern
Go shorter on the straps for a snug fit, or longer for a relaxed carry. Also, pick traditional metal or snap-open articulated rings. Olive is earthy, but any polyester cord color works.
Bonus: Materials Substitution Ideas for the Olive Crochet Backpack Pattern
- Hook: Go larger if tension is tight and walls feel stiff, but go smaller if cluster rounds look gappy.
- Rings: Articulated rings are quicker, while traditional rings are firmer and easier to find.
- Sewing thread: Gray hides well on snap tabs, and any thread close to the snap color also works.
- Glue: Pega 1000 is permanent, but any similar permanent fabric glue can replace it.
FAQs About the Olive Crochet Backpack Pattern
How much yarn do I need?
You need slightly less than 2 balls of 185 m olive polyester cord.
What hook size should I use?
A 5.5 mm hook works well. However, go up or down a size to match your tension.
Is the olive crochet backpack pattern beginner friendly?
It suits intermediate beginners and above. Stitches are simple, but clusters, joins and snap sewing need practice.
How long should the straps be?
Each strap is 60 to 65 cm, so adjust it to fit you.
Okay, Here’s How It Really Goes
Honestly, the base takes the longest. It’s the same row again, so keep counting to 6. Then the edge flips up, and it gets fun. Still, don’t rush the end, because the glue and the snaps decide how long the bag lasts.