Crochet Rilakkuma Coaster Pattern with Felt Face Details
This crochet Rilakkuma coaster is a cute little bear face with felt eyes and a felt muzzle, so it is a great project if you are just starting out. Because it is small, soft and quick to make, you can finish it in one sitting and use up leftover yarn.
Also, the finished size fits most mugs and cups, and you can make it bigger or smaller by changing your yarn and hook size. For example, cotton yarn works best because it is washable, holds its shape and soaks up small spills. In addition, a warm brown with a cream muzzle gives the classic look.
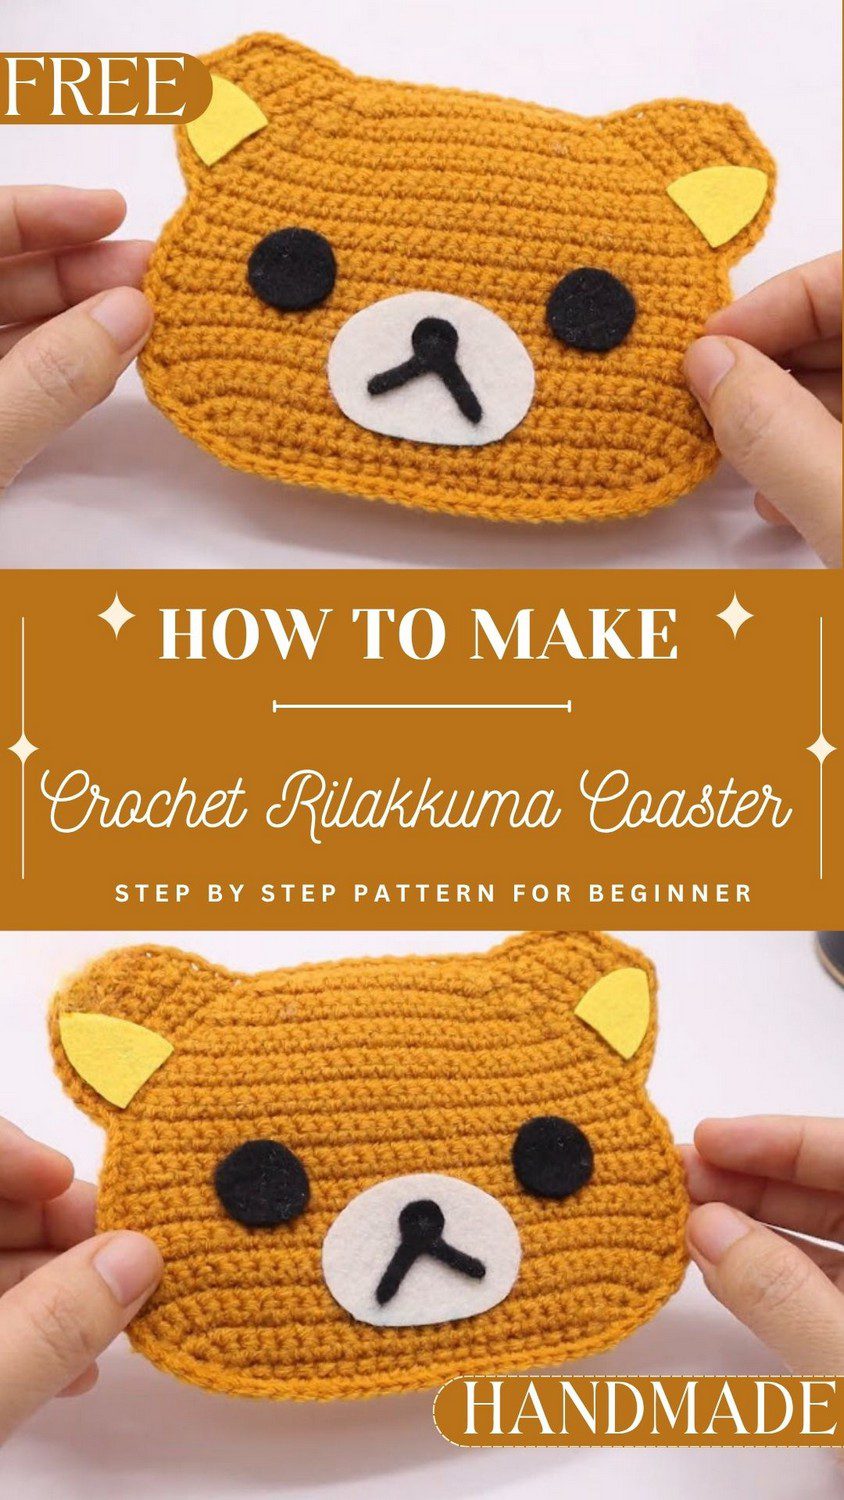
Stitches and Felt Face Details for the Crochet Rilakkuma Coaster
First, the pattern uses only simple stitches, mainly single crochet with a few increases and decreases. You work flat in rows, and the increases at the start keep the coaster from cupping or rippling. After the base is done, you add two small ears to the top. Then you attach the felt details, so the bear finally gets its face.
Next, cut two small felt circles for the eyes and a tiny oval for the nose, and glue them on. Keep your tension even from start to finish so the edges do not curl. However, if the piece still needs help, let it dry flat under a damp cloth.
Color Ideas, Uses and Gifting
Once it is finished, the coaster protects your furniture from water rings and heat marks. It also looks sweet on a desk, a shelf or under a candle or small plant pot. Besides brown, you can try soft pink, gray or pastel shades, so every Rilakkuma coaster in a set feels a little different. Moreover, it makes a lovely handmade gift for birthdays, baby showers and holidays, and the person who gets it will feel the care you put into it.
Crochet Rilakkuma Coaster Project Overview
This flat bear motif is shaped like the character Rilakkuma. It has rounded ears on the upper head, a head that tapers toward the top and a flat base, so a glass or mug sits steady on it. In addition, the felt features are glued on during finishing, which gives the face a clean, soft look. The design comes from Lollipop Crochet.
The skill level is beginner. Therefore, if you can work basic stitches flat in rows, you can make this crochet Rilakkuma coaster. The only shaping is a handful of increases and decreases, and the finished size is approx. 4 x 4 inches / 10 x 10 cm.
It works as a drink coaster on a desk, a nightstand or the kitchen table. Because it is small and light, it also makes an easy gift for a friend, a coworker or a bear fan in your family.
Materials and Tools
Yarn and Hook
- Yarn: Pui Soft, Color No. 26 (warm caramel / tan brown)
- Fiber: cotton-blend (milk cotton / acrylic-cotton blend)
- Weight: Fine / Light DK (5-ply equivalent)
- Quantity: less than 1 small ball, approx. 20-30 grams
- Hook: 4/0 (2.5 mm)
Felt and Extras
- Beige/cream felt for the snout
- Black felt for the eyes and nose
- Yellow felt for the inner ear accents
- Optional: black embroidery floss or thin black thread for the mouth detail
- E6000 craft glue
Notions
- Tapestry needle
- Scissors
- Iron for blocking
Abbreviations Used in This Crochet Rilakkuma Coaster Pattern
- ch: Chain
- sc: Single crochet
- st(s): Stitch(es)
- sl st: Slip stitch
- inc: Increase – work 2 single crochets in the same stitch
- dec: Decrease – work 2 single crochets together (sc2tog)
- m: Multi-decrease – work 3 single crochets together (sc3tog)
Stitch Notes
- sc: Insert hook into stitch, yarn over, pull up a loop (2 loops on hook), yarn over, draw through both loops.
- inc: Work two single crochets into the exact same stitch.
- dec: Insert hook in first st, pull up a loop. Next, insert hook in next st, pull up a loop. Finally, yarn over, draw through all 3 loops.
- m (sc3tog): Insert hook in stitch 1, pull up a loop. Then do the same in stitch 2 and stitch 3. Finally, yarn over, draw through all 4 loops.
- Turning: At the end of every row, chain 1, turn work, and start the next row in the first stitch.
- Count stitches at the end of each row. Increases shape the widening head base, while decreases narrow the head toward the top crown.
- Components: two identical main bear body panels (crocheted separately, then joined), two ears built onto the upper side edges of the joined body, and felt facial pieces.
Complete Crochet Rilakkuma Coaster Pattern
Main Body of the Rilakkuma Coaster (Make 2)
- Foundation: First, begin with a slip knot and ch 21. Working begins in the 2nd chain from the hook, and the foundation chain end forms the bottom base of the coaster.
- Row 1: Starting in the 2nd ch from the hook, work 1 sc in each ch across. (20 sts)
- Row 2: Next, ch 1, turn. Work inc in 1st st, inc in 2nd st, 16 sc, inc in each of the last 2 sts. (24 sts)
- Row 3: Then ch 1, turn. Inc in 1st 2 sts, 20 sc, inc in last 2 sts. (28 sts)
- Row 4: After that, ch 1, turn. Inc in 1st st, 26 sc, inc in last st. (30 sts)
- Rows 5-12 (8 rows): Next, ch 1, turn. 1 sc in each st across. (30 sts per row)
- Row 13: Now ch 1, turn. Dec, 26 sc, dec. (28 sts)
- Rows 14-16 (3 rows): Then ch 1, turn. 1 sc in each st across. (28 sts per row)
- Row 17: Next, ch 1, turn. Dec, 24 sc, dec. (26 sts)
- Rows 18-19 (2 rows): After that, ch 1, turn. 1 sc in each st across. (26 sts per row)
- Row 20: Then ch 1, turn. Dec, 22 sc, dec. (24 sts)
- Row 21: Next, ch 1, turn. Dec, 20 sc, dec. (22 sts)
- Row 22: Now ch 1, turn. m (3-st dec), 16 sc, m. (18 sts)
- Row 23: Then ch 1, turn. Dec, 14 sc, dec. (16 sts)
- Row 24: Next, ch 1, turn. M, 10 sc, m. (12 sts)
- Row 25: Finally, ch 1, turn. M, 6 sc, m. (8 sts)
- Fasten off on the first panel. However, do not cut the yarn on the second panel.
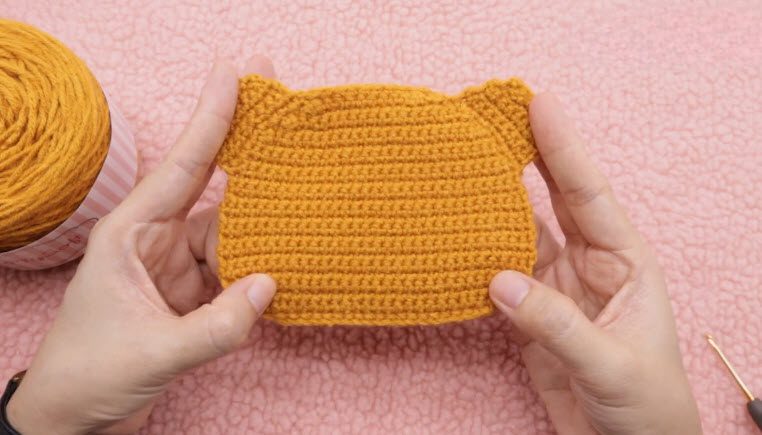
Crocheting the Ears for the Crochet Rilakkuma Coaster
- First, position the ears on the upper side edges of the head (near Rows 22-25). Attach working yarn to the side edge.
- Row 1: Work 9 sc evenly down the side edge rows. Ch 1, turn. (9 sts)
- Rows 2-4 (3 rows): Next, ch 1, turn. 1 sc in each st across. (9 sts per row)
- Row 5: Then ch 1, turn. Dec, 7 sc. (8 sts)
- Row 6: After that, ch 1, turn. Dec, 6 sc. (7 sts)
- Row 7: Finally, ch 1, turn. M, 1 sc, m. (3 sts)
- Fasten off. Afterward, repeat for the second ear on the opposite side.
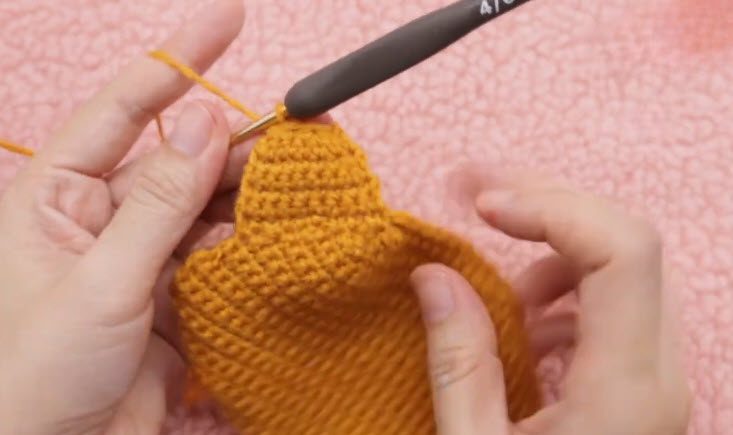
Joining and Assembling Your Rilakkuma Coaster
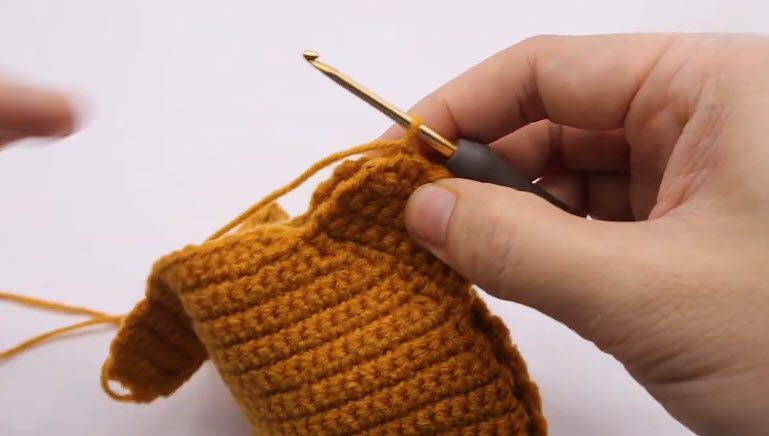
- Panel Joining: First, place both finished bear panels wrong sides together so the neat right sides face outward. Then, using the active yarn from the second panel, chain 1 and work sc evenly around the entire perimeter through both layers. Also work 3 sc into the same stitch at prominent ear corners to keep them neatly rounded. Finally, join with a slip stitch to the first stitch.
- Weaving in Ends: Next, fasten off securely and weave the yarn tails invisibly inside the double-layered body using a tapestry needle.
- Blocking: After that, lightly steam or iron press the finished piece so it lies completely flat.
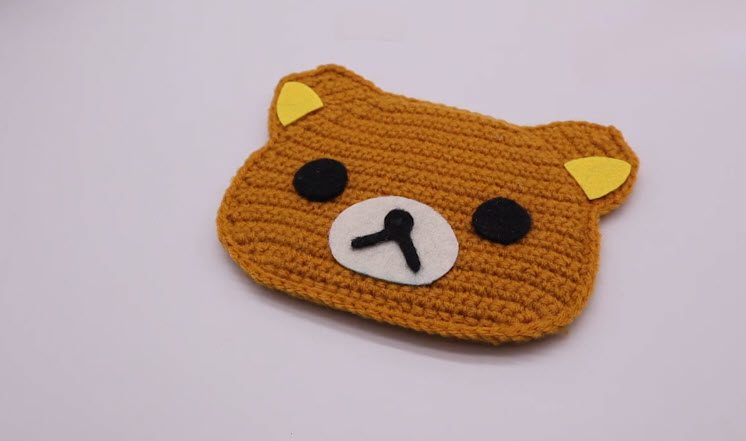
- Face Decoration: Finally, cut two small round or oval black felt pieces for the eyes. In addition, cut a medium oval beige or cream felt piece for the snout, plus small yellow inner-ear accents. Glue all felt pieces securely onto the upper center of the face using E6000 craft glue. Last, add a small black nose or mouth detail, either embroidered or cut from felt, on top of the snout.
Step-by-Step Crochet Rilakkuma Coaster Instructions
Here is the same pattern as a relaxed walkthrough. Meanwhile, keep the written rows nearby and check your stitch count as you go.
Shape the Body of the Rilakkuma Coaster
To begin, chain 21 and work 1 sc in each chain, starting in the 2nd chain from the hook, to get 20 sts. Next, rows 2 to 4 widen the head with increases at both ends, taking you to 24, 28, then 30 sts. After that, rows 5 to 12 are plain sc rows of 30 sts.
Now the decreases narrow the head. Row 13 gives 28 sts, Row 17 gives 26 sts, and Rows 20 and 21 give 24 and 22 sts, with plain rows between as listed. Finally, rows 22 to 25 use the multi-decrease at each end, leaving 18, 16, 12, and 8 sts. Then fasten off the first panel, but leave the second panel’s yarn attached.
Make the Ears
First, attach yarn to the side edge, work 9 sc, then work three plain rows of 9 sts. Next, rows 5 to 7 bring the ear down to 8, 7 and 3 sts. Finally, fasten off, then repeat on the opposite side.
Join and Decorate the Crochet Rilakkuma Coaster
To finish, place the panels wrong sides together and sc around through both layers, working 3 sc at the ear corners. After that, slip stitch to the first stitch, weave in the tails and block the piece flat. Last of all, glue on the felt face.
Helpful Tips for a Neat Rilakkuma Coaster
- First, count your stitches at the end of every row to catch mistakes early.
- Also, chain 1, turn, and start in the first stitch each time so the edges stay neat.
- Work the 3 sc into one stitch at the ear corners, because it keeps them rounded.
- Block the piece flat before gluing, so the felt sits smoothly.
- Finally, lay the felt pieces on the face first, then glue them with E6000 and press firmly.
Bonus: Gift-Ready Ideas for Your Crochet Rilakkuma Coaster
For a quick gift, slide the coaster under a favorite mug and wrap both together in plain paper, with a short handwritten note. Alternatively, stand it against a small plant pot on a shelf so the felt face can be seen. Either way, it still works as a coaster whenever someone wants a drink.
FAQs About the Crochet Rilakkuma Coaster
Is this Rilakkuma coaster pattern beginner friendly?
Yes, because it uses basic stitches worked flat in rows, with simple increases and decreases.
Which yarn and hook should I use?
Use Pui Soft, Color No. 26, with a 4/0 (2.5 mm) hook. In total, you need less than 1 small ball, about 20-30 grams.
What glue holds the felt?
E6000 craft glue works well. Press the pieces onto the upper center of the face until they feel secure.
Do I need to block the crochet Rilakkuma coaster?
Yes, blocking is part of finishing. Lightly steam or iron press the piece so it lies completely flat.
Can I embroider the mouth?
Yes. Instead of felt, you can add a small black embroidered detail on top of the snout, using black floss or thin black thread.
Your Bear Is Ready for Tea
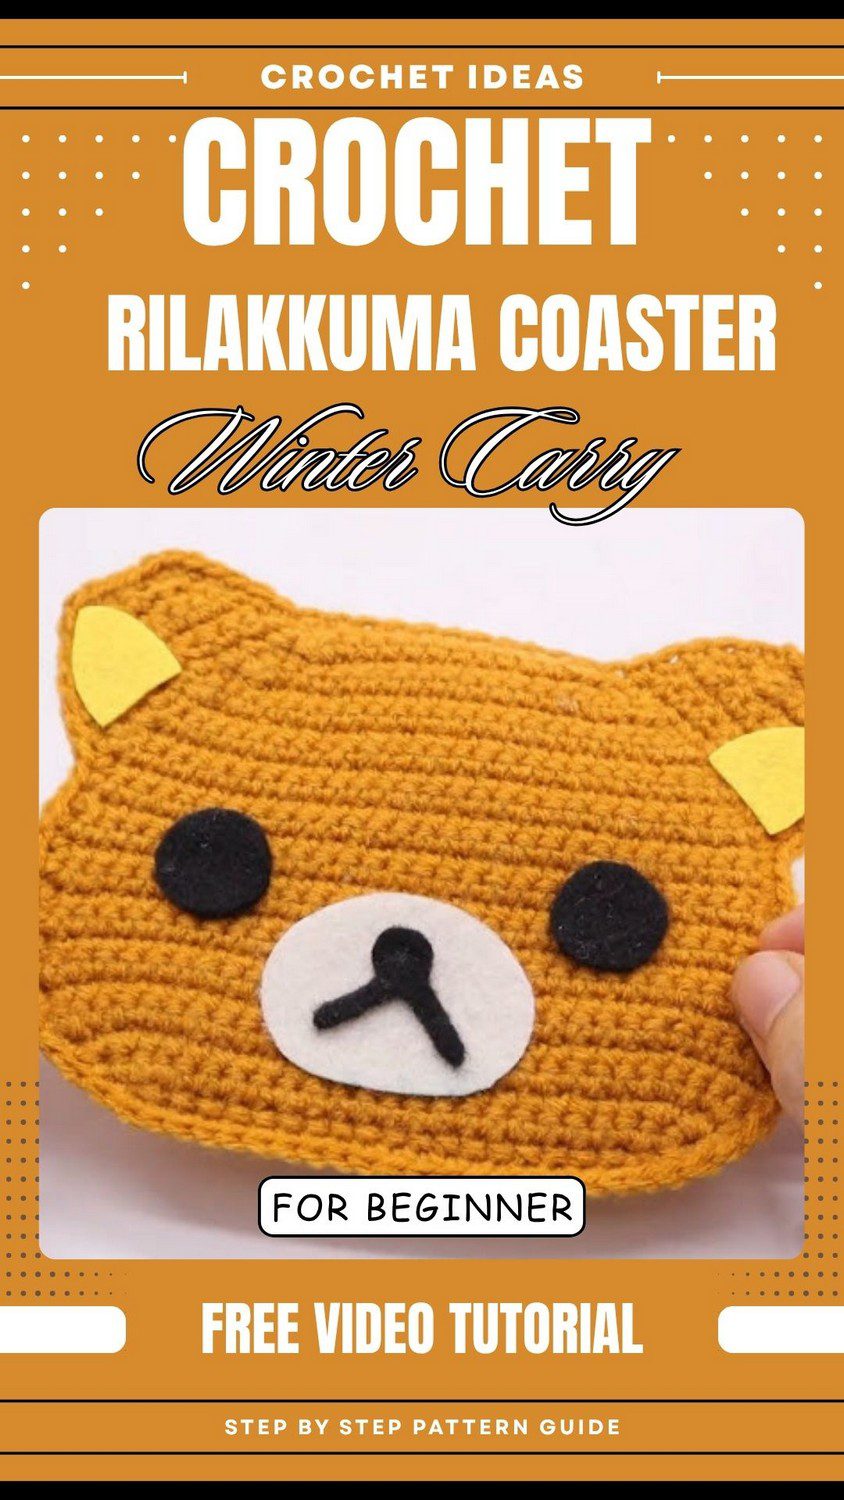
So that’s the whole thing, really. You make two flat bear pieces, stick the ears on, join them up and glue the little face on top. Honestly, none of it is hard. The felt part is my favorite, because that’s when the bear starts looking back at you. Just take your time counting, keep the ears round, and let the glue dry properly. Then put your cup on your new crochet Rilakkuma coaster and enjoy your tea.