Tiny Crochet Spider Halloween Amigurumi Pattern
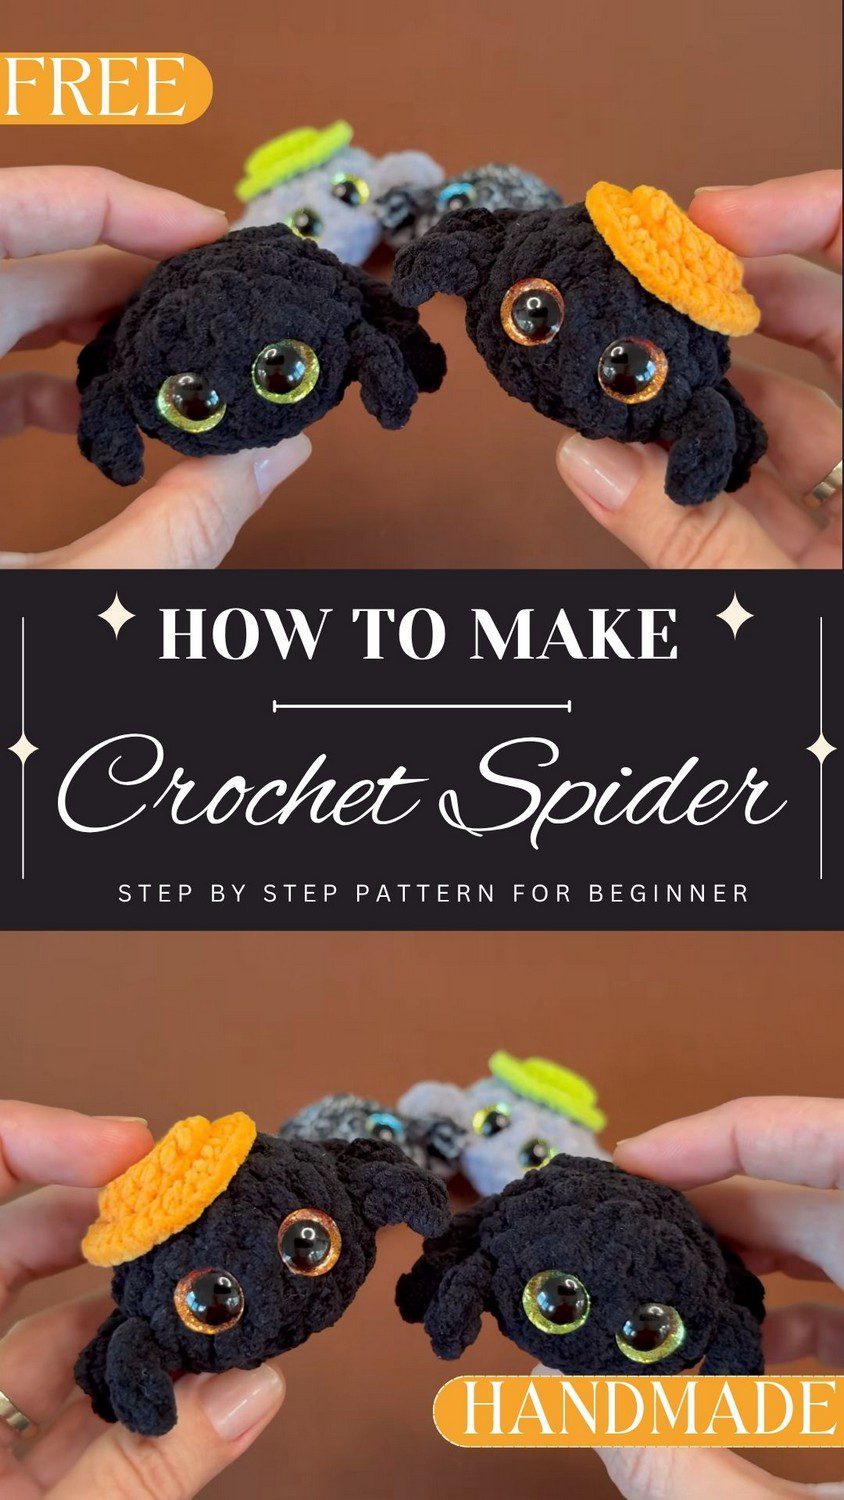
A tiny body, eight little legs and two big, sweet eyes make this Crochet Spider Halloween the cutest spooky guest at any Halloween party. He is soft, light and small enough to sit in your palm, so he works as a desk or shelf decoration, a bag charm or a handmade gift.
Black is the classic choice, but orange and purple look just as fun. The pattern is beginner-friendly, yet seasoned crocheters will enjoy it too, and you can stitch him up as a little Crochet Spider Halloween amigurumi. Add a keychain loop or a small hat and he feels even more special.
Meet a tiny Crochet Spider Halloween with eight little legs, big sweet eyes and a soft, lightweight body that feels lovely in your hand. He is cute, a little spooky and easy to carry, so he works as a bag charm, keychain or hanging decoration. Place him on a desk, shelf or Halloween party table for instant seasonal fun. Make him in classic black, orange or purple, and give him as a handmade gift to crochet fans and amigurumi lovers. This beginner-friendly project suits experienced crocheters too, and adds real charm.
Crochet Spider Project Overview
Here is a quick look at what you will make before you start. First, the tiny crochet spider is plump and round, and then the hat adds a bit of extra personality.
- Design: a plump, round plush crochet spider with 8 short chain-and-slip-stitch legs
- Pieces: one body (legs included) and one small hat
- Method: the body is worked in continuous spiral rounds, and the hat in joined rounds
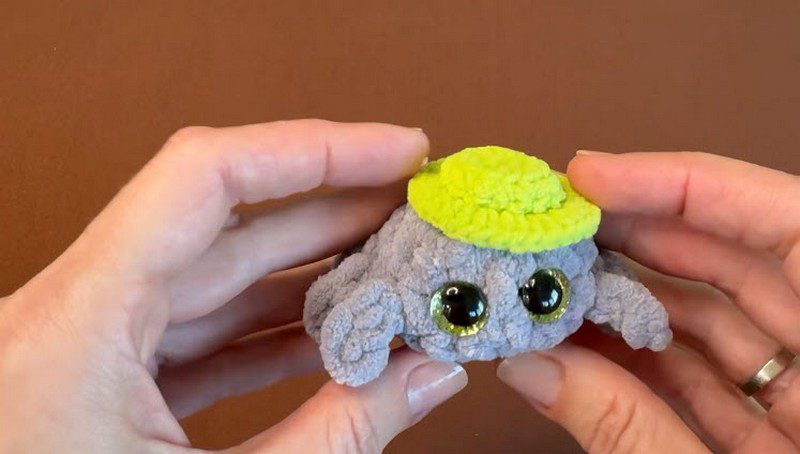
- Look: big 12 mm trapezoid eyes with slanted pupils, plus a brimmed beanie
- Finished size (estimated): body about 2.5 inches (6 cm) wide, about 4 inches (10 cm) across with the legs, and the hat about 2 inches (5 cm) wide
Materials and Tools for the Crochet Spider
Gather everything first, so you can work without stopping. Because this tiny crochet spider is so small, the crochet spider pattern needs only a little yarn.
- Hook for the body: 4.0 mm
- Hook for the hat: 2.5 mm
- Yarn A (body): bulky chenille-style amigurumi yarn, about a 100 g / 80 m skein. A small amount is enough, so scraps work well.
- Yarn B (hat): micro plush yarn, about a 50 g / 140-150 m skein. Only a tiny amount is needed.
- Eyes: 12 mm trapezoid safety eyes with slanted pupils
- Extras: stitch marker, tapestry needle, scissors and fiberfill
Stitch Abbreviations
- MR = magic ring
- ch = chain
- sc = single crochet
- inc = increase (2 sc in the same stitch)
- dec = invisible decrease
- sl st = slip stitch
- hdc = half double crochet
- hdc-inc = 2 hdc in the same stitch
- BLO = back loop only
- FLO = front loop only
Special Stitches for This Crochet Spider Pattern
Before the pattern begins, take a minute to read through these stitches. In fact, a quick look now makes the crochet spider pattern much easier to finish.
Magic Ring or 2-Chain Start
Make a loop, insert your hook, pull up the working yarn and chain once to lock it. Then work all 8 sc inside the loop and pull the tail to close the hole. However, if rings annoy you, chain 2 and work the 8 sc into the second chain from the hook instead.
Invisible Decrease
Insert the hook into the front loop of the next stitch, then into the front loop of the stitch after it. Next, yarn over and pull through both loops. After that, yarn over again and pull through the two loops left on the hook. As a result, the fabric shrinks without leaving a gap.
BLO and FLO
Look at the top of any stitch and you will see a V. The loop closest to you is the front loop, while the one farther away is the back loop. Therefore, BLO means you stitch under the back loop only, and FLO means the front loop only.
Slip Stitch
Insert the hook, yarn over, and pull the loop through both the stitch and the loop on your hook in one move. Since it is flat and tiny, it is perfect for the crochet spider legs.
Half Double Crochet (hdc) and hdc-inc
Yarn over, insert the hook into the stitch, yarn over and pull up a loop (3 loops on the hook). Then yarn over once more and pull through all 3 loops. For an hdc-inc, simply make two of these in the same stitch.
Chain Legs
Each leg starts with 1 sc in the base stitch. Next, chain 4, then slip stitch into the 2nd chain from the hook and into each of the next 2 chains. That makes 3 sl st, and as a result the leg curls up by itself. Finally, work the next sc into the next stitch of the round.
Skill Level and Gauge
This crochet spider pattern is beginner-friendly. If you can work sc, increases and a decrease, you are ready, and the hat only adds hdc, which is explained above. Gauge is not critical. Still, choose a hook that gives a tight, firm fabric so the stuffing never peeks through. Likewise, if you see fluff between stitches, go down a hook size.
Before You Begin
- The body is worked in a spiral, so do not join the rounds or turn your work.
- Place the stitch marker in the first stitch of Round 2 and move it up every round.
- Count your stitches at the end of each round, because it takes seconds and saves a lot of unravelling.
- Insert the safety eyes before you stuff the body, since you cannot reach inside once the fiberfill is in.
- Work the hat in joined rounds, and end each round with a sl st into the first stitch of that round.
Full Crochet Spider Pattern
Now it is time to work the crochet spider pattern. Start with the body, then add the eyes, and finally make the hat.
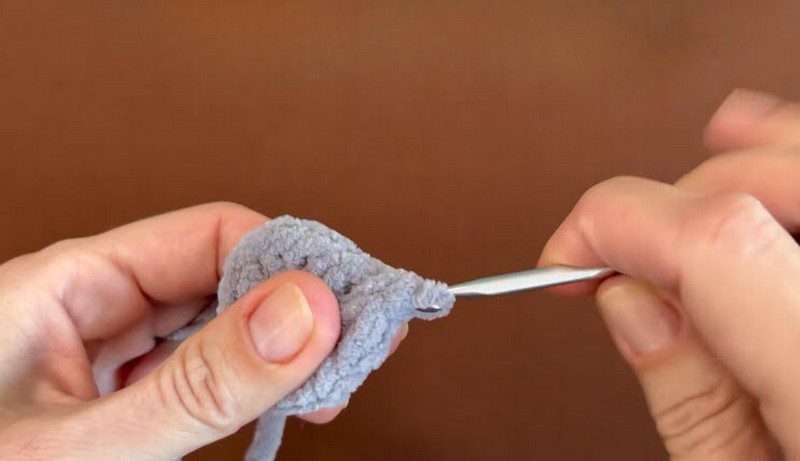
Crochet Spider Body (4.0 mm hook, Yarn A)
Round 1: 8 sc in MR (or in the 2nd ch from hook). (8)
Round 2: inc in each stitch, 8 times. (16) Next, place your marker in the first stitch.
Round 3 (legs): 2 sc, make a leg in each of the next 4 stitches, 4 sc, make a leg in each of the next 4 stitches, 2 sc. (16 base stitches)
Each leg is: 1 sc in the stitch, ch 4, then 3 sl st starting in the 2nd ch from the hook. As a result, you now have 8 legs, four on each side, with an equal gap between the two groups.
Round 4: Push the legs toward you, out of the way, then work 1 sc in each of the 16 stitches. (16)
Round 5: [6 sc, dec] x2. (14)
Round 6: [1 sc, dec] x4, 2 sc. (10)
At this point, insert the eyes (see the Eyes section below). After that, stuff the body firmly.
Round 7: dec x5. (5)
Finally, fasten off. Thread the tail through the front loops of the last 5 stitches, pull tight to close, and then hide the tail inside the body.
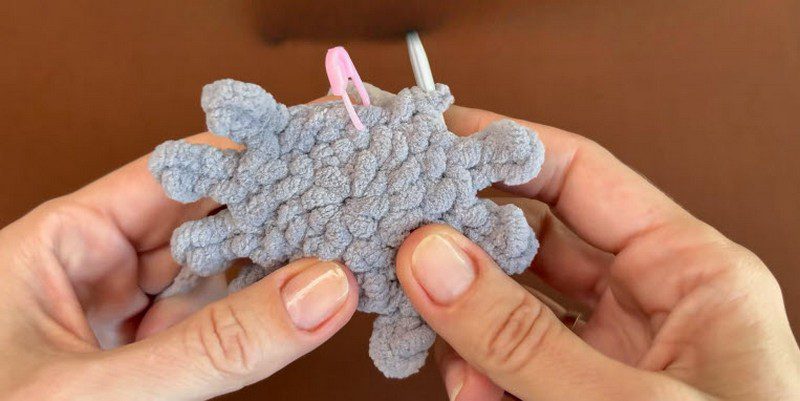
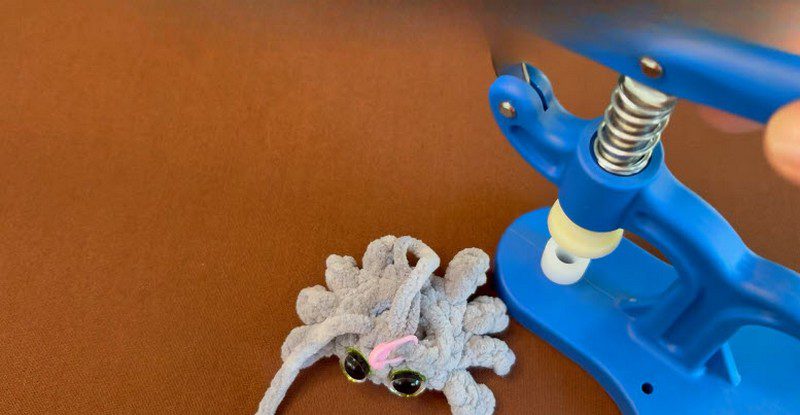
Adding the Crochet Spider Eyes
First, choose the smoothest side of the body as the front. After finishing Round 6, push the eye posts through the gap between Rounds 5 and 6, side by side with a few stitches between them. Then hold the tiny crochet spider up and check the look before you snap the backs on. Because the slanted pupils give him his cheeky expression, tilt both the same way.
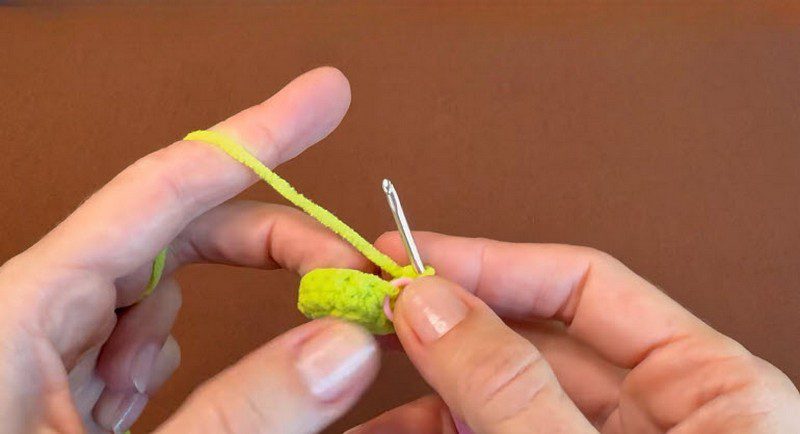
Crochet Spider Hat (2.5 mm hook, Yarn B)
Round 1: 8 sc in MR (or in the 2nd ch from hook). Join with a sl st. (8)
Round 2: ch 1, inc in each stitch, 8 times. Join. (16)
Round 3: ch 1, 16 sc in BLO. Join. (16)
Round 4: ch 1, 16 sc. Join. (16)
Round 5: in FLO, sl st in the first stitch, ch 1, hdc-inc in each of the next 14 stitches, 1 hdc in the last stitch. (29 hdc) Join and fasten off, leaving a long tail for sewing.
Working Round 3 in BLO makes a neat ridge on the hat. Likewise, working Round 5 in FLO makes the brim flare outward.
Troubleshooting Your Crochet Spider Pattern
Round 3 looks uneven. Check the order: 2 sc, four legs, 4 sc, four legs, 2 sc. If the plain stitches are off, the legs end up lopsided.
The marker disappeared. Spiral rounds have no seam, so it is easy to lose your place. Therefore, move the marker every round and never take it out.
The hat brim looks messy. Check which loop you worked in. Round 3 is BLO and Round 5 is FLO, so mixing them up changes the shape.
Stuffing shows through. Drop to a smaller hook, and add fiberfill in small pieces instead of one big lump.
Colour and Finishing Touch Ideas
Black is the classic colour for a crochet spider, but orange and purple give a brighter, more playful look. In addition, you can add a small keychain loop to turn your crochet spider into a bag charm. On the other hand, you can leave the hat off for a simpler style.
Care Instructions
Spot clean with a damp cloth and a drop of mild soap, then air dry. Also, keep him away from direct heat and skip the washing machine, because chenille-style yarn can lose its soft feel. For babies and toddlers, use embroidered eyes instead of safety eyes, so there are no small parts to pull off.
Quick Halloween Display Ideas for Your Tiny Crochet Spider
Since he is small, you can show off your crochet spider in plenty of ways:
- Sit him on a stack of mini pumpkins on your mantel.
- Hang a few spiders from a ribbon across a window.
- Tuck one into a candy jar as a surprise topper.
- Tie one to a gift bag instead of a bow.
- Perch one on a bookshelf next to your fall decor.
Crochet Spider FAQs
Can I make this crochet spider without the hat?
Yes. The hat is optional, so the body looks great on its own.
What if I cannot find bulky chenille yarn?
Any thick, soft yarn will do. However, match your hook to the yarn so the fabric stays tight.
Do I have to use a magic ring?
No. A 2-chain start works too, and it is easier for brand new crocheters.
How many legs does the crochet spider have?
Eight, built into Round 3: four on each side.
Can I give this crochet spider to a young child?
Yes, but use embroidered eyes for babies and toddlers.
A Little Spider With a Lot of Personality
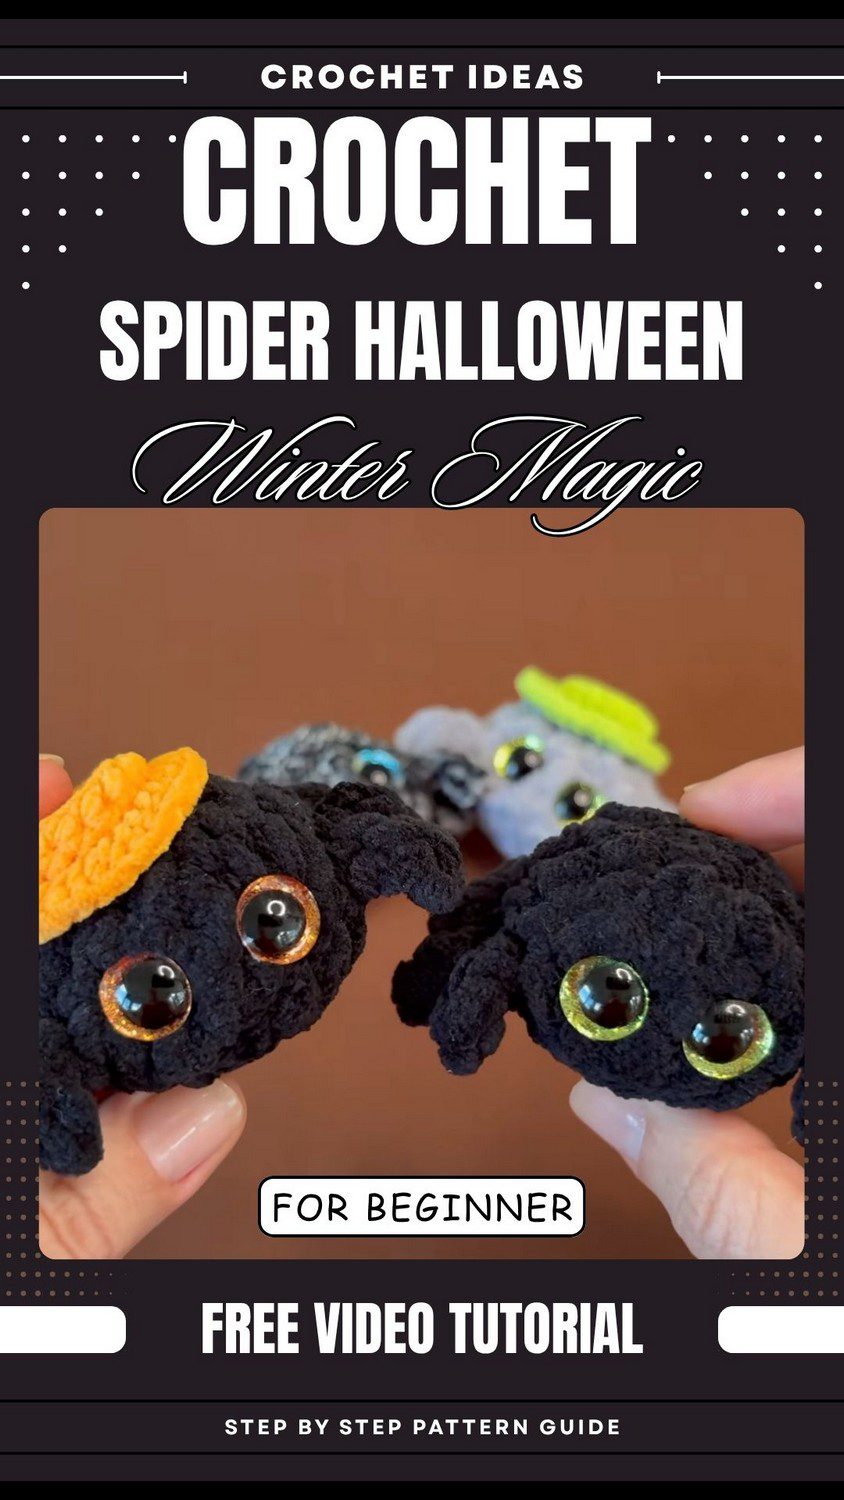
Honestly, this crochet spider looks harder than it is. You start with a tiny ring and grow it a bit, and then the legs just pop out in one round. After that it’s a few easy rounds, a quick stuff, and he’s done. The hat is the fun bit, because once it’s on he suddenly has a whole personality. So make one, and I bet you’ll want a few more.